

Page 1
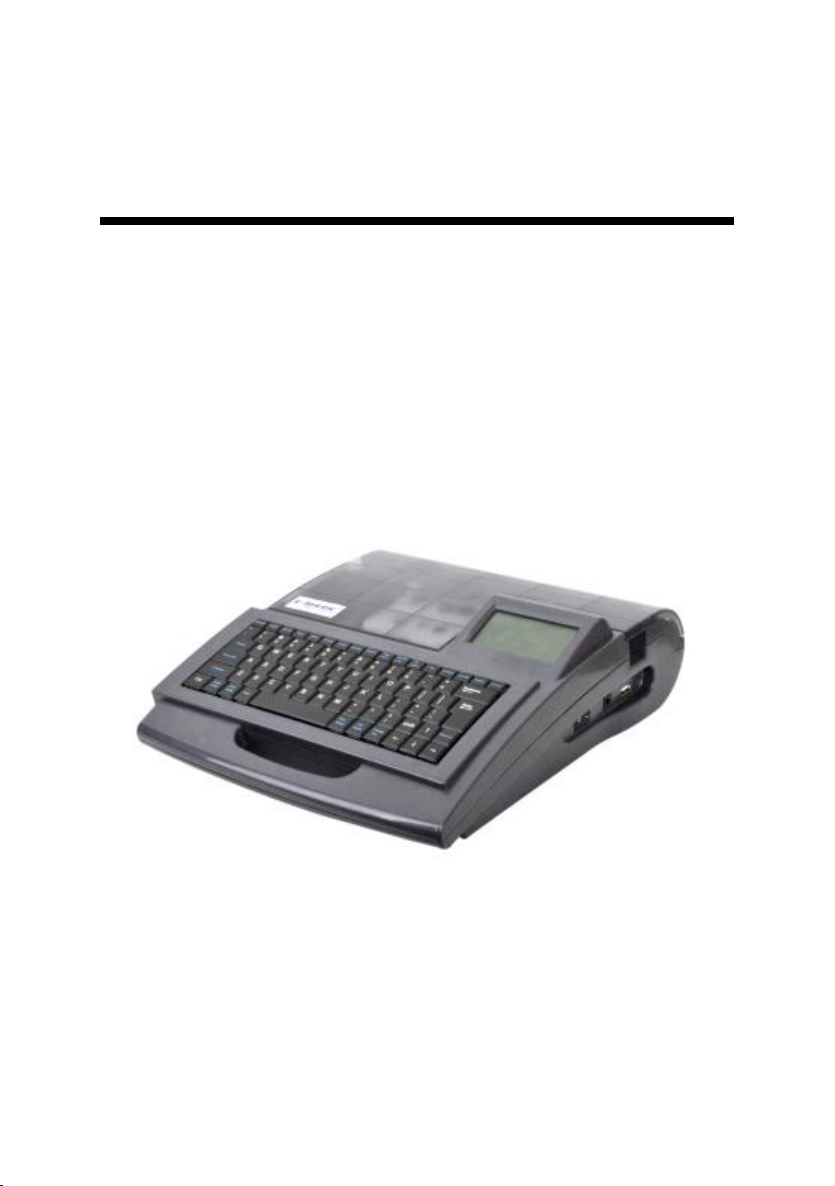
User’s Manual
LK-360
Label and Mark Printer
LABEL & MARK INDUSTRIES COMPANY
Page 2

Page 3

Label & Mark Industries Company User’s Manual of LK-360
- 1 -
Chapter I Foreword
Welcome to use LK-360 Cable ID Printer! This manual describes the features of
LK-360 and the points of attention during operating and using it. Please study this
manual to have an adequate understanding of LK-360 features before you use this
machine so as to take a better advantage of it. After reading it, keep this manual
properly for future reference.
[Statement]
1.The “
L-MARK
” are the registered trade marks of Label & Mark Industries
Company.
2.The contents of this manual shall not be altered without prior consent. The
Company reserves the right to bring changes to the products concerning
technologies, parts and components, software and hardware. For more information
about the products, please contact
L-MARK
or the sale agents.
3.Without the prior written approval by
L-MARK
, no contents of this manual
shall be copied or transmitted in any form or by any means.
4.The Company is not to be held responsible for any consequences that may arise
from any operations not conforming to the instructions contained in this manual.
5.Other signs and trade marks referenced in this manual are owned by their
respective owners.
6.This manual is subject to change without prior notice.
7.For more information about this equipment and the Company, please visit
www.lmark.net.
[Safety Instructions]
Please study the following before you begin to use this printer:
1. Safety warning
Warning:
The print head generates heat. Do not touch it or other
parts around it during printing or shortly after printing.
Warning:
Do not touch the print head face or the connector;
otherwise the print head may be damaged as a result of
static.
Page 4

Label & Mark Industries Company User’s Manual of LK-360
- 2 -
Warning:
This equipment is fitted with a cutting knife. Do not put
your fingers near it during use. Be careful to keep clear of
the cutting knife during handling.
2. Points of attention
1) The printer shall be put on a flat and stable place.
2) Do not use the printer or store it in hot, damp or heavily polluted places.
Besides, keep it sheltered from sunshine, bright light and heat sources.
3) Do not put the printer in a place which is under the influence of vibration or
impact.
4) Do not allow damp air condensate on the surface of the printer. If there is
any condensate water, do not turn on the printer power supply before the
condensate water disappears.
5) Connect the printer to a suitable earthed power socket. Avoid sharing a
same power socket with other large dynamos or other equipment that may
give rise to voltage fluctuation.
6) If the printer is expected to be idle for a long time, disconnect the printer
from the power supply.
7) Be careful to avoid introducing water or conducting matters (like metals)
into the printer. Disconnect the power supply immediately in case of such
introduction.
8) Do not print if there is no print material loaded, otherwise the printer rubber
roll and print head may be severely damaged.
9) Disconnect the power supply before making connection or disconnection;
otherwise the printer control circuit may be damaged.
10) Do not attempt to dismantle the printer to repair by yourself. Unauthorized
dismantling or alteration of this printer is prohibited, otherwise the
high-voltage components inside may give rise to fire accident or electric
shock.
11) For the benefit of safety, when the “protective cover” is opened the printer
will not work. Therefore, put on the protective cover when printing. During
opening the “protective cover”, do not let any object touch the moving parts
of the printer.
12) In order to avoid getting electric shock, do not plug or unplug any
Page 5

Label & Mark Industries Company User’s Manual of LK-360
- 3 -
connections with a wet hand.
13) Keep the tube printer away from alcohol, gasoline and other volatile
solvents; keep it away from fire to avoid explosion or burning.
14) Clean the printer with a wrung wet cotton cloth. Use of organic and
flammable solvent is prohibited.
15) In case of strange odor or noises during operation, switch off the printer
immediately and disconnect the power supply and then contact your sale
agent.
16) Stop the printer immediately if any foreign matter is introduced inside the
printer in order to avoid damaging it.
[Caution]
1、 Not all consumables are compatible with your machine. Compatibility is
dependent on the features and specifications of consumables. Please use
original
L-MARK
consumables, which ensure a steady printing quality and
help protect your machine.
2、 Use of non-original ribbon or label will invalidate the warranty.
3、 Do not blockade the ribbon or label exit opening
4、 Do not strike the keyboard forcefully.
5、 Do not pull out the print-out by force. Remove the print-out until it is cut off,
otherwise the printing quality may be compromised or your machine may be
damaged.
6、 Consumables or machine shall be kept in a dry, room-temperature, and well
ventilated place sheltered from direct sunshine.
7、 This printer is designed so as to ensure a good printing quality on heat shrink
tubes and labels; however no perfect quality for all types of printing is
implied. Please print some trial samples in advance.
Page 6

Label & Mark Industries Company User’s Manual of LK-360
- 4 -
[Description of features]
Full English operation interfaces, possible to enter English, numbers,
symbols; various editing functions enabled;
Ultra-large screen, three-line input and display; each line capable of showing
17 English letters;
Fashionable and top-grade white background light LCD display, with status
information of more than 10 functions displayed;
Fully automatic half-cutting and full-cutting operation;
One-key operation: all functions can be performed by pressing only one key,
thus offering a convenient and quick operation;
International standard 83-key computer keyboard;
Beautiful
L-MARK
font type, offering a clearer and more lasting print out;
Specific “Revise” function, this function is provided to test and correct
printing length, and adjust the position of the printer head and cutter;
With a unique function of printing selected pages, enabling you to print
selected pages in the current file;
Ultra-large in-built file memory capacity, able to store more than 100 files,
ready to be recalled at any time;
LK-360 can be connected to a computer and
L-MARK
software offers
new and versatile man-machine interfaces, compatible with Windows2000 /
XP / Windows7 operation systems; independent operation at the work site is
possible, one machine designed for dual operations;
Portable design, suitable to be used for various applications;
Ribbons available in black, red and white colors.
Page 7

Label & Mark Industries Company User’s Manual of LK-360
- 5 -
Contents
ChapterⅠ Foreword........................................................................................ .......1
Chapter Ⅱ Preparation.......................................................................................... 7
2.1 Configuration of the main unit................................................................. 7
2.1.1 Basic configuration....................................................................... 7
2.1.2 List of consumables provided........................................................8
2.2 Nomeclature of functions....................................................................... 10
2.2.1 Main unit.................................................................................... 10
2.2.2 LCD display description..............................................................10
2.2.3 Keyboard.................................................................................... 12
2.3 Installtion...............................................................................................13
2.3.1 Installtion and removal of ribbon................................................ 13
2.3.2 Installation and removal of printing material cassette.................. 15
2.3.3 Installation of sleeve tube............................................................16
2.3.4 Connection of AC power adapter................................................ 17
2.3.5 Connection of data cable............................................................. 17
2.3.6 Power switch.............................................................................. 17
2.3.7 Replacement of the cutter............................................................18
Chapter III Basic operation.................................................................................. 19
3.1 Power-on............................................................................................... 19
3.2 Selection of printing material................................................................. 19
3.3 Selection of printing material specfications............................................ 20
3.3.1 Selection of sleeve tube specifications.........................................20
3.3.2 Selection of label specifications.................................................. 20
3.3.3 Selection of heat shrink tube specifications................................. 21
3.4 Selection of font size..............................................................................21
3.5 Enter print contents................................................................................ 22
3.6 Label printing........................................................................................ 22
3.6.1 Printing....................................................................................... 22
3.6.2 Enter print contents..................................................................... 23
Chapter IV Function keys.................................................................................... 24
4.1 Notes to function keys............................................................................24
4.2 Instruction for function keys.................................................................. 25
4.2.1 Material...................................................................................... 25
4.2.2 Length........................................................................................ 26
4.2.3 ] Orientation.....................................................................27
Page 8

Label & Mark Industries Company User’s Manual of LK-360
- 6 -
4.2.4 Font size..................................................................................... 28
4.2.5 Spacing....................................................................................... 29
4.2.6 Density....................................................................................... 30
4.2.7 Frame..........................................................................................31
4.2.8 Number.......................................................................................32
4.2.9 Repeat.........................................................................................35
4.2.10 Alignment................................................................................. 35
4.2.11 Double line............................................................................... 38
4.2.12 PC conn.................................................................................... 38
4.2.13 File........................................................................................... 38
4.2.14 Delete all...................................................................................42
4.2.15 Delete....................................................................................... 42
4.2.16 Cancel.......................................................................................43
4.2.17 Superscript................................................................................ 43
4.2.18 Subscript................................................................................... 43
4.2.19 Cutting set.................................................................................44
4.2.20 Cut depth.................................................................................. 45
4.2.21 Print scope................................................................................ 46
4.2.22 Print.......................................................................................... 47
4.2.23 Caps lock.................................................................................. 47
4.2.24 Language.................................................................................. 48
4.2.25 Back Off................................................................................... 48
4.2.26 【Backspace】........................................................................ 48
4.2.27 【Shift】................................................................................. 49
4.2.28 Revise....................................................................................... 49
4.2.29 Creat a new page.......................................................................52
4.2.30 Display brightness adjustment................................................... 52
4.2.31 Key combination.......................................................................52
Chapter Ⅴ Specifications description.................................................................. 53
Chapter Ⅵ Others................................................................................................ 54
6.1 Specifications of Original Consumables................................................. 54
6.2 Simple trouble-shooting......................................................................... 57
6.2 Warranty card.........................................................................................57
Page 9

Label & Mark Industries Company User’s Manual of LK-360
- 7 -
Chapter II Preparation
This chapter mainly describes the key components of the equipment and how to
install the ribbons and printing materials. The function of each key is also
described.
2.1 Configuration of the main unit
2.1.1 Basic configuration
1.LK-360 Cable ID Printer
1piece
2.Warranty card(in user’s manual)
1sheet
3.Packing list
1sheet
4.Power adapter (including power cable)
1piece
5.Black ribbon for familiarizing purpose
1cartridge
6.USB memory disk
1piece
7.Computer connection cable
1piece
8.Handbag
1piece
Page 10
Label & Mark Industries Company User’s Manual of LK-360
- 8 -
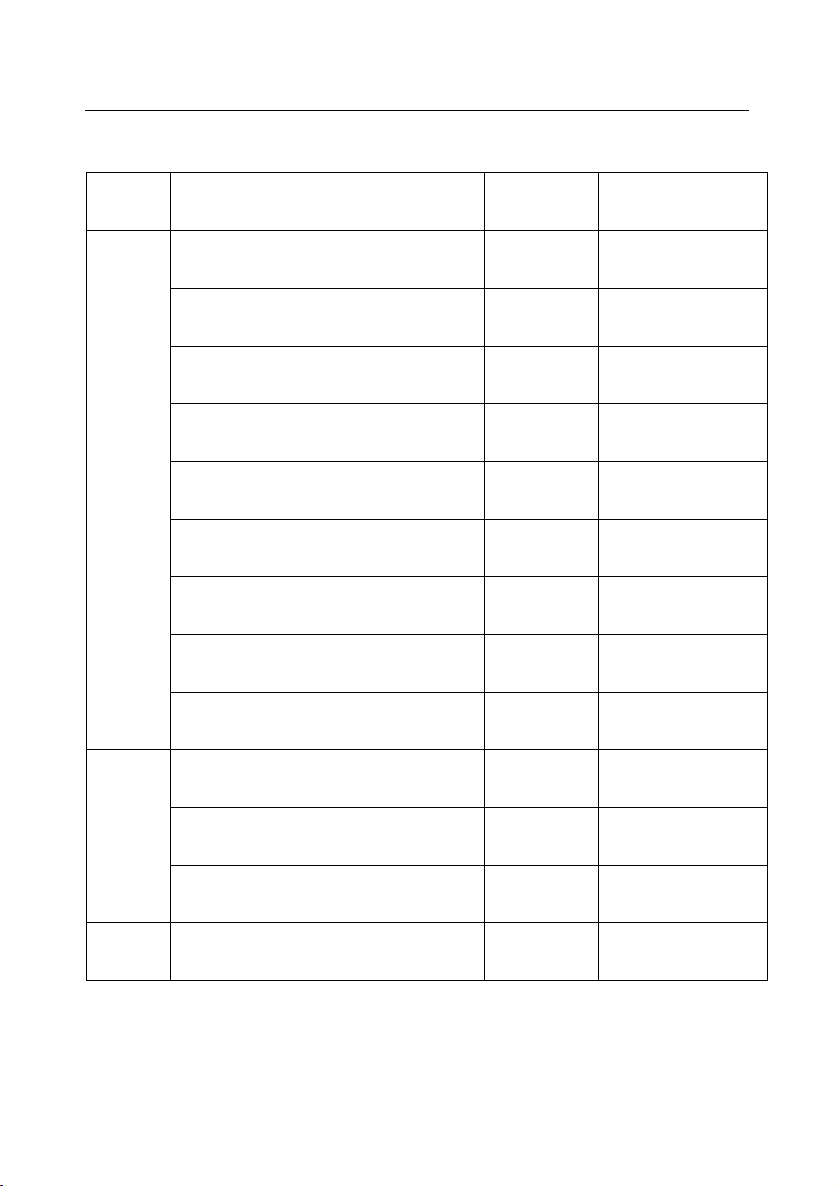
2.1.2 List of consumables provided
species
specification
Model
Package
Labels
Label cassette tape (White 6mm)
LM606WL
5pcs(10m×5)/box
Label cassette tape (White 9mm)
LM609WL
5pcs(10m×5)/box
Label cassette tape (White 12mm)
LM612WL
5pcs(10m×5)/box
Label cassette tape (Yellow 6mm)
LM606YL
5pcs(10m×5)/box
Label cassette tape (Yellow 9mm)
LM609YL
5pcs(10m×5)/box
Label cassette tape (Yellow 12mm)
LM612YL
5pcs(10m×5)/box
Label cassette tape (Silver 6mm)
LM606SL
5pcs(10m×5)/box
Label cassette tape (Silver 9mm)
LM609SL
5pcs(10m×5)/box
Label cassette tape (Silver 12mm)
LM612SL
5pcs(10m×5)/box
Ink
ribbons
Ribbon cassette (black)
LM36B
5pcs(80m×5)/box
Ribbon cassette (white)
LM36W
5pcs(80m×5)/box
Ribbon cassette (red)
LM36R
5pcs(80m×5)/box
Cutter
Cutter (cutter holder and cutting
blade)
LM-02-10
2pcs/box
Page 11
Label & Mark Industries Company User’s Manual of LK-360
- 9 -
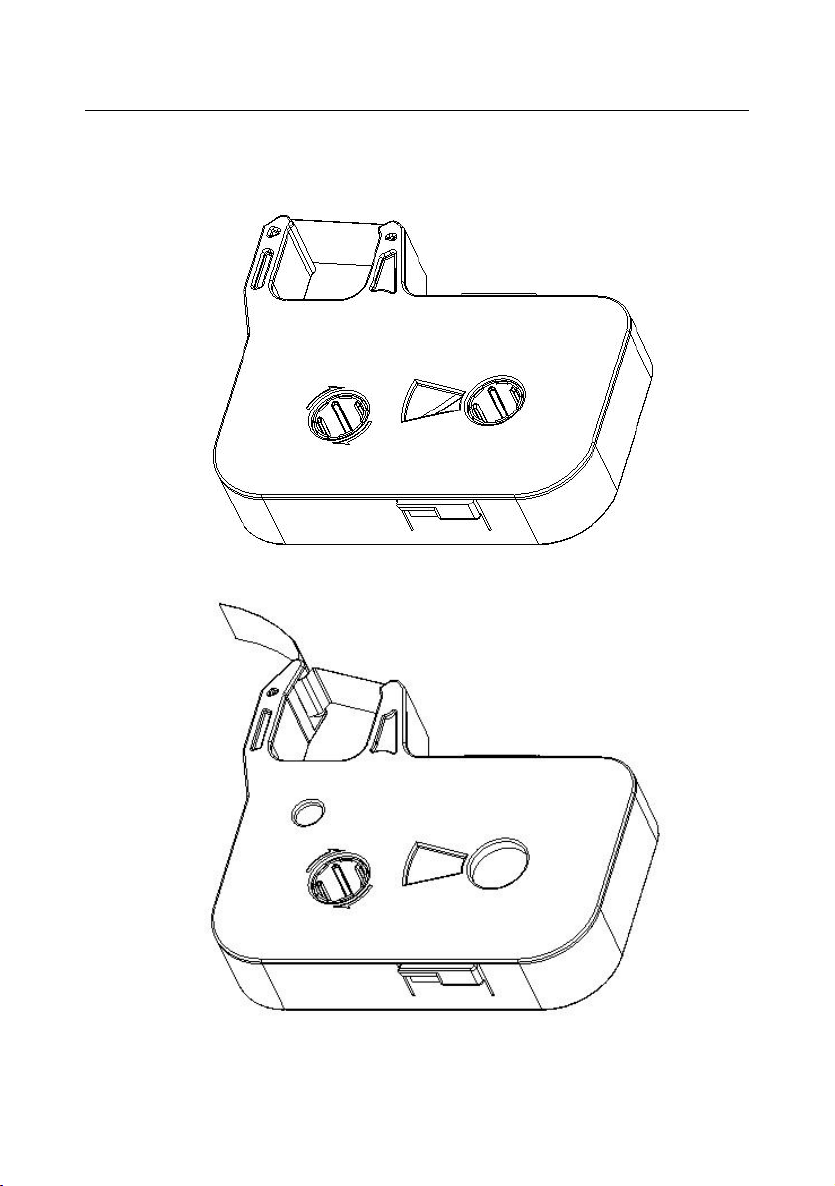
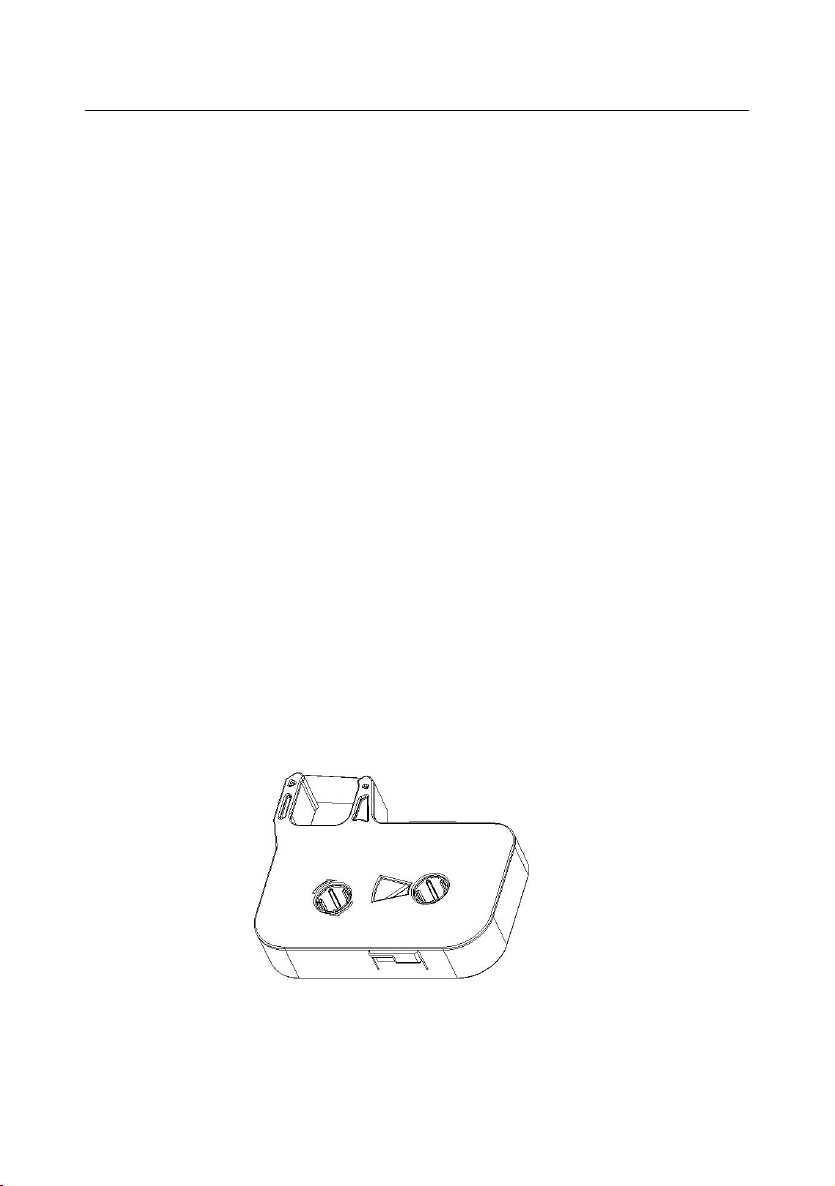
Ribbon cassette
Label cassette tape
Page 12
Label & Mark Industries Company User’s Manual of LK-360
- 10 -
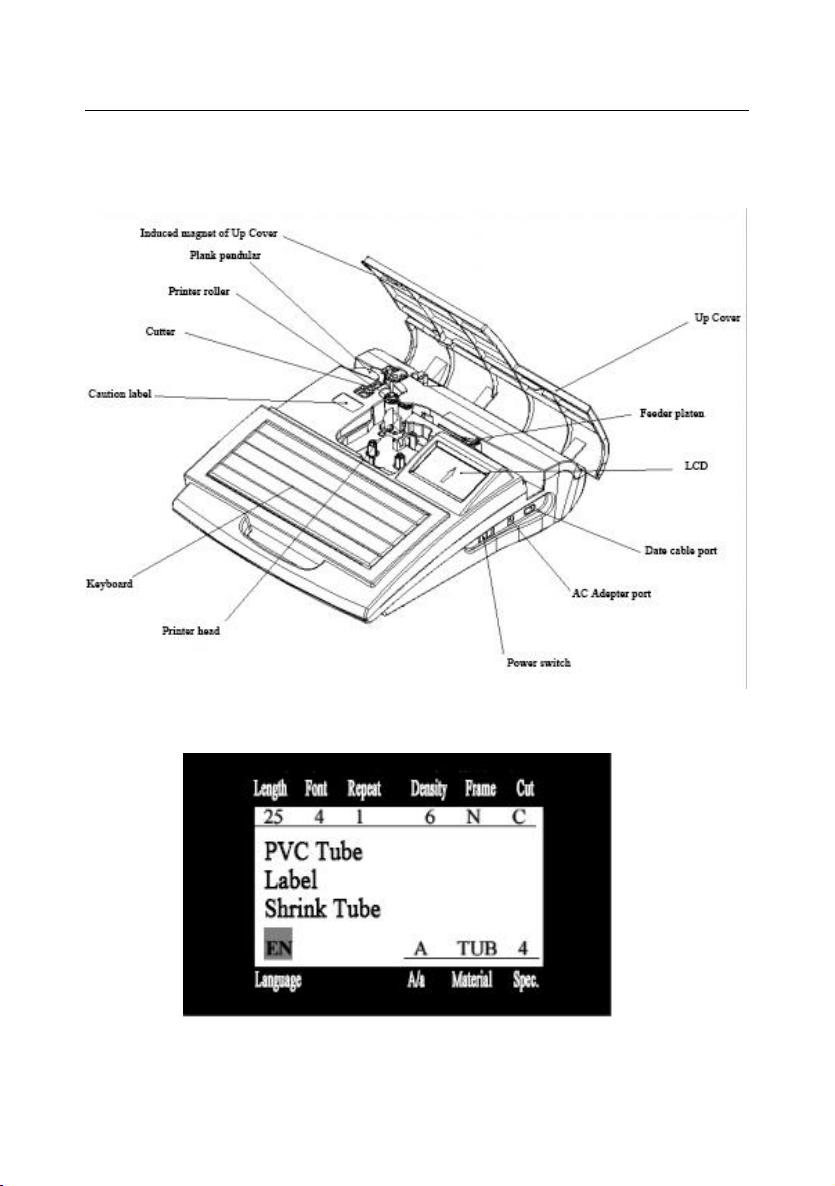
2.2 Nomenclature and Functions
2.2.1 Main unit
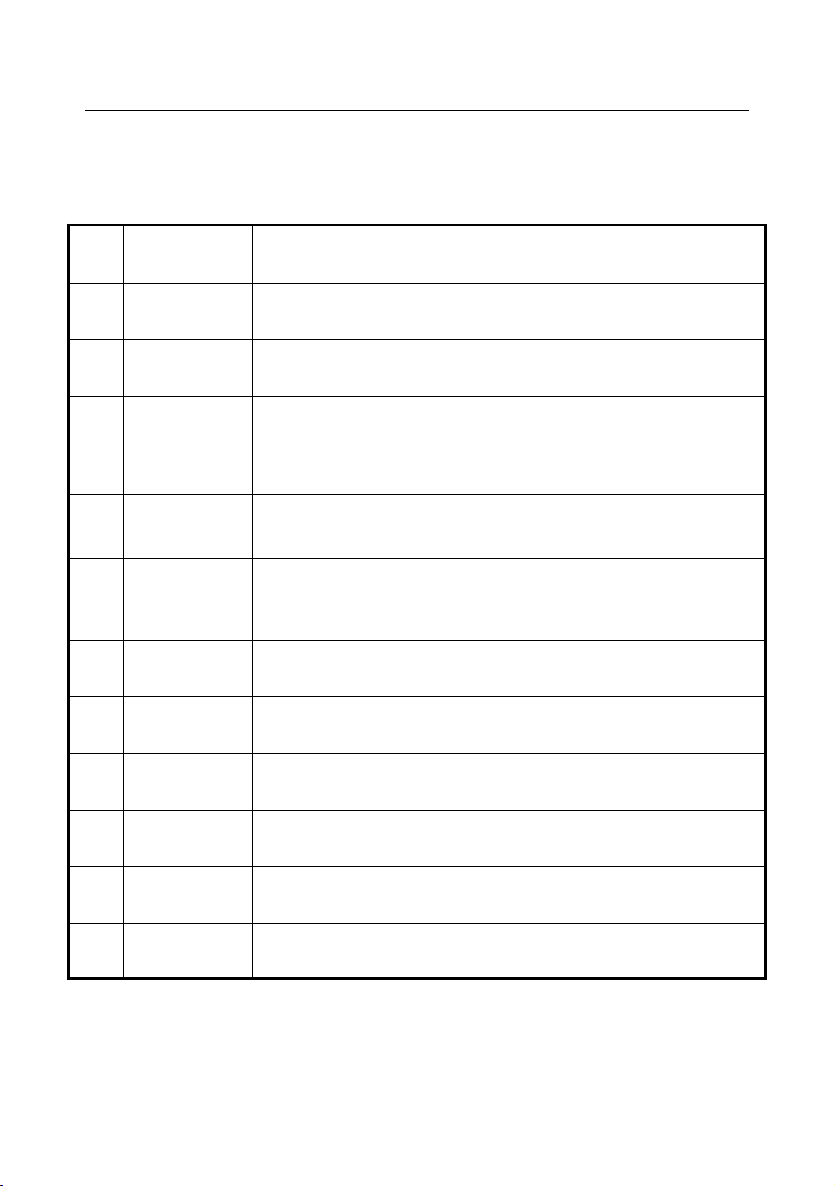
2.2.2 LCD display description
Page 13
Label & Mark Industries Company User’s Manual of LK-360
- 11 -
S/N
Display
words
Interpretation
1
Length
Length of the page in which the cursor exists
2
Font
Font size of the page in which the cursor exists
3
Cutting
Status of semi-cutting function
Y: semi-cutting L: demarcating
N: Nil (no semi-cutting, no demarcating)
4
Frame
Effects setting of the page in which the cursor exists:
N: Nil F: with frame L: underlined
5
Repeat
Repeated printing times of the page in which the cursor
exists
6
Density
Value set for printing density
7
Caps Lock
Current status of upper case or lower case
8
Size
Size of printing medium
9
Material
Types of printing medium
10
Language
Current status of Chinese or English entry
11
Display contents: page number and page contents
Page 14
Label & Mark Industries Company User’s Manual of LK-360
- 12 -
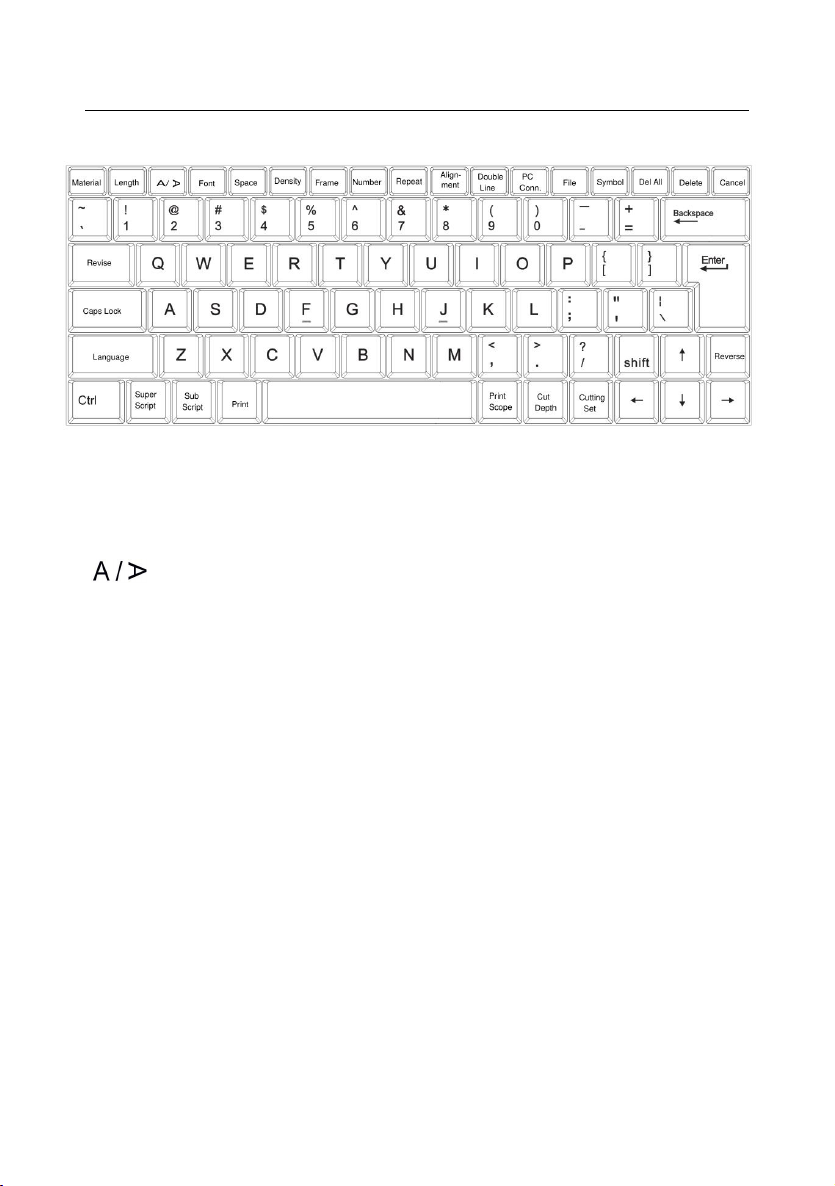
2.2.3 Keyboard
[Material] This key is used to selecting the print medium; available in label tape,
PVC tube, and heat shrink tube
[Length] This key is used to change the length of the page
[ ]
This key is used to change the printing orientation
[Font ] This key is used to change character size
[Space] This key is used to change the spacing between character
[Density] This key is used to adjust printing density
[Frame] This key is used to put frame around the text or to underline it.
[Number] This key is used to set serial number input
[Repeat] This key is used to set the repeated printing times of certain pages
[Alignment] This key is used to set the alignment of text, align left or center
[Double Line] This key is used to set double line
[PC Conn.] This key is used to connect to the computer and lock the keyboard
[File] This key is used to register input data in the printer’s memory. This key is
also used to call up or delete registered data.
[Symbol] This key is used to electric symbol entry.
[Del All] This key is used to delete the file being edited
[Delete] This key is used to delete the page in which the cursor exists
[Cancel] This key is used to cancel the setting or operations, and return to the
display to the previous screen.
[Print] This key is used to print the entire current document under edition
Page 15
Label & Mark Industries Company User’s Manual of LK-360
- 13 -
[Language] This key is used to choose language, available in En (English),
Chinese (pinyin)
[Back Off] This key is used to remove the tube or the label tape.
[Revise] This key is used to test and revise printing length, adjust the cutter and
printer position
[Shift] This key is used to in combination with the input keys to input upper-case
character
[Caps Lock] This key is used to switch between upper-case input mode and
lower-case input mode.
[Print Scope] This key is used to print selected pages in the text
[Cutting Set ] This key is used to choose half-cutting, cut line, or wiyhout either
half-cutting or cut line
[Cut Depth] This key is used to adjust the cutting depth of full-cut or half-cut
[Backspace] This key is used to delete the character that precedes the cursor
2.3 Installation
2.3.1 Installation and removal of Ribbon
Installation of Ribbon
1.Open the protective cover
2.See the picture below; roll the ribbon tightly and neatly in the direction as shown
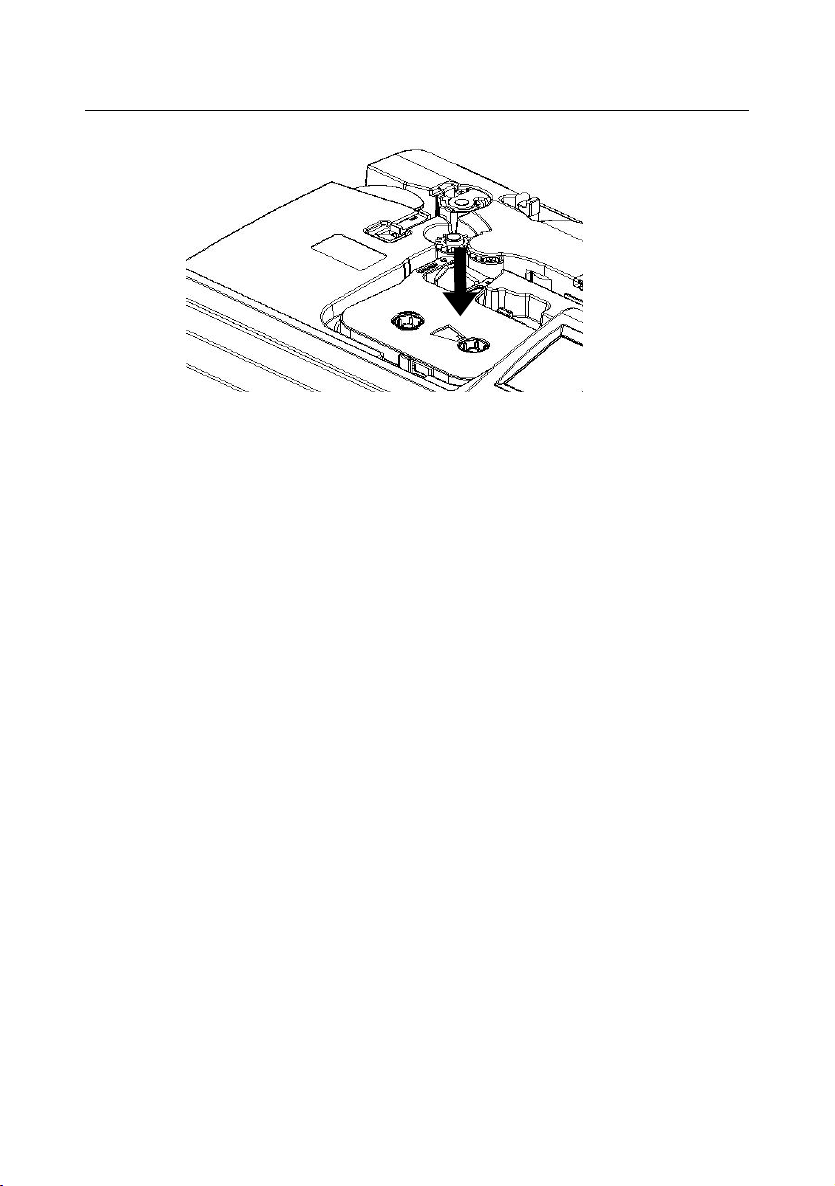
3.Place the Ribbon in the ribbon holder, as shown in the picture. You will hear a
“crack” sound when it is properly located in its position.
Page 16
Label & Mark Industries Company User’s Manual of LK-360
- 14 -
Installation of Ribbon
[Attention]
The Ribbon can not be detected by the printer if it is not properly installed.
Therefore see that the Ribbon is placed into the correct place. If the Ribbon
becomes loose, the machine may be unable to detect the Ribbon and the ribbon is
prone to be torn broken or corrugated. So be sure to roll tight the ribbon prior to
installation.
4.Close the protective cover
Removal of Ribbon
1.Open the protective cover
★ Make sure the print head is not pressed on the print rubber roll, in other words
make sure the print head is released;
[Attention]
If the print head is found pressed upon the rubber roll, please close the protective
cover and switch off the power and then switch on the printer about 3 seconds later.
In this way, the printer will initialize anew and the print head will return to a
proper place.
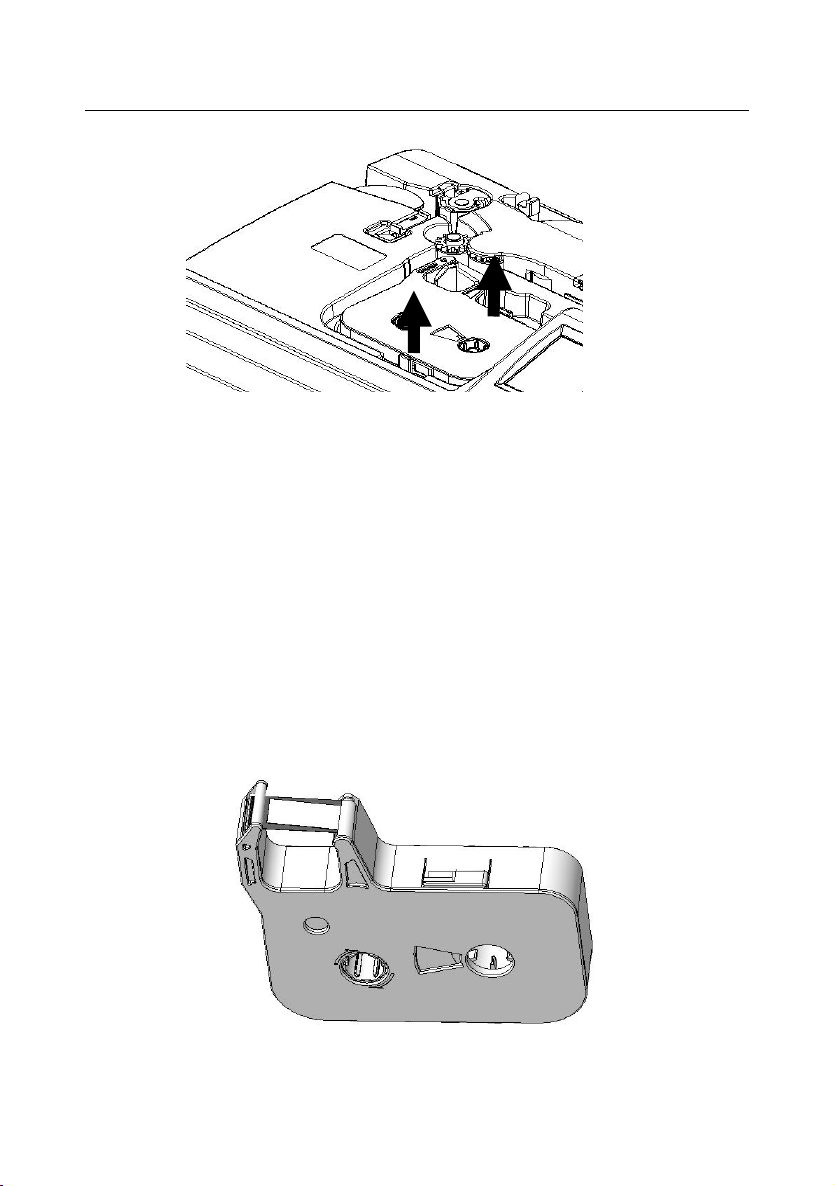
2.Raise the Ribbon and take it off carefully.
Page 17
Label & Mark Industries Company User’s Manual of LK-360
- 15 -
Removal of Ribbon
3.Remove the ribbon cassette when the catches on both sides are fully released.
4.Close the protective cover.
2.3.2 Installation and removal of printing material cassette
Installation of printing material cassette
1
.Open the protective cover.
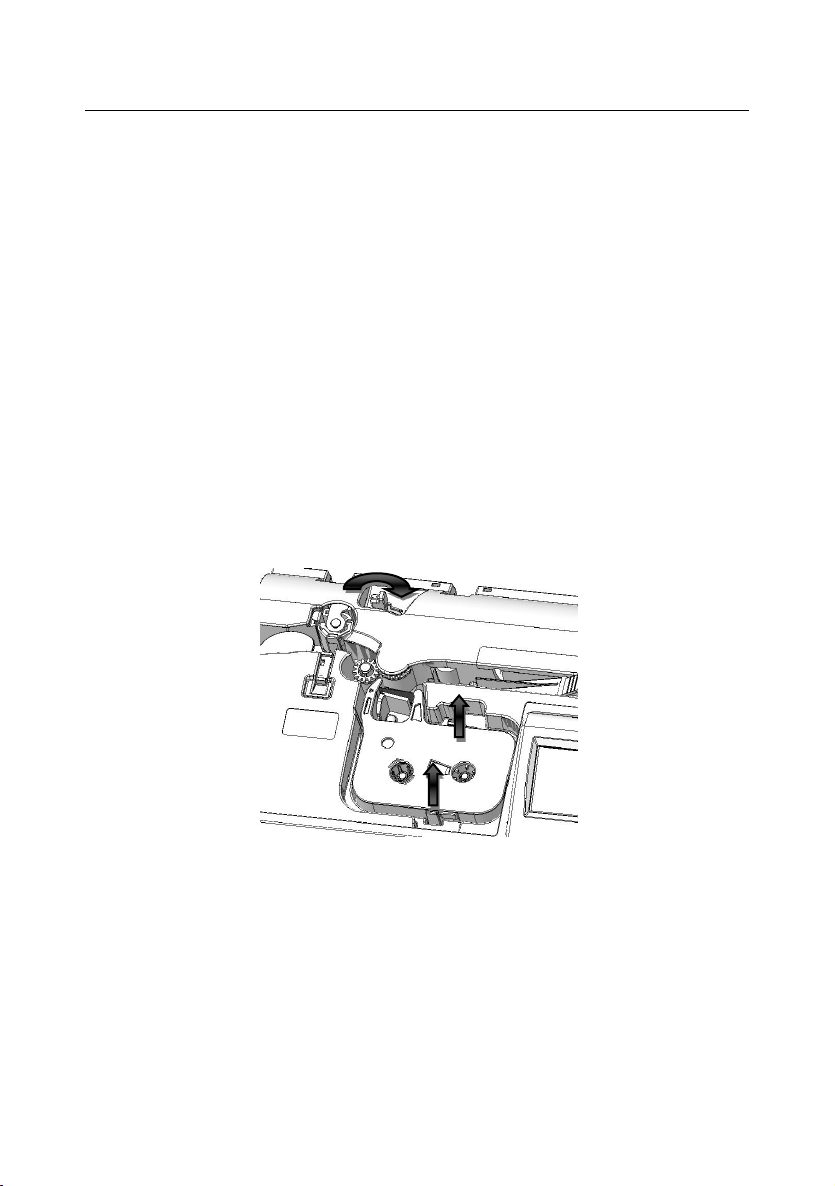
2.See the picture below; roll the ribbon tightly and neatly in the direction as
shown.
3.Pull out the printing material from the cassette and length less than the front
position of ribbon guide axle
Page 18
Label & Mark Industries Company User’s Manual of LK-360
- 16 -
4.Place the Ribbon in the ribbon holder, as shown in the picture. You will hear a
“crack” sound when it is properly located in its position.
5.Close the protective cover
Removal of printing material cassette
1.Open the protective cover
★ Make sure the print head is not pressed on the print rubber roll, in other words
make sure the print head is released;
[Attention]
If the print head is found pressed upon the rubber roll, please close the protective
cover and switch off the power and then switch on the printer about 3 seconds later.
In this way, the printer will initialize anew and the print head will return to a
proper place.
2.Raise the Ribbon and take it off carefully.
3.Remove the ribbon cassette when the catches on both sides are fully released.
4.Close the protective cover.
2.3.3 Installation of sleeve tube
1.Open the protective cover.
2. Feeding the sleeve tube under the platen of feeder until its front touch the print
rubber roll.
Page 19

Label & Mark Industries Company User’s Manual of LK-360
- 17 -
[Attention]
Be sure to feed the front end of the sleeve tube that is soft or has an excessive
deformation between the Ribbon and the print rubber roll.
See that the sleeve tube is properly fed. The pulling stress exerted by the machine
shall not exceed 500G, otherwise the machine may not work properly.
3.Close the protective cover.
2.3.4 Connection of AC power adapter
1.Switch off the power supply.
2.Plug one end of the AC power adapter connection cable into the round socket on
the side of the machine.
3.Plug the other end of the AC power adapter connection cable into an AC power
supply socket.
[Attention]
Never plug AC power adapter cable into data line socket.
Do not connect AC power adapter cable into power supplies other than rated
voltage (100V to 240V), otherwise fire accident or electric shock may result.
2.3.5 Connection of data cable
1.Switch off the power supply.
2.Plug one end of the data cable into the data line socket on the side of the
machine.
3.Plug the other end of the data cable into the serial port on the computer.
4.Switch on the power supply for use, and press [PC Conn.] key on the keyboard.
2.3.6 Power switch
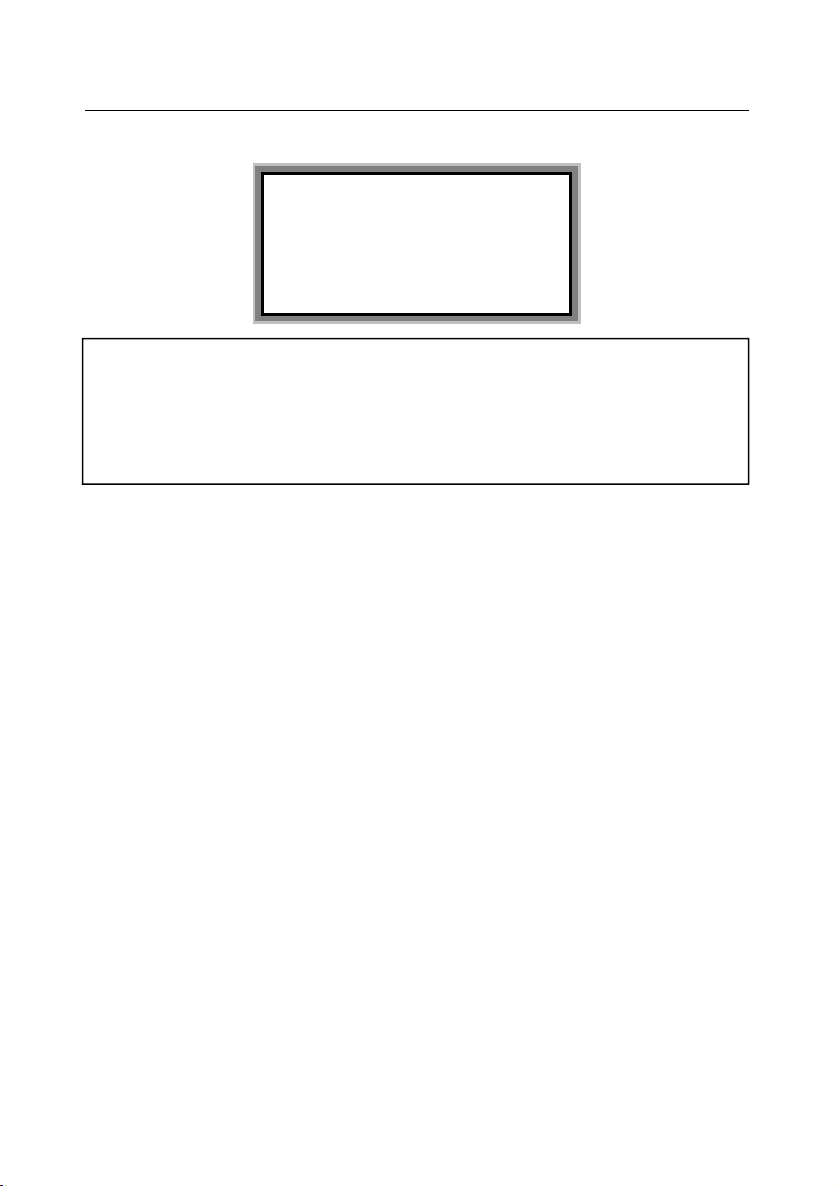
Upon power on, the machine will emits a “De---” sound and the following
power-on screen will be displayed. At this time, the cutter dynamo will initialize.
Page 20
Label & Mark Industries Company User’s Manual of LK-360
- 18 -
Note:
Do not switch on and off the machine repeatedly. Power on the machine
several seconds after it is being switched off. Do not switch on the machine
immediately after it is switched off, otherwise miss operation or data loss may
result!
Then, the machine will display the text edit window.
2.3.7 Replacement of the cutter
Take off the cutter that needs to replaced and install a new cutter.
Note:
Be careful not to cut your finger when replacing cutter and anvil.
If a new cutter does not produce the desired performance, please replace the
anvil by appeal the sale agents.
L-MARK
Page 21
Label & Mark Industries Company User’s Manual of LK-360
- 19 -
Chapter III Basic Operation
Note:
In order to have a correct print out, please configure material options and
specifications correctly and ensure that the tube printer configuration is
compatible with your material and its specifications.
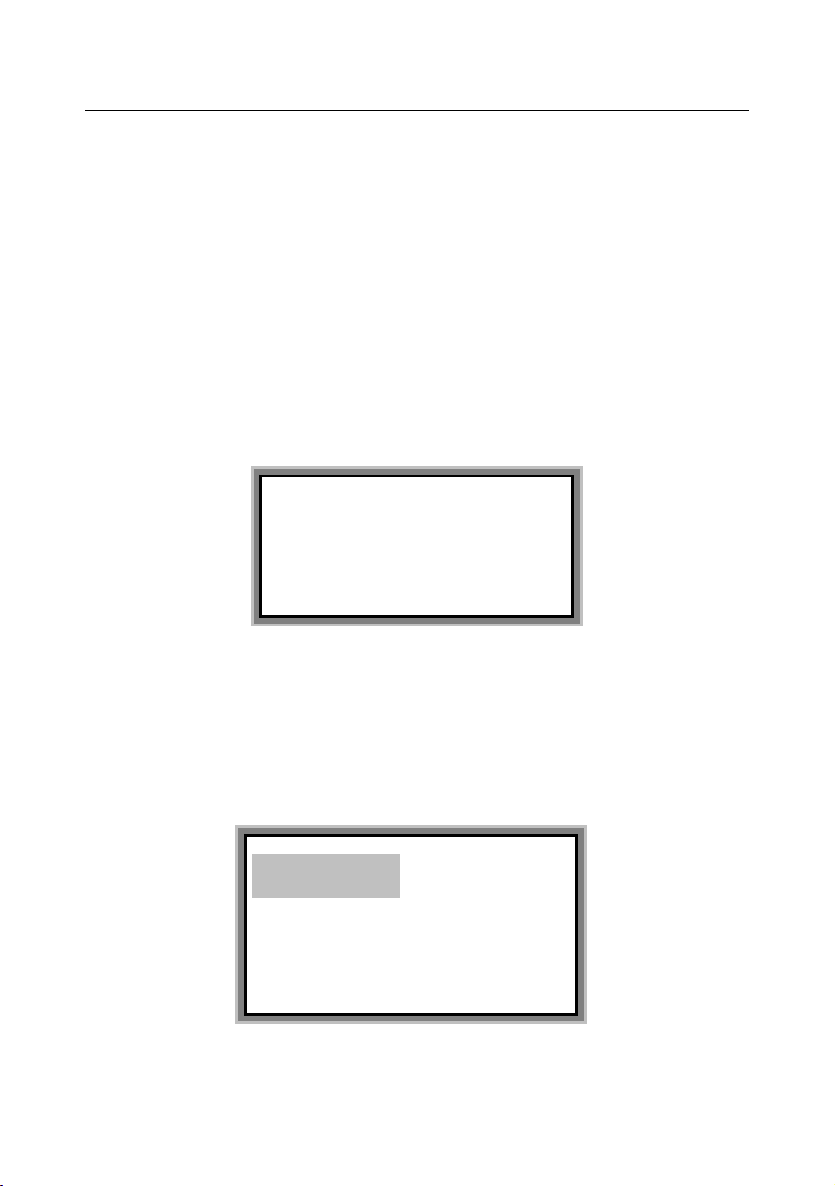
3.1 Power-on
Upon powered on, the machine will produce the following power-on display. At
this time, the cutter dynamo will run and initialize.
3.2 Selection of Printing Material
After power-on display, the machine will produce material selection window and
the screen will display as follows:
L-MARK
PVC Tube
Label
Shrink Tube
Page 22
Label & Mark Industries Company User’s Manual of LK-360
- 20 -
Use [←] or [→] keys to select the desired printing material, and then press [Enter]
key.
3.3 Selection of Printing Material Specifications
3.3.1 Selection of sleeve tube specifications
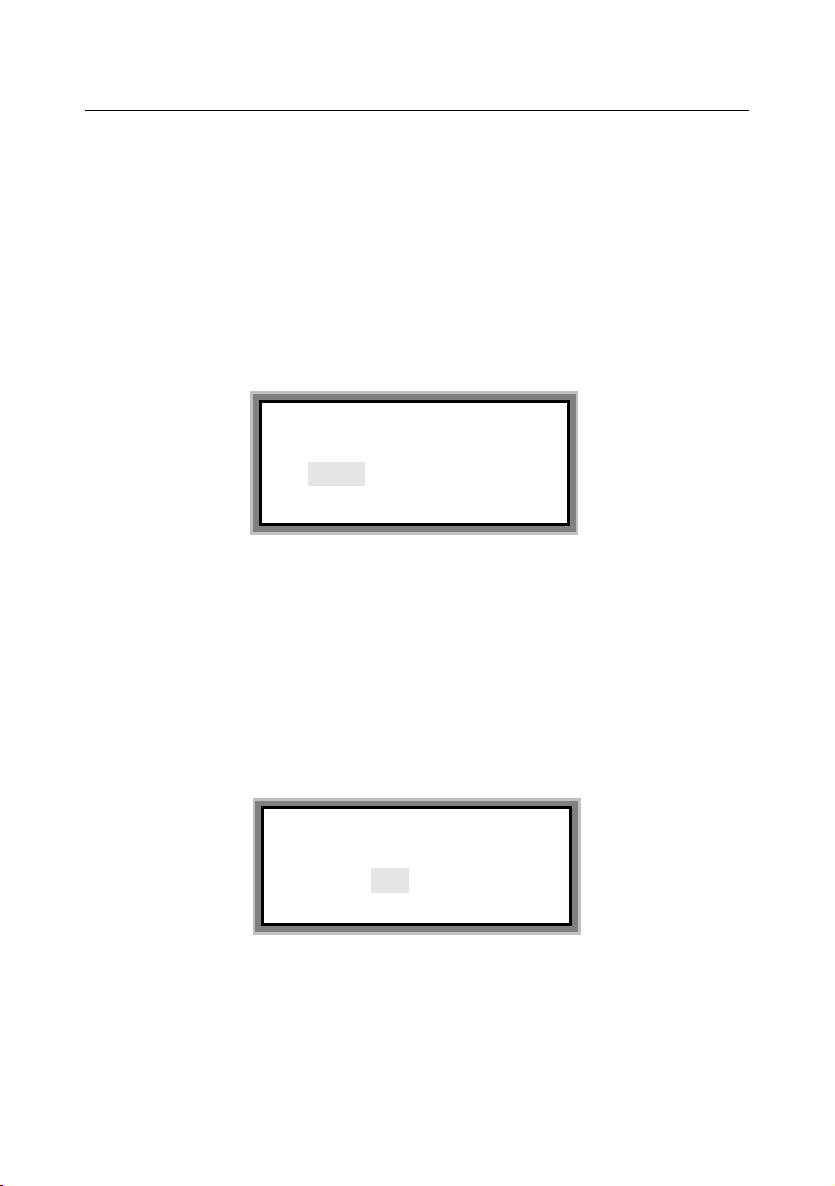
Select “sleeve tube” on the material selection window and then press [Enter] key.
The following window will be displayed:
Use [←] or [→] keys to select the desired specification, and then press [Enter]
key.
3.3.2 Selection of label specifications
Select “label” on the material selection window and press [Enter] key, then the
following window will be displayed:
Use [←] or [→] keys to select the desired specification, and then press [Enter]
key.
Tube size
3.0 4.0 5.0 6.0
Label size
6 9 12
Page 23
Label & Mark Industries Company User’s Manual of LK-360
- 21 -
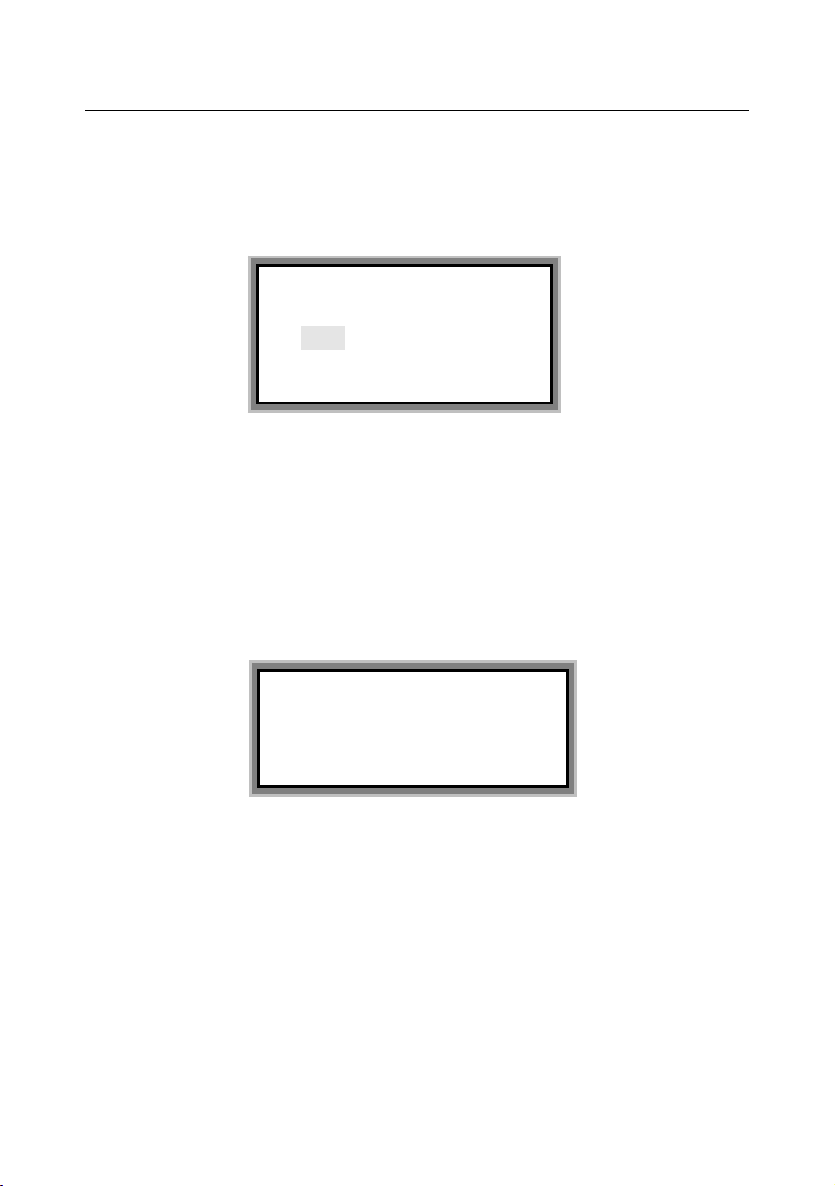
3.3.3 Selection of heat shrink tube specifications
Select “Shrink tube” on the material selection window and press [Enter] key, then
the following window will be displayed:
Use [←] or [→] keys to select the desired specification, and then press [Enter]
key.
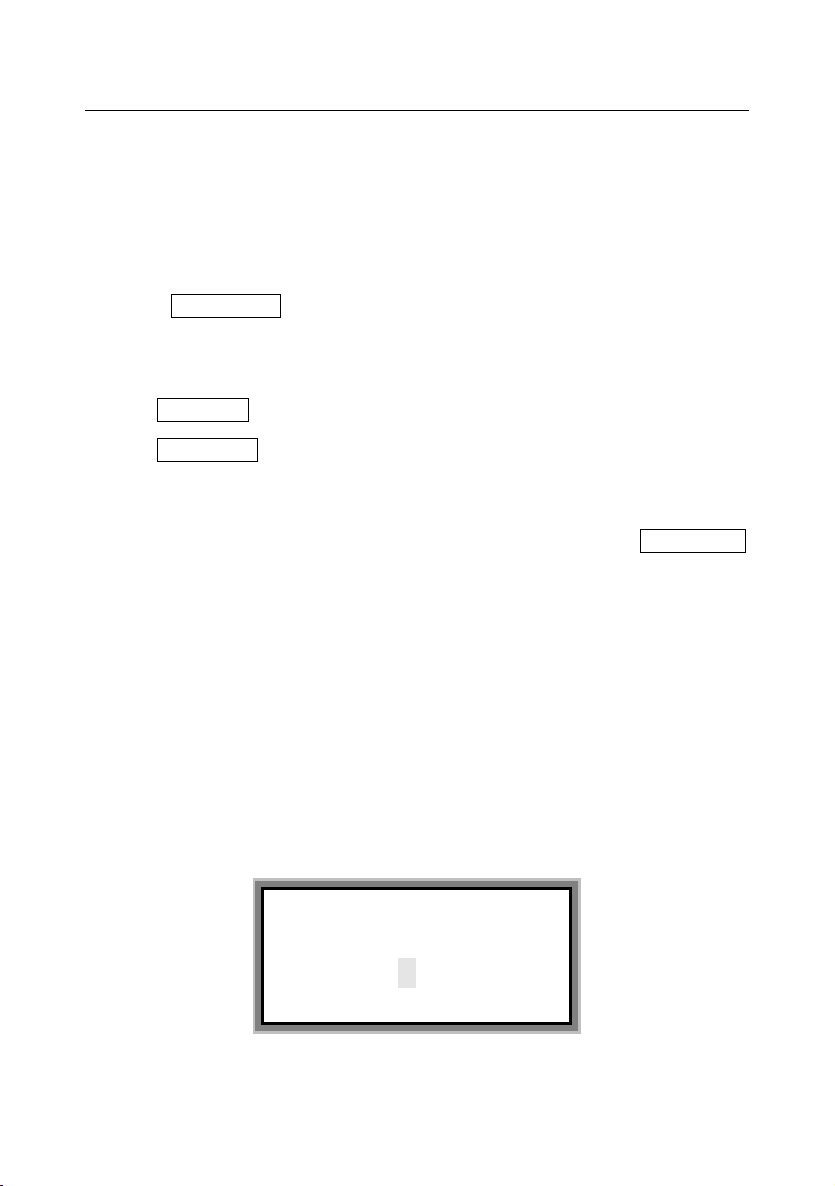
3.4 Selection of Font Size
After the selection of printing material specifications and press [Enter] key to
recall the font size selection window. The screen will display as follows:
Use [←] or [→] keys to select the desired font size, and then press [Enter] key.
[Note]
For 6mm label and 3.0 sleeve tube, you may choose font sizes 1, 2, 3;
For 9mm label and 4.0 and 5.0 sleeve tube, you may choose font sizes 1, 2, 3,
4;
For 12mm label and 6.0 sleeve tube, you may choose font sizes 1, 2, 3, 4, 5,
and 6.
Shrink tube size
3.0 5.2 6.8
Font size:
1 2 3 4 5 6
Page 24
Label & Mark Industries Company User’s Manual of LK-360
- 22 -
3.5 Enter Print Contents
After material and font size selection, you can enter into text editing window, in
which you are allowed to input the print contents.
Select [Language], [Capital] as appropriate.
Enter L, -, M, A, R, and K one after another and the screen will display as
follows::1:L-MARK
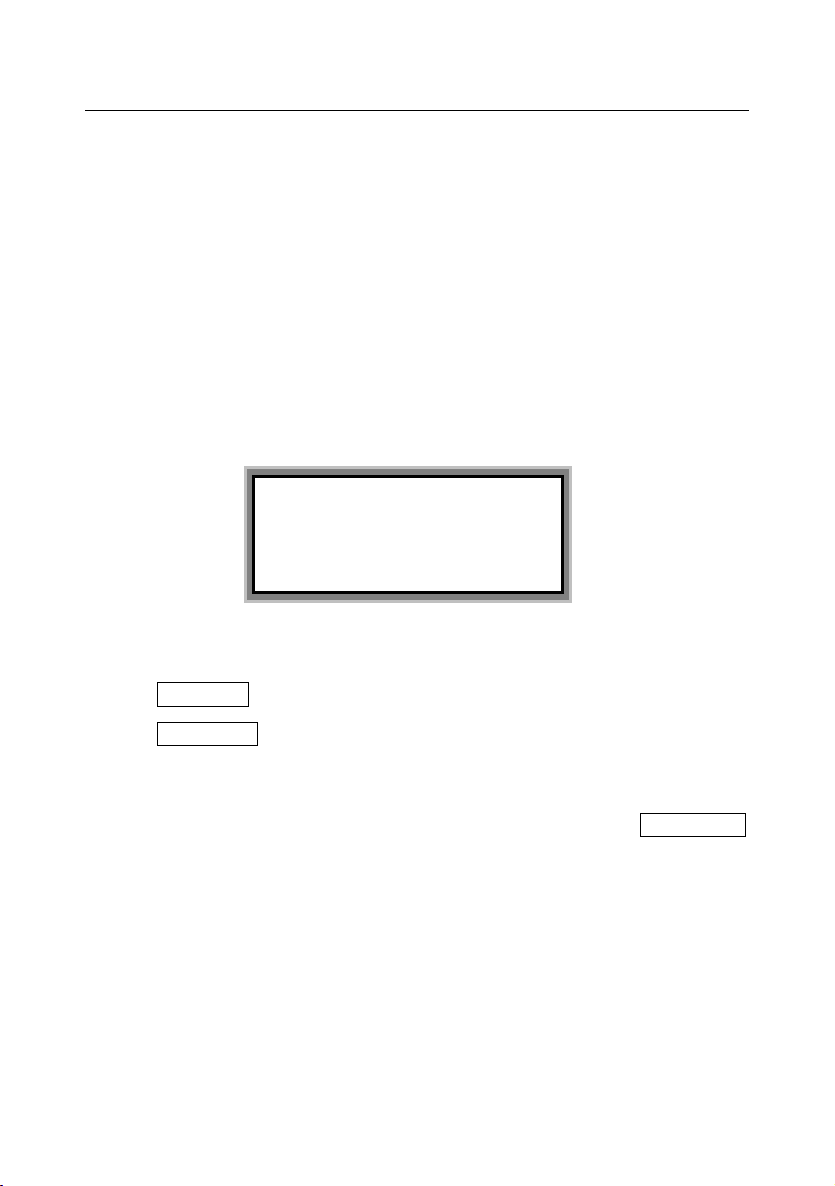
Press [Enter] key, then another page is created automatically, and the screen will
display as follows:
Press [Print] and the machine will print out the input contents and perform
semi-cutting automatically. During printing, the LCD will display Printing… .
When printing is completed, the machine will cut off the sleeve tube automatically
and the text editing window will be displayed automatically. This round of
operation has been completed.
3.6 Label printing
3.6.1 Printing
After power-on display, the machine will produce material selection window, or
press [Material] into material selection window,after fix the label cassette tape and
press [Enter] key.The following window will be displayed:
Lab el S i ze
6 9 12
1:L-MARK
2:∣
Page 25
Label & Mark Industries Company User’s Manual of LK-360
- 23 -
Use [←] or [→] keys to select the desired printing material, and then press [Enter]
key.
Use [←] or [→] keys to select the desired font size, and then press [Enter] key.
Into editing window.
3.6.2 Enter Print Contents
You are allowed to input the print contents after enter into text editing window.
Select [Language], [Capital] as appropriate.
Enter L, -, M, A, R, and K one after another and the screen will display as follows:
Press [Enter] key, then another page is created automatically, and the screen will
display as follows:
Press [Print] and the machine will print out the input contents and perform
semi-cutting automatically. During printing, the LCD will display Printing… .
When printing is completed, the machine will cut off the sleeve tube automatically
and the text editing window will be displayed automatically. This round of
operation has been completed.
1:
L- MA RK
1:L-MARK
2:∣
Page 26

Label & Mark Industries Company User’s Manual of LK-360
- 24 -
Chapter IV Function Keys
4.1 Notes to Function Keys
1. [ ] indicates a function key and framed contents indicate screen display.
2. A miss operation will result in a piece of error information on the screen.
Miss operations can not be performed.
3. Function keys not yet used retain their original factory setting.
4. In printing mode, none of the function keys will work.
5. While you are editing a function key, the rest function keys can only be used
when this function key has completed its editing task or the editing status has
been Reversed (only [Cancel] key can be used to exit from an editing status).
6. After you complete editing function keys, you will see the text editing
window.
7. A new page shares the same attributes with the preceding page.
8. The five settings, namely length, font size, repeat, effects, and direction are
all related to the cursor location. After you have completed the setting, the
page in which the cursor exists and all the pages behind it will have the same
settings. You may use [Top], [End], [↓], [↑], [→] and [←] keys to move the
cursor.
9. The screen can display up to 3 lines, each line being able to display up to 12
English letters
10. The contents of each page are displayed in one line (in bi-page settings, the
contents behind the bi-page symbol are in the second line), therefore if the
screen can not display a long page, the previous input contents will be shifted
to the left on the screen.
11. Length, font size, semi-cutting, effects, repeat, color strength, upper & lower
case, material type, Chinese or English, page number, and page contents
setting status are all displayed on the screen.
12. For bi-line, the line distance is constant; for bi-columns, the column distance
is constant.
13. The initial setting of letter keys is UPPER CASE.
Page 27
Label & Mark Industries Company User’s Manual of LK-360
- 25 -
4.2 Instructions for Function Keys
4.2.1 Material
You may choose label, PVC sleeve tube, or heat shrink tube as the material to be
printed on.
Be sure to select the correct material before printing; after replacing the
printing material, be sure to change the settings of the tube printer so that
they are compatible with the new printing material; otherwise it may
compromise the printing quality, result in printing error or damage the print
head.
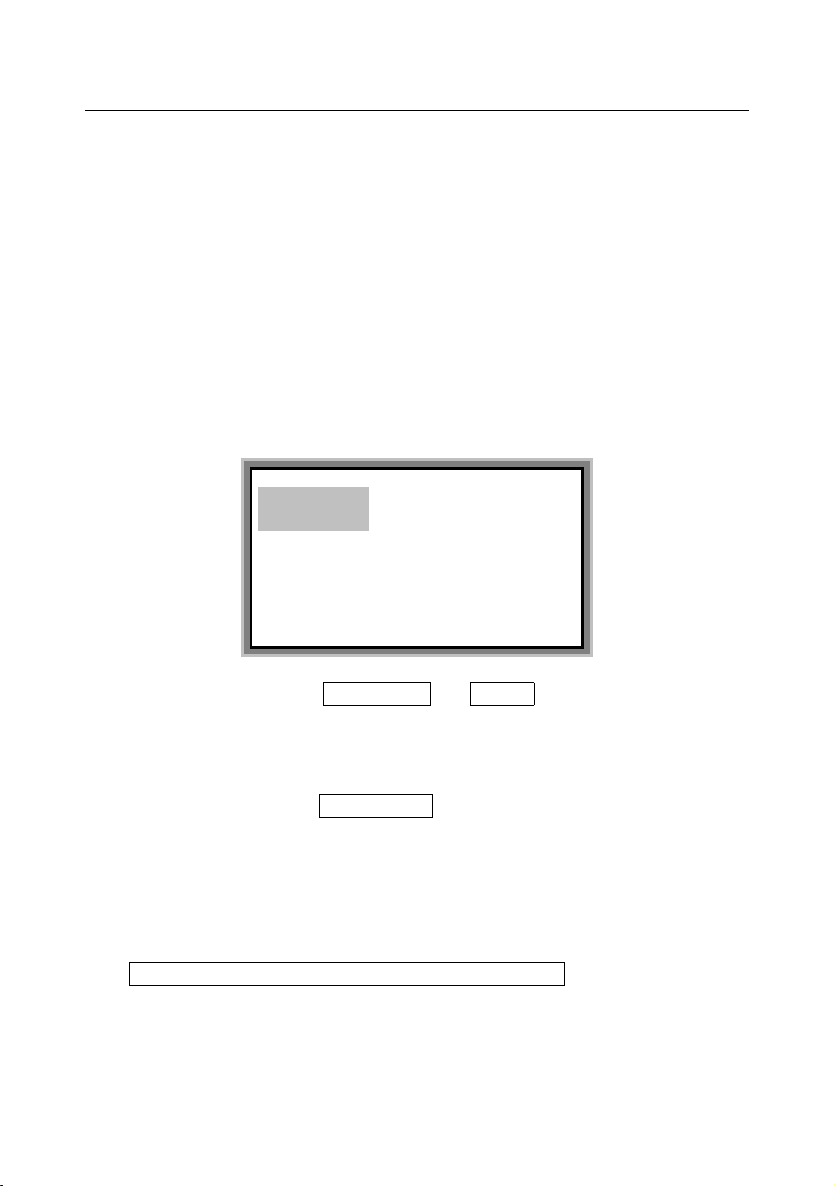
Press [Material] key, and the screen display will be as follows:
Press [→] or [←] to choose PVC Tube or Label , and press [Enter]. Then a
window will be displayed to select the specific material specifications. Press [→]
or [←] to select the desired specification and press [Enter], then you will enter
into the text editing window.
Press [→] or [←]to choose Shrink tube , and press [Enter], then you will enter
into the text editing window.
Note:
● After selecting the printing material, if you choose a font size that is too large
for the material, the screen will display as below:
Font exceeds the limits of medium. Any key to return!
PVC Tube
Label
Shrink Tube
Page 28
Label & Mark Industries Company User’s Manual of LK-360
- 26 -
4.2.2 Length
Specified page length and automatic page length are valid for the page in
which the cursor exists and for all the pages behind it. Overall length
adjustment is valid for all the pages in the document.
This function is provided to specify the page length to be printed. The length
ranges from 6mm to 100mm, and shall be integer numbers only.
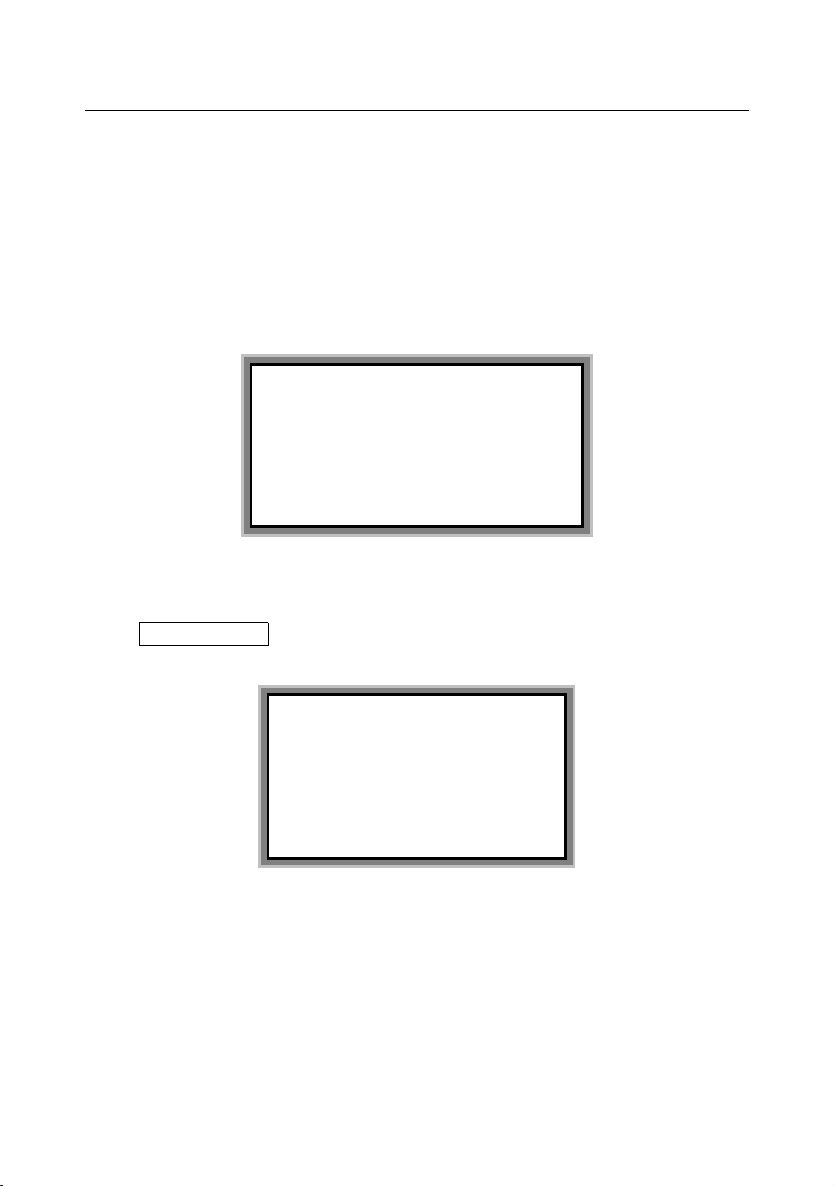
Press [Length] key, and the screen will display as follows:
Specified page length
Select Specify Length , press [Enter] key, and the screen will display as follows:
Input the page length value you desired at the cursor and then press [Enter]. The
page in which the cursor exists and all the pages behind it will assume this
specified length. Then the screen will show the text editing window automatically.
For example: Enter “18”, the page length will be 18mm.
Auto Length
Specify Length
Enter length
(6~100):
Page 29
Label & Mark Industries Company User’s Manual of LK-360
- 27 -
Note:
If the selected page length is too short to print out all the characters, a
message will be prompted: Page contents too long! Press any key to return!
For specified page length, if the input characters are too many, a message
will be prompted: Page contents too long! Press any key to return!
Automatic page length
This function will generate a page length automatically depending on the letters,
symbols, character spacing, and font size.
Select Automatic length , and press [Enter], then the page in which the cursor
exists and all the pages behind it will assume an automatic length. Then, the
screen will show the text editing window automatically.
After you set an automatic font size, if you select Automatic length and press
[Enter], the following message will be shown:
Font size is auto, can’t set auto length. Any key to return!
4.2.3
[ ]
Orientation
This function is provided to set the printing orientation. The initial setting is
horizontal printing.
Press [ ] key and then the page in which the cursor exists and all the pages
behind it will be printed in horizontal or vertical orientation as appropriate.
You are advised to make this setting before you enter the contents. Otherwise, it
may display Page contents too long! message.
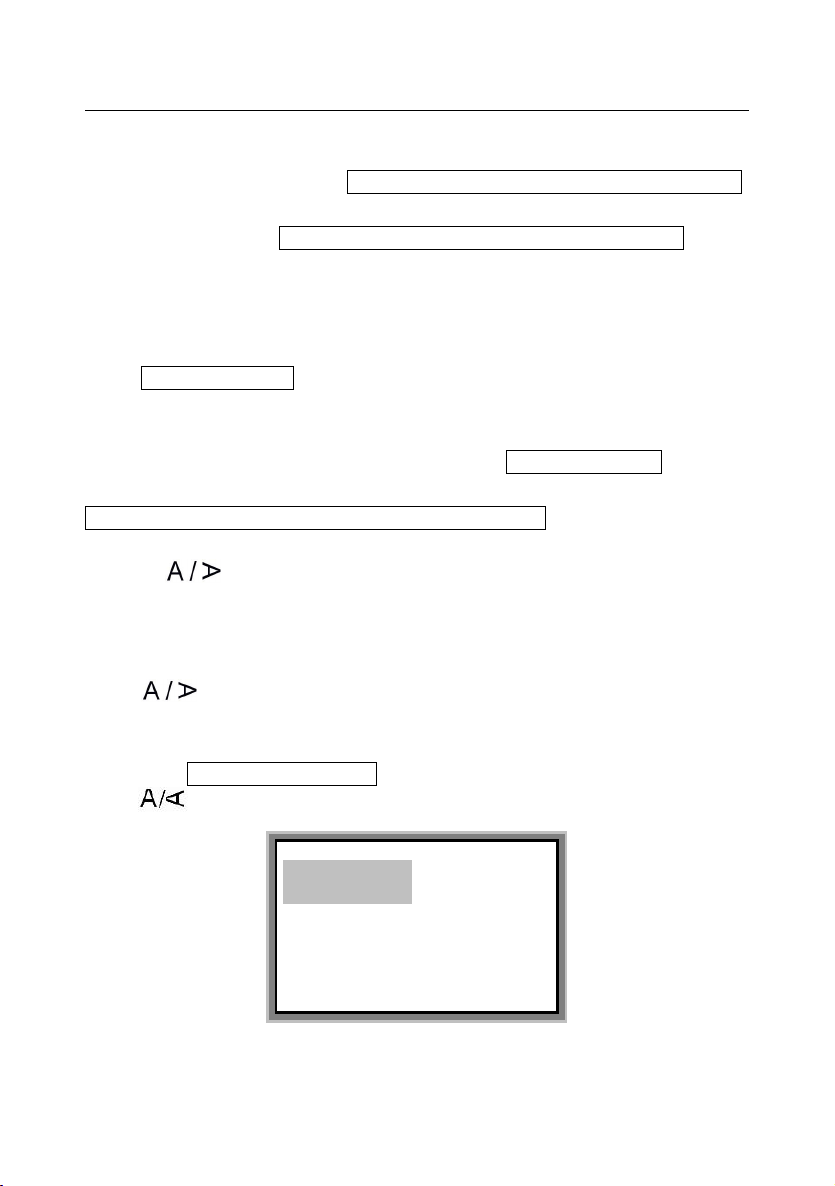
Press [ ]] key, and the screen will display:
Horizontal
Vertical
Current—horizontal
Page 30
Label & Mark Industries Company User’s Manual of LK-360
- 28 -
Press [↑] or [↓] to select and the press [Enter], then the page in which the cursor
exists and all the pages behind it will be printed in the orientation you selected.
Then, the screen will return to the text editing window automatically.
Note:
Reverting from horizontal to vertical printing may result in incorrect print out;
this depends on character number, font size, and font setting. If the contents
are too long for printing after reverting from horizontal to vertical orientation,
the screen will display the following message:
Page contents too long! Press Cancel to return.
4.2.4 Font size
This function is provided to set font size.
The setting of font size is valid for the page in which the cursor exists and all
the pages behind it.
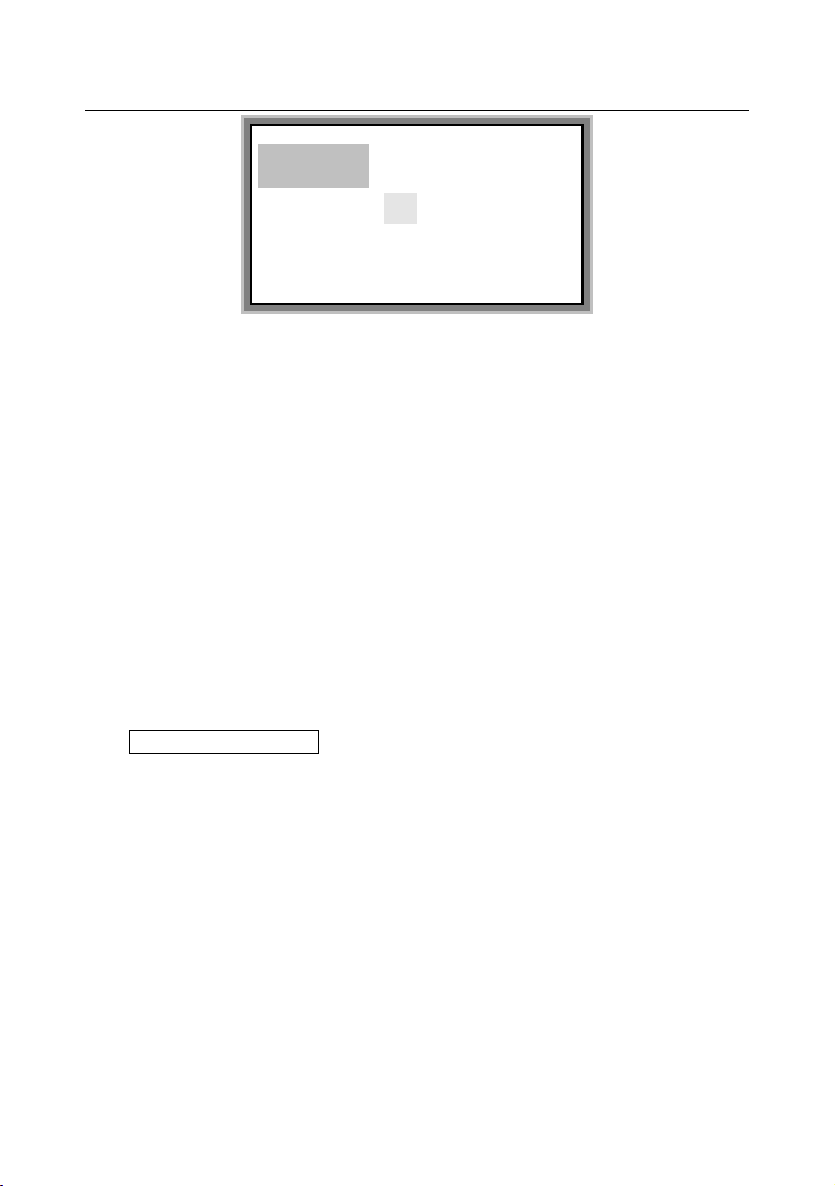
Press [Font size] key and the screen will display as follows:
Press [↑] or [↓] to select and press [Enter].
Select Specify font size and press [Enter], then the screen will display as
follows:
Specify font size;
Auto font size
Page 31
Label & Mark Industries Company User’s Manual of LK-360
- 29 -
Move the cursor to the font size you desire and press [Enter], then the page in
which the cursor exists and all the pages behind it will assume the font size you
choose. The screen will return to the text editing window automatically.
Automatic font size
This function is provided to enable the machine to adjust the font size and
character spacing so as to ensure valid entries and ensure a same material
length when no page length has been specified.
Note:
After you have chosen automatic page length function, automatic font
size function will become invalidated. After you have chosen automatic
page length function, if you attempt to set font size and press [Enter],
then the following message will be displayed:
Page length too long! Press [Cancel] to return.
4.2.5 Spacing
This function is provided to set the spacing between characters.
This setting is valid for all the contents to be printed.
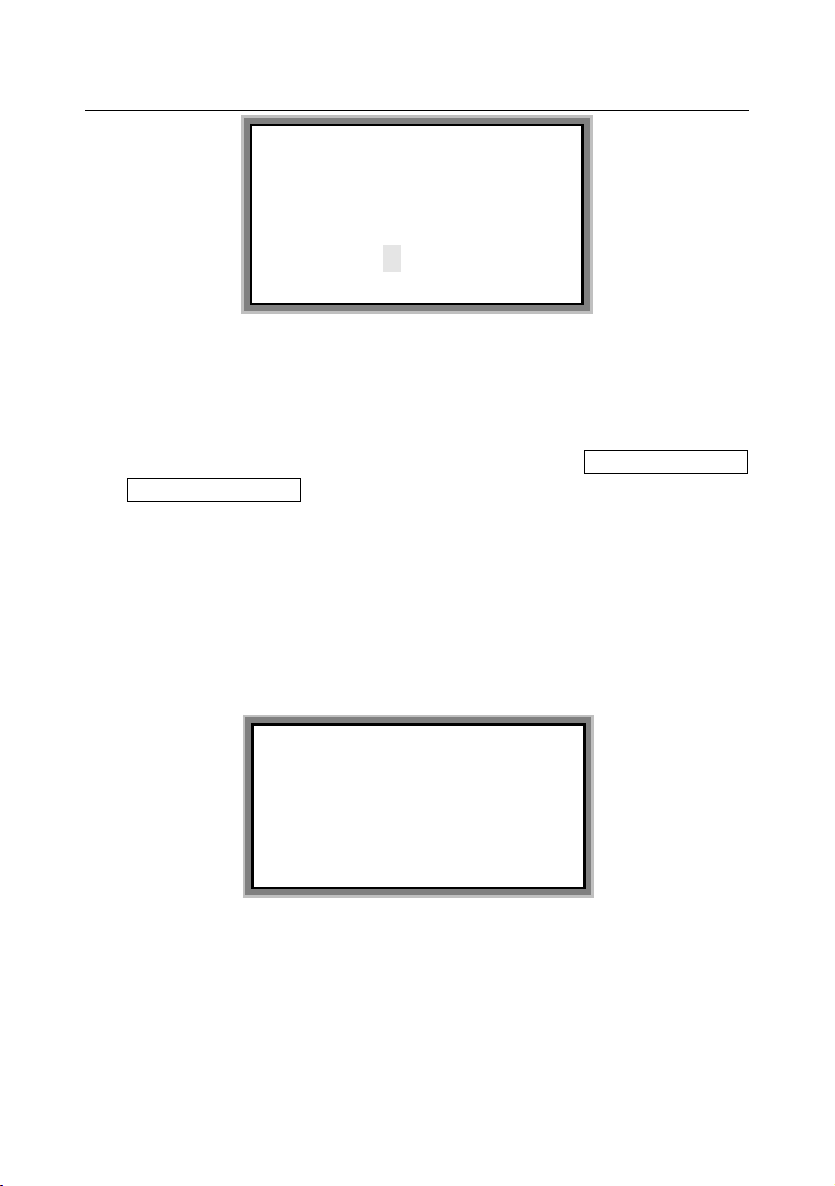
Press [Spacing] and the screen will display as follows:
Font size:
1 23 4 56
Page 32
Label & Mark Industries Company User’s Manual of LK-360
- 30 -
Enter the value you want and press [Enter], and then the screen will return to the
text editing window automatically.
Note:
If the spacing is too large, the screen will display Exceeds the limits!
Adjustment is invalid
The spacing is 1—20 in an ascending order.
4.2.6 Density
This function is provided to set the printing density.
This setting is valid for all the contents to be printed.
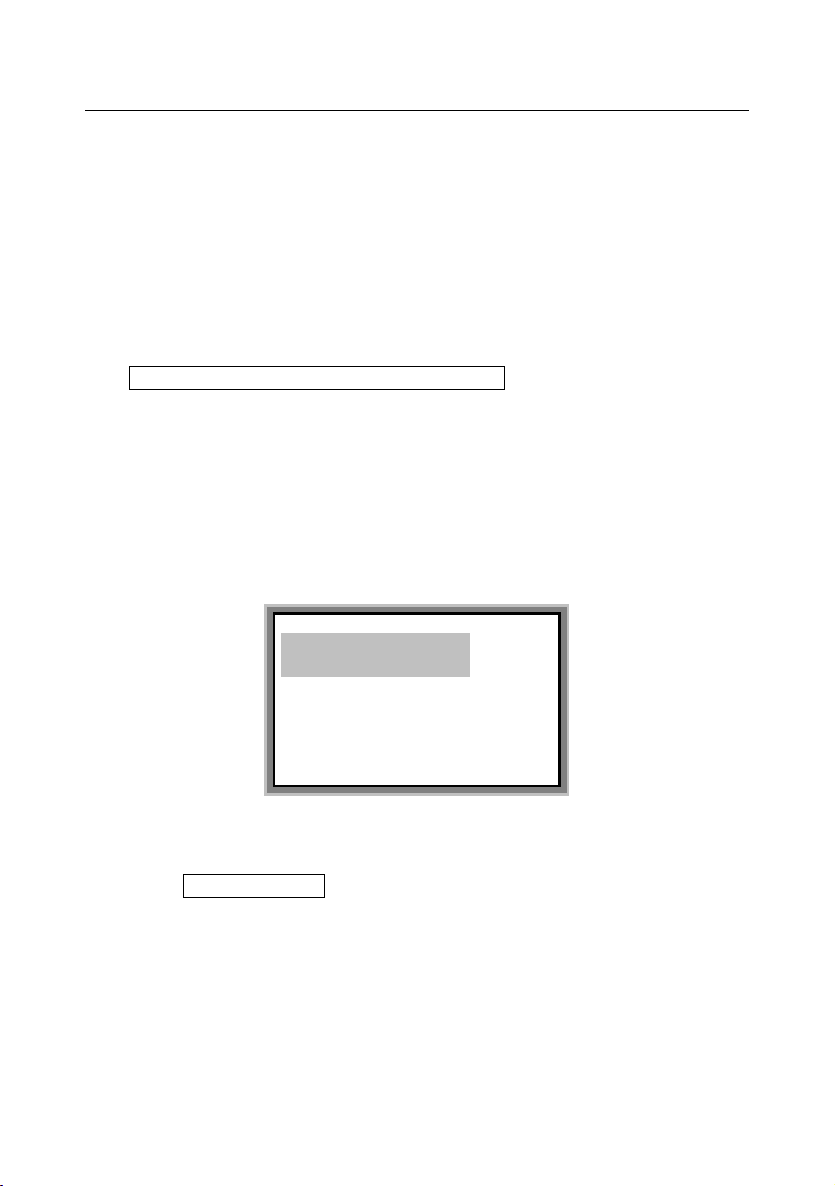
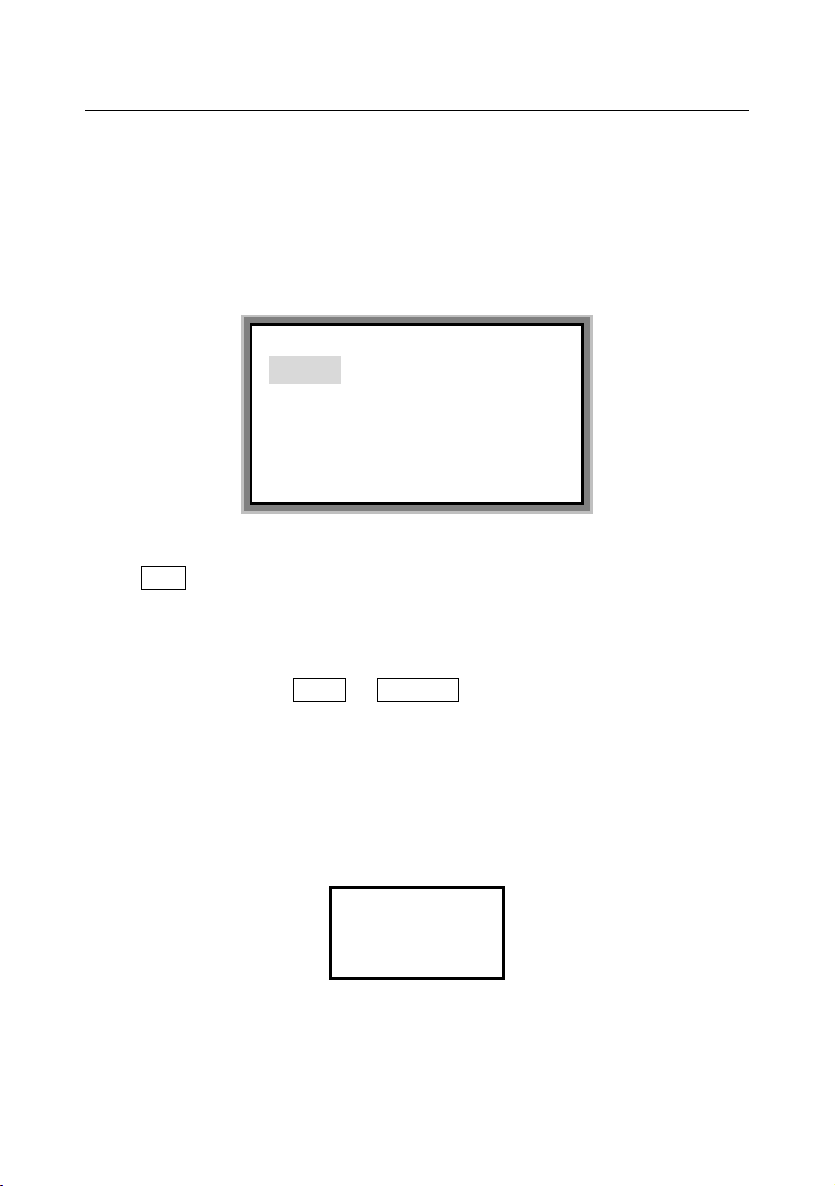
Press [Density] key and the screen will display as follows:
Press [→] or [←] to select the desired value and press [Enter], then the setting is
completed and the screen will return to the text editing window automatically. 1, 2,
3, 4, 5, 6 have an ascending print color strength.
Please select the print color strength according to the ambient temperature: in
summer when the temperature is high, please select a lower strength value.
Spacing (1—20),
Current is 1;
Change to:
Print density:
1 23 45 6
Page 33
Label & Mark Industries Company User’s Manual of LK-360
- 31 -
4.2.7 Frame
This function is provided to add frame or underline to certain pages. The initial
setting does not have any effects.
When this setting is on, the page in which the cursor exists and all the pages
behind it will share the same effects.
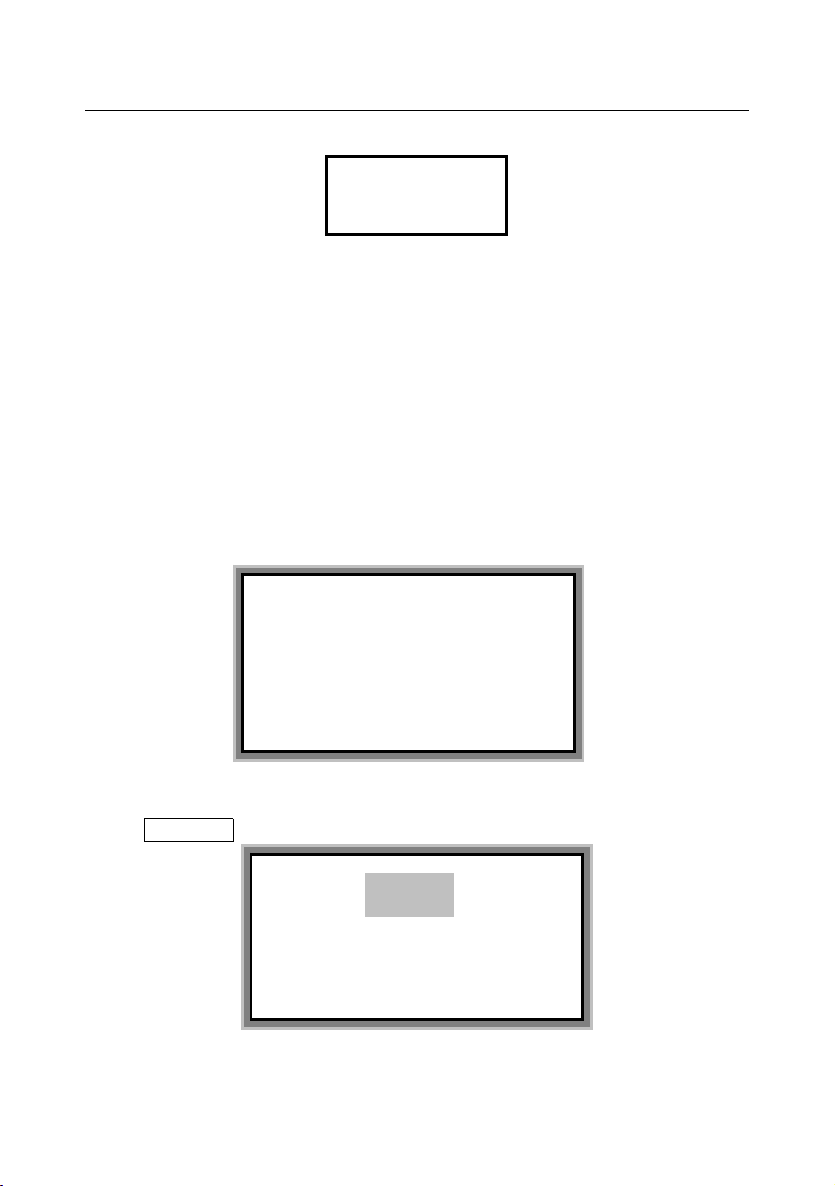
Press [Frame] and the screen will display as follows
None
Select None and press [Enter], then the page in which the cursor exists and all
the pages behind it will have no effects.
To add effects
Press [↑] or [↓] to select Frame or Underline and press [Enter], then the page in
which the cursor exists and all the pages behind it will be framed or underlined.
Then, the screen will return to the text editing window automatically.
Note:
The screen will display “F” for Frame effects and “L” for Underline effects;
For bi-line (horizontal), the framed contents when printed out is like:
None
Frame;
Underline
A B C
A B C
Page 34
Label & Mark Industries Company User’s Manual of LK-360
- 32 -
For bi-line (vertical), the framed contents when printed out is like:
4.2.8 Number
This function is provided to generate sequential page contents according to the
input numbers or letters and according to certain patterns. Decimal system is used
for serial number. One page can only have one serial number in order to be
printed.
Serial number printing function is available for any place in a page.
Move the cursor to a place in a page desired and press [Number] key, then the
screen will display as follows:
Numerical serial number
Select Decimal and press [Enter], then the screen will display as follows:
A A
B B
C C
Numeric(DEC)
Alphabetical
Numeric : 0~999;
Numeric : 000~999
Page 35
Label & Mark Industries Company User’s Manual of LK-360
- 33 -
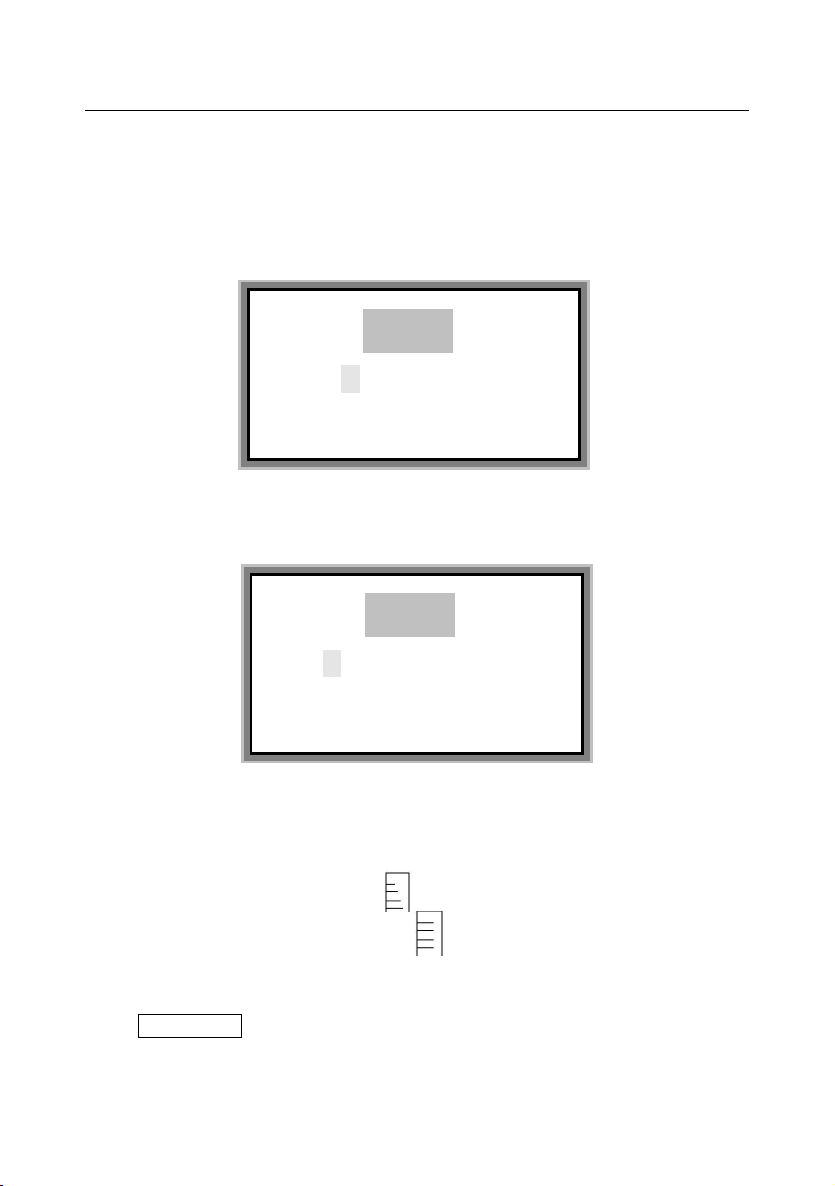
Serial number format: 0~999 indicates natural serial number, like 0, 1, 2, …, 999;
Serial number format: 000~999 indicated aligned serial number, like 001, 002, …,
999.
Press [↑] or [↓] to select your desired choice and press [Enter], then the screen will
display as follows:
Input the starting serial number and press [Enter], then the screen will display as
follows:
Input the terminating serial number and press [Enter], then the setting is
completed and the screen will return to the text editing window automatically.
Then, the text editing window will display serial number status as below:
For natural serial number (0—999):
For aligned serial number (000—999):
Letter sequence
Select Alphabetical and press [Enter], then the screen will display as follows:
Numeric (0~999):
Start:
Numeric (0~999):
End:
Page 36
Label & Mark Industries Company User’s Manual of LK-360
- 34 -
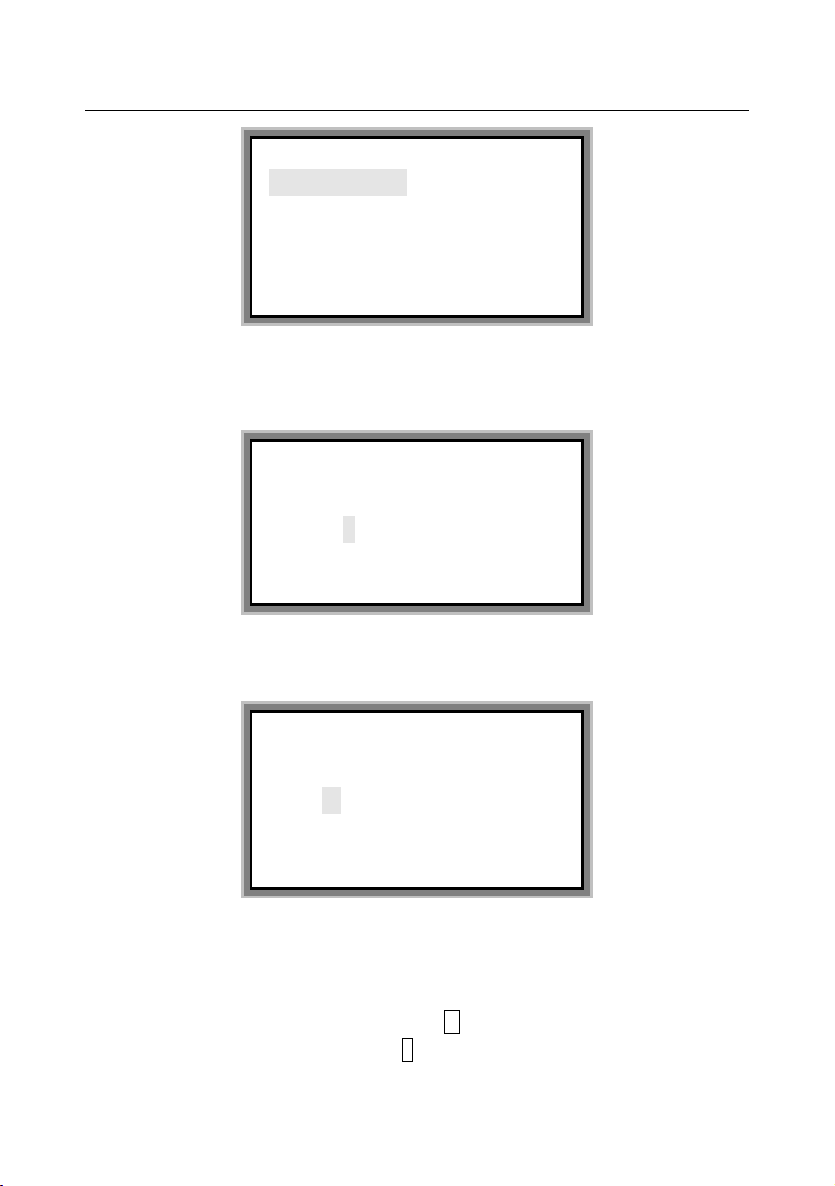
Press [↑] or [↓] to select your desired choice and press [Enter], then the screen will
display as follows:
Enter the starting sequential letter and press [Enter], then the screen will display as
follows:
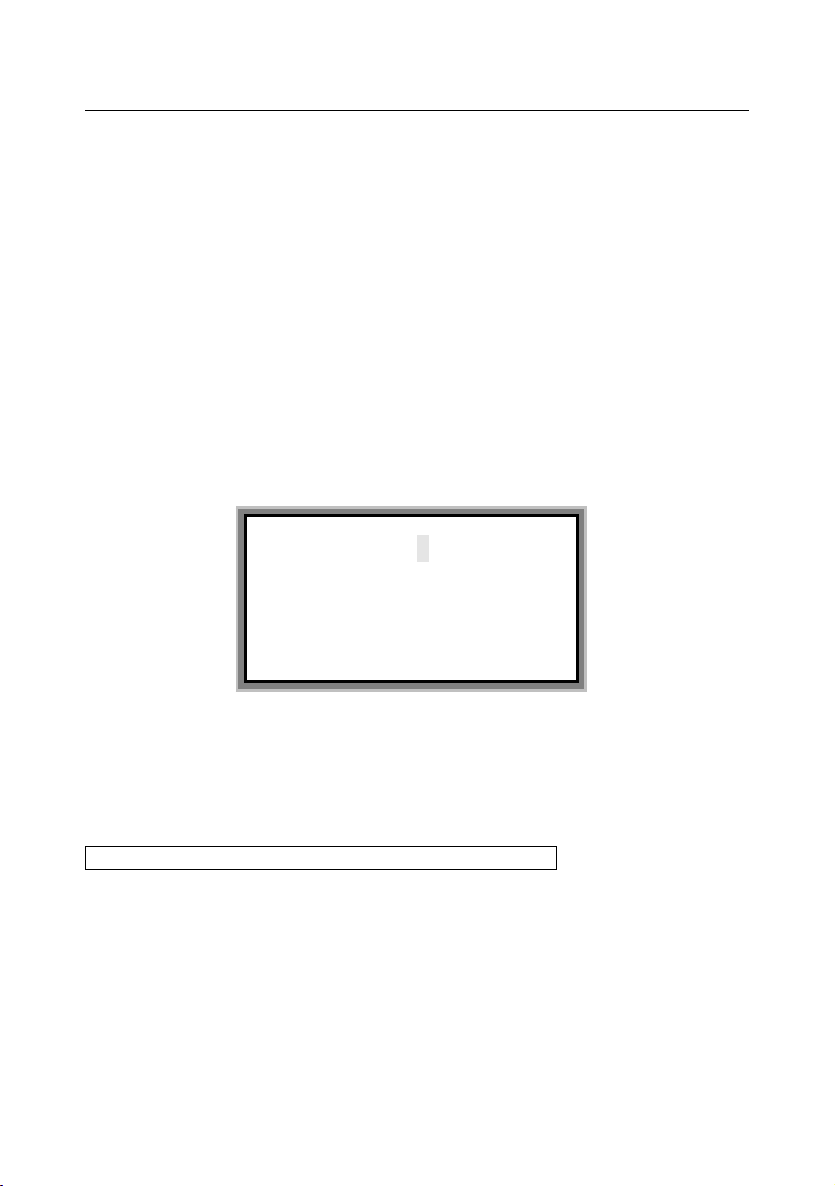
Enter the terminating letter and press [Enter], the setting is completed and then the
screen will return to the text editing window automatically.
Now, the text editing window will display the following sequential letter status:
For UPPER CASE sequential letter (A—Z): A
For lower case sequential letter (a—z): a
Alpha: A~Z
Alpha: a~z
Alpha:( A~Z );
Start:
Alpha:( A~Z );
End:
Page 37
Label & Mark Industries Company User’s Manual of LK-360
- 35 -
Note:
If a page has been assigned both an S/N and a Repeat function, then the S/N
function will be executed before Repeat.
The numbering function can not used in the vertical print mode.
4.2.9 Repeat
This function is provided to set the repeated printing times of certain pages. The
repeated times can be any one from 1 to 20. The initial setting has a repeat number
of 1, which means the selected contents will be printed only once.
Once this command is used, the page in which the cursor exists and all the
pages behind it will have the same repeated printing times.
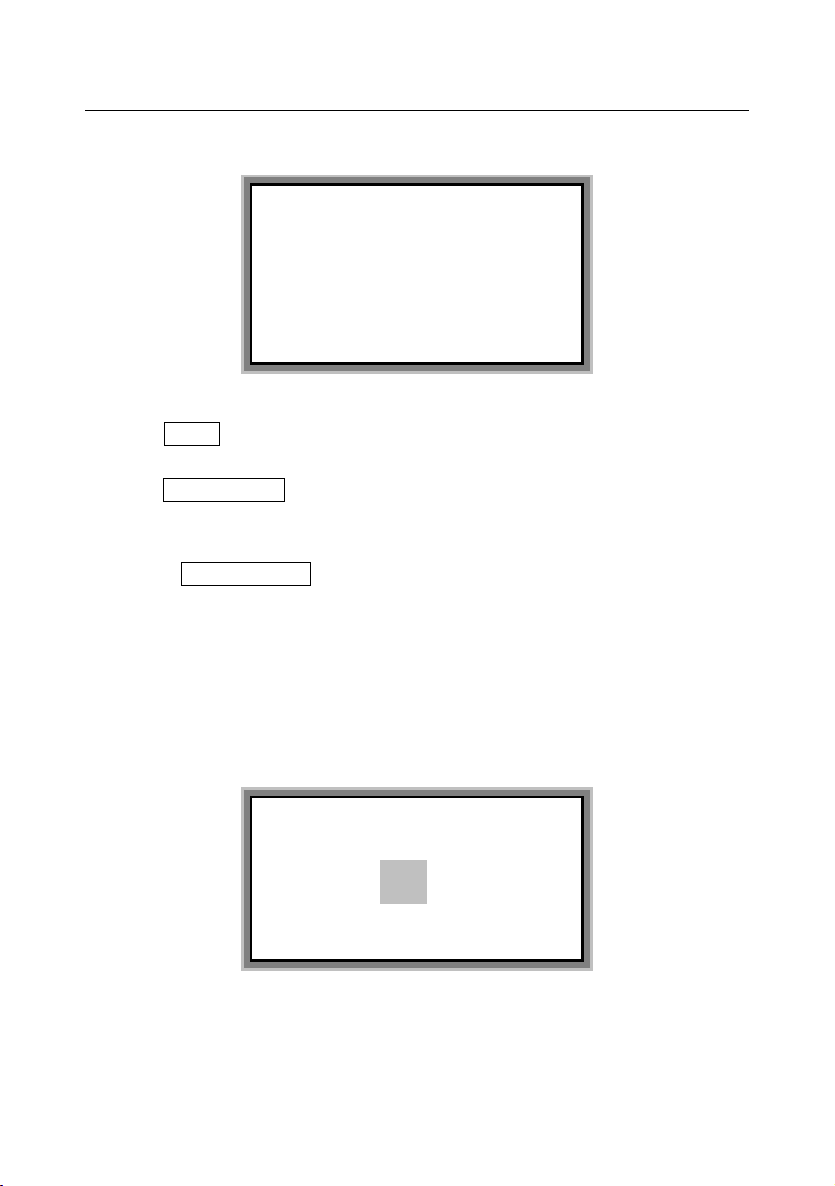
Press [Repeat], then the screen will display as follows:
Enter the number (integer) you want to repeat and press [Enter], and the page in
which the cursor exists and all the pages behind it will be printed repeatedly for
the number of times you just input, and then the screen will return to the text
editing window automatically.
If the input number exceeds the limits or is not an integer, the screen will display
Exceeds the limits, Press any key to enter another number! Now press any key to
input a valid integer.
4.2.10 Alignment
This function is used to set the left alignment or center alignment of the
characters.
Repeat (1~20):
Page 38
Label & Mark Industries Company User’s Manual of LK-360
- 36 -
This setting is valid for all the contents to be printed.
Press [Alignment] and then the screen will display as follows:
Press[↑] or [↓] to make your selection.
1. Select Center and press [Enter], then the contents will be printed in a cinput
alignment manner. The screen will return to the text editing window automatically.
2. Select Left alignment and press [Enter], then the contents will be printed in a
left alignment manner. The screen will return to the text editing window
automatically.
3. To select Fine adjustment, just select it and press [Enter].
Fine adjustment is used to fine adjust the print contents toward the left or the right
when the print contents can not be aligned center or left completely as previously
envisaged due to material or other external factors.
The initial setting is Center and there is no fine adjustment.
If you have selected the tube after you press [Enter], then the screen will
display as follows:
Press [Enter], then the screen will display as follows:
Center
Left Align
Fine Adjust
Tube adjust
Current: +0.0
Page 39
Label & Mark Industries Company User’s Manual of LK-360
- 37 -
The fine adjustment ranges from -3.0 to +3.0mm.
If you have selected the label after you press [Enter], then the screen will
display as follows:
Press [Enter], then the screen will display as follows:
For example: if you want to shift the print contents leftward by 2.7mm, you
can input 2.7; if you want to shift the print contents rightward by 2.7mm, you
can input -2.7; then press [Enter], and the screen will return to the text
editing window.
Adjust value
(-3.0 ~+ 3.0):
Label adjust
Current: +0.0
Adjust value
(-3.0 ~+ 3.0):
Page 40

Label & Mark Industries Company User’s Manual of LK-360
- 38 -
4.2.11 Double Line
This function is provided to enter 2 lines of characters in one page. The initial
setting is 1 line.
Move the cursor behind a place in the page where you want to start a new line and
press [Line number], then the bi-line symbol = will be shown. The contents
behind this symbol will be printed in a new line.
Note:
To print 6mm labels, if bi-line is chosen, you can only use font size 1 and 2;
To print 9mm and 12mm labels, if bi-line is chosen, you can only use font
size 1, 2, and 3;
You can only have 2 lines or 2 columns at the most;
Press [Double Line] when printer has set double line, the screen displays as
below: The page was double line!
4.2.12 PC Conn.
This function is provided to connect a computer and lock the keyboard, then
editing and printing through computer. Please restart the printer when you needs
keyboard operation.
4.2.13 File
Use this function you can save all the input contents as a files in the machine’s
internal memory. To save it as a file, you need to give it a name. You can open or
delete saved files.
Press [File] and the screen will display as follows:
Page 41
Label & Mark Industries Company User’s Manual of LK-360
- 39 -
Save file
Select Save file and press [Enter], then the screen will be displayed as follows:
Input your file name (10 characters at the most).
A: If the name you input exists or the current file has already been saved, then the
screen will display a message as below:
You may overwrite the existing file or save as another file.
B: If the name you input does not exist, the file will be saved straightaway and the
screen will return to the text editing window.
Save File
Open File
Delete File
Input file name:
The file exists, overwrite it?
Yes No
Page 42
Label & Mark Industries Company User’s Manual of LK-360
- 40 -
Note:
The main unit of this machine is able to save 100 files.
Open File
Select Open File and press [Enter].
A: If no file exists, the screen will display as follows:
B: If there is (are) file(s), the screen will display the name(s) of the saved file(s).
Select the name you want and press [Enter], the screen will then display as
follows:
Select “Yes”, then the current file will be deleted and the accessed file will be
opened.
Delete file
Select Delete file and press [Enter], then the screen will display as follows:
No file exists.
Press any key to return!
Delete unsaved file?
Yes No
Page 43
Label & Mark Industries Company User’s Manual of LK-360
- 41 -
A: Delete one by one
Press[↑] or [↓] to select Delete one file and press [Enter].
If no file exists, then the screen will display as follows:
If there is (are) file(s), please select the file you want to delete, then the screen will
display as follows:
Select “Yes” and press [Enter], then this file is deleted. Then, the screen will
return to the text editing window.
B: Delete all the files
Select Delete all files, and select “Yes” and press [Enter], then all the saved files
will be deleted and the screen will return to the text editing window.
Delete one file
Delete all files
No file exists.
Press any key to return!
Delete this file?
Yes No
Page 44
Label & Mark Industries Company User’s Manual of LK-360
- 42 -
4.2.14 Delete all
This function is provided to delete all the pages input and to create a new file.
Press “Delete all”, then the screen will display as follows:
Select Yes and press [Enter], then all the input pages will be deleted, and the
cursor will return to the initial input location and a new file is created.
Select No and press [Enter], then no contents will be deleted and the window will
return to the previous editing window.
Note:
Deleted contents can not be recovered.
4.2.15 Delete
This function is provided to delete the page in which the cursor exists.
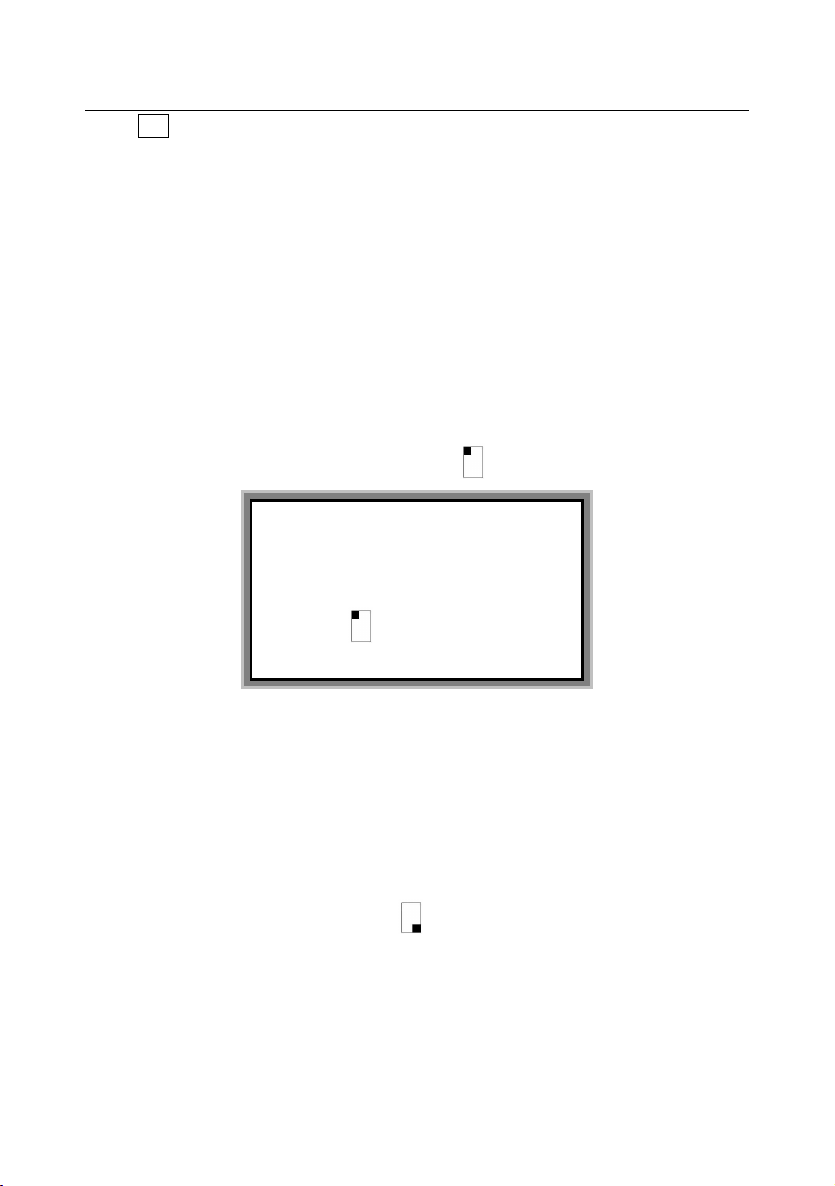
Move the cursor to the page you want to delete and press [Delete], then the screen
will display as follows:
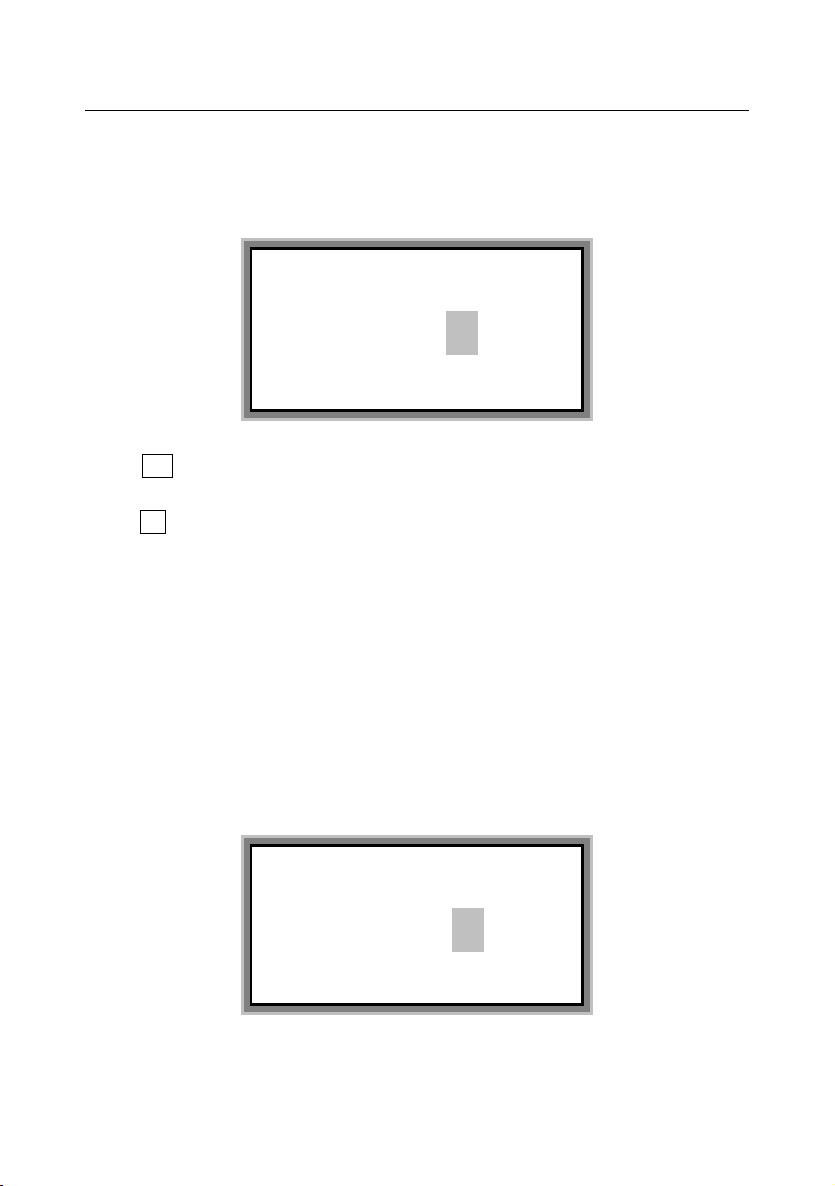
Del all pages?
Yes No
Delete this page?
Yes No
Page 45
Label & Mark Industries Company User’s Manual of LK-360
- 43 -
Select Yes to delete this page.
A deleted page can not be recovered. The other pages will be renumbered.
4.2.16 Cancel
To cancel the setting or operation in progress or to cancel incorrect statement, to
return to the menu of immediately superior level or to return to text entry interface
4.2.17 Superscript
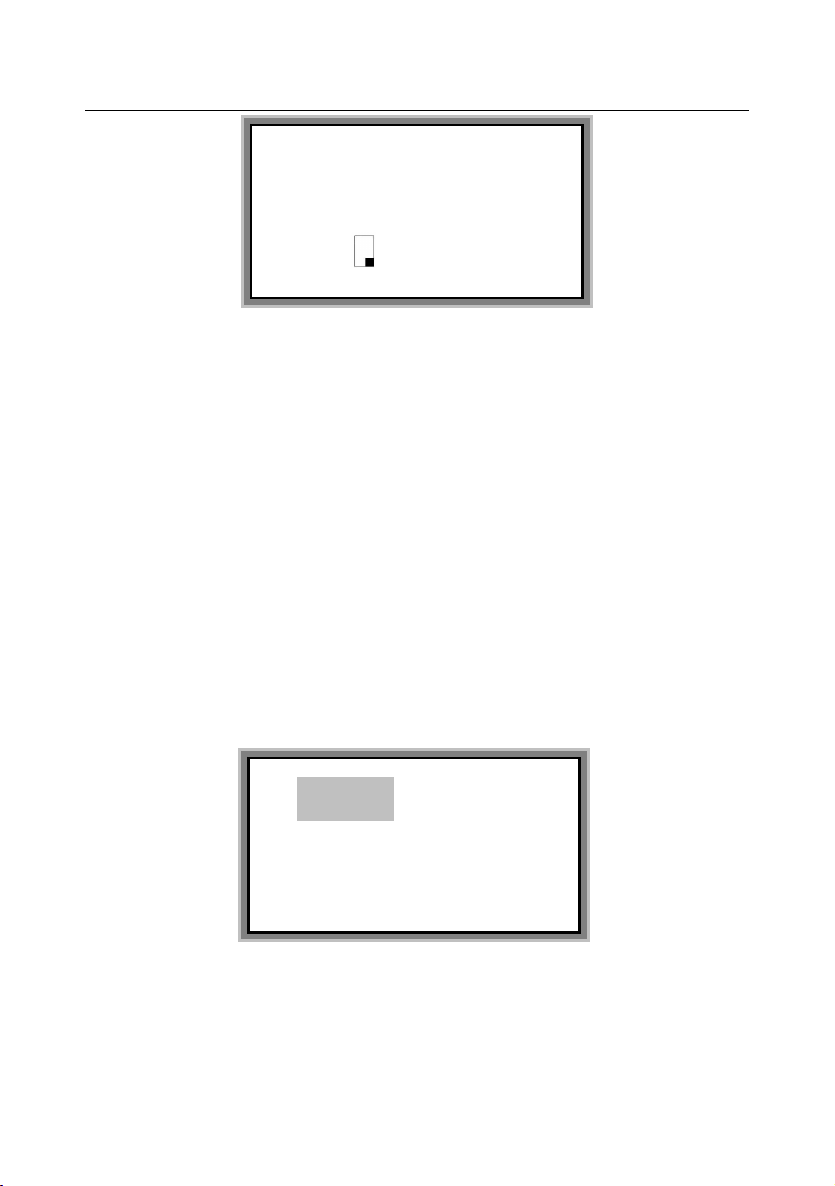
Move the cursor behind the character where you want to input superscript and
press [Superscript], then a superscript symbol appears behind this character.
Then enter the superscript character. For instance: to put superscript 2 behind the
number 6, then the print-out will be 6².
4.2.18 Subscript
Move the cursor behind the character where you want to input subscript and press
[Subscript], then a superscript symbol appears behind this character.
1:AA1
2:AA2
3
:
6 2
Page 46
Label & Mark Industries Company User’s Manual of LK-360
- 44 -
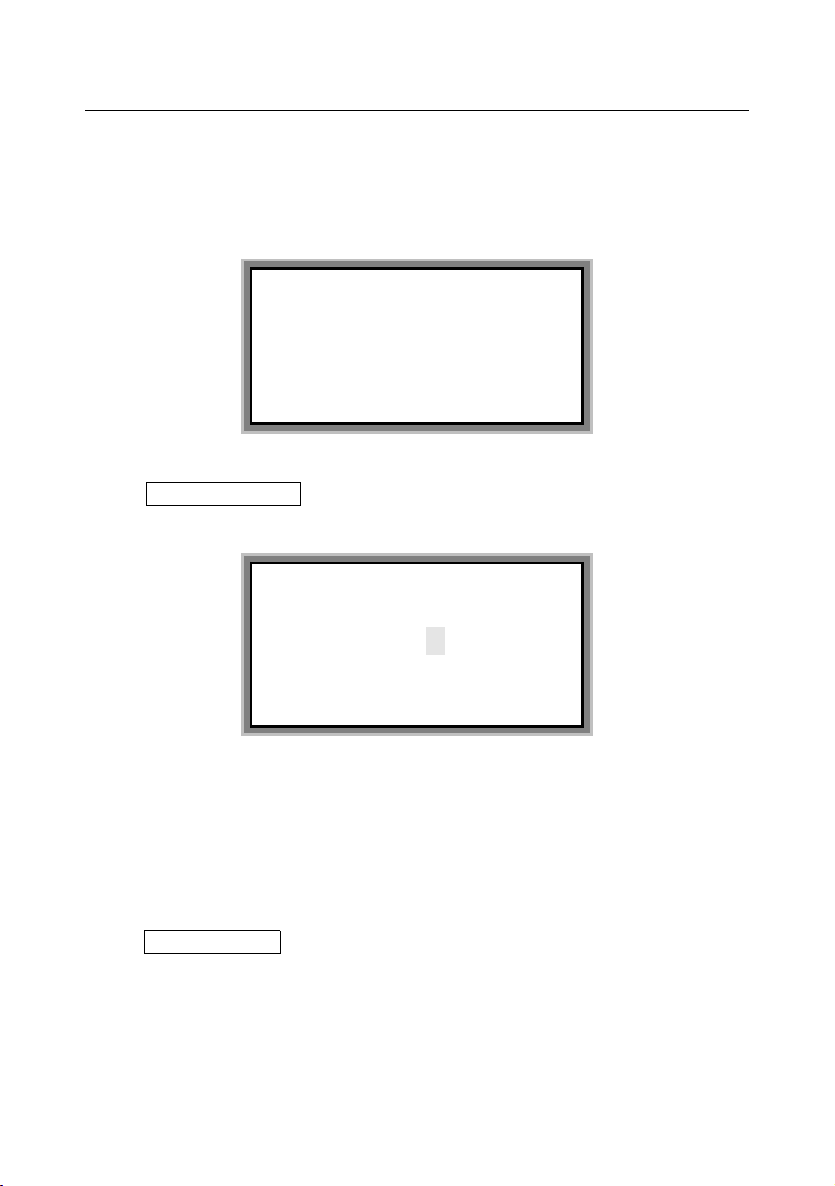
Then enter the subscript character. For instance: to put superscript 2 behind the
letter B, then the print-out will be B2.
Note:
Press the superscript or subscript key will only generate one superscript or
subscript character. To have more than one superscript or subscript character,
you need to press the superscript or subscript key repeatedly.
4.2.19 Cutting set
This setting is valid for all the contents to be printed.
This key is provided to set half-cut, cutting line(no half-cutting), and nil (no
half-cutting, no cutting line). The initial setting is half-cutting.
Press [Cutting setting] and the screen will display as follows:
Press [↑] or [↓] to make your selection and press [Enter] to complete the setting.
Then, the screen will return to the text editing window automatically.
1:AA1
2:AA2
3
:
B 2
Half-cut;
Cut line;
Nil
Page 47
Label & Mark Industries Company User’s Manual of LK-360
- 45 -
4.2.20 Cut depth
The initial setting value for half-cut depth is “0”.
If you have selected the tube after press [half-cut depth] and the
screen will display as follows:
Adjust half-cut depth of tube
Select Cut depth of tube and press [Enter], then the screen will display as
follows:
Use [→] or [← ]to make your selection and press [Enter] to finish sleeve tube
semi-cutting depth. Cutting depth ascends from -3 to +3.
If you have chosen a semi-depth of +3 but are not satisfactory with the
semi-cutting results, then you may need to replace your cutter assembly.
Adjust full-cut depth
Select Full-cut depth and press [Enter] to finish your full cutting depth setting.
The cutting depth ascends from -3 to +3.
Cut depth of tube
Full-cut depth
half-cut depth of tube:
-3 -2 -1 0 1 2 3
Page 48
Label & Mark Industries Company User’s Manual of LK-360
- 46 -
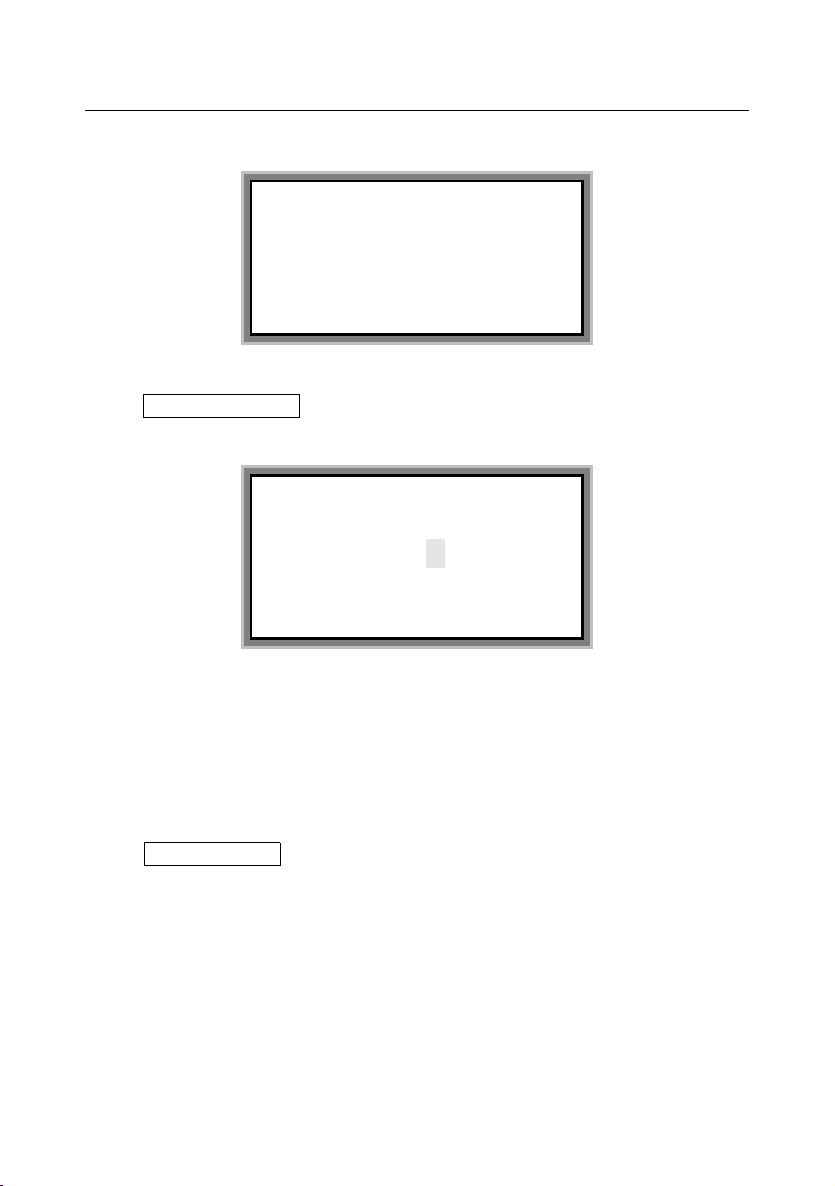
If you have selectd the label after press [half-cut depth] and the screen
will display as follows:
Adjust half-cut depth of label
Select Cut depth of label and press [Enter], then the screen will display as
follows:
Use [→] or [← ]to make your selection and press [Enter] to finish your label
semi-cutting depth. The cutting depth ascends from -3 to +3.
If you have chosen a semi-depth of +3 but are not satisfactory with the
semi-cutting results, then you may need to replace your cutter assembly.
Adjust full-cut depth
Select Full-cut depth and press [Enter] to finish your full cutting depth setting.
The cutting depth ascends from -3 to +3.
4.2.21 Print Scope
This function is provided to print selected pages in the text.
Cut depth of label
Full-cut depth
half-cut depth of label:
-3 -2 -1 0 1 2 3
Page 49
Label & Mark Industries Company User’s Manual of LK-360
- 47 -
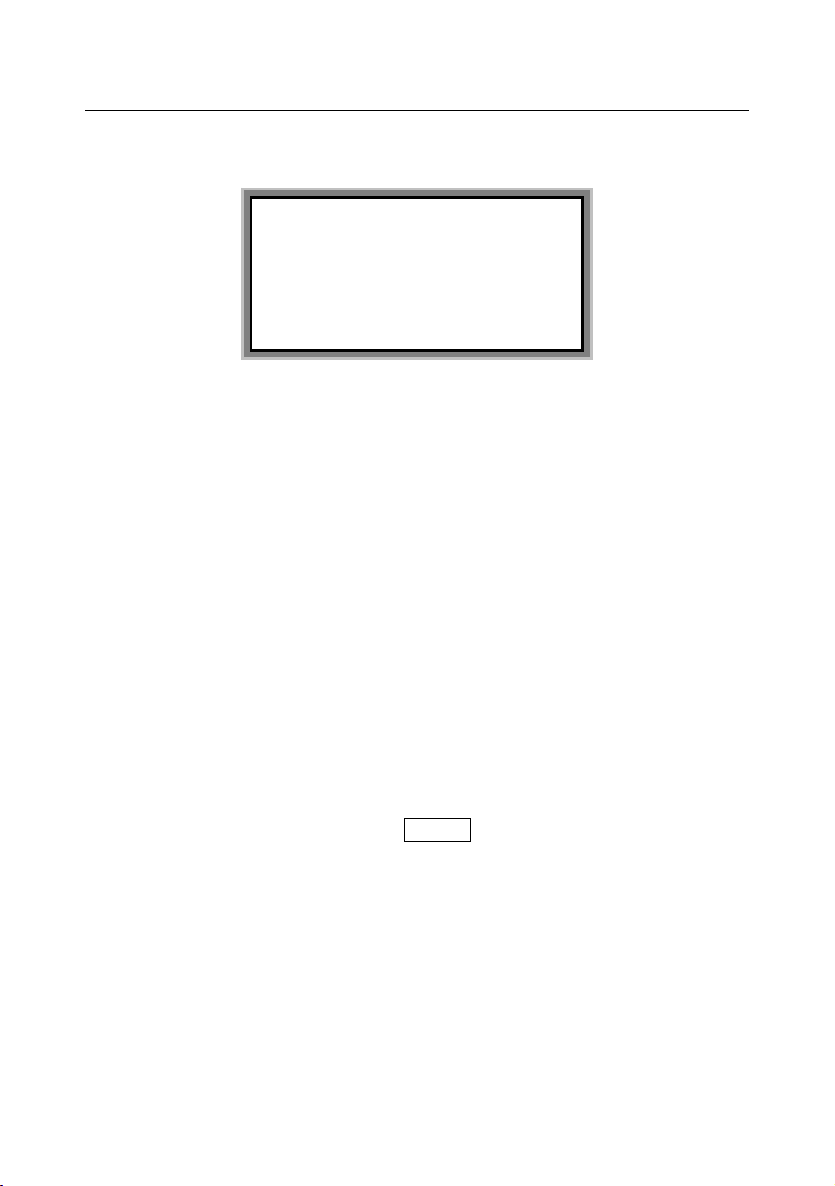
This setting allows you to print the pages selected by you (blank pages will not be
printed).
When you have finished the ending page number for printing and press [Enter],
the machine will begin to print.
If you do not enter the starting page number, then the default value will be the
number of the page in which the cursor exists; if you do not enter the ending page
number, then the number of the last page will be the default value. That is to say, if
you do not input the starting page number nor the ending page number, then the
machine will print the page in which the cursor exists until the last page of this
document.
4.2.22 Print
After you have made all the settings and input the print contents, this function
enables you to print the contents of all the pages in the current document on the
printing material.
Blank pages will not be printed.
During printing, the screen will display Printing.
4.2.23 Caps lock
Press this button once to alternate between upper case and lower case input
(invalid for Chinese input). The initial setting is English upper case.
Enter the scope of printing
:
Start page:
Page 50
Label & Mark Industries Company User’s Manual of LK-360
- 48 -
4.2.24 Language
This key is used to shift among different language. Now the machine can use
English and Chinese. The initial setting is English upper case input.
Press [language] to select and current entry status will be displayed on the left
lower corner on the screen. CH indicates Chinese pinyin entry method; En
indicates English entry method;
4.2.25 Back off
This key is used to reverse the rubber roll to take off the label or tube. Due to
material difference or miss operation, the printing material may be jammed on the
rubber roll. Press this key to reverse the roll and help remove the jammed material.
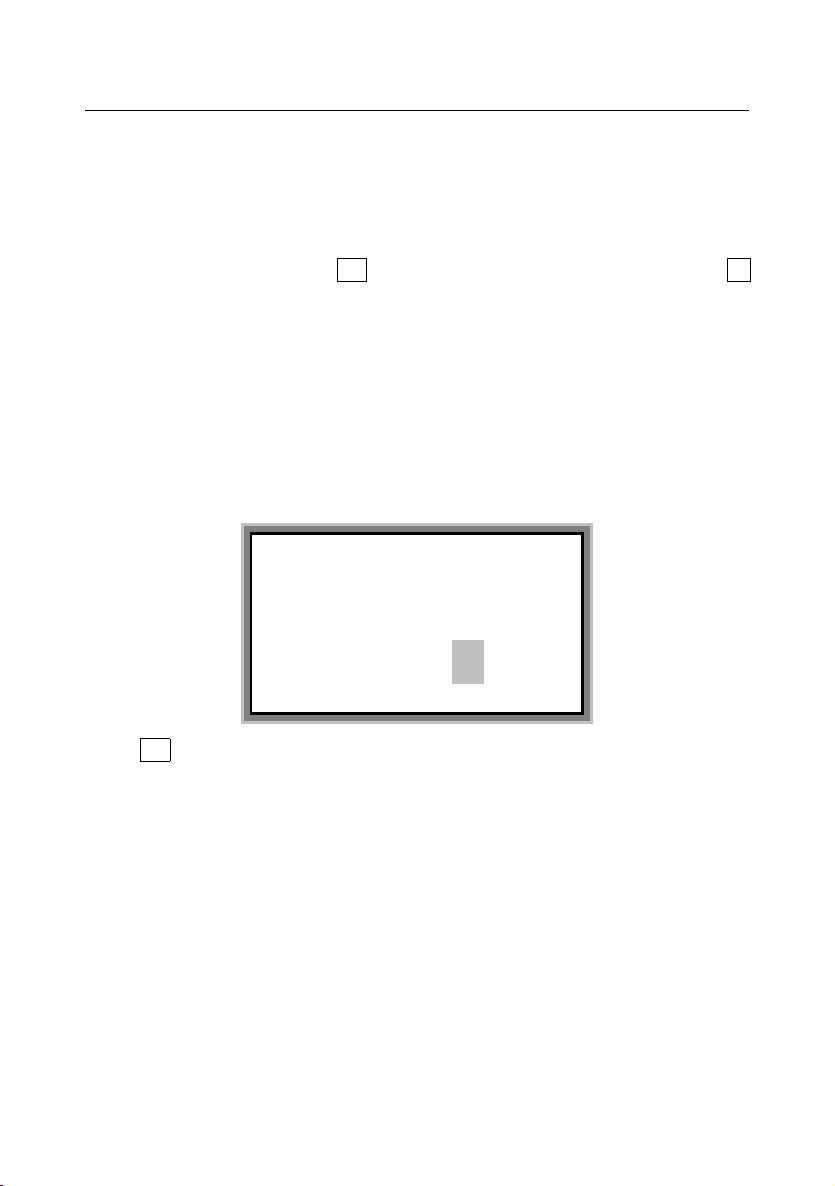
Press [Back off] key and the screen will display as follows:
Select Yes and press [Enter], then the rubber roll will be reversed. This operation
can be repeated until the jammed material is taken out.
Note:
Before Reverse operation, be sure that the print head is released and the color
ribbon is removed.
4.2.26 [Backspace]
This function is provided to delete the character before the cursor.
Move the cursor behind the character you want to delete and press [Backspace],
Please confirm the ribbon
has been removed:
Yes No
Page 51

Label & Mark Industries Company User’s Manual of LK-360
- 49 -
and then the character before the cursor will be deleted.
Pressing [Backspace] continuously will delete all the characters in the page;
however the page number will not be deleted. The blank page will not be printed.
To delete a page, please use [Delete] key.
Note:
Deleted characters can not be recovered.
4.2.27 [Shift]
Shift key.
4.2.28 Revise
This function is provided to test and correct printing length. And this function is
provided to adjustment the position of the printer head and cutter.
Due to ambient temperature variance or material difference by different
manufactures, the actual printed page length may be a little different from what
you have specified. If you find a large discrepancy between the actual printed page
length with what you have specified, this function helps you to adjust so that the
printed length coincide with the specified length.
Under the tube medium
Press [Revise] and the screen will display as follows:
Tube Length
Cutter +0.0
Page 52
Label & Mark Industries Company User’s Manual of LK-360
- 50 -
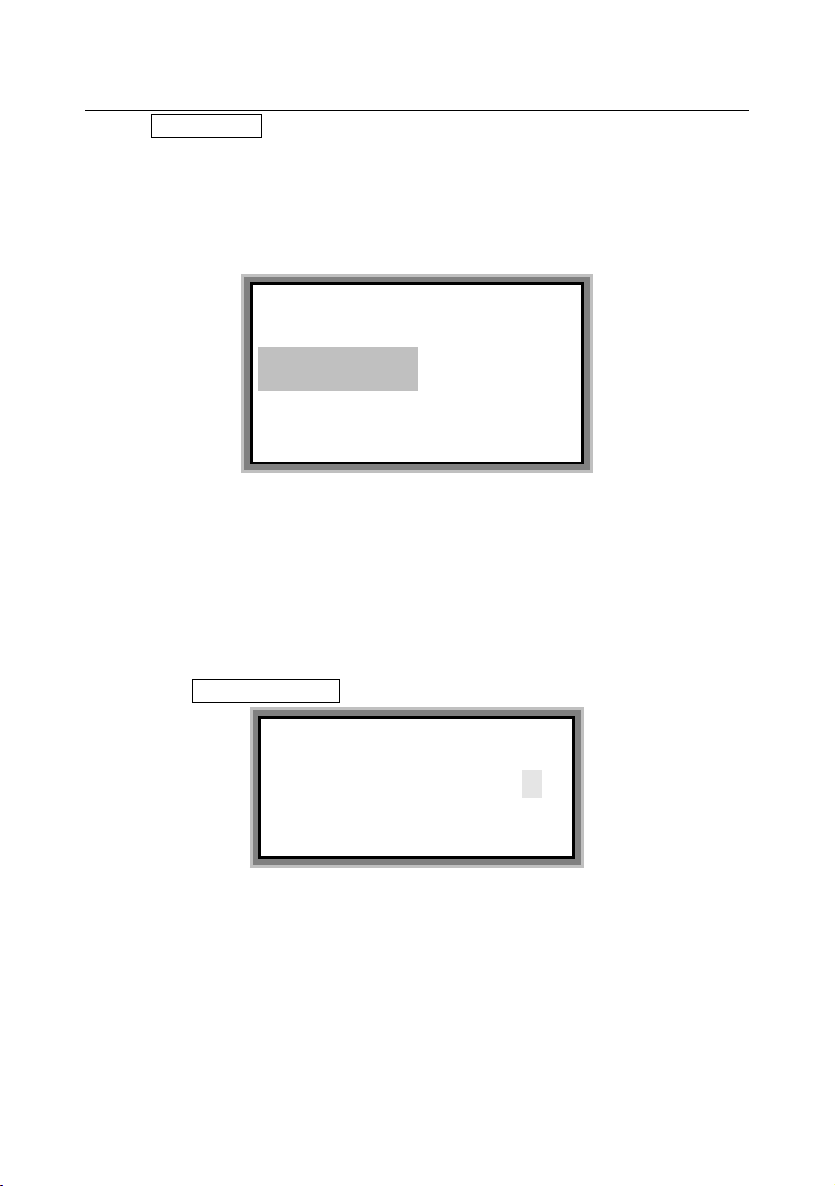
Choose Tube Length , make sure the tube is loaded properly, and press [Enter] to
start printing; Then, you may inspect the printing effect of your tube printer.
Length Adjustment
When completing printing, the machine will display as follows:
Choose Cutter +0.0 and the screen will display as follows:
Then sent -100.0~+100.0 can to adjust the position of cutter. The unitage
1=0.0847mm. For example: If input -10 the cutter line position will move
0.847mm to left.
Total length of Printings:
Actual length:
Adjust Range
-10 0.0 to 100 .0:
For example:
If the measured total length of these four printings is 101mm, you just enter
“101” and then press [Enter].
With this function, it is possible to adjust the actually printed length to what
you have specified.
Page 53
Label & Mark Industries Company User’s Manual of LK-360
- 51 -
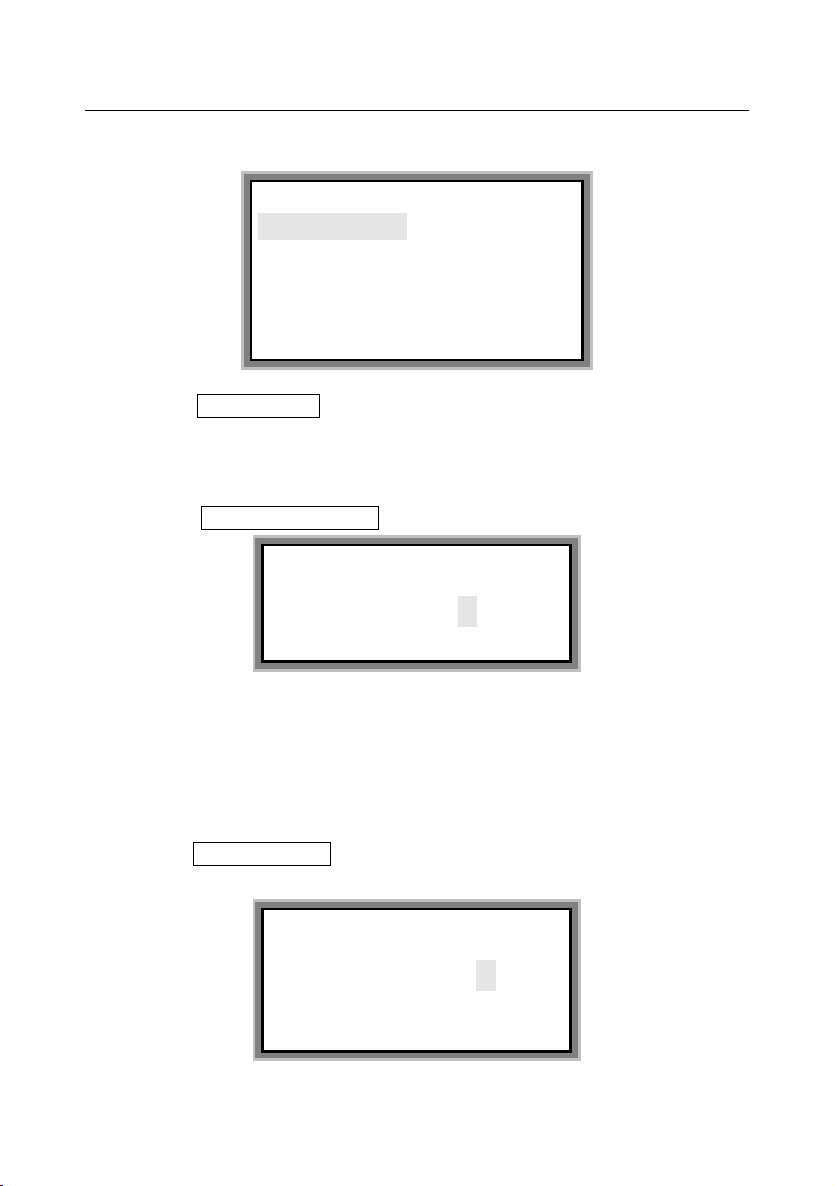
Under the Label medium
Press [Revise] and the screen will display as follows:
Choose Label Length ,make sure the label is loaded properly, and press
[Enter] to start printing;
Adjusting methods same as heat shrink tube medium..
Choose Header_Pos -1.0 and the screen will display as follows:
Please input the value specified, the value under 0 means the printed contents will
downwards, the value upon 0 means the printed contents will upwards. For
example , input the value “0”, the print-out contents will upwards 1mm compare
to the setting before adjusting.
Choose Cutter +0.0 , then press【Enter】and the screen will display as
fellows:.
Label Length
Header_Pos -1.0
Cutter +0.0
-2.0
~
+2.0
Ad jus t to
:
-100.0 to +100
Adjus t to
:
Page 54

Label & Mark Industries Company User’s Manual of LK-360
- 52 -
Please input the moderate value, the value under 0 means the cutter position would
move to left , the value upon 0 means the cutter position would move to right .The
unit of value is 0.0847mm. For example ,If input -10, the cutter line position will
move 0.847mm to left.
4.2.29 Create a new page
This function is provided to insert a new page between two existing pages or
append it to the end of the text.
Create a new page at the end of the text.
Move the cursor to the last page of the text and press [Enter], and then you have
just created a new page at the end of the text.
Insert a new page between two pages
Move the cursor to a page and press [Enter], then you have just created a new
page behind the said page.
Note:
The new page assumes the same attributes with its preceding page.
The new page assumes a page number sequentially.
If the new page contains nothing, it will be ignored during printing.
4.2.30 Display brightness adjustment
Keep [Ctrl] pressed and press [→], [→], [↑], or [↓] key to adjust the screen
brightness or contrast.
4.2.31 Key combination
[Ctrl] + [Shift]+ [Y] Used to see the type of the ribbon.
[Ctrl] + [Shift]+ [V] Used to see the Version number of the software and
Lot no..
[Ctrl] + [Shift]+ [L] Used to see the length of the ribbon.
Page 55
Label & Mark Industries Company User’s Manual of LK-360
- 53 -
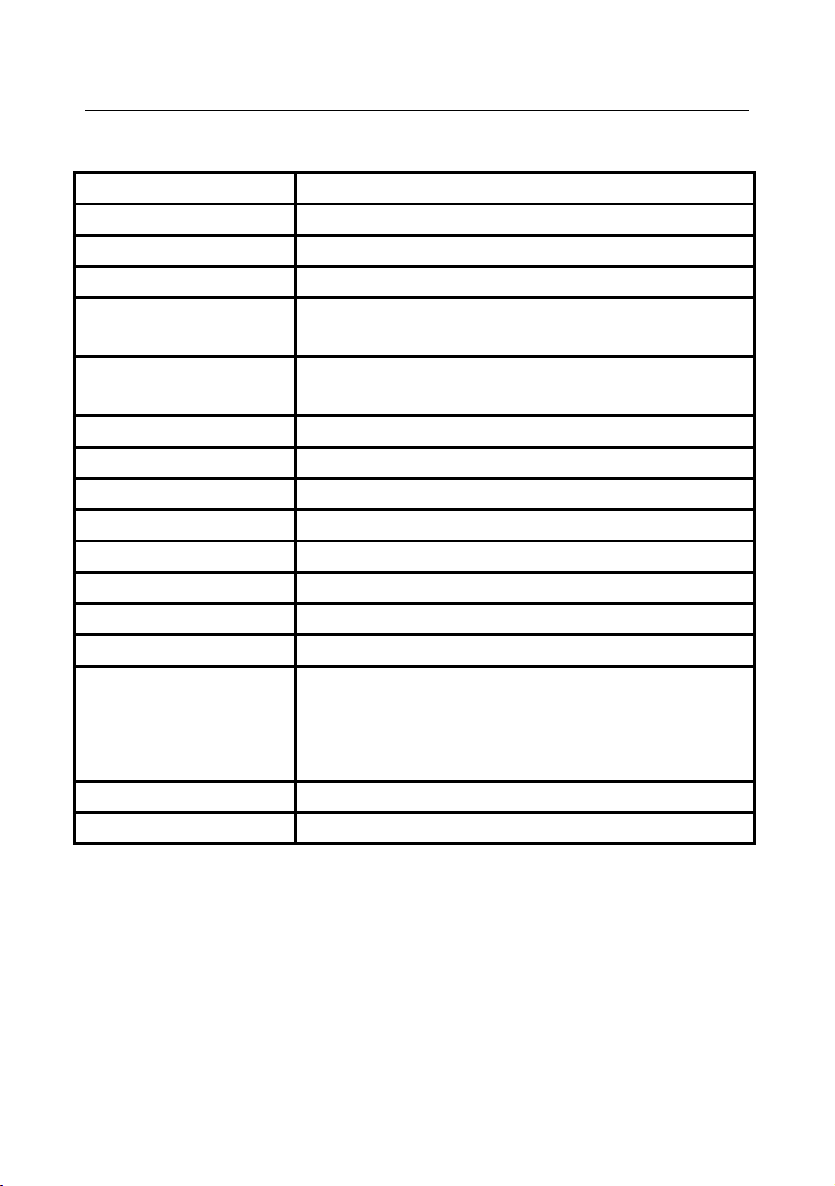
Chapter V Specifications Description
Model
LK-360
Mode of printing
Thermal transfer printing
Resolution
300dpi
Printing character height
1.3mm—8mm
Maximum number of
input pages
198
Sleeve tube size
printable
Φ2.5—Φ6
label size printable
6mm、9mm、12mm
Printing speed
50mm/sec
Display
LCD, white color background, displaying up to 5 lines
Characters printable
Chinese, English, number,symbols
Entry method
standard 83-key
Memory
About 100,000 characters
Material cutting method
Automatic half-cutting, automatic full-cutting
Power supply
DC 12V 2A
Ambient requirements
Operation: Temp 15℃~35℃
Relative humidity 10%~85% (without condensation)
Storage: Temp 5℃~35℃
Relative humidity 10%~85% (without condensation)
Overall dimensions
330(L)*290(W)*105(H)
Weight
About 2.5kg
[Attention]
Due to product update, the specifications are subject to change without prior
notifications.
Page 56
Label & Mark Industries Company User’s Manual of LK-360
- 54 -
Chapter VI Others
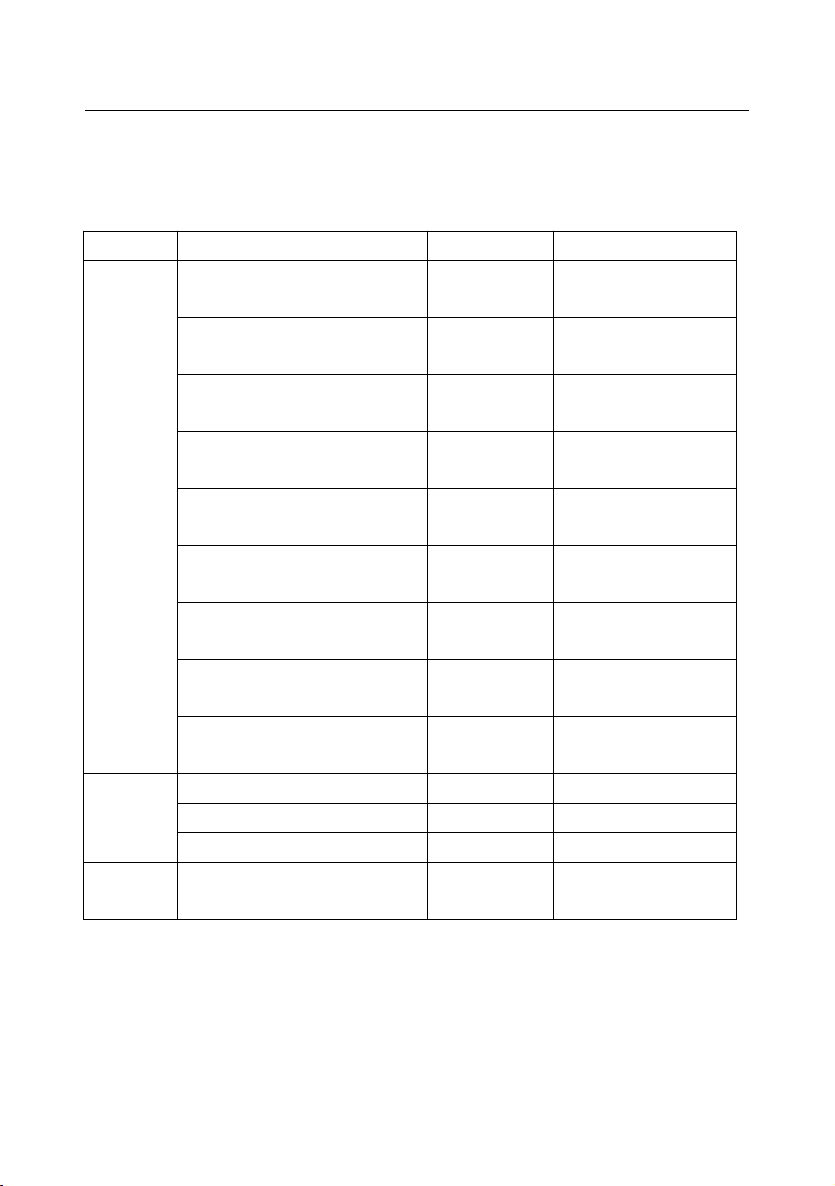
6.1 Specifications of Original Consumables
species
specification
Model
Package
Labels
Label cassette tape (White
6mm)
LM606WL
5pcs(10m×5)/box
Label cassette tape (White
9mm)
LM609WL
5pcs(10m×5)/box
Label cassette tape (White
12mm)
LM612WL
5pcs(10m×5)/box
Label cassette tape (Yellow
6mm)
LM606YL
5pcs(10m×5)/box
Label cassette tape (Yellow
9mm)
LM609YL
5pcs(10m×5)/box
Label cassette tape (Yellow
12mm)
LM612YL
5pcs(10m×5)/box
Label cassette tape (Silver
6mm)
LM606SL
5pcs(10m×5)/box
Label cassette tape (Silver
9mm)
LM609SL
5pcs(10m×5)/box
Label cassette tape (Silver
12mm)
LM612SL
5pcs(10m×5)/box
Ink
ribbons
Ribbon cassette (black)
LM36B
5pcs(80m×5)/box
Ribbon cassette (white)
LM36W
5pcs(80m×5)/box
Ribbon cassette (red)
LM36R
5pcs(80m×5)/box
Cutter
Cutter (cutter holder and
cutting blade)
LM-02-10
2pcs/box
[Attention]
This machine can only use original ink ribbons supplied by its manufacturer. It
may not be able to print with all the printing materials available at the market. For
more information, please contact your nearest sale agent
Page 57
Label & Mark Industries Company User’s Manual of LK-360
- 55 -
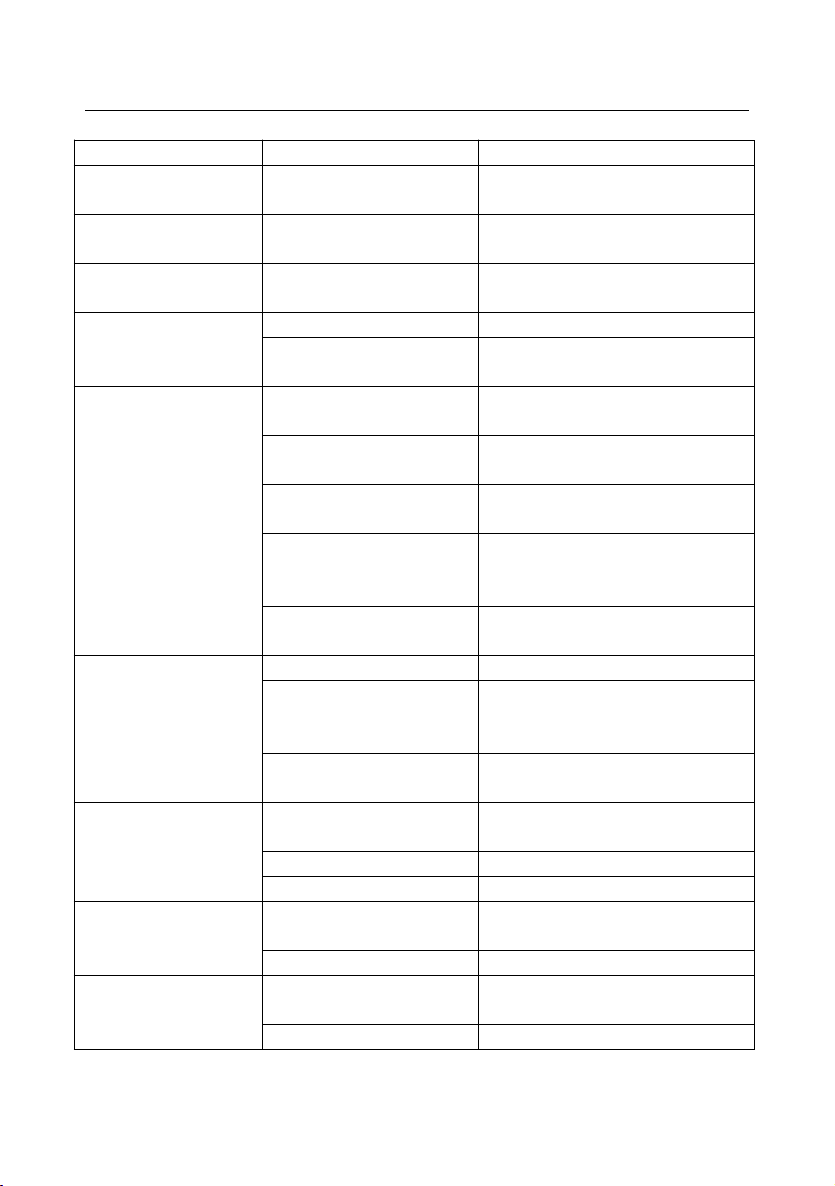
6.2 Simple Trouble-shooting
Problem
Cause
Solution
Text is not center aligned
after semi-cutting
Material difference
Please use “Fine adjustment” to adjust
the text alignment.
Actual page length differs
from the specified value
Material difference
Please use “Correct” function.
Poor semi-cutting quality
Semi-cutting blade has been
worn out
Please replace the semi-cutting blade
On-line printing
operation is not
responding
Driver software not installed
Please install driver software
The main unit is not in text
editing window
Please enter into text editing window
on the main unit.
Printing not clear
Sleeve tube is too hard;
Stained sleeve tube surface
Please clean the tube or use an
acceptable tube.
Ink ribbon crimped
Take out the ribbon or tidy it up, or
replace it by a new one.
Print head worn out or
scratched
Change the print head
Material configuration not
matching
Please change material configuration to
ensure it agrees with the materials
used.
Ambient temperature to low
or too high
Please adjust the print color strength or
change the ambient temperature.
Incomplete printing
characters
Font size too large
Use a smaller font size.
Material specifications not
properly set
On the machine, please set the material
specifications to be compatible with
the materials used.
Print head worn out or
scratched
Change the print head
The machine is printing,
but there is not print out
Print head connection line is
improperly connected
Please connect the print head
connection line properly
Print head damaged
Change the print head
Semi-cutting not deep enough
Please adjust the semi-cutting depth
label sticks to the blade
Semi-cutting depth is too
large
Please select a smaller semi-cutting
depth
The cutting edge is glued
Please clear the cutting edge of glue.
Ink ribbon slanted and
curled in edges
Problem with sleeve tube
guide
Please replace the sleeve tube guide.
Problem with ink ribbon
Please replace the ink ribbon.
Page 58

Label & Mark Industries Company User’s Manual of LK-360
- 56 -
Page 59

Label & Mark Industries Company User’s Manual of LK-360
- 57 -
L-MARK
®
Product Warranty Card
I. Notes to Product Warranty
1. This card and the invoice for the machine are the evidence for product warranty service. This
card and the invoice shall be posted to us when warranty service is demanded.
2. The Company provides two-year charge-free warranty service (3-month for print head)
calculated from the date of purchase.
3. This card will be not re-issued or replaced when it is lost or tampered with, please keep it in
good custody.
II. Any of the following circumstances will invalidate this warranty service
1. The warranty period of the machine or components has expired.
2. Malfunctions or damages as a result of improper installation, operation, and maintenance not
conforming to this manual or as a result of operation in an ambience other than that required
by this manual.
3. Malfunctions or damages as a result of maintenance, alteration or dismantling by
organizations or personnel not authorized by the Company.
4. Malfunctions or damages as a result of using components other than original ones specific to
the machine.
5. Malfunctions or damages caused by falling, crushing, water inundation, dampness or other
human errors.
6. Malfunctions or damages as a result of force majeure (war, earthquake, and flood, etc.).
7. All consumables (like ink ribbon and label paper, etc.) are not covered under this warranty.
8. Product model has been tampered with or becomes illegible.
III. Points of Attention
To avoid the delayed service due to incomplete documents, please make ready your warranty
card and purchase invoice when requesting for service. If the warranty or purchase invoice
cannot be provided, the Company will provide service based on the manufacture date. If no
warranty evidence can be provided, the Company will provide warranty service based on the
manufacture date retrieved from your product serial number; if no valid information is
retrieved, the Company reserves the right not to provide charge-free warranty service.
Products serviced by the organization authorized by the Company are still covered by the
original warranty commitments. Should the balance of the warranty period after such service is
less than three months, the components serviced will be covered by a 3-month warranty
calculated from the date in which they have been repaired. You will be requested to show the
service record in due time for this 3-month warranty service.
Within the warranty period, the Company is entitled to the ownership of the parts or
components replaced.
6.2 Warranty Card
Page 60
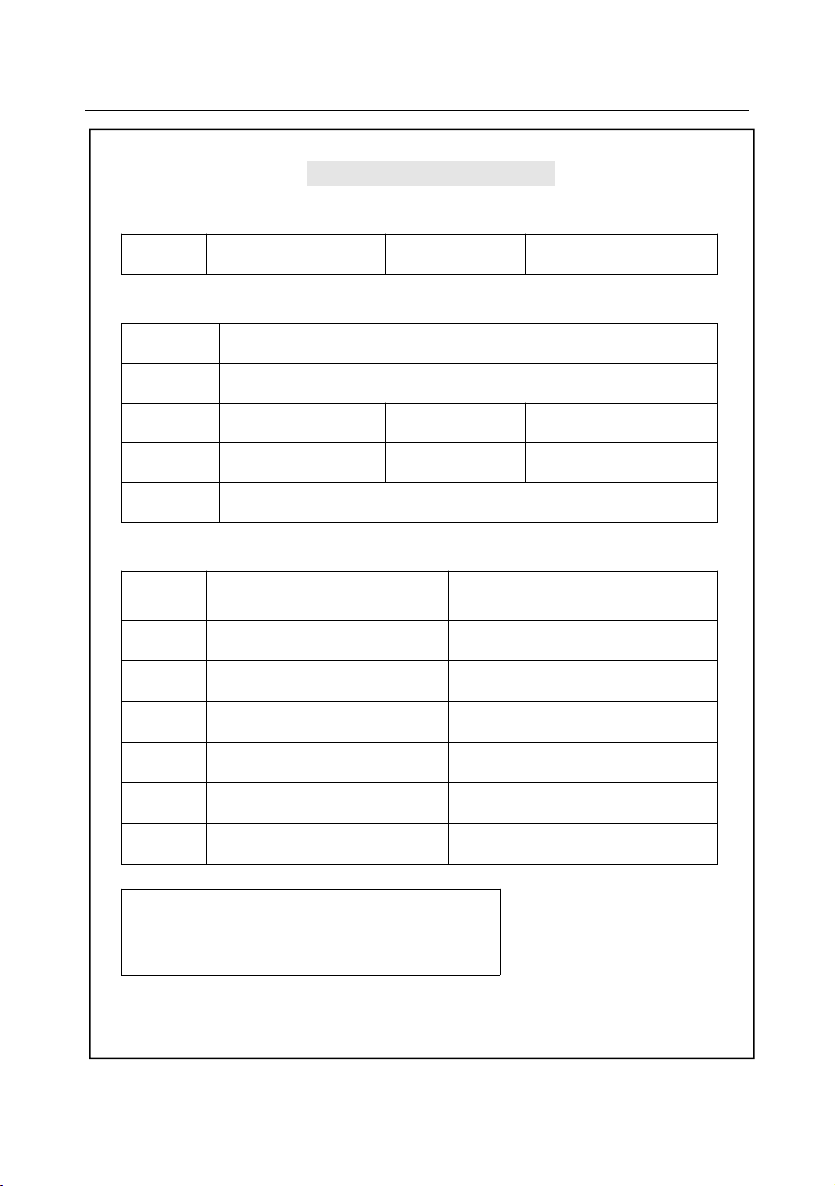
Label & Mark Industries Company User’s Manual of LK-360
- 58 -
L-MARK
®
Product Warranty Card
Product information S/N:
Model
Product S/N
Client information:
Name
Address
Contact
Tel.
Fax
Postal code
E-mail
Service record:
Date
Cause and reparation of
faults
Repaired by
Sale agent:
Manufacturer: LABEL & MARK INDUSTRIES COMPANY
http://www.lmark.net
Page 61

Label & Mark Industries Company User’s Manual of LK-360
Page 62

Label & Mark Industries Company User’s Manual of LK-360
Manufacturer: LABEL & MARK INDUSTRIES COMPANY
http://www.lmark.net Printed in china
 Loading...