

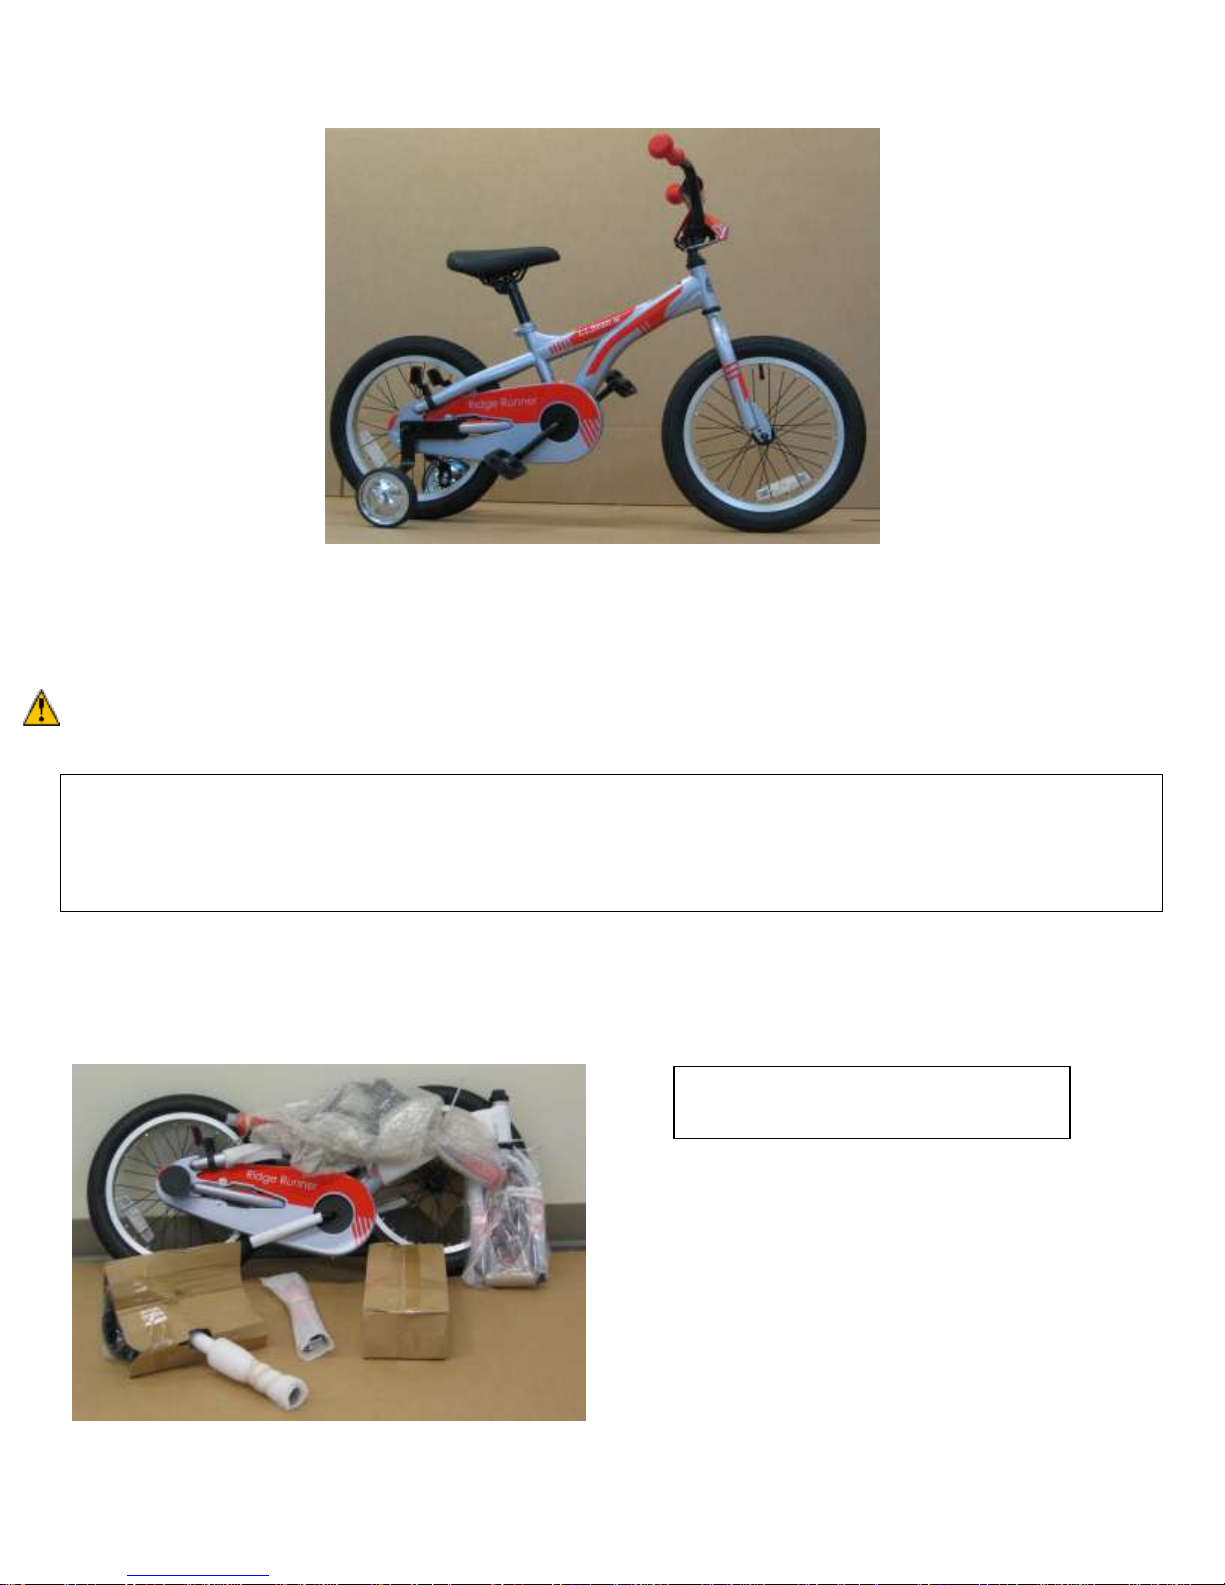
FYI - Your bicycle may appear different
from those in photos.
Final Assembly Instructions – Bikes with 16” Wheel Size
Thank you for buying your new bicycle from L.L.Bean. Read these instructions carefully before beginning the final
assembly. Prior to shipping, our expert cycling technicians completely assembled and tuned your bicycle to ensure that
all components are functioning properly. However, for shipping purposes we have to partially disassemble your bicycle.
Although this bicycle has been factory pre-assembled, some loosening may have occurred during shipping and handling.
WARNING: BEFORE ALLOWING A CHILD TO RIDE THIS BICYCLE, read the enclosed Owner’s Manual
thoroughly. The Owner’s Manual includes important information on customizing the bike for an optimal fit.
Tools required for final assembly:
Cutting-type pliers – for removal of packaging materials, including “zip-ties”
6mm Allen wrench – for tightening stem bolts
15mm wrench or adjustable wrench – for tightening pedals
Two 13mm wrenches or 2 adjustable wrenches or one of each – for tightening training wheel bolt
BEFORE GETTING STARTED:
PLEASE REMOVE BICYCLE FROM BOX AND REMOVE PACKAGING MATERIAL. Recommended tool –
diagonal-cutting pliers, wire cutter, heavy-duty shears, or multi-tool wire cutter.
QUESTIONS: Should you have any questions during the final assembly of your new bicycle, please call our product 3/6/14
specialists at 800-226-7552 any day between 8:00 a.m. and 10:00 p.m. Eastern. pg.1
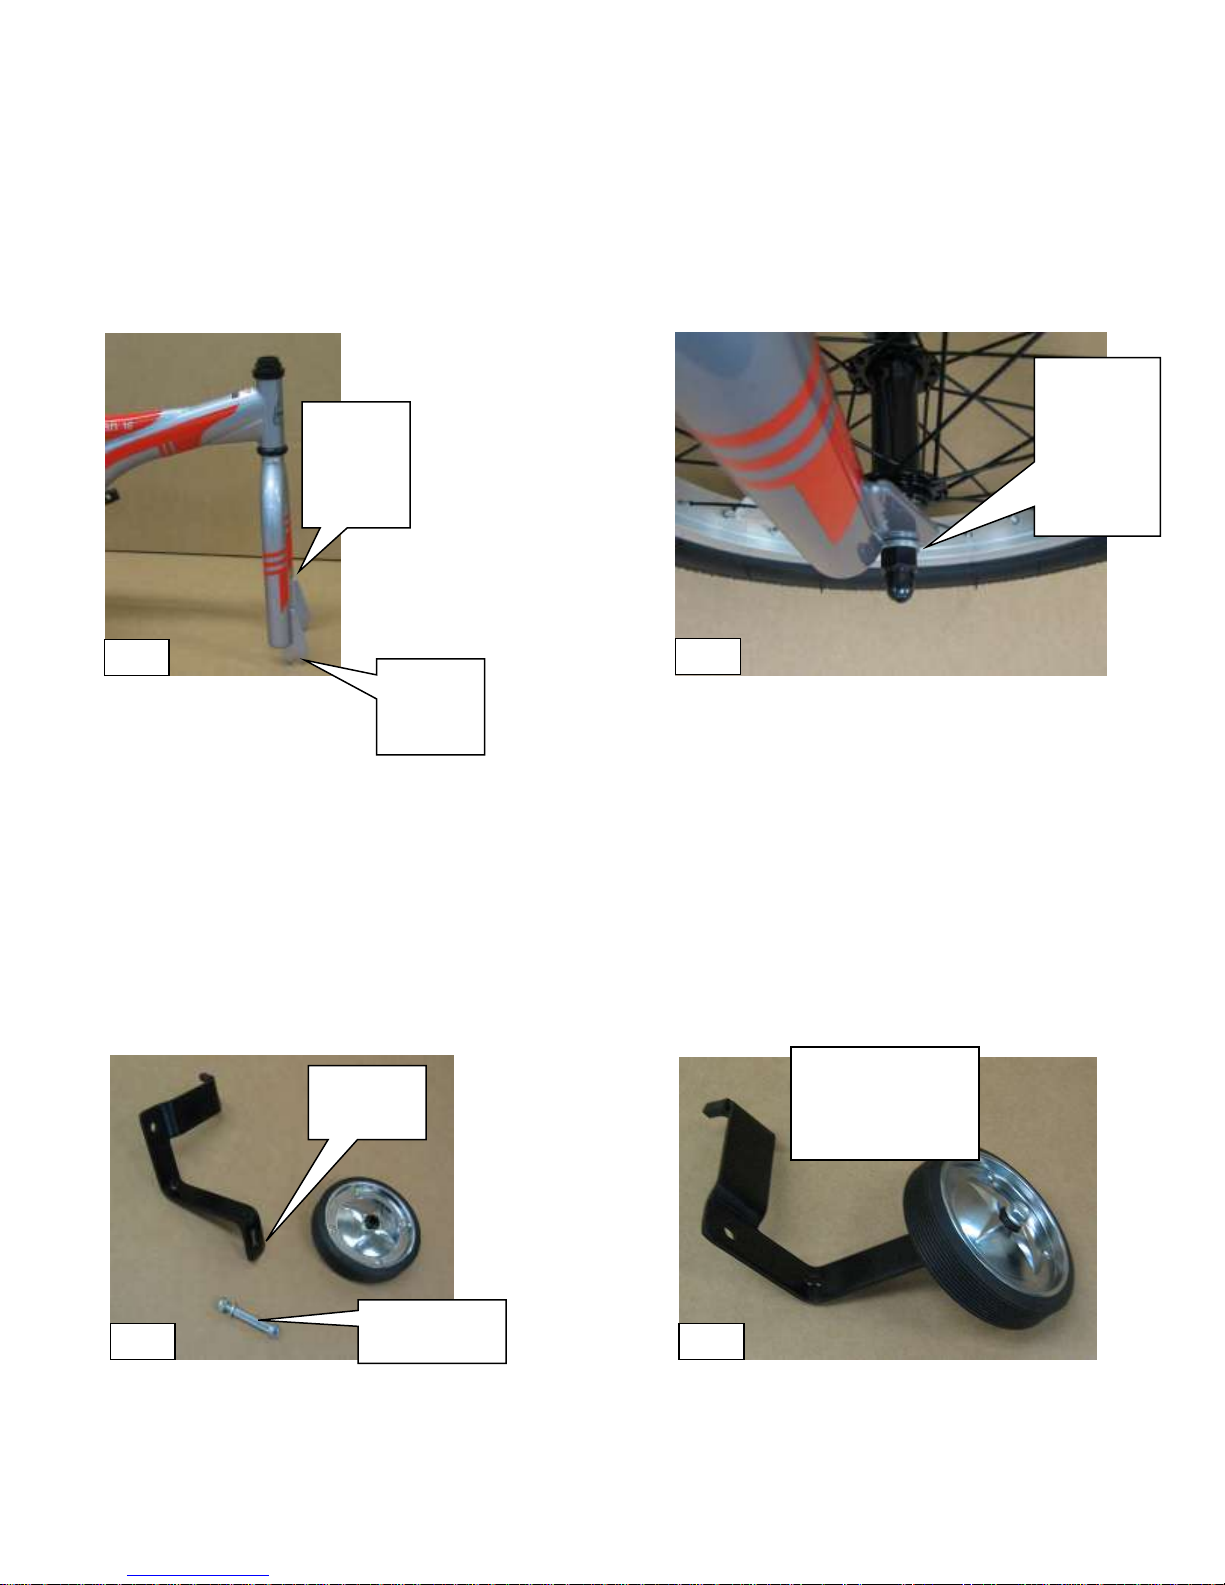
Safety
washer
and 15mm
nut in
proper
position
Fork in
correct
forward
position
Dropout
portion
of fork
1-B
1-A
Training
wheel bolt
Wheel
slot
2-A
2-B
Training wheel
correctly
mounted to
bracket
1. FRONT WHEEL
Required tools – 15mm wrench or adjustable wrench
Position the fork so that it is facing forward (1-A). Remove the outside 15mm nut and safety washer from each side of
the axle. Slide wheel axle into the slots at the bottom of the fork. Place a safety washer on each side of the axle. The
smaller end of the washer should be facing the fork (1-B). Ensure that the narrow portion of the safety washer is seated
fully into the rounded portion of the fork dropout. Carefully thread on a 15mm nut to each end and tighten with a
wrench.
2. INSTALL TRAINING WHEELS
Required tools – two 13mm wrenches, 15mm or adjustable wrench
Remove the training wheels, brackets, and training wheel bolts from the parts box. Remove the locknut and washers
form the training wheel bolt. Slide the bolt through the training wheel. Place one washer on the bolt next to the wheel.
Insert the training wheel and bolt through the wheel slot on the bracket. Place the second washer on the bolt and
carefully thread the locknut on. Tighten the lock nut with two 13mm wrenches or adjustable wrenches. Repeat the
process with the other training wheel and bracket.
QUESTIONS: Should you have any questions during the final assembly of your new bicycle, please call our product 3/6/14
specialists at 800-226-7552 any day between 8:00 a.m. and 10:00 p.m. Eastern. pg.2
 Loading...