

Lionel Flatcar, VISION Line Flatcar Owner's Manual
Flatcar with
Operating Billboard
Owner’s Manual
Flatcar with
Operating Billboard
Owner’s Manual
LIONEL
LIONEL
73-7006-250
10/19

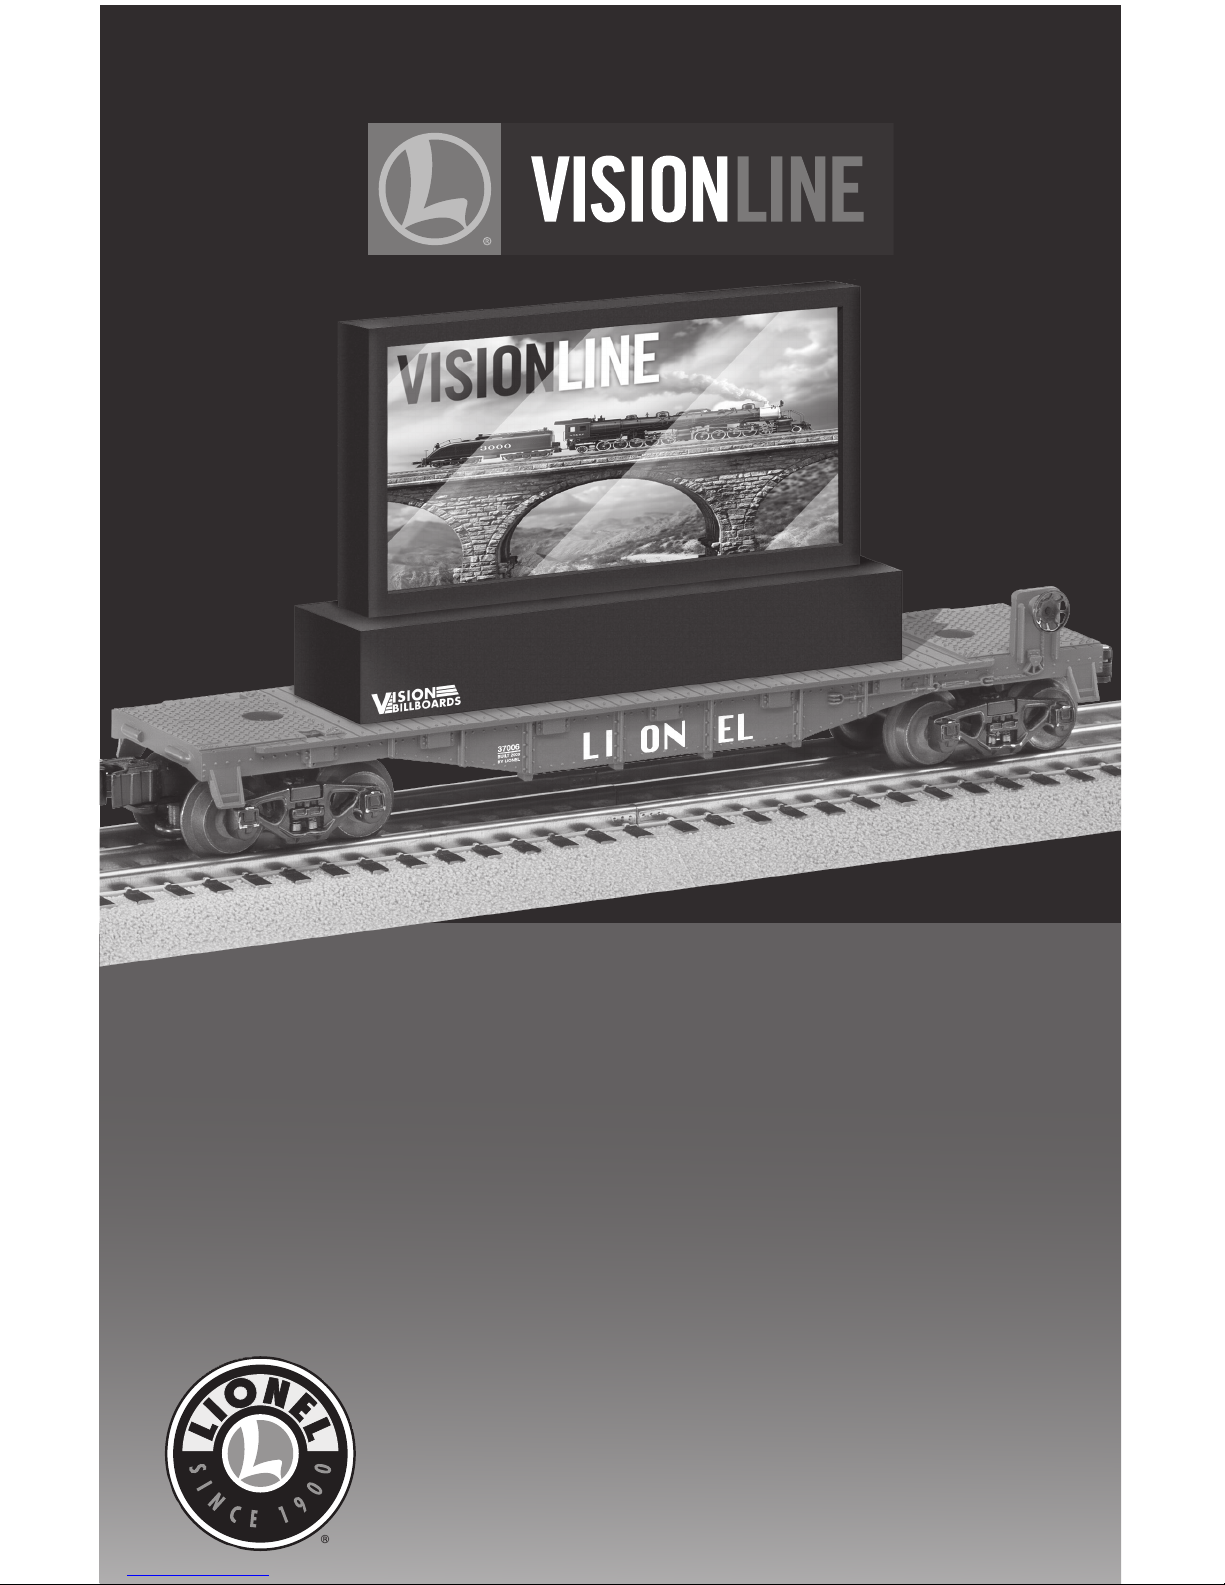
Congratulations on your purchase of the VISION Line™ Flatcar with LCD
Billboard! This technically advanced freight car features an operating 3.5 inch LCD billboard
that displays customized images, plays picture slideshows, video clips, and more. The LCD
billboard can be removed from the flatcar, so place it anywhere on your layout. Recharge the
battery easily with the included 120 volt power adapter, and connect the billboard to your
computer with the included USB cable. An easy way to add a new dimension to your layout,
this VISION Line freight car gives you the chance to personalize your train environment with a
slideshow of your own making.
2
The following Lionel marks may be used throughout this instruction manual and are protected under
law. All rights reserved.
Lionel
®
, TrainMaster®, Odyssey®, RailSounds®, CrewTalk™, TowerCom™, DynaChuff™, StationSounds™,
Pullmor
®
, ElectroCoupler™, Magne-Traction®, CAB-1® Remote Controller, PowerMaster®, Lionel
ZW
®
, ZW®, PowerHouse®, TMCC®, Lionelville™, Lockon®, Wireless Tether™, LionMaster®, FatBoy™,
American Flyer
®
, TrainSounds™, PowerMax™, LEGACY™, PowerMax™ Plus, Odyssey II™, LEGACY
RailSounds
™
, FasTrack
™
Table of Contents
First Look 3
Charge the Battery 4
View Preloaded Images 4
View Images that are on a SD/MM Card 5
Customize Image Default Settings 5
Connect to a PC 6
Other Features— Video, Calendar, Text Read, Sleep 7-11
Limited Warranty/Lionel Service 12
3
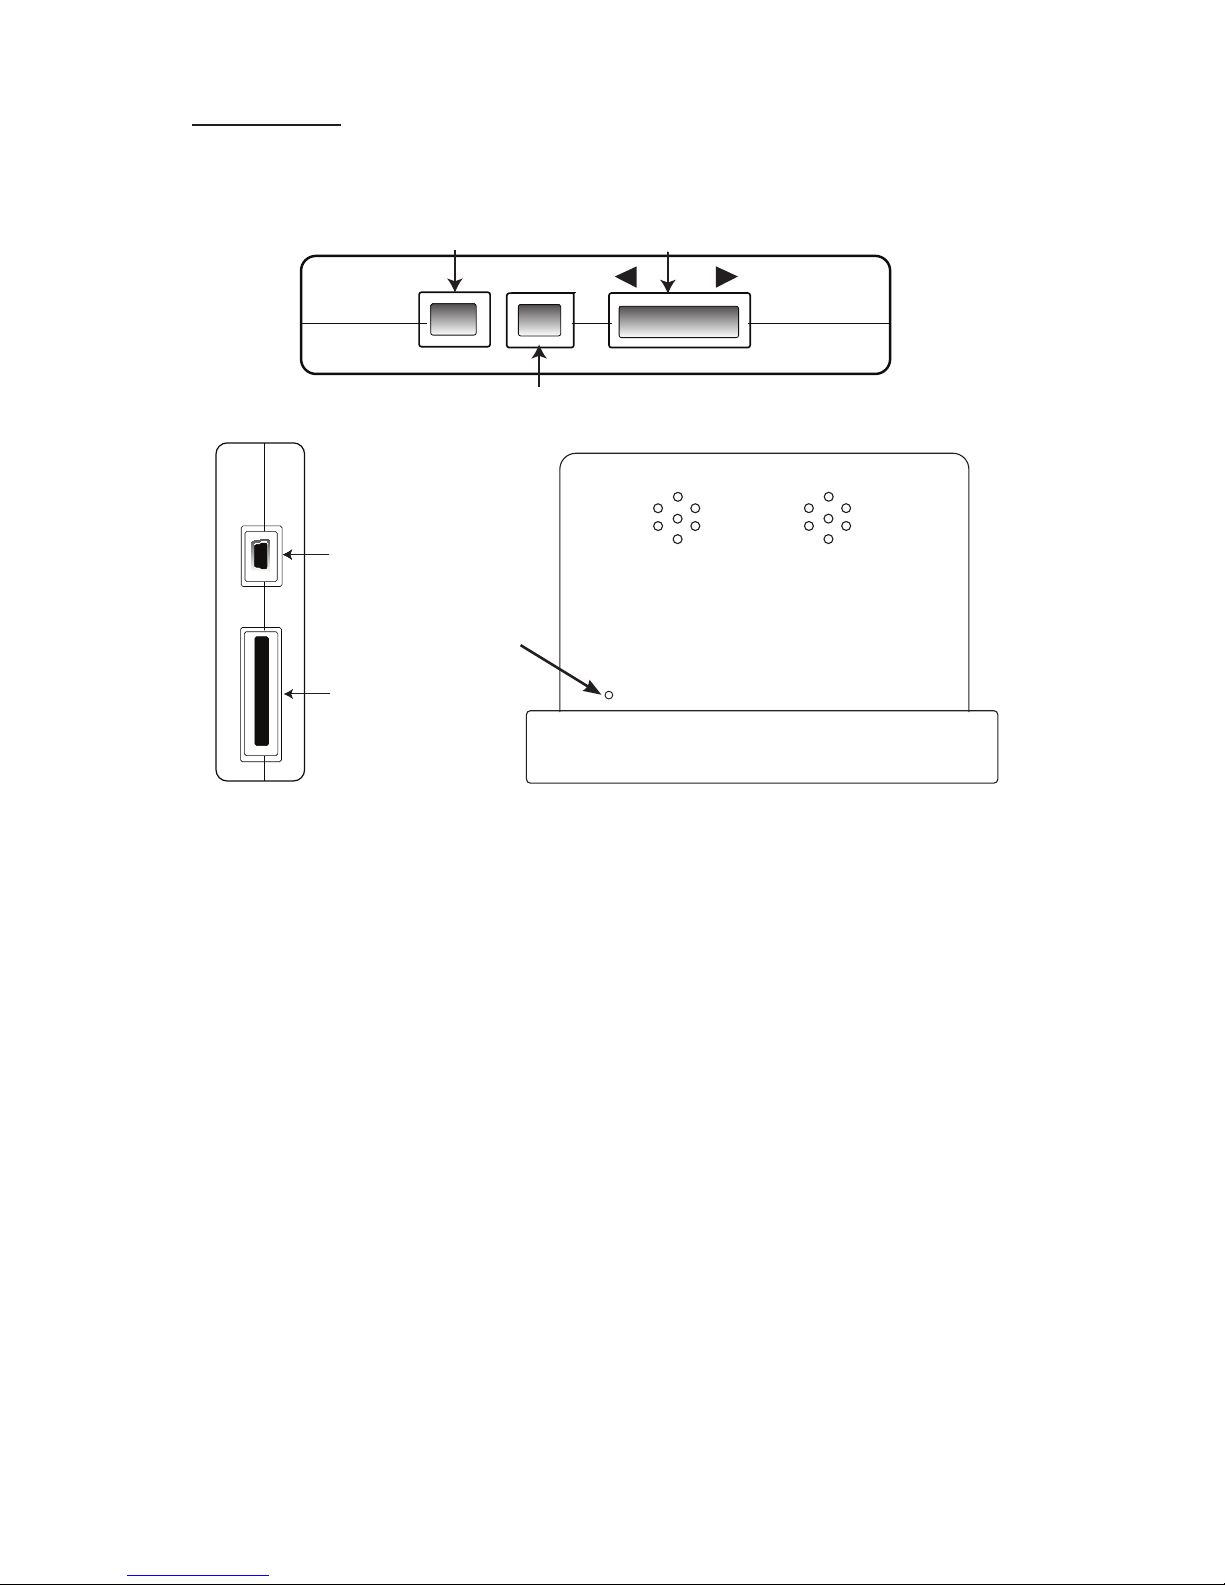
SD/MMC Port
Insert SD or MultiMedia card in this slot to play additional media
USB Port
Connect to a USB cable to charge the billboard battery and to connect to your PC
Power/Confirm Button
Hold down for a few seconds to turn the power on and off
Press once to confirm selections and settings
Menu Button
Press once to return to the Main Menu screen
Press twice to connect to a PC
When in any play mode, press twice to return to the main menu
Scroll Arrow Buttons
Press either arrow button to scroll through the icons on the Main Menu
or through files on an inserted SD/MM Card
Press either button to customize settings within the SETUP menu
First Look
Please take a few minutes to review the main controls and ports on the LCD
billboard
USB
Port
USB
Port
SD/MMC
Port
Power/Confirm
Scroll Arrows
Menu
Figure 1
Figure 2
Reset hole.
Figure 3
3
4
Note!
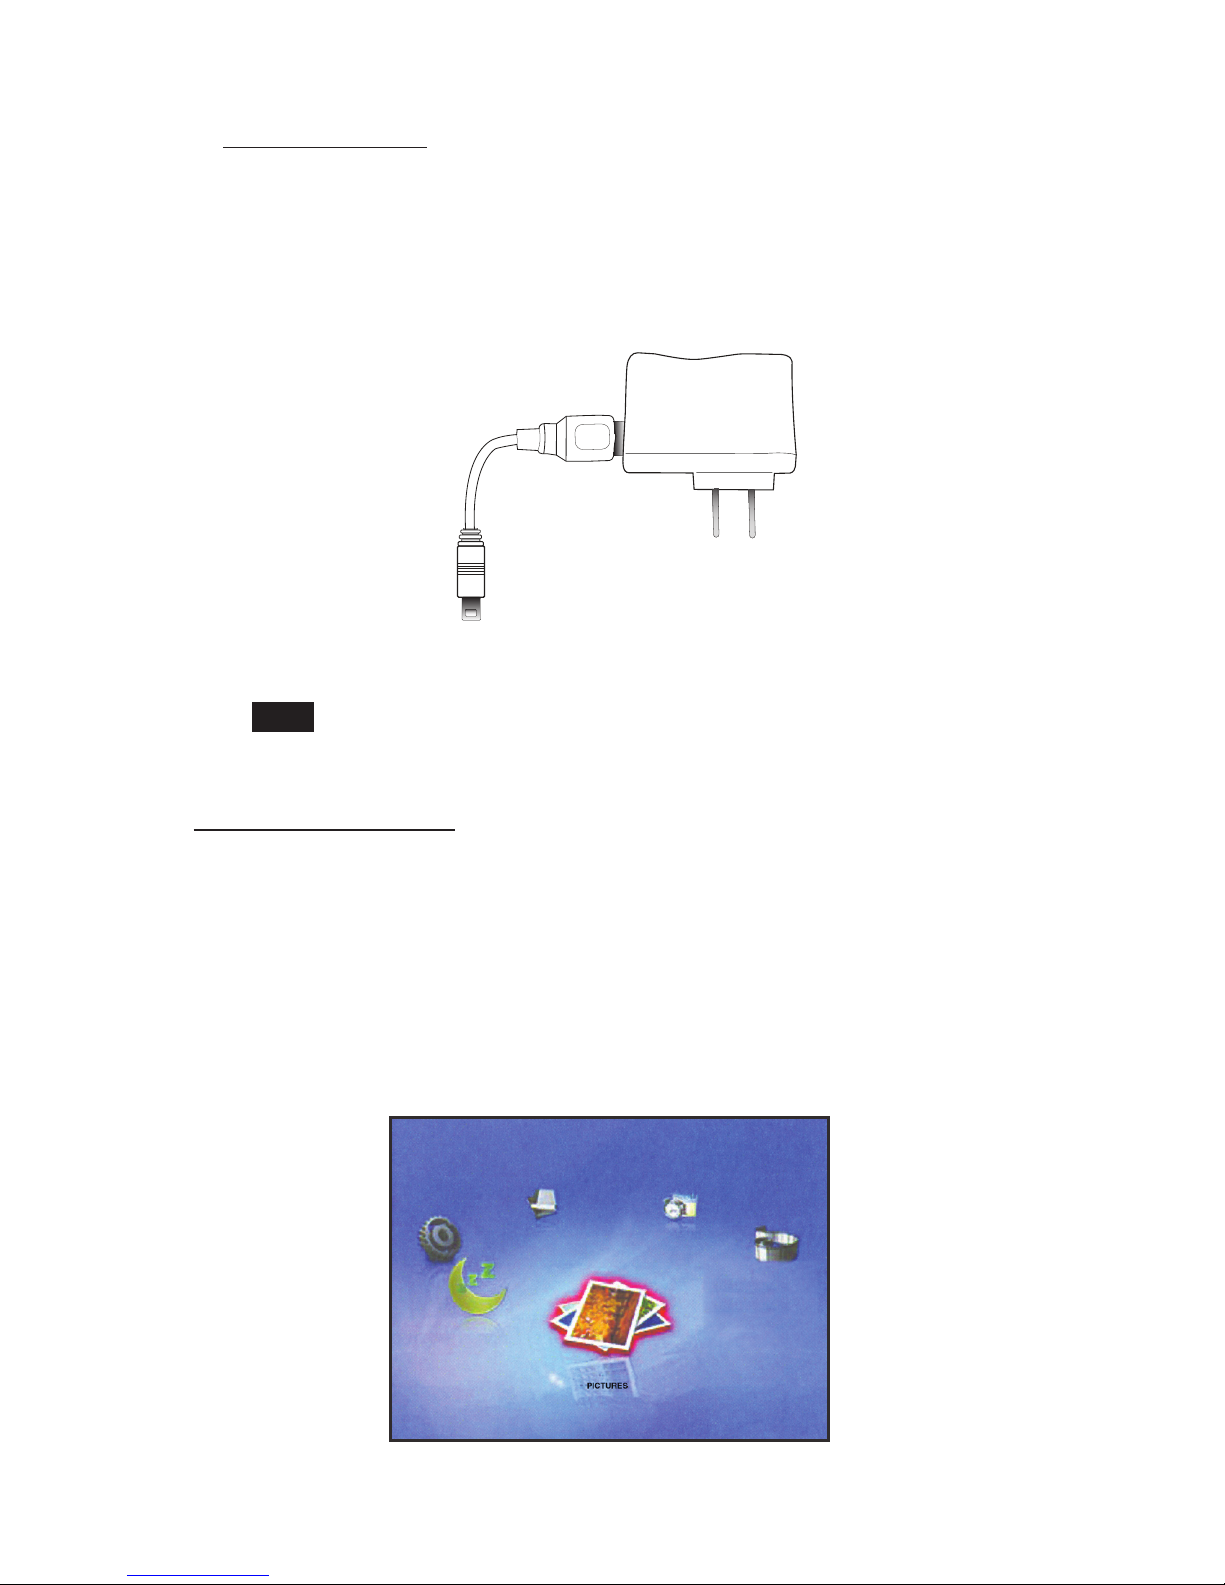
Charge the Battery
1. Connect the USB end of the cable into the USB port on the side of the billboard
(see Figure 4)
2. Plug the other end into a power outlet. At the top of the display screen, you will see a
"Charging" message.
3.Charge the unit until you see the message at the top of the display screen change to
"Charge Complete".
Figure 4
View Preloaded Images
1. Press and hold down Power/Confirm button for a few seconds to turn the billboard on. The
main Menu Screen will appear. (see Figure 5)
2. Use the arrow buttons to scroll through the Main Menu options until the Pictures icon is
highlighted, and then press the Power/Confirm button to activate
3. Your display screen will now play the preloaded pictures at default settings
Note: If the billboard remains powered on in the Main Menu, after a few minutes the display
screen will automatically begin to display the preloaded image, even if you do not choose the
Pictures icon.
You can also charge the billboard by connecting your billboard directly
to your PC with the USB 2.0 Cable
Figure 5
Plug this end into wall socket.
Plug this end into billboard USB port.
 Loading...