

Lionel North Pole Pylon Owner's Manual
71-4079-250
7/00
North Pole Pylon
Owner’s Manual
LIONEL
C
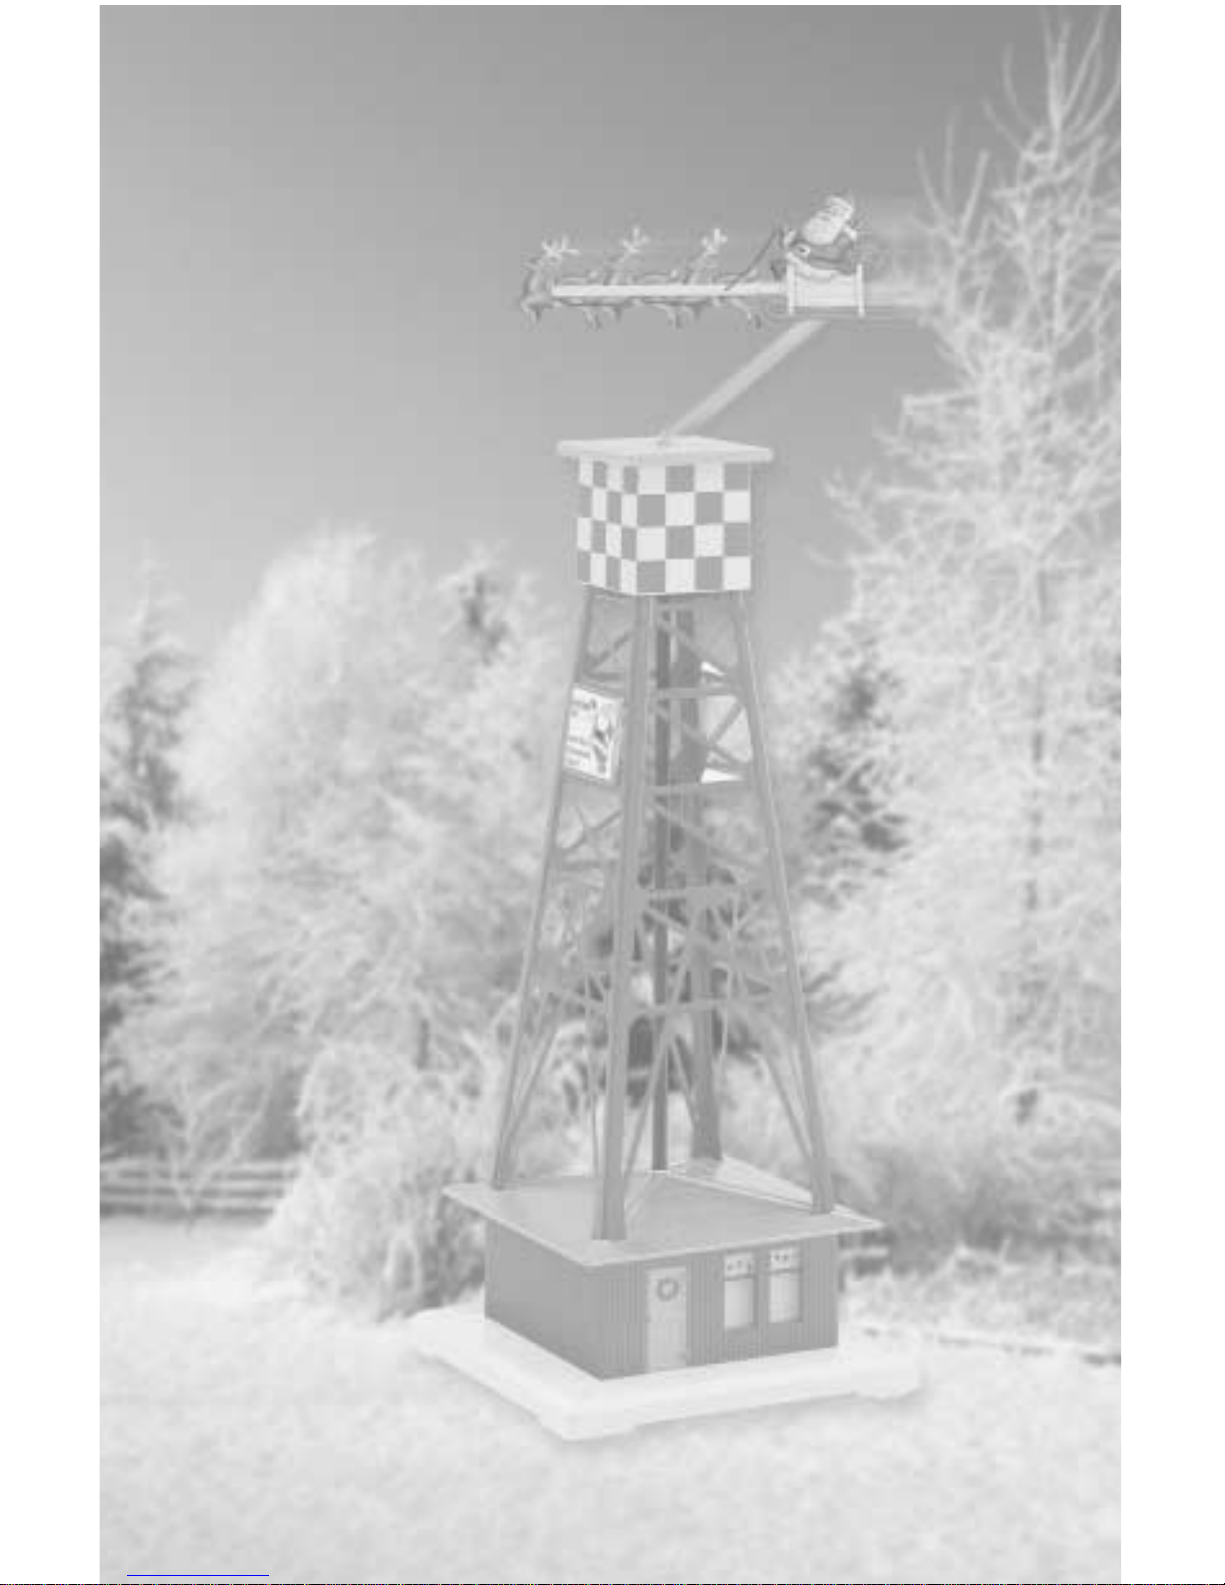
ongratulations on your purchase of the
North Pole Pylon. The North Pole pylon
is constructed of stamped metal and injection molded plastic and features a powerful
DC motor for years of reliable operation. The
North Pole pylon can be placed on any
Lionel O or O-27 gauge three-rail layout and
is designed to operate at 12-18 volts alternating current.
2
F
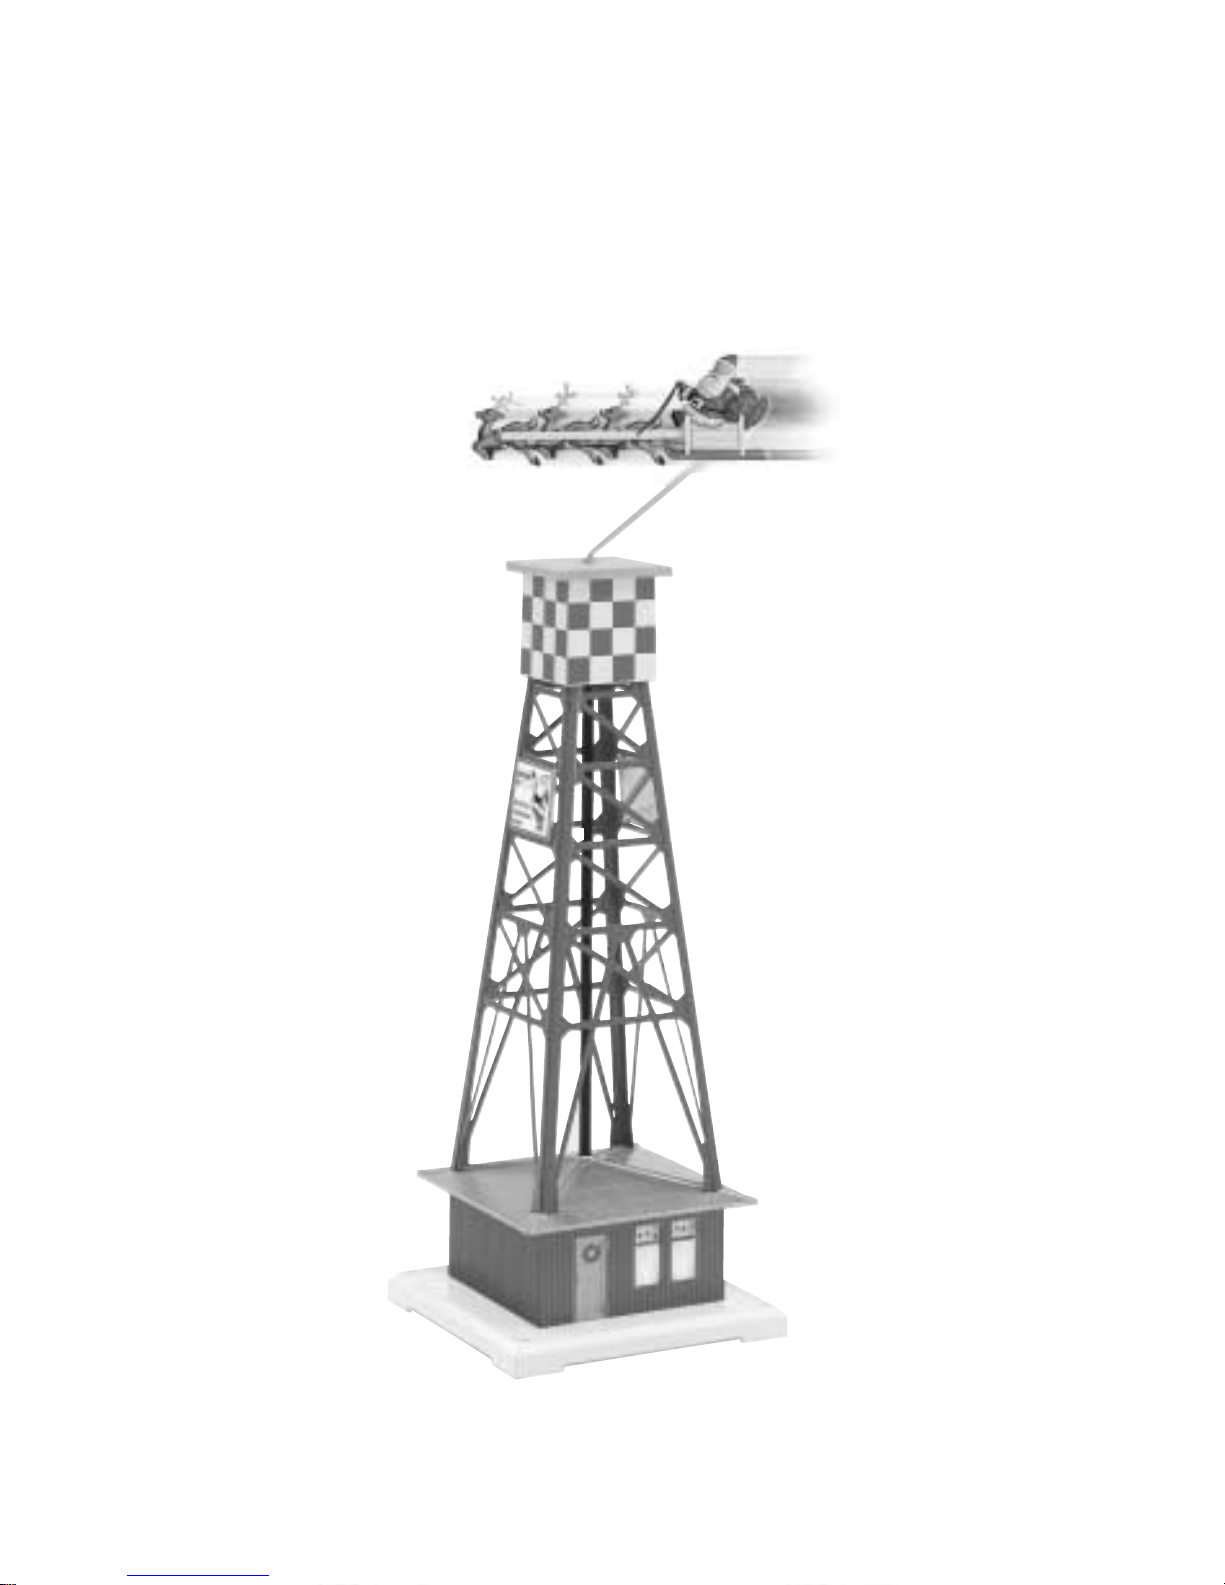
or optimum operation, its location on
your layout should be flat and level. We
have added four holes on the base to secure
your pylon to your layout. We highly recommend that you use at least two screws to
secure your pylon to your layout. It is a tall
accessory and could be easily tipped over.
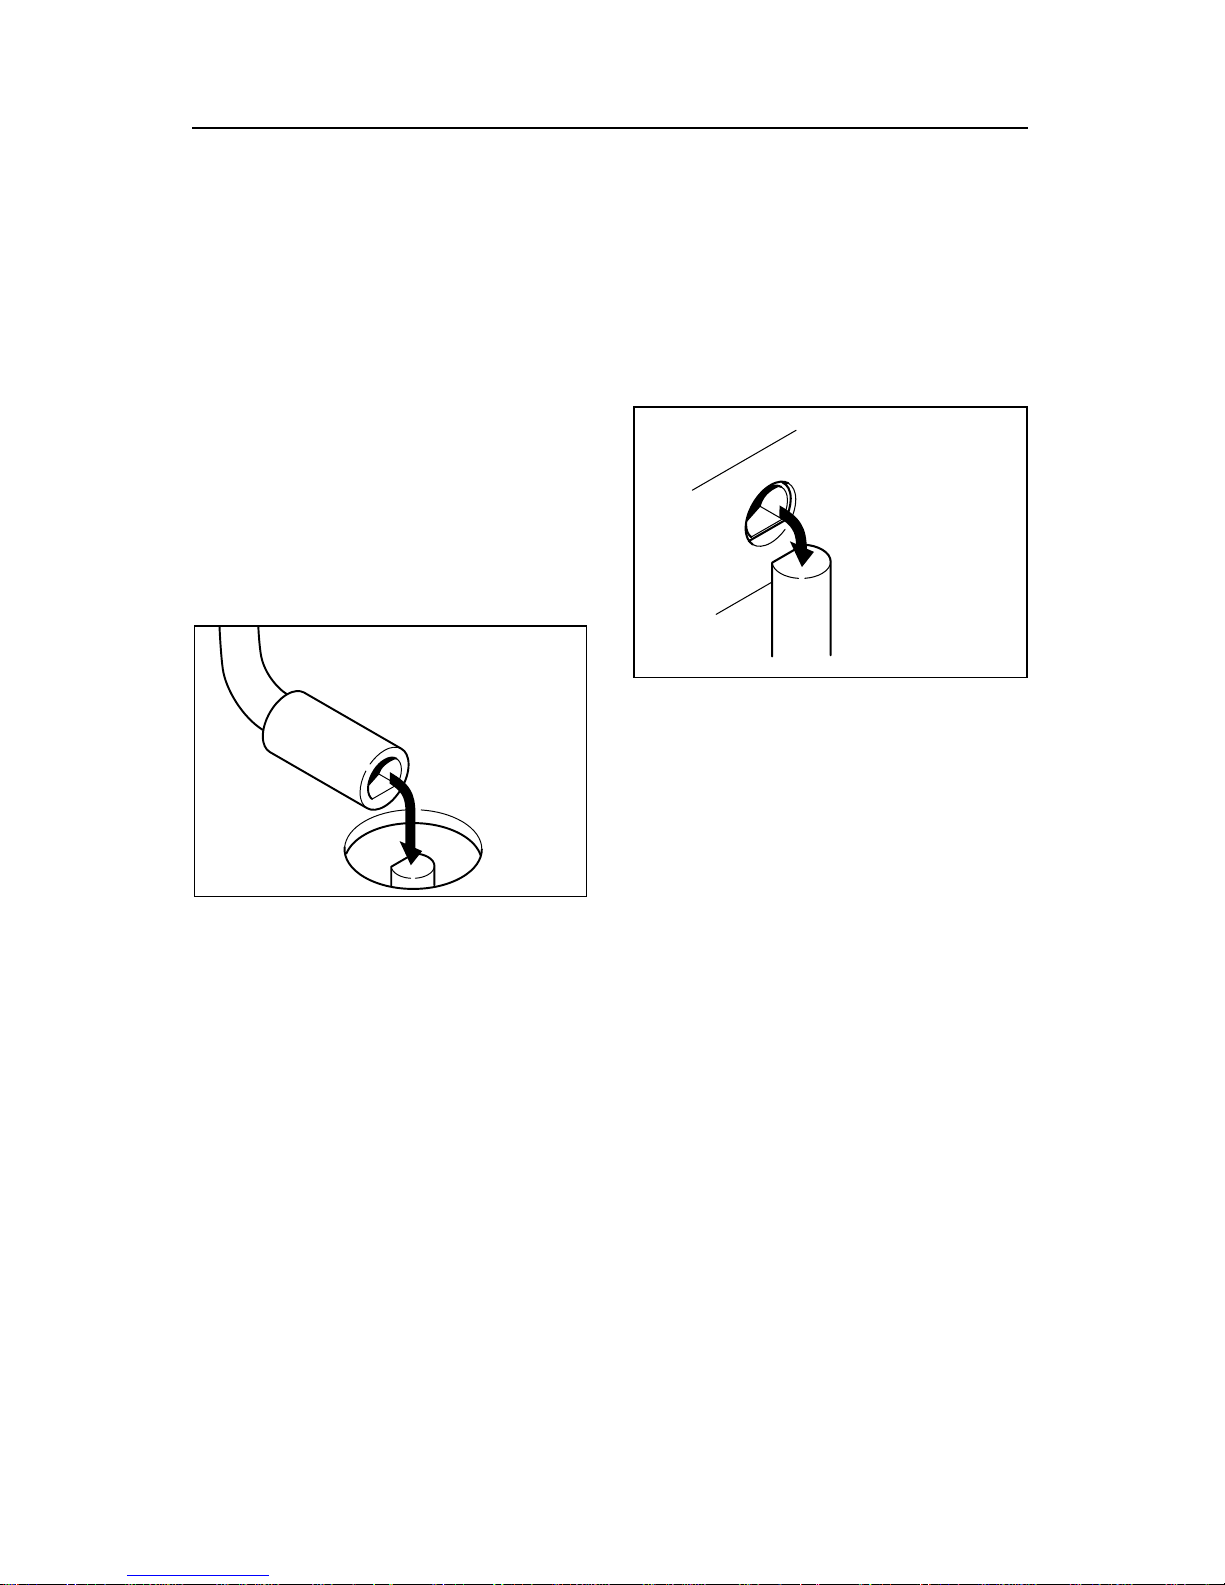
The next step is to take Santa’s supporting
rod and place the sleeved end into the hole
on the top of the pylon. You will notice that
the sleeved end has a “D” shaped sleeve.
Rotate the supporting rod until the sleeve
falls into the proper orientation in the hole.
Please see the diagram below for a better
understanding of this assembly.
You can now place Santa onto the other
end of the rod. There is also a “D” shaped
hole located under the reindeer closest to
Santa. Santa and his reindeer will fall into
proper orientation on the rod when the “D”
shapes are matched. Please see the diagram
below for a better understanding of this
assembly.
Now that you have completed these steps
and after you have wired your pylon
(described in the next section), you are ready
to operate your North Pole pylon. To operate
your North Pole pylon, just activate the
switch and enjoy watching Santa and his
reindeer on their yearly gift-giving voyage.
Santa’s support rod (bottom)
Santa’s support rod
(top)
Mounting hole on
top of pylon
Mounting hole,bottom
of sleigh
Operation and Installation of your North Pole Pylon
 Loading...