

Lionel Caboose, Bay Window and Extended Vision Caboose Owner's Manual
Lionel
Bay Window and
Extended Vision Caboose
Owner’s Manual
71-7627-250
5/13

C
ongratulations on your purchase of the Lionel Bay Window or Extended Vision Caboose!
These cars feature a fully detailed, lighted interior, separately applied handrails and
catwalks, and operating smoke unit. The Bay Window or Extended Vision Caboose are perfect
for any O-27 or O gauge layout.
Do not operate the car without smoke fluid if the smoke unit switch is in the ON
position. See page 4.
Congratulations
2
Installing the roof details 3
Removing the cupolar (Extended Vision Caboose only) 3
Adding smoke fluid to your caboose’s smoke unit 4
Switching your smoke generator ON or OFF 5
Installing the scale smokestack 6
Replacing the interior lamps 7
Limited Warranty/Lionel Service 8
Table of contents
The following Lionel marks are used throughout this Owner’s Manual and are protected under
law. All rights reserved.
Lionel
®
, LEGACY™, FasTrack®, TrainMaster®, Odyssey®, RailSounds®, CrewTalk™, TowerCom™,
DynaChuff
™
, StationSounds™, Pullmor®, ElectroCoupler™, Magne-Traction®, CAB-1® Remote
Controller, American Flyer
®
, Lionel ZW®, ZW®, MagniVision®, TMCC®, Lionelville®, Wireless
Tether
™
, Powerhouse™, LionMaster®, Conventional Classics™, Postwar Celebration Series™,
TruRail
™
, PH-1 Powerhouse®, Powermaster®, Powerstation-Powerhouse®, Accessory Motor
Controller
™
, AMC™, Accessory Switch Controller™, ASC™, Action Recorder Controller™, ARC™, Track
Power Controller 300
™
, TPC 300™, Track Power Controller 400™, TPC 400™, Block Power
Controller
™
, BPC™, Operating Track Controller™, OTC™, FatBoy™, Lionel Lines®, Joshua Lionel
Cowen Series
™
, Lockon®, TrainSounds™, MultiHorn™, MultiWhistle™, Choo-Choo
™
Note!
3
T
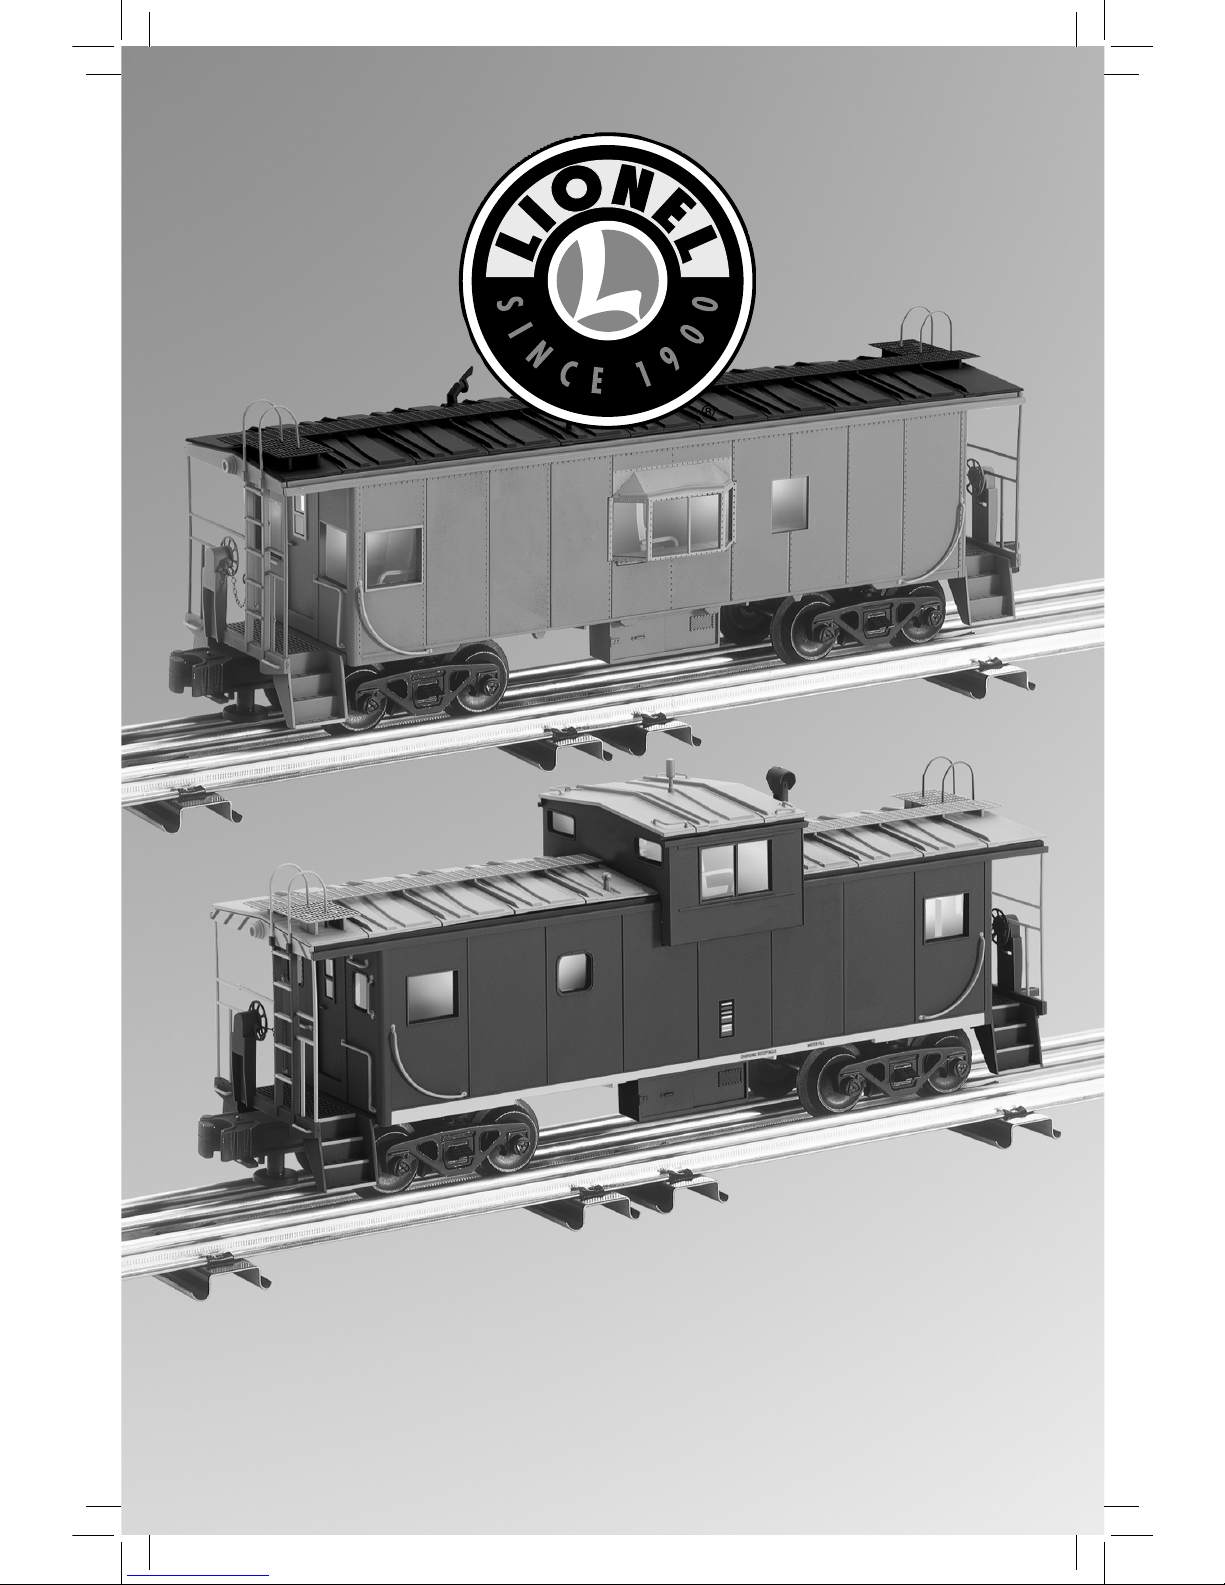
wo small roof details have been packed separately to prevent damage in shipping. Install
these pieces by pressing them into the locations shown in Figure 1.
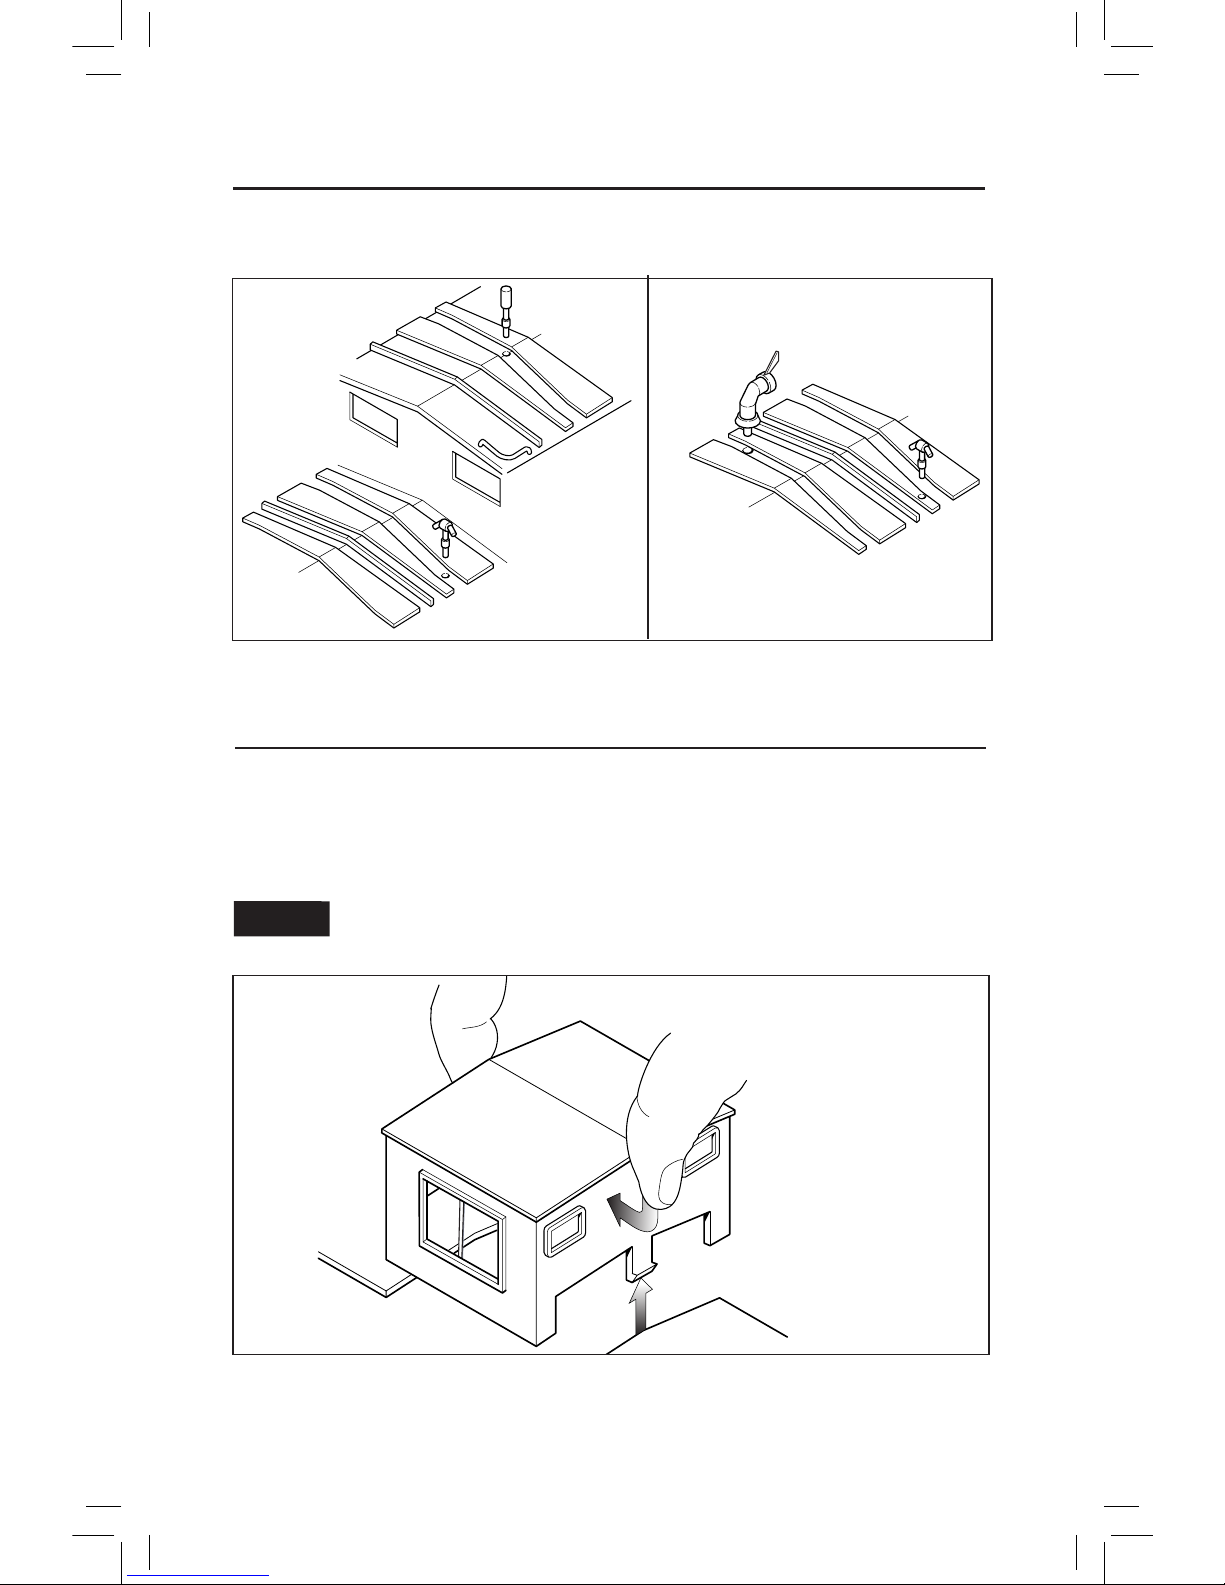
R
emove the cupola to view the interior details. First, pull the wire braces away from the
smokestack and slide them out of the cupola. Refer to Figure 5 on page 6. Then, carefully
squeeze the cupola inward, applying pressure between the two small windows on the front and
back sides as illustrated in Figure 2.
Be careful that you do not scratch the paint when removing the cupola from the
car.
Figure 2. Cupola removal (Extended Vision Caboose only)
Figure 1. Roof details
Installing the roof details
Removing the cupola (Extended Vision Caboose only)
Extended
vision
caboose
Bay
window
caboose
Caution!
 Loading...