

Lionel Bay Window, Extended Vision Caboose Owner's Manual
Lionel
Bay Window and
Extended Vision Caboose
Owner’s Manual
71-7658-250
4/04

C
ongratulations on your purchase of the Lionel Bay Window or Extended Vision Caboose!
These cars feature fully detailed, lighted interiors, operating smoke units, and separately
applied details. The trucks feature rotating roller bearing caps. The Bay Window and Extended
Vision Cabooses are perfect for any O gauge layout with O-31 minimum curves.
Congratulations
2
Installing the roof details 3
Operating the couplers 3
Removing the cupola (Extended Vision Caboose only) 4
Adding smoke fluid to your caboose’s smoke unit 4
Switching your smoke generator ON or OFF 5
Installing the scale smokestack 6
Replacing the interior lamps 7
Limited Warranty/Lionel Service 8
Table of contents
The following Lionel marks may be used throughout this instruction manual and are protected under
law. All rights reserved.
Lionel
®
, TrainMaster®, Odyssey®, RailSounds®, CrewTalk™, TowerCom™, DynaChuff™,
StationSounds
™
, Pullmor®, ElectroCoupler™, Magne-Traction®, CAB-1 Remote Controller®,
PowerMaster
®
, Lionel ZW®, ZW®, PowerHouse®, TMCC®, Lionelville™, Lockon®, Wireless Tether
™
The name FasTrack®is used with permission from Pitsco, Inc.
T
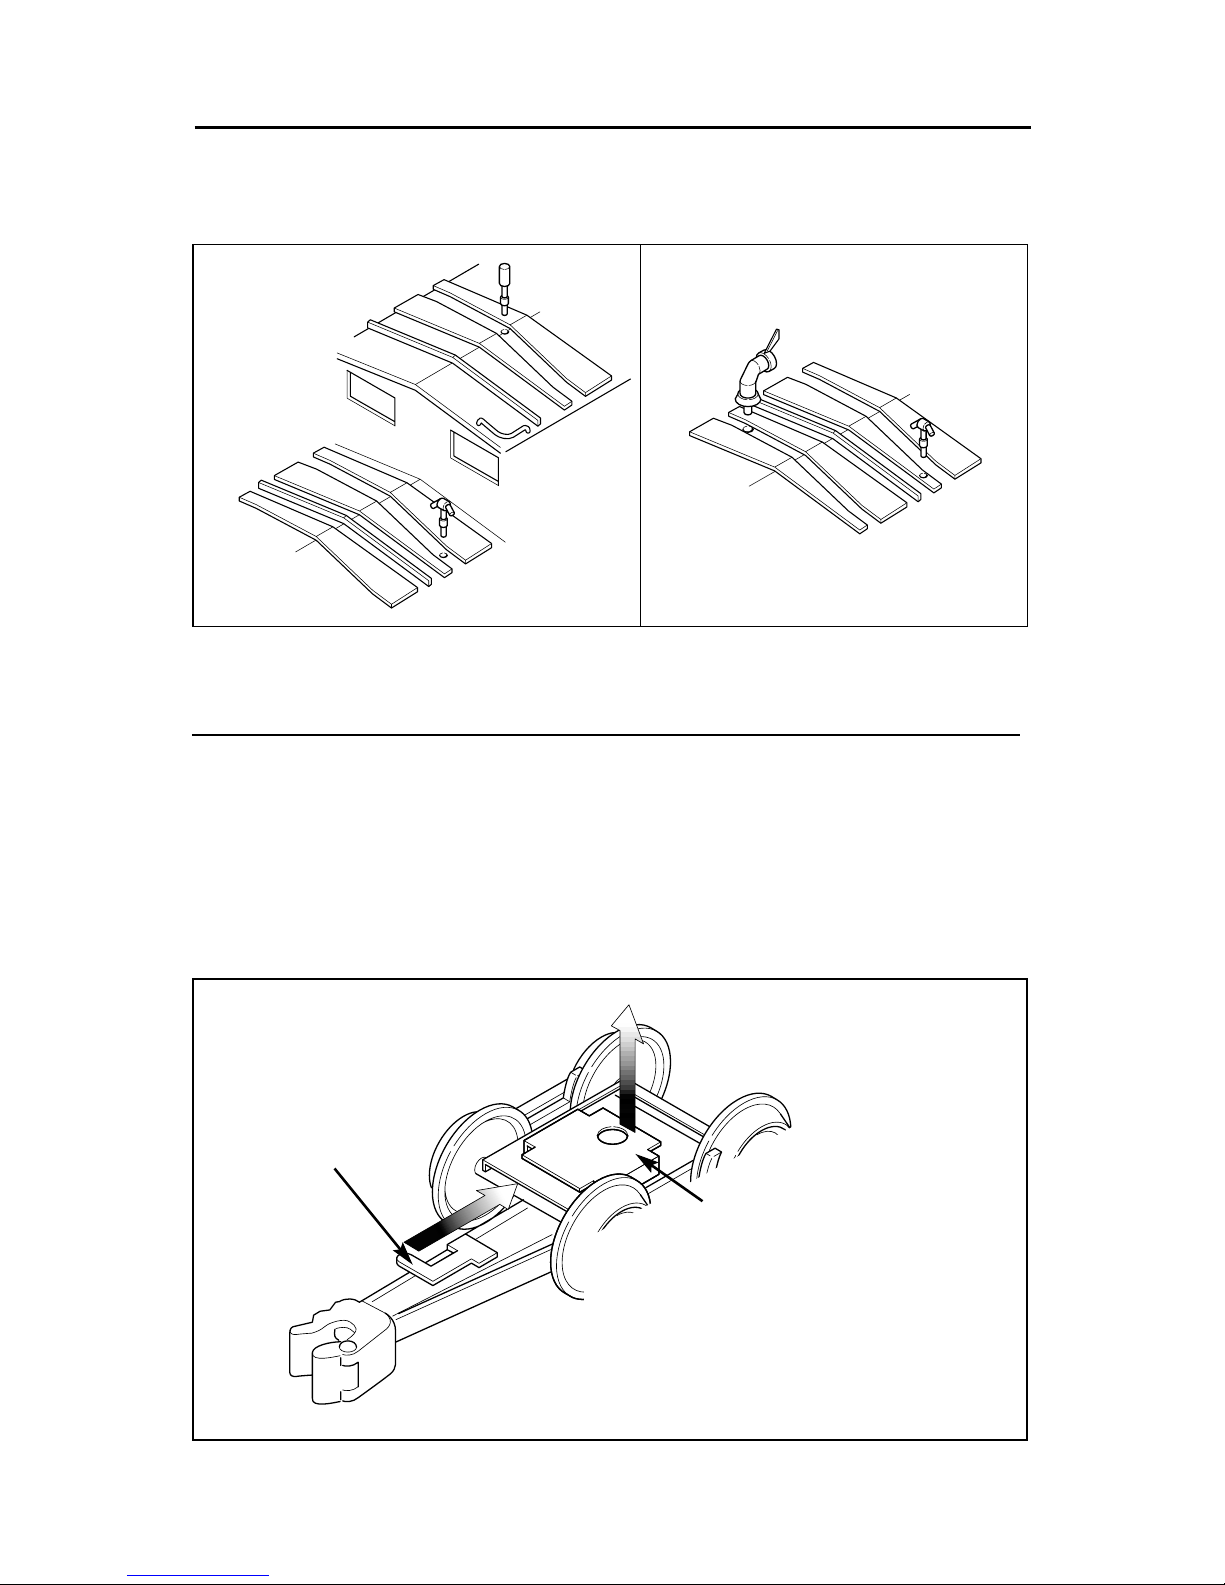
o operate the couplers by hand, slide the uncoupling tab on the side of the coupler shaft
back towards the car. Do not push down on the tab. To operate the couplers with a
Remote-Control Track section (available separately, 6-65530 for O gauge; 6-12746 or 6-65149
for O-27; or 6-12020 for FasTrack layouts), simply position the uncoupling trigger over the
magnetic disc on the Remote-Control Track section and press UNCOUPLE on the controller.
Refer to Figure 2 for the locations of the uncoupling tab and trigger.
Figure 2. Uncoupling tab and trigger locations
Uncoupling tab
Uncoupling trigger
Operating the couplers
Underside of Truck
3
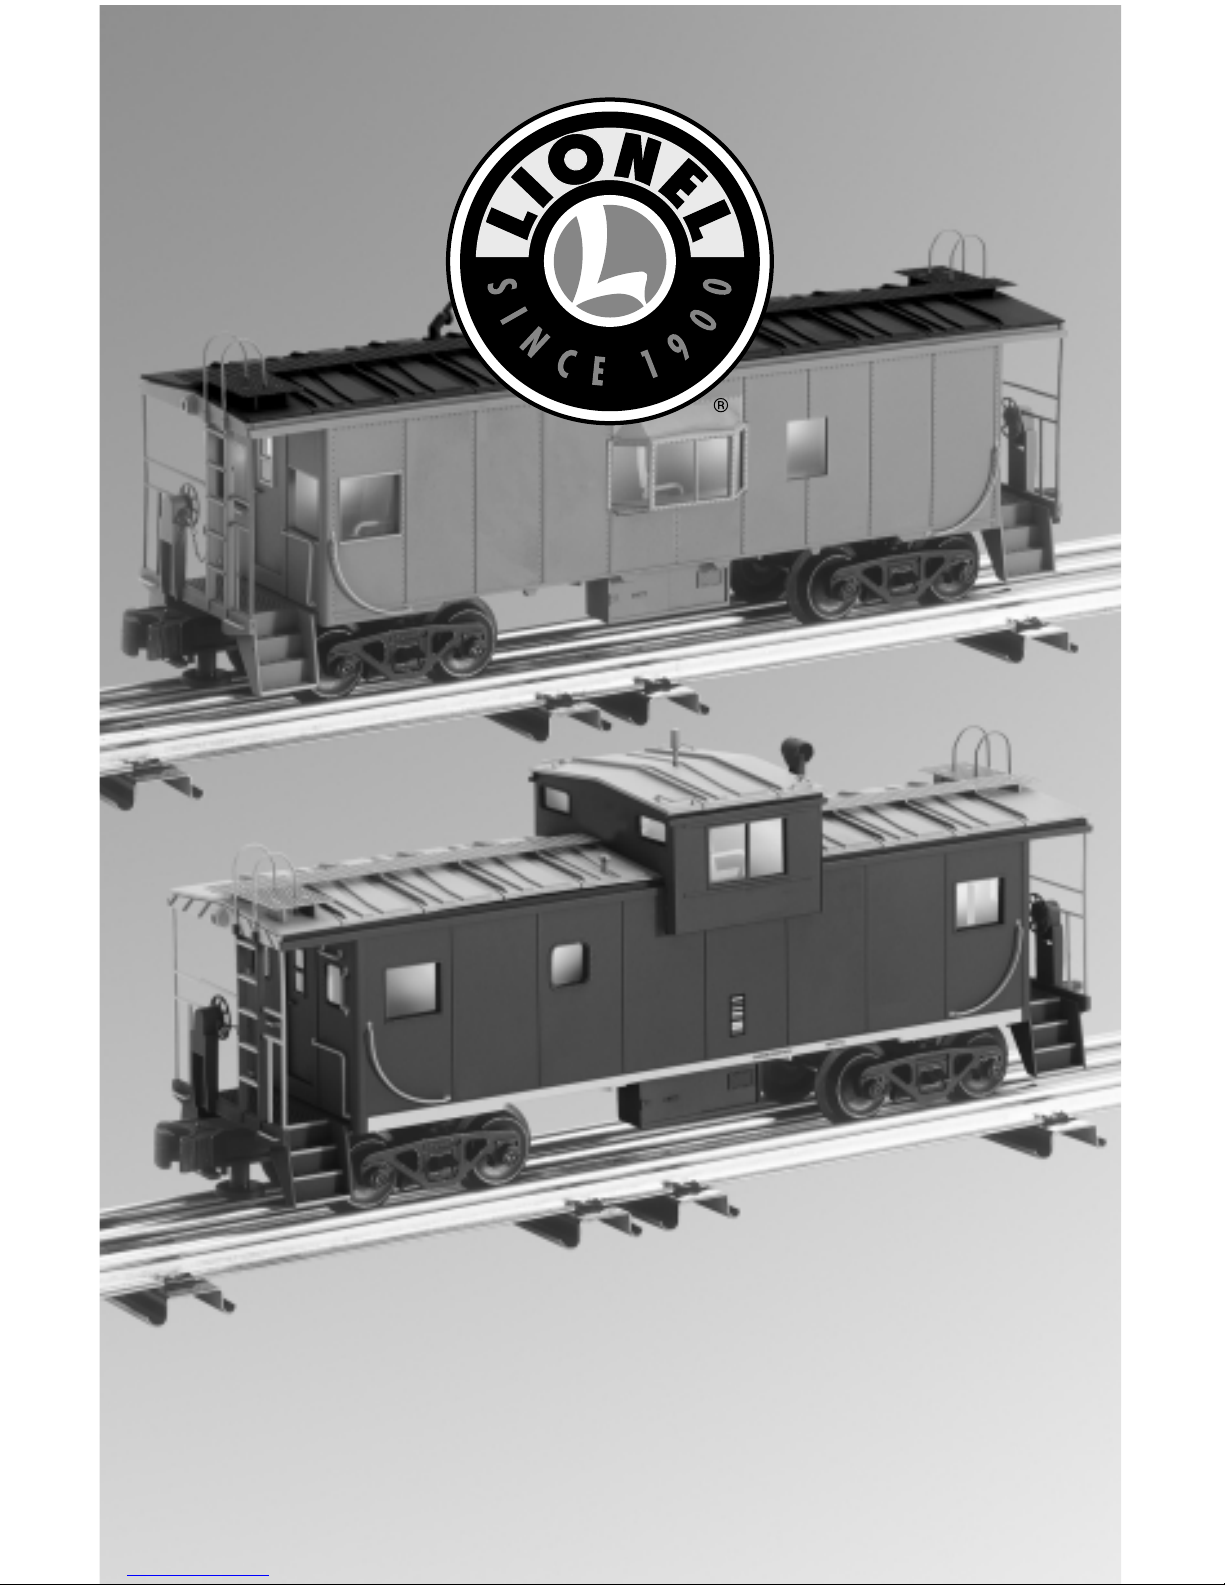
Figure 1. Roof details
T
wo small roof details have been packed separately to prevent damage in shipping. Install
these pieces by pressing them into the locations shown in Figure 1.
Installing the roof details
Extended
vision
caboose
Bay
window
caboose
 Loading...