

Page 1
Page 2

Product Overview
1
Page 3
router
2
Page 4
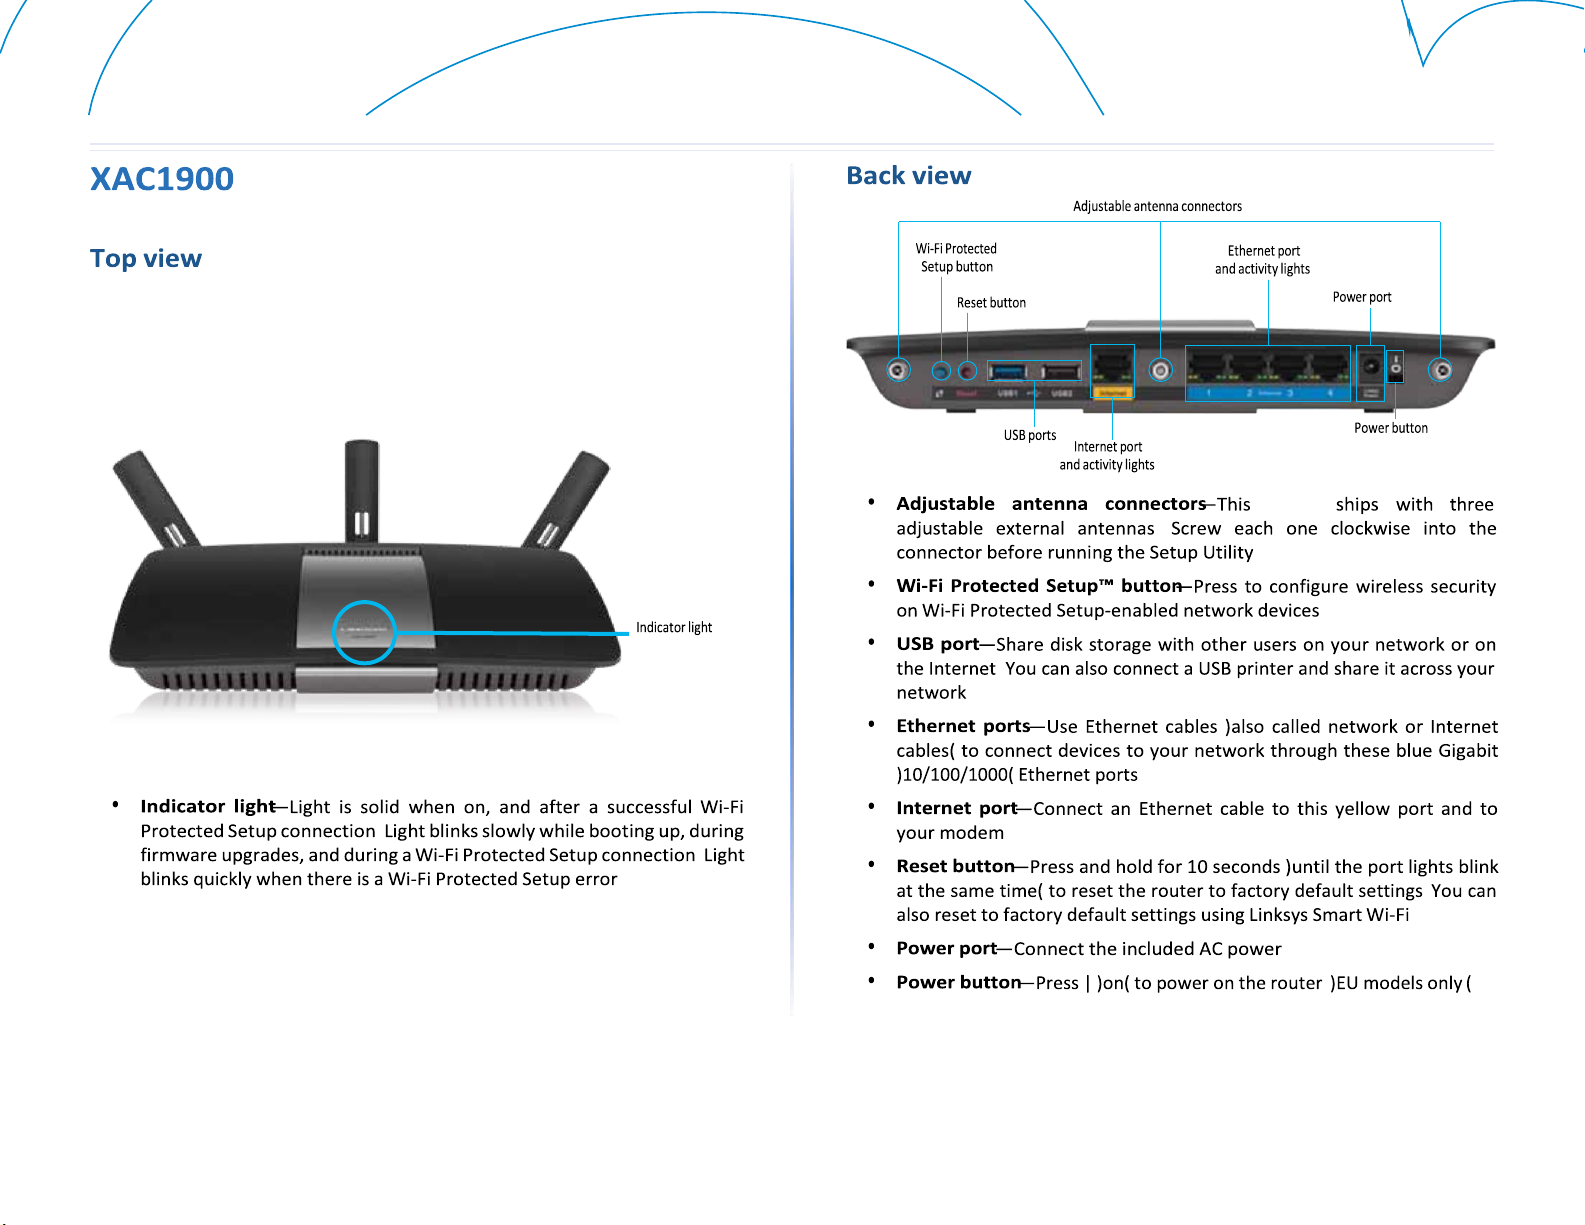
•
•
•
•
•
•
•
3
Page 5
Linksys XAC-Series
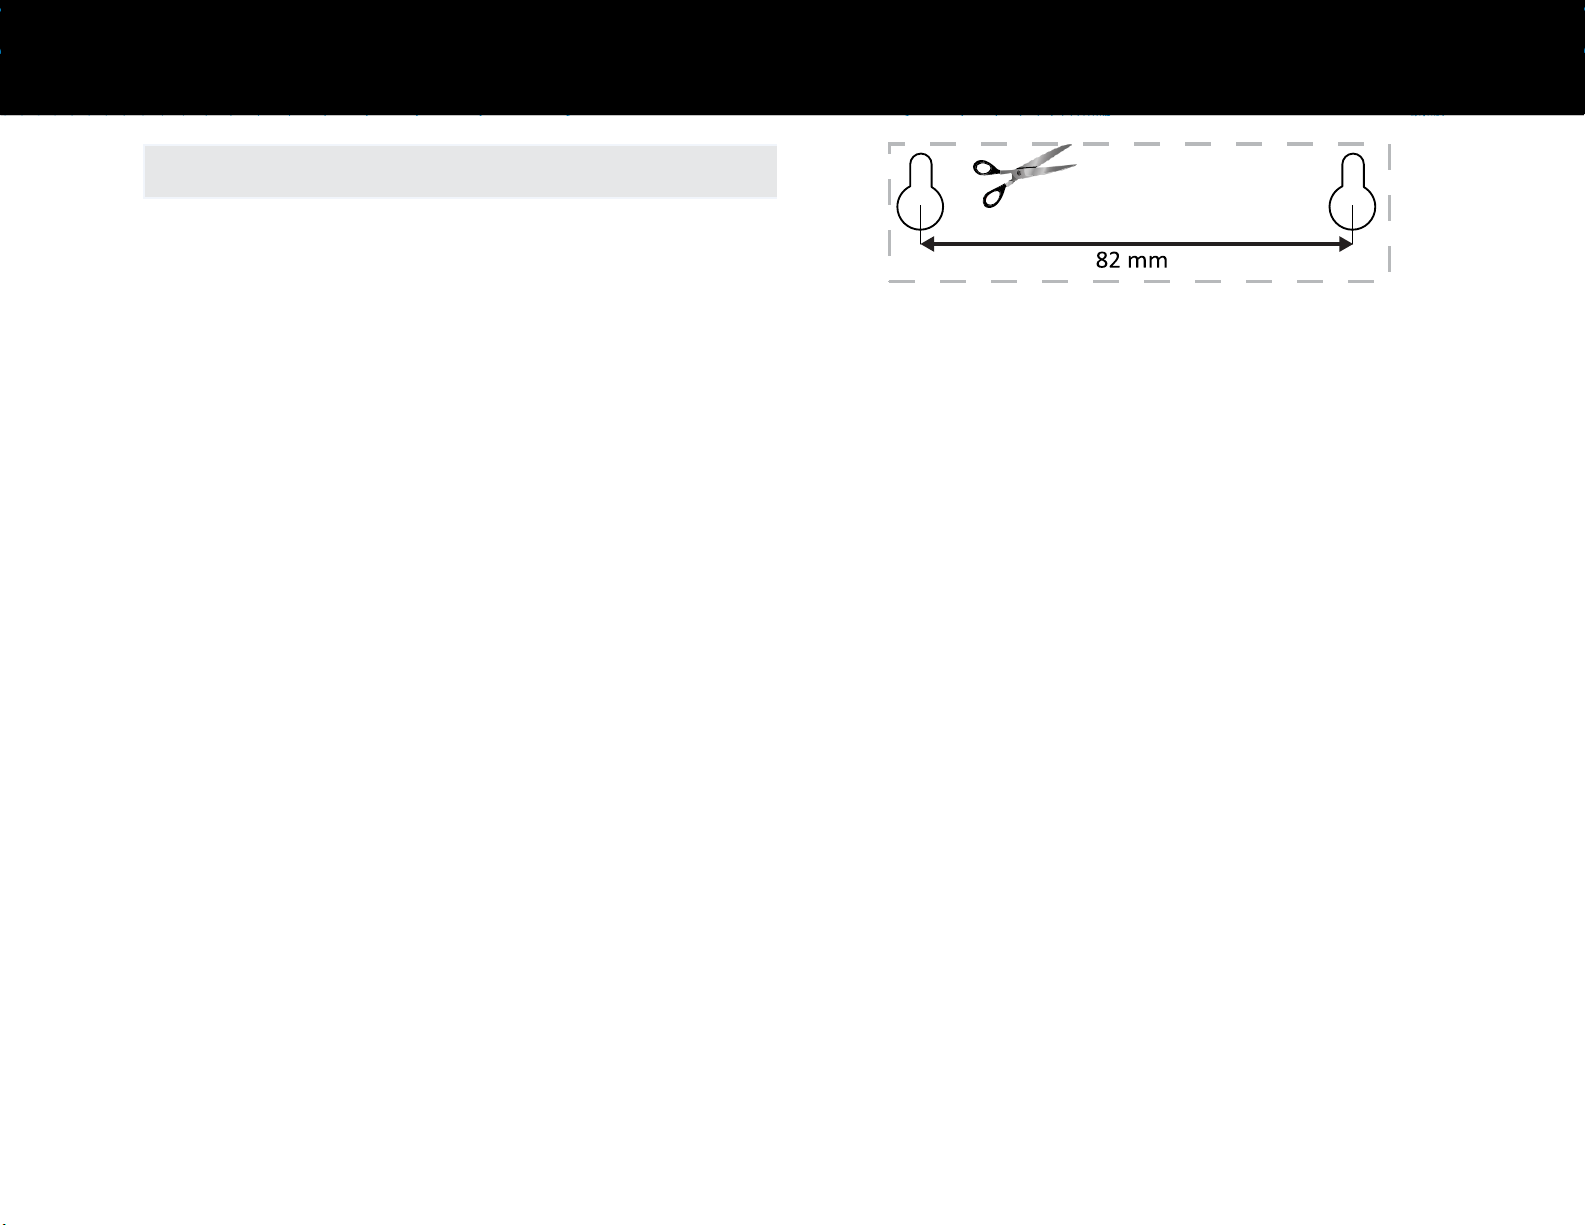
Wall-mounting placement
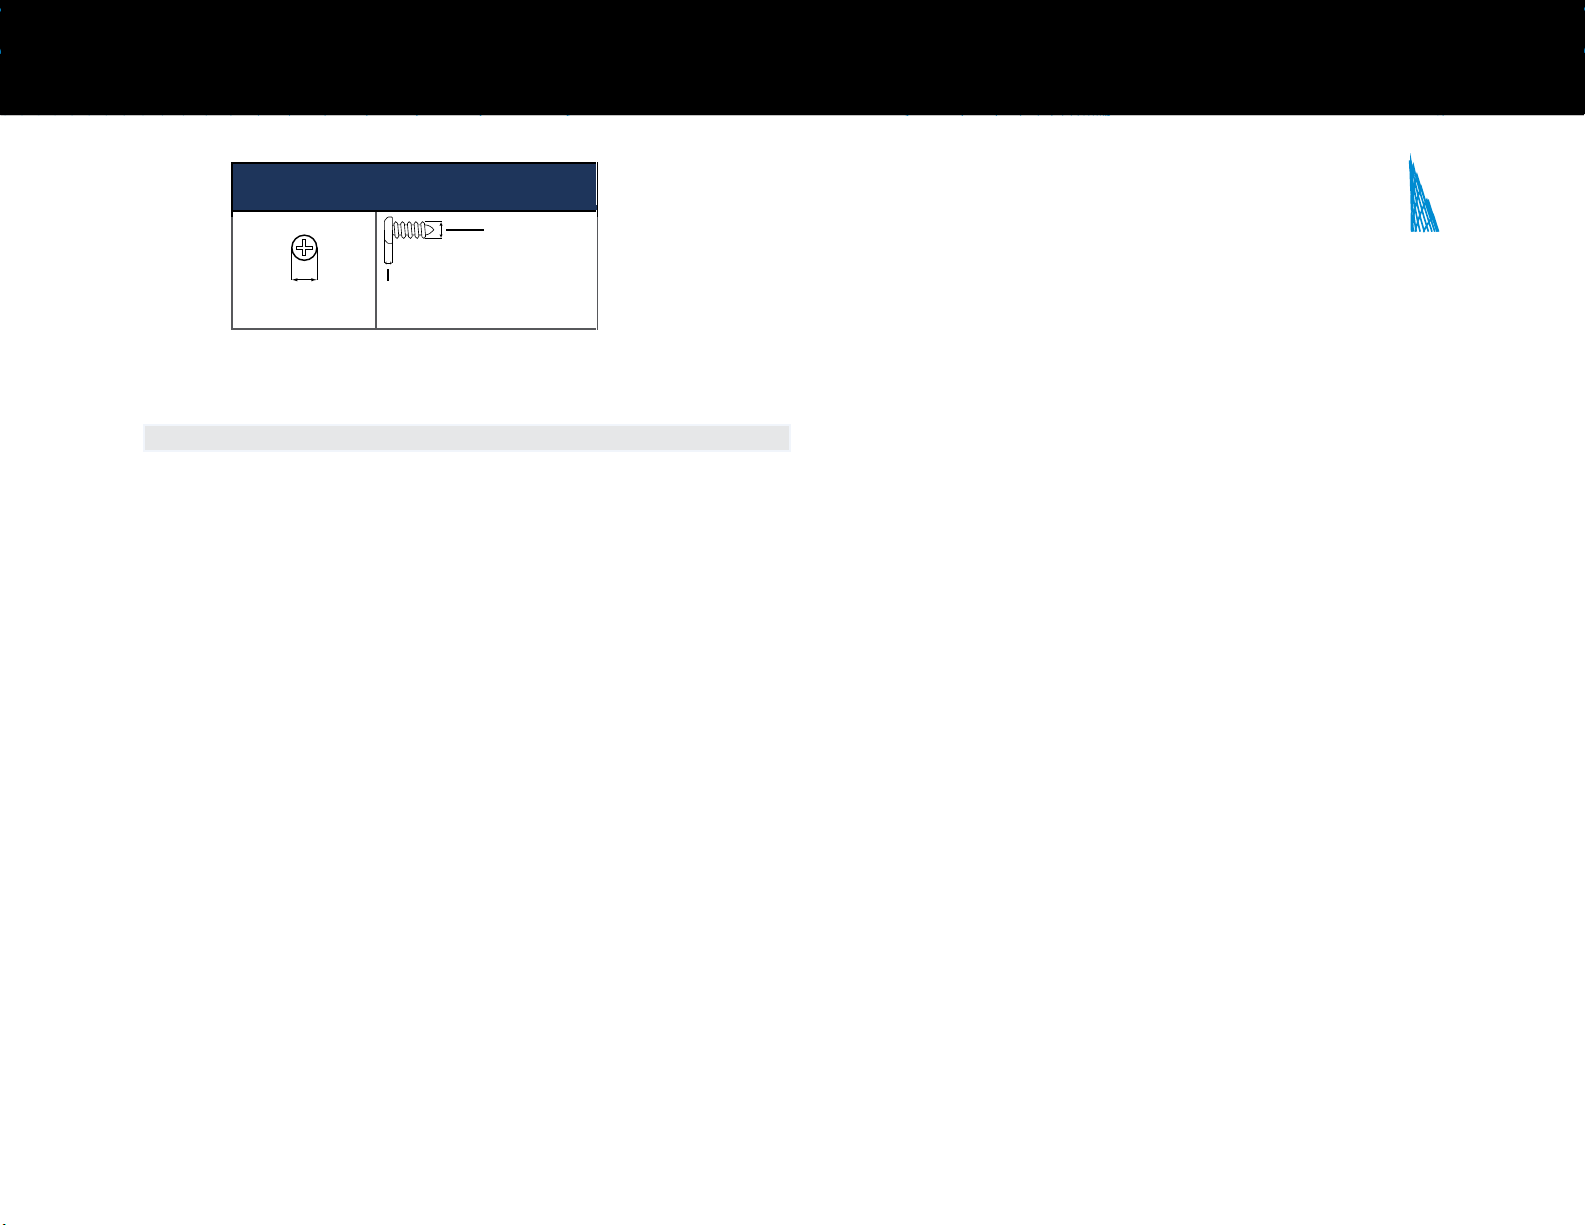
The router has two wall-mount slots on its bottom panel The distance between the
slots is 82 mm Two screws are needed to mount the router
Wall-mounting template
Print this page at 100%
Cut along the dotted line, and place on the wall to drill precise spacing
suggested mounting Hardware
7-8 mm
3-5 mm
1 5-2 mm
Product Overview
note
4
Page 6
Setting Up Your Router
Linksys XAC-Series
Linksys is not responsible for damages incurred by unsecured wallmounting
hardware
Follow these instructions:
1. Determine where you want to mount the router Make sure that the wall you use is smooth,
flat, dry, and sturdy Also, make sure the location is within reach of an electrical
2. Using the template on the next page, drill two holes into the wall
3. Insert screws leaving 3 mm of the heads exposed
4. Position the router so the wall-mount slots line up with the two screws
5. Place the wall-mount slots over the screws and slide the router down until the
outlet
screws fit snugly into the wall-mount slots
5
Page 7

Setting Up Your Router
Linksys XAC-Series
Setting Up Your EA-Series Router
6
Page 8

Setting Up Your Router
Linksys XAC-Series
7
Page 9

Setting Up Your Router
Linksys XAC-Series
How to connect to Linksys Smart Wi-Fi
Use Linksys Smart Wi-Fi to configure your router from any computer that has an
Internet connection
To open Linksys Smart Wi-Fi:
1. Click the Linksys Smart Wi-Fi icon on your desktop
- OR -
Open a Web browser and go to
2. Enter the e-mail address and password you set up earlier, and click Sign
In
How to change router settings
Use Linksys Smart Wi-Fi to change settings on your router and set up special
features such as parental controls and guest access
NOTE:
For additional help on any menu, click Help at the top of the screen
To change router settings:
1. Open Linksys Smart Wi-Fi and log in to your account
2. In the menu on the left, click an option:
• Device List lets you see and manage all network devices connected
to your router View devices on your main network and your guest
8
Page 10

Setting Up Your Router
Linksys XAC-Series
network, disconnect the devices, or display information about each
device
9
Page 11

Setting Up Your Router
Linksys XAC-Series
• Media Prioritization lets you set which devices and
applications have top priority for your network traffic
• Guest Access lets you configure a network so guests can use
the Internet, but not access all of your network resources
• Parental Controls let you block Web sites and set Internet
access times
10
Page 12

Setting Up Your Router
Linksys XAC-Series
• USB Storage lets you access an attached USB drive )not included( and • Troubleshooting lets you diagnose problems with your router and set up file
sharing, a media server, and FTP access )Available only on check the status of the network routers with USB ports (
11
Page 13

Setting Up Your Router
Linksys XAC-Series
• Security lets you configure your router’s wireless security Set up the firewall, VPN settings, and make custom settings for applications and games
devices using Wi-
Fi Protected Setup
12
Page 14

Setting Up Your Router
Linksys XAC-Series
13
Page 15

Troubleshooting
Linksys XAC-Series
•
•
Troubleshooting
14
Page 16

Troubleshooting
Linksys XAC-Series
Your Internet cable is not plugged in Cannot access your router message message If you cannot access your
router because your computer is not connected to your network, follow these
troubleshooting steps
To access your router, you must be connected to your own network If you currently
have wireless Internet access, the problem may be that you have accidentally
connected to a different wireless network
To fix the problem on Windows computers, do the following:
1. On your Windows desktop right-click the wireless icon in the system tray
The icon might differ depending on your version of Windows Windows 7 is
represented below
2. Click Open Network and Sharing
Center A list of available
3. Click your own network name, and click Connect In the example below,
the computer was connected to another wireless network named LP4309
The name of the Linksys E-Series network, BronzeEagle in this example, is
shown selected
networks will appear
15
Page 17

Troubleshooting
Linksys XAC-Series
4. If you are prompted to enter
a network key, type your
password )Security
Key( into
the fields
and click
Connect
Your
2. Click the wireless network name of your Linksys E-Series router
)BronzeEagle in the example(
3. Type your wireless network password )Security Key( into the Password
Field and click OK
computer will connect
to the network, and you
should be able to access the
router
To fix the problem on Mac
computers, do the following:
1. In the menu bar at the top of the screen, click the Wi-Fi icon A list of
wireless networks will appear Linksys Smart Wi-Fi has automatically
assigned your network a name
In the example below, the computer was connected to another wireless
network named JimsRouter The name of the Linksys E-Series network,
BronzeEagle in this example, is shown selected
16
Page 18

Linksys XAC-Series
Model Name
Linksys XAC1900
Description
Linksys Smart Wi-Fi Modem Router AC1900
Model Number
XAC1900
Switch Port Speed
10/100/1000 Mbps )Gigabit Ethernet(
Radio Frequency
4 and 5 GHz
# of Antennas
external antennas
Ports
Power, USB )2(, Internet, Ethernet )1-4(, R-SMA
)3(
Buttons
Reset, Wi-Fi Protected Setup,
Power )EU models only(
LEDs
Top panel: Power
Back panel: Internet, Ethernet )1-4(
UPnP
Supported
Security Features
WEP, WPA, WPA2, RADIUS
Security Key Bits
Up to 128-bit encryption
File System Support
FAT, NTFS, and HFS+
ADSL Standards
T1 413i2, G 992 1 )G DMT(, G992 2 )G Lite(,
G 992 3 )ADSL2(, G 992 5 )ADSL2+( for Annex A,
B, M, L
Specifications
Specifications
17
Page 19

Browser Support
Internet Explorer 8 or higher, Firefox 4 or higher,
Google Chrome 10 or higher, and Safari 4 or
higher
Linksys XAC1900
Page 20

Dimensions
10 8” x 1 58” x 7 25” )256 x 40 x 184 mm(
Unit Weight
18 84 oz )534 g(
Power
12V, 3 5A
Certifications
CE, Wi-Fi a/b/g/n/draft ac, Windows 7,
Windows 8, DLNA
Operating Temp
32 to 104°F )0 to 40°C(
Storage Temp
-4 to 140°F )-20 to 60°C(
Operating Humidity
10 to 80% relative humidity,
noncondensing
Storage Humidity
5 to 90% non-condensing
Environmental
NOTES
For regulatory, warranty, and safety information, see the CD that came with your router or go to
Linksys.com/support Specifications are subject to change without notice
Maximum performance derived from IEEE Standard 802 11 specifications Actual performance can vary,
including lower wireless network capacity, data throughput rate, range and coverage Performance
depends on many factors, conditions and variables, including distance from the access point, volume of
network traffic, building materials and construction, operating system used, mix of wireless products used,
interference and other adverse conditions
Licenses and notices for
third party software
used in this product
may be viewed here:
http://support linksys
com/en-us/license
Please contact
http://support linksys
com/enus/gplcodecenter for
questions or GPL
source code requests
 Loading...