

Page 1
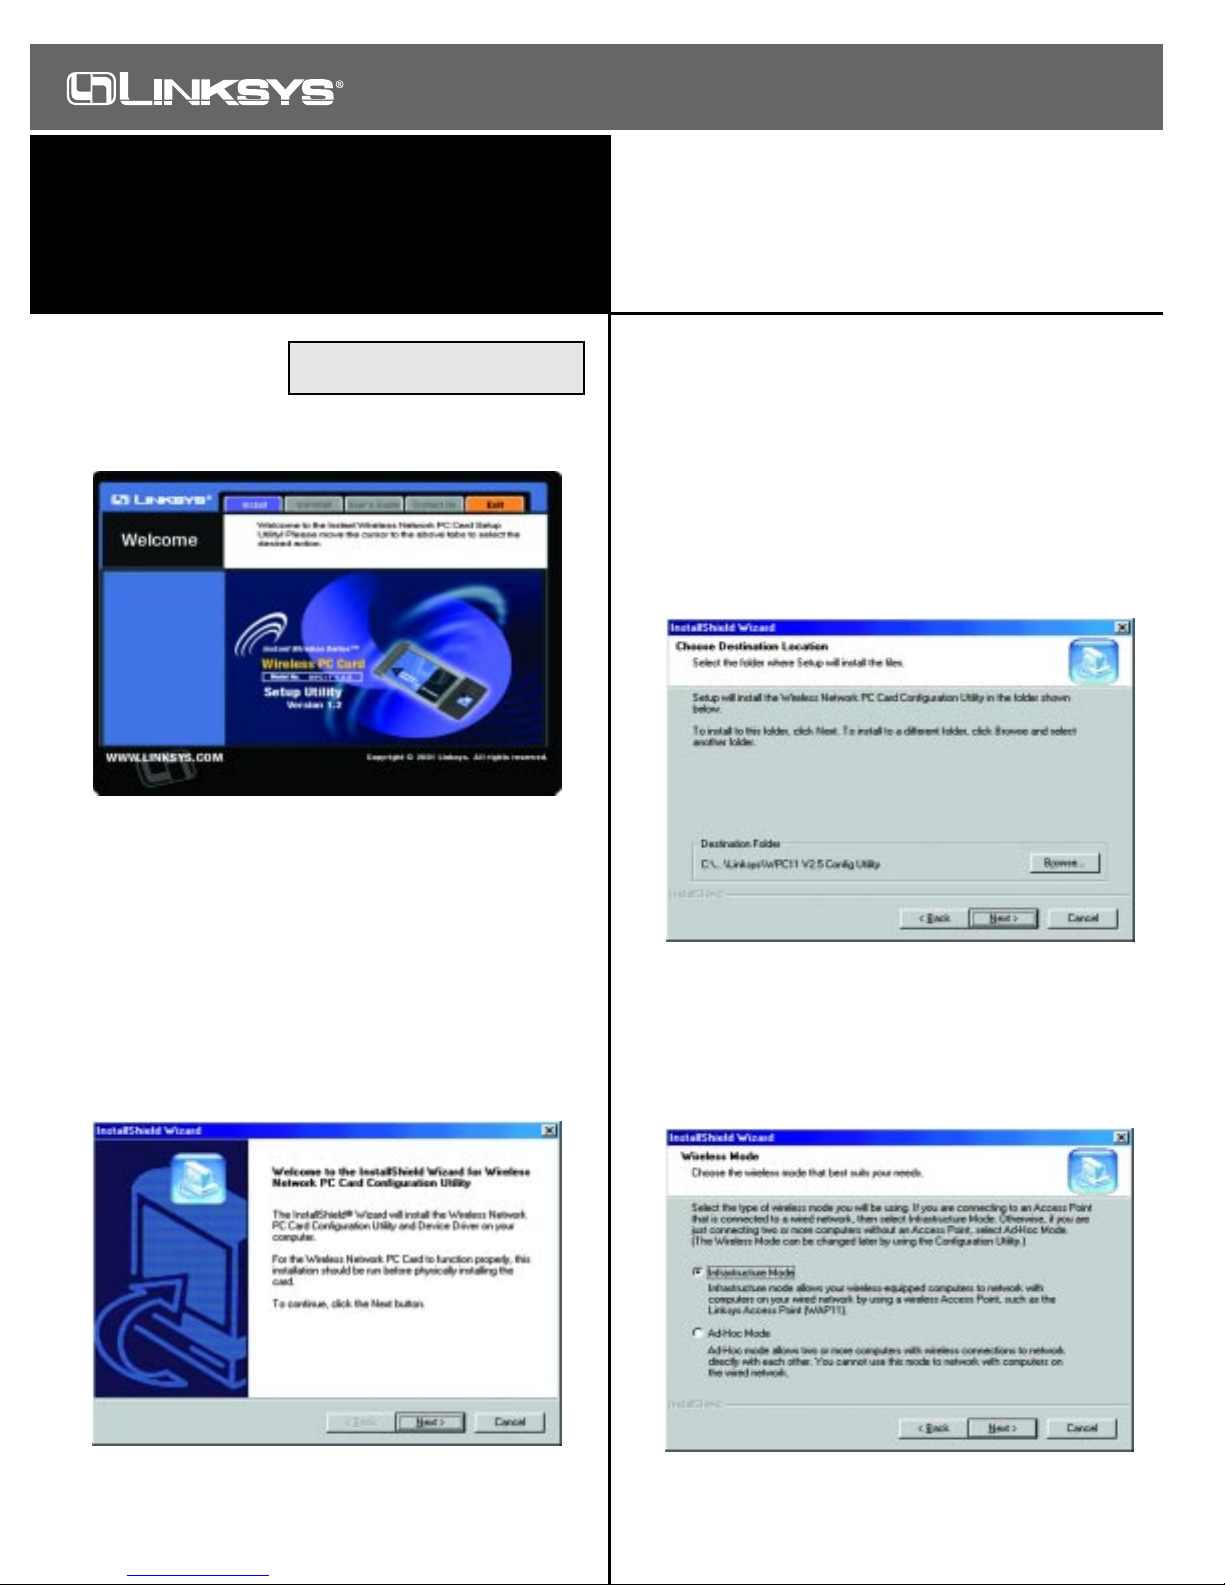
1. Before installing your
adapter, insert the
Setup CD into your
CD-ROM drive. Unless you have deactivated the auto-run
feature of Windows, the following screen should appear automatically.
If this screen does not appear automatically, you can access
the installation by pressing the Start button and choosing
Run. In the drop down box provided, type D:\setup.exe
(where D: is the letter of your cd-rom drive). Alternately,
double-click My Computer, and then double-click the cdrom drive where the Setup CD is located. Then double-click
the Setup.exe icon that appears.
2. The first tab across the top of the screen, labeled Install,
should now be highlighted. Click on the Install button.
3. This screen will appear next, indicating that Windows is ready
to continue the installation. Click the Next button.
Note: You must install this software
before installation of the hardware.
This sheet will guide you through the basic steps needed to install this
Linksys product on your computer. If you have any problems during
installation, visit our support page at www.Linksys.com.
4. The next screen that appears will be the Warranty Policy.
Read the entire policy by pressing the Page Down button on
your keyboard. Click on the Yes button if you agree, or No if
you disagree. Clicking No will terminate the installation. If
you click Yes, the installation will continue.
5. The following window will appear next. To install the
Configuration Utility in the def ault directory (recommended),
click the Next button. If you prefer to install the Utility in
another directory, click the Browse button, locate the preferred
directory then click the Next button.
6. When the next screen appears, choose either Infrastructure
mode or Ad-Hoc mode, depending on your needs. If you are
unsure whether to choose Infrastructure or Ad-Hoc, refer to the
Ad-Hoc versus Infrastructure section in your User Guide for
more information. Once you have made your choice, click the
Next button.
Model No.:WPC11 V2.5
Network PC Card
Instant Wireless™ Series
Quick Installation
Making Connectivity Easier
™
For Windows 95,98, ME, and 2000
Continued on back...
QI-WPC11V2.5-10605NC DG
Page 2
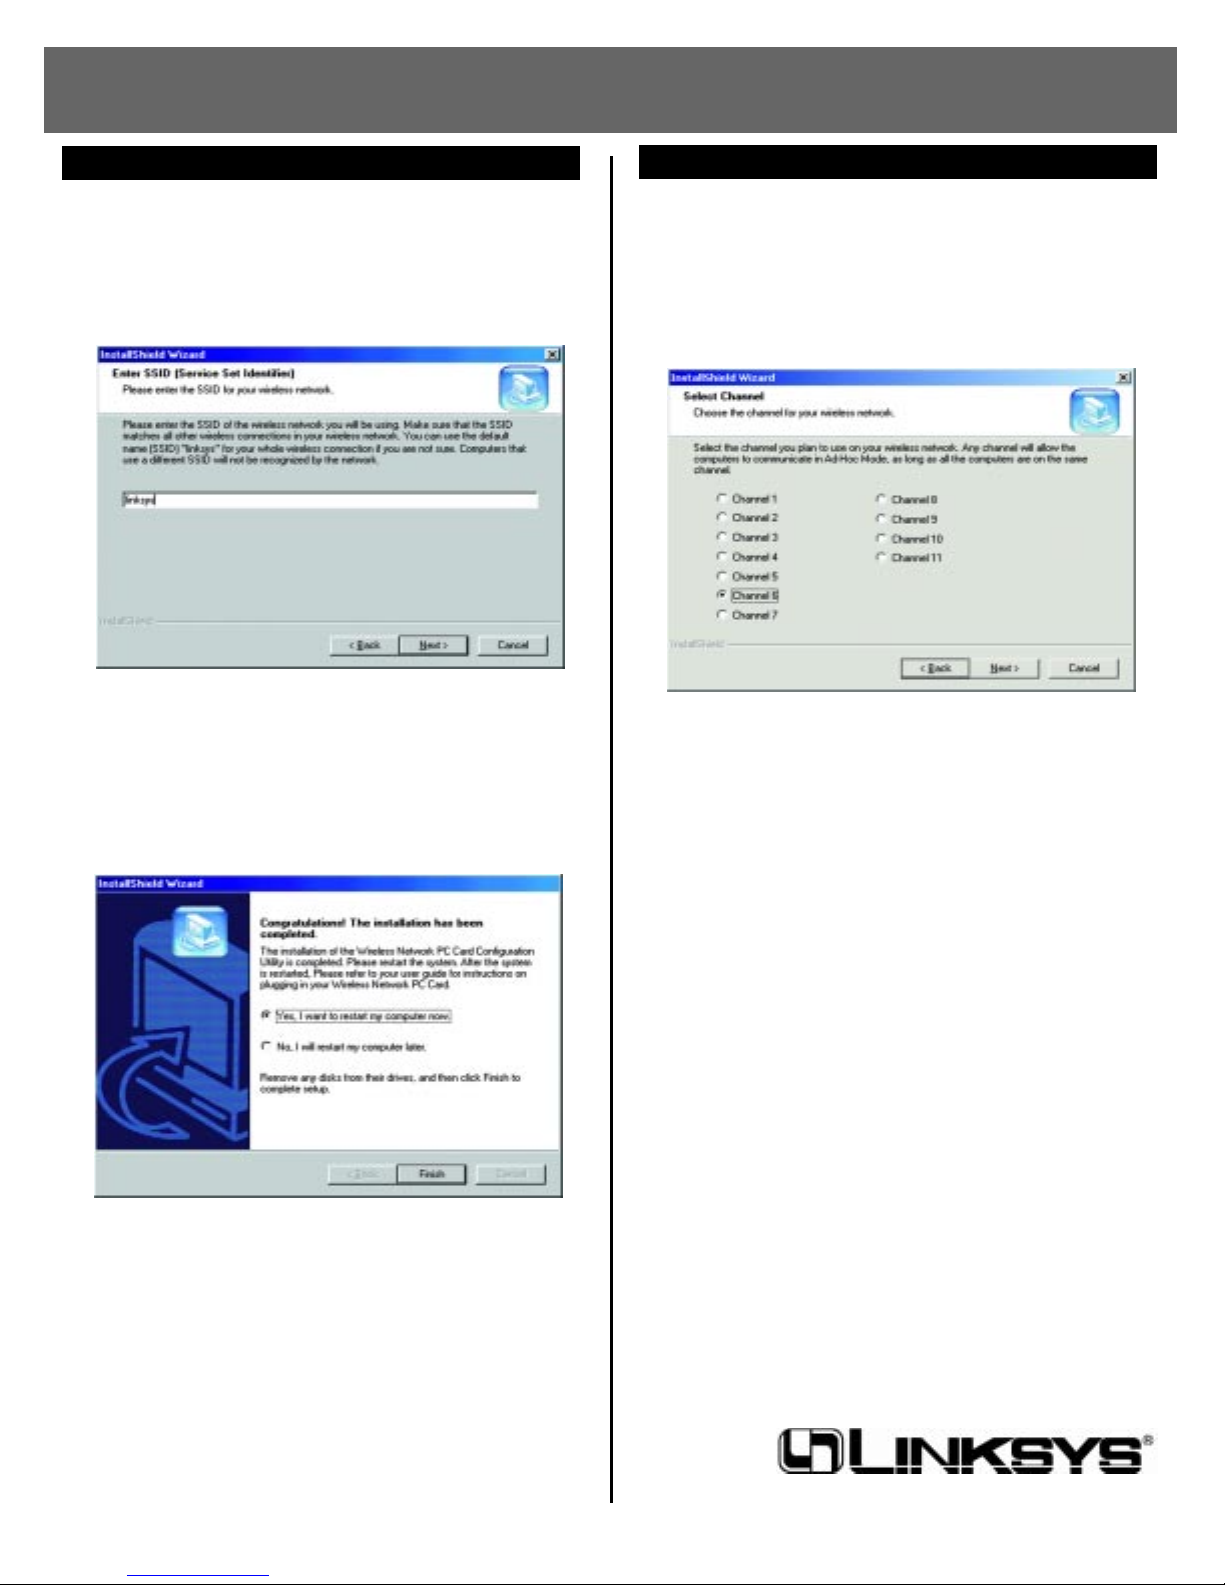
7. The following screen will appear. You will be prompted to
enter an SSID value in the box provided. The SSID may be
up to 32 characters in length and may include any character
on the keyboard. All SSID values on your wireless network
must match. If you are unsure, use the default value of
“linksys”. Then, click the Next button.
8. The next screen to appear will be the Review Settings screen.
Verify that all the settings are correct and click the Next button to continue. Another screen will appear, indicating that
all of the appropriate files are being copied onto your drive.
9. Once Windows has finished copying the necessary f iles, the
following screen will appear. In order for the drivers to be
installed properly, you must restart your computer.
If you choose to do it now, select Yes, I want to restart my
computer now. If y ou do not want to do it now, choose No,
I will restart my computer later. Once y ou ha v e made your
choice, click the Finish button to continue.
The Driver and Configuration Utility Installation is com-
plete. Refer to your User Guide for instructions on
physically installing your Network PCCard.
7. The following screen will appear. You will be prompted to
choose a Channel from the list provided. All computers on
your wireless network must be using the same channel in
order to communicate with each other. If you are unsure
about which channel to use, select the default channel
(Channel 6). Once you have chosen your channel, click the
Next button.
8. The following screen will appear. You will be prompted to
enter an SSID value in the box provided. The SSID may be
up to 32 characters in length and may include any character
on the keyboard. All SSID values on your wireless network
must match. If you are unsure, use the default value of
“linksys”. Then, click the Next button.
9. The next screen to appear will be the Review Settings screen.
Verify that all the settings are correct and click the Next button to continue. Another screen will appear, indicating that
all of the appropriate files are being copied onto your drive.
10. Once Windows has finished copying the necessary files, the
following screen will appear. In order for the drivers to be
installed properly, you must restart your computer. If you
choose to do it now, select Yes, I want to restart my com-
puter now. If you do not want to do it now, choose No, I
will restart my computer later. Once you have made your
choice, click the Finish button to continue.
The Driver and Configuration Utility Installation is com-
plete. Refer to your User Guide for instructions on
physically installing your Network PCCard.
If you chose Infrastructure...
If you chose Ad-Hoc...
 Loading...