

Lindy Computer Accessories User Manual
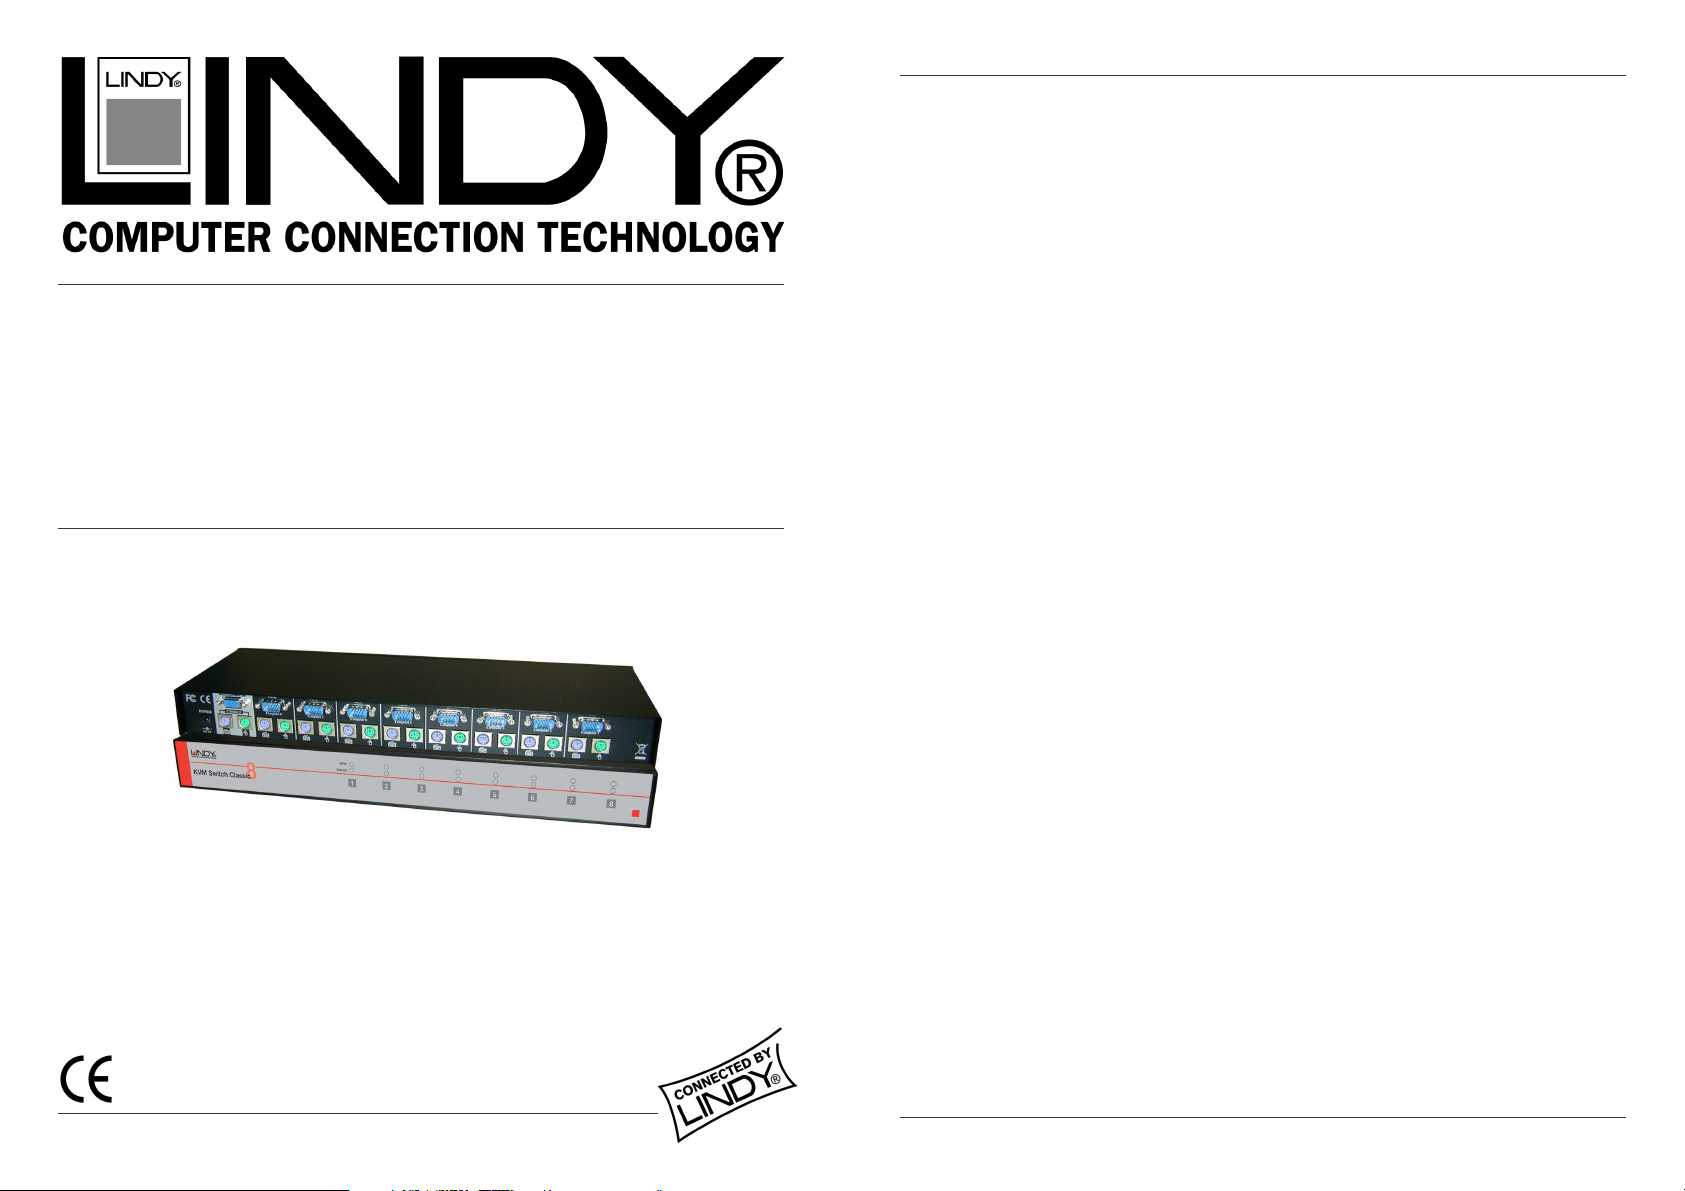
KVM Switch Classic 8
User Manual English
Benutzerhandbuch Deutsch
Manuel Utilisateur Français
Manuale d’uso Italiano
LINDY No. 32519
User Manual................Page 3
Benutzerhandbuch.....Page 6
Manuel Utilisateur.......Page 9
Manuale d’uso.............Page 12
www.LINDY.com
© LINDY ELECTRONICS LIMITED & LINDY-ELEKTRONIK GMBH - FIRST EDITION (AUG 2006)
2
English Manual
English Manual
Introduction
Thank you for purchasing the LINDY KVM Switch Classic 8. Please read this manual carefully
so that you can understand the functions and features of your new KVM Switch.
The LINDY KVM Switch Classic 8 allows direct access to up to 8 PCs using a single KVM
(Keyboard, Video, and Mouse) console. Its simple operation and functionality makes it ideal for
use in smaller server rooms with up to 8 servers or workstations.
The connected computers can be selected by pressing the front panel push buttons on the
switch or by using keyboard hotkeys.
The keyboard and mouse connections of all connected PCs and servers are emulated at all
times. This prevents error messages when switching between computers.
Product Features
8 port KVM switch in a 1U, 19” rackmount size
Supports all commonly used operating systems
Hot plug support – you can add remove connected computers for maintenance without
powering down the KVM switch or the computers
Very high video quality – supports display resolutions of up to 1920x1440
No software required - easy PC selection via push buttons or keyboard hot keys
Auto scan mode for monitoring computers; adjustable scan time from 5~50 seconds
LED port display for easy status monitoring
Buzzer sound for port switching confirmation
Computers are connected via standard keyboard, mouse and VGA cables (with a female
HD-15 connector required on the KVM Switch side)
Permanent keyboard and mouse emulation
Package contents
LINDY KVM Switch Classic 8
19” rackmount kit
This manual
Installation
Before you start, please check that all parts are included according to the package contents.
If you want to install the KVM Switch in a 19” server rack please attach the 19” rackmount
brackets using the supplied screws.
Step 1
Switch off all the computers to be attached.
Step 2 – Local Console
Connect the keyboard, monitor and mouse directly to the sockets of the LINDY KVM Switch
labelled Console Port.
Step 3 – Computer connection
After the console ports are connected, connect the servers and PCs to the ports labelled 1…8.
Optional Cables (not included)
Combined (3-in-1) KVM Cable
Length 1m 2m 3m 5m
LINDY No. 33751 33752 33753 33754
3
Operation
Important note: Your monitor will only display one computer signal at any one time. All
keyboard and mouse commands are sent to this computer only.
When a computer is connected to the currently selected port and it is not
switched on, or is in sleep mode, the monitor will not display any signal.
The KVM Switch is powered by the connected servers via their PS/2 ports. A dedicated power
supply for the KVM switch is not usually required but can be connected via the DC 9V port on
the back.
Computer / Port Selection
You can select the computer you want to access in two different ways:
Front panel push button selection
Keyboard hotkey selection
Port LED Display
The front panel of the KVM Switch has two LEDs for each port.
When the upper LED labelled “ACTIVE” is illuminated
powered on. When the lower LED labelled “SELECTED” is illuminated
RED, a computer attached to this port is
GREEN, the KVM
console is connected to this port. If this LED flashes, the console is connected to this port but
either no computer is attached, or the attached computer is not switched on.
Keyboard Hotkey Selection
You can also conveniently select the computer to be accessed and displayed by switching ports
through simple keyboard key sequences. To send commands to the KVM switch, the “SCROLL
LOCK” key or “NUM LOCK” key must be pressed twice within 1 second. You will hear a
beep to confirm that the keyboard is in hotkey mode. If you have not pressed any further key in
hotkey mode within 1 second the keyboard will return back to Operating System control status.
Direct Port Selection / Keyboard Hot Key Commands:
Within 1 second
Scroll or
or
Num Lock
+ + = Higher numbered port
+ + = Lower numbered port
Scroll or
Num Lock
Scroll or
+ + = Select Port 1~8 directly
Num Lock
Auto Scan mode:
Scroll or
Num Lock
Scroll or
Num Lock
Scroll or
+ + =
Num Lock
key 1~8
key A~F or S
F:30s, S:50s. (can be stopped by hitting any key)
Auto Scan with A:5s, B:10s, C:15s, D:20s, E:25s,
4

English Manual
Troubleshooting
If none of the LEDs on the KVM Switch are illuminated, please check that any of the connected
computers are switched on and not in Power Save / Sleep Mode.
Before you check any further please make sure that all cables are securely connected!
If the KVM Switch reacts to keyboard input from the SCROLL LOCK key with a beep signal but
you get no monitor picture displayed, please check if the currently selected computer is in sleep
mode or powered down. You can try to wake up this computer by pressing the ESCAPE key
several times until the KVM Switch no longer beeps, and then pressing the SPACEBAR or
RETURN key to wake up the computer.
1. The monitor picture is not sharp or shows shadows: The maximum recommended VGA
cable distance is 5 metres without ghosting and degradation. Make sure that you have
used high quality video cables with coaxial cores. If the diameter of the cable is less then
6mm then the cable may not be of high enough quality.
2. The maximum recommended PS/2 cable distance is 5 metres. Normally, the cable length is
based on the electronic driver capacity of your computer’s PS/2 ports. If you need longer
PS/2 distances it may be necessary to use a PS/2 extender.
3. Don’t press any keys on the keyboard while the selected computer is booting up, otherwise
it may cause a keyboard error, or the keyboard may not be detected at the computer side.
4. The computer boots up fine, but the keyboard doesn’t work:
a) Make sure the keyboard works when directly plugged into the computer.
b) Try a different keyboard, but use standard PS/2 keyboards (some RF keyboards and
keyboards with extra multimedia keys may not be fully supported).
5. The Mouse is not detected during PC boot up:
a) Make sure the mouse works when directly plugged into the computer. You have to install
the appropriate mouse driver on all connected computers!
b) Make sure the mouse is a true PS/2 mouse. A combo mouse will work just as long as it is
set for PS/2 mode with the correct adapter. Try a different mouse.
c) Some advanced mice like radio frequency mice, 5 button mice and scroll wheel mice use
proprietary signals and drivers. Although LINDY has carefully checked for the highest
compatibility, we cannot guarantee that the KVM Switch will work with all known mice,
especially those developed after this KVM Switch has been produced.
d) Avoid moving the mouse or pressing the mouse buttons when switching ports.
e) Avoid switching ports during the PC shut down process.
5
Deutsches Handbuch
Überblick
Herzlichen Dank dass Sie sich für einen KVM-Switch von LINDY entschieden haben . Bitte
lesen Sie dieses Handbuch sorgfältig um alle Möglichkeiten zu erkennen, die Ihnen dieser
KVM-Switch bietet.
Der LINDY KVM Switch Classic 8 erlaubt den Zugriff auf bis zu 8 direkt angeschlossene
Rechner von einem einzigen Eingabeplatz mit Monitor, Maus und Tastatur. Er ist das
Basismodell für 19“ KVM Systeme und kleine Serverumgebungen. Er ist nicht für die
Kaskadierung mit mehren KVM Switches und mehr als 8 Servern designt.
Die KVM Switches der P/P-XT-Serie unterstützen das Umschalten zwischen den
angeschlossenen Rechnern auf 2 Arten: Auswahl über die Tasten an der Frontblende des KVM
Switch und Auswahl über Tastaturhotkey. Die Tastatur- und Mausverbindungen werden vom
KVM Switch permanent für alle angeschlossenen Rechner emuliert, so dass keine
Fehlermeldungen von den angeschlossenen Rechnern erzeugt werden.
Eigenschaften
8 Port KVM-Switch im kompakten 19” Rackmount-Gehäuse mit nur einer Höheneinheit
Inklusive KVM Cat.5 Extender mit Local und Remote Switch (nur P-XT-Serie)
Unterstützt alle weit verbreiteten Betriebssysteme
Hot Plug Support – Anschließen und Entfernen von Rechnern im laufenden Betrieb
Höchste Videoqualität – Unterstützt Bildschirmauflösungen bis 1920x1440
Keine Softwareinstallation - Auswahl der Rechner via Hotkey oder Tasten am Switch
Auto-Scan-Modus – angeschlossene Rechner durchscannen, Zeit einstellbar 5…50 sec.
LED Displays zur überschaubaren Anzeige des Status der angeschlossenen Rechner
Signalton zur Bestätigung von Hotkey-Eingaben und Schaltvorgängen
Standardkabel zum Anschluss der Rechner (VGA Steckerbuchse HD-15F für KVM Seite!)
Permanente Tastatur- und Mausemulation
Lieferumfang
LINDY KVM Switch Classic 8
19” Einbaukit
Dies Handbuch
Optionale Anschlusskabel (nicht enthalten)
Kombi (3-in-1) KVM Kabel
Länge 1m 2m 3m 5m
LINDY No. 33751 33752 33753 33754
Installation
Bevor Sie mit dem Aufbau beginnen, prüfen Sie bitte ob alle Teile enthalten sind. Siehe hierzu
die vorstehende Liste Lieferumfang. Falls Sie den LINDY KVM Switch in einem 19“ Rack
einbauen wollen befestigen Sie bitte die 19“ Montagewinkel mit den beiliegenden Schrauben.
Schritt 1
Schalten Sie alle Geräte aus.
Schritt 2 – Lokale Konsole
Verbinden Sie Tastatur, Maus und Monitor mit dem KVM Switch an den Ports mit der
Bezeichnung Console Port.
Schritt 3 – Anschluss der Server
Schließen Sie als nächstes die Rechner and die Ports 1…8 des KVM Switch an.
6
 Loading...