

Page 1
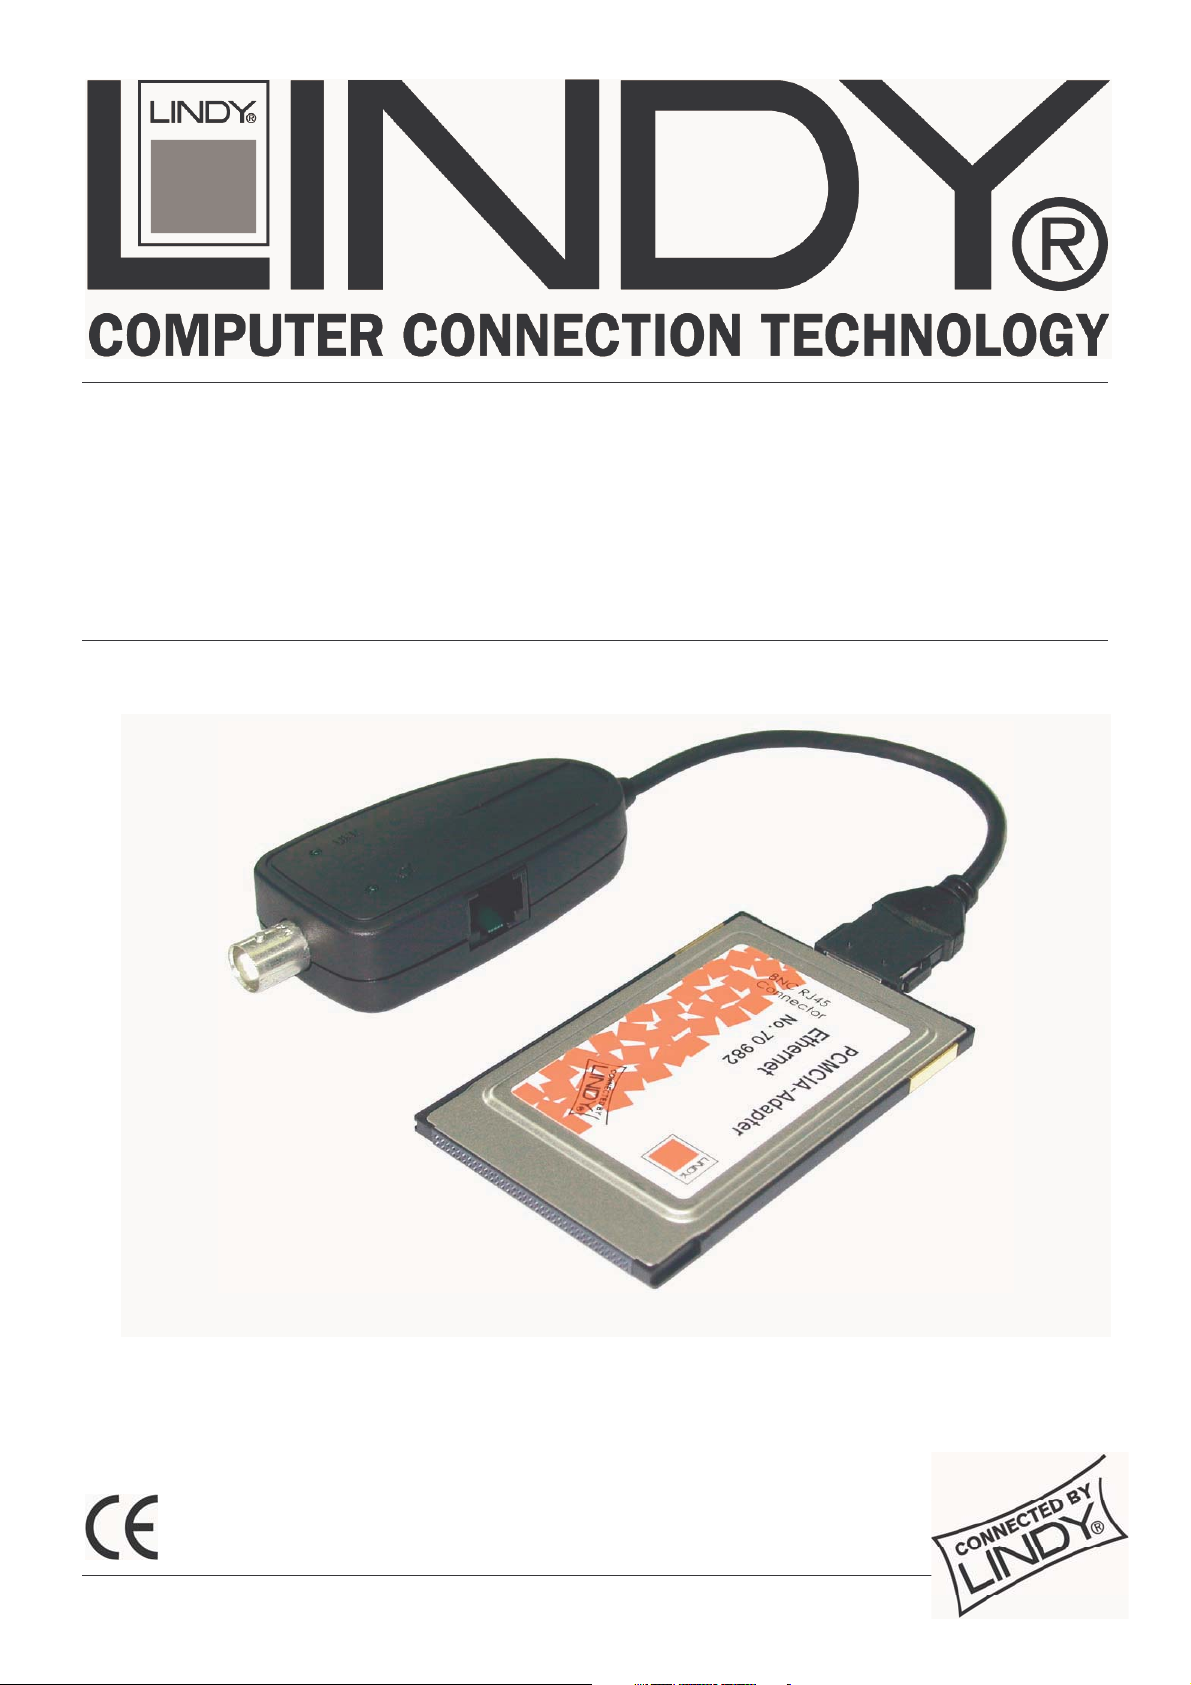
PCMCIA 10Base-T/2
Ethernet Adapter
User Manual
English
LINDY No. 70982
www.LINDY.com
© LINDY ELECTRONICS LIMITED & LINDY-ELEKTRONIK GMBH - FIRST EDITION (JUNE 2004)
Page 2

Page 3

Contents
INTRODUCTION ......................................................................................................................... 2
FEATURES.................................................................................................................................. 2
PACKAGE CONTENTS .............................................................................................................. 2
INSTALLING THE ETHERNET CARD........................................................................................ 3
README.TXT File ....................................................................................................................................3
Diagnostics ..............................................................................................................................................3
SETUP FOR DOS/WINDOWS 3.X ..............................................................................................3
Netware DOS ODI Driver .......................................................................................................................... 5
Packet Driver............................................................................................................................................ 5
SETUP FOR WINDOWS 95/98 ...................................................................................................6
SETUP FOR WINDOWS NT ....................................................................................................... 9
SETUP FOR WINDOWS 2000 .................................................................................................. 12
SETUP FOR WINDOWS ME ..................................................................................................... 14
SETUP FOR WINDOWS XP...................................................................................................... 15
1
Page 4

User Manual
Introduction
Thank you for purchasing the LINDY PCMCIA 10Base-T/2 Ethernet Card. This Ethernet card
supports 10Base-2 and 10Base-T networks. The card is NE2000 compatible and supports “Hot
Swap” insertion and removal.
Features
Bus Type: 16 Bit PCMCIA
Complies with IEEE802.3 standard (10Base-T/2)
NE2000 Ethernet Adapter compatible
Complies with PCMCIA release 2.1 and JEIDA 4.x standards
Software configurable
“Hot swap” insertion and removal
LED diagnostic and activity indicators
Card Connector: RJ-45 STP/UTP (10Base-T) & BNC (10Base-2)
Compatible with Card and Socket Services including SystemSoft, Phoenix, AMI and
Award
Software Compatibility: Windows 95/98/ME/NT/2000/XP, ODI NetWare 3.x and 4.x,
NDIS 3.0/4.0
Package Contents
1 x PCMCIA Ethernet Card
Plastic Case
RJ-45/BNC Adapter
BNC T-Piece
Driver disk
This manual
2
Page 5

User Manual
Installing the Ethernet Card
The LINDY PCMCIA 10Base-T/2 Ethernet Card installs into a spare Type II or III PCMCIA slot
in your computer. If you are having trouble locating this slot, refer to your computer’s user
manual or consult the manufacturer.
Gently slide the card into the PCMCIA slot. Make sure the card is firmly seated in the socket.
Now you are ready to setup and install your communication software, as detailed in the
following section.
README.TXT File
On the driver disk is a file called README.TXT which contains an installation guide and
information about the disk contents.
Diagnostics
A DOS based diagnostics program, named CARDTEST.EXE is located on the driver disk; it can
be used to check network connectivity after the hardware installation is complete. It provides the
following diagnostics functions:
I/O Port verification
IRQ verification
RAM testing
Ethernet node address verification
Internal loop-back testing
External loop-back testing
To run the CARDTEST.EXE file, the PCMCIA enabling program must be loaded first.
ENABLE.EXE is used to enable the PCMCIA interface.
Setup for DOS/Windows 3.x
Before you use the Ethernet Card in a DOS or Windows 3.x environment, your computer must
have the proper Card and Socket Services drivers installed. The Card and Socket Services
driver software allows your computer to access the PCMCIA sockets. If these drivers are not
already installed on your system, or if you do not know whether they are installed, check your
system manual or consult the manufacturer of your computer. The most popular Socket and
Card Services are Systemsoft, CardWizard, Phoenix’s PCM and AMI Card Manager Pro 3.0.
If EMM386.EXE is installed in the CONFIG.SYS file, please exclude memory address D400D7FF from your system. The PCMCIA Ethernet card enabling program will use this space to
read Ethernet Node ID and CIS from the on-board flash memory.
[Example]
DEVICE=EMM386.EXE NOEMS X=D400-D7FF
or
DEVICE=EMM386.EXE NOEMS X=D000-DFFF
3
Page 6

User Manual
For Card and Socket Services device drivers in the CONFIG.SYS file, please add the
ENABLE.EXE. The default parameters for the ENABLE.EXE program are INT=5, PORT=300
and MEM=D400. The following examples describe which instructions are needed for the
popular Card and Socket Services providers.
Phoenix PCM+ V3.0
DEVICE=C:\PCM3\CNFIGNAM.EXE /SETUP-DEFAULTS
DEVICE=C:\PCM3\PCMSS.EXE
DEVICE=C:\PCM3\PCMCS.EXE
DEVICE=C:\PCM3\PCMRMAN.SYS
DEVICE=C:\PCM3\PCMSCD.EXE
DEVICE=ENABLE.EXE
SystemSoft CardSoft V3.1
DEVICE=C:\CARDSOFT\SS365SL.EXE
DEVICE=C:\CARDSOFT\CS.EXE
DEVICE=C:\CARDSOFT\CSALLOC.EXE
DEVICE=ENABLE.EXE
Award Cardware V2.0
DEVICE=C:\CARDWARE\SSPCIC.EXE
DEVICE=C:\CARDWARE\PCCS.EXE
DEVICE=C:\CARDWARE\PCRM.EXE /AUTODETECT
DEVICE=ENABLE.EXE
[Note] Please do not use PCENABLE.EXE
AMI AMICard Manager
DEVICE=C:\AMI\SSSL.SYS
DEVICE=C:\AMI\AMICS.SYS
DEVICE=ENABLE.EXE
[Note] Please do not use PCBE.SYS
Databook CardTalk V3.02
DEVICE=C:\CARDTALK\TMB250.SYS /io:240
DEVICE=C:\CARDTALK\CTALKCS.EXE
DEVICE=C:\CARDTALK\CARDTALK.EXE /A /IOW=300-31F /MEMW=D000-D7FF
DEVICE=ENABLE.EXE
4
Page 7

User Manual
IBM Thinkpad Socket and Card Services V2.12
DEVICE=C\EMM386.EXE NOEMS I=B000-B7FF X=C800-CFFF X=D000-DFFF
DEVICE=C:\THINKPAD\IBMDSS01.SYS /D
DEVICE=C:\THINKPAD\IBMDOSCS.SYS
DEVICE=C:\THINKPAD\DICRMU01.SYS /MA=C800-DFFF
DEVICE=C:\THINKPAD\$ICPMDOS.SYS
DEVICE=ENABLE.EXE
Netware DOS ODI Driver
The DOS ODI driver for Netware 3.x and 4.x network operating systems is located in the ODI
directory of the driver diskette. The filename is CARDODI.COM. To install this ODI driver, there
is a batch file called STARTNET.BAT which is located in the same directory. There are five files
needed to install the DOS ODI driver; they are:
1. LSL.COM----- Supported by Novell
2. CARDODI.COM----- ODI driver, supported by this product
3. IPXODI.COM----- Supported by Novell
4. NETX.EXE----- Supported by Novell or EMSNETX.EXE or XMSNETX.EXE
5. NET.CFG----- Configuration File
The NET.CFG file is used to decide the configuration of the Ethernet Card. The following
statements are the sample contents in NET.CFG. If you have any problem with these settings,
check your Netware Operating System user manual.
Protocol
bind CARDODI
Link Driver CARDODI
int 5
port 300
frame Ethernet_802.2
frame Ethernet_802.3
frame Ethernet_II
frame Ethernet_snap
protocol IPX 0 Ethernet_802.3
Packet Driver
To use FTP PC/TCP or NCSA Telnet utilities, a packet driver for the network adapter is needed.
This product supports a packet driver called CARDPD.COM. To load this packet driver, just
execute the following command:
CARDPD 0x60
For detailed syntax, refer to the README.TXT on the driver diskette.
5
Page 8

User Manual
Setup for Windows 95/98
1. Make sure the PC is powered on and booted into Windows.
2. Insert the Ethernet adapter into the PCMCIA slot in your PC. The system will display the
"Add New Hardware Wizard" dialog box. Insert the driver diskette into the floppy drive
and then click "Next".
3. Select "Search for the Best Driver for your device (Recommended) ". Click "Next"
button.
6
Page 9

User Manual
4. Select "Floppy disk drives" (or select "Specify a location" and type "A:\WIN98" in the
location). Click "Next"
5. After Windows finds the driver - "PCMCIA NE2000 Compatible Ethernet Adapter",
click "Next".
7
Page 10

User Manual
6. After the driver is found, Windows will begin to copy all the necessary files. If Windows
tries to copy the "PCMCARD.SYS" file, input "A:\WIN98" to specify the location of this
file.
7. Windows may request you to "Insert Windows 98 CD-ROM into the drive selected,
and click OK". Follow the instructions and insert your Windows CD-ROM or disks as
needed, and then click "OK".
8. When Windows finishes the installation, the "PCMCIA NE2000 Compatible Ethernet
Adapter", message box will be displayed. Click the "Finish" button.
9. The system will prompt "Do you want to restart your computer now". Click "Yes" to
restart your computer.
10. After the computer has restarted, the network function will be ready.
8
Page 11

User Manual
Setup for Windows NT
Follow the procedure below to get up and running.
1. Insert the Ethernet Card in your computer
2. Start the computer
3. Double click the "Control Panel/Network" section. Select "Adapters" and click the
"Add" button.
4. In the "Select Network Adapter" dialog box, select the "Have Disk" option.
9
Page 12

User Manual
5. An "Insert Disk" box is displayed. Insert the driver disk and type "A:\WINNT".
6. "NE2000 PCMCIA ETHERNET CARD" is displayed in the "Select OEM Option" dialog
box. Click "OK".
7. Select the free IRQ, I/O Port Address and press "OK". You must select hardware bus if
the system contains more than one hardware bus. Type "PCMCIA" and Number "0",
then press "OK".
10
Page 13

User Manual
8. Go back to "Network" and select "Bindings". Click the "Close" button to enable the
network function.
9. Ask your Windows NT Server administrator to set the IP Address.
10. Click "OK" to finish the network settings. A "Network Setting Change" box is
displayed. Click "Yes" to restart your computer.
11
Page 14

User Manual
Setup for Windows 2000
1. Make sure your PC is powered on and booted into Windows.
2. Insert the Ethernet Card into a spare PCMCIA slot in your PC. The system will display
the "Found New Hardware Wizard" dialog box. Insert the driver diskette into floppy
drive and click "Next".
3. Select "Search for a suitable driver for my device (Recommended)", and click
"Next".
12
Page 15

User Manual
4. Select "Floppy disk drives" (or select "Specify a location" and type "A:\WIN2000" in
the location).
5. After Windows finds the driver, the following prompt will appear: "PCMCIA LNT-10TN".
Click "Next"; the driver then installs itself.
6. When Windows finishes the installation, the "PCMCIA NE2000 Compatible Ethernet
Adapter" message box will be displayed. Click "Next" to continue.
7. Restart the computer. After the computer has restarted the network function will be
ready.
13
Page 16

User Manual
Setup for Windows ME
1. Make sure your PC is powered on and booted into Windows.
2. Insert the Ethernet Card into a spare PCMCIA slot in your PC. The "Add New Hardware
Wizard" will be displayed. Select "Automatic search for a better driver", and insert the
driver disk. Click "Next" The system will display the "Found New Hardware Wizard"
dialog box. Insert the driver diskette into floppy drive and click "Next".
3. Windows ME will search and automatically install the driver files.
4. After copying the driver files, the device installation is complete. Click "Finish".
5. The network function is now ready.
14
Page 17

User Manual
Setup for Windows XP
1. Make sure your PC is powered on and booted into Windows.
2. Insert the Ethernet Card into a spare PCMCIA slot in your PC. Windows XP will
recognize the device. The "Found New Hardware Wizard" will be displayed. Select
"Install the software automatically (Recommended) " and insert the driver disk and
click "Next".
3. Select the XP driver from the and click "Next".
15
Page 18

User Manual
4. The system will state that the driver has not passed Windows logo testing. Click
"Continue Anyway". Windows will automatically copy the relevant driver files.
5. After copying the driver files, installation is complete. Click "Finish". The network
function is now ready.
16
Page 19

This device complies with Part 15 of the FCC Rules.
Operation is subject to the following two conditions:
(1) this device may not cause harmful interference,
and (2) this device must accept any interference
received, including interference that may cause
undesired operations.
 Loading...