

LINDY 42843 User Manual [ml]

USB 2.0 AutoSwitch PRO
User Manual English
Benutzerhandbuch Deutsch
Manuel Utilisateur Français
Manuale Italiano
LINDY No. 42843
www.lindy.com
© LINDY Group - LINDY ELECTRONICS LIMITED & LINDY-ELEKTRONIK GMBH - Third Edition (MAY 2015)

User Manual English
Introduction
Thank you for purchasing the LINDY USB 2.0 AutoSwitch PRO, which allows you to share a USB device between
multiple computers. The USB AutoSwitch is the perfect way of sharing a printer, scanner or external storage
between computers without the need for networking, perfect for home users and small office/home office setups.
Package Contents
• LINDY USB 2.0 AutoSwitch PRO
• CD
• This manual
Features
• Allows multiple computers to share a USB peripheral including printers, scanners and external storage
• Switch access between computers via auto mode (printers only) or push button
• Provides First Come First Served print server functionality for Windows PCs
• Supports High Speed USB 2.0 devices, backwards compatible with USB 1.1
• Can be connected to a USB hub to share multiple USB devices between computers
• Powered from your computer's USB port, can be used with an external power supply (sold separately) when
used with higher power consumption peripherals
• Compatible with Windows, Mac and Linux (Mac and Linux only support manual switching)
Installation
Please follow the instructions below on how to install the USB 2.0 AutoSwitch PRO for each of your computers
Windows PC
The following steps will allow you to install the software required to use the auto-switching functionality.
Insert the supplied CD into your computers CD-ROM drive. An Autorun screen will pop up, then you can start the
installation. Follow the instructions until the installation has completed. Restart your computer, then the USB
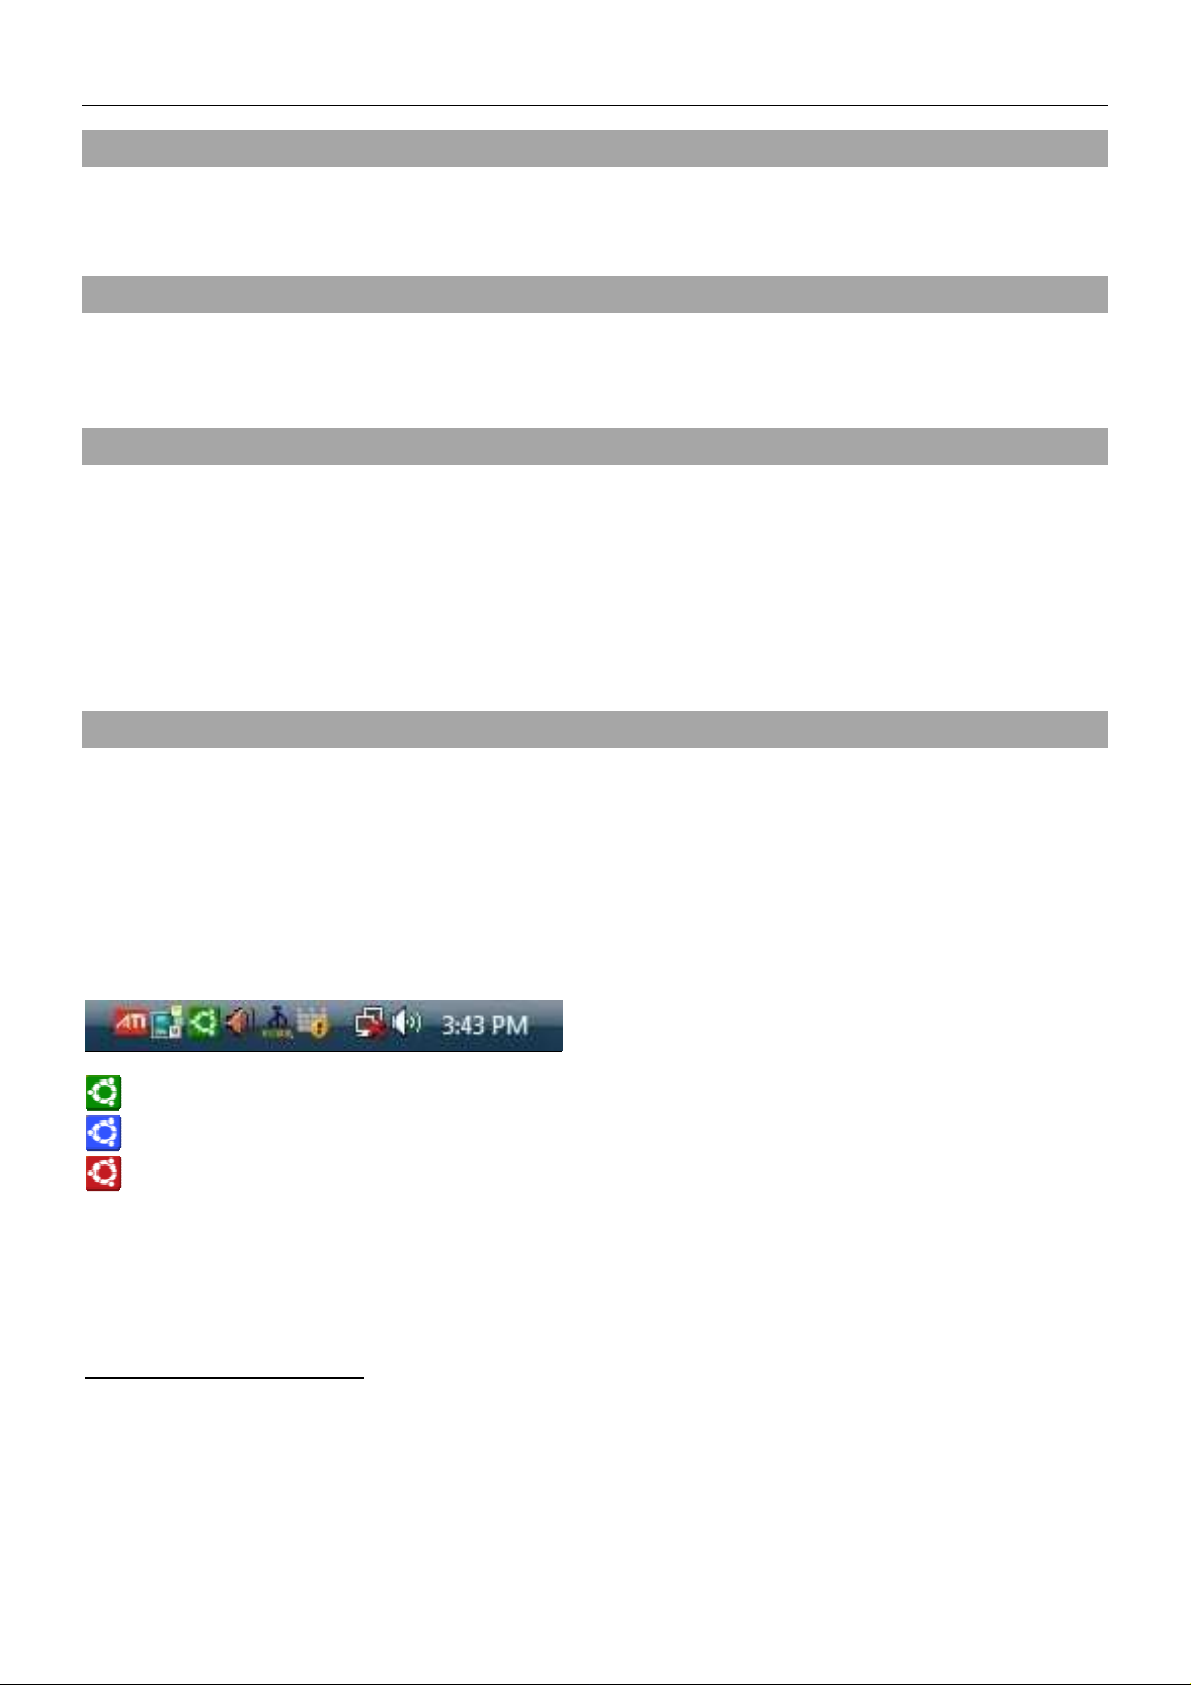
AutoSwitch icon will appear in the system tray of the task bar.
Available (USB port is idling and no job pending)
Servicing (USB port is in the process of handling your job request now)
Occupied (USB port is now occupied by another request)
Repeat the above software installation for each of the computers you want to connect.
Now connect the USB device you want to share to the device port of the USB AutoSwitch. Then connect the
individual computers to the corresponding PC ports (“PC1”, “PC2”, “PC3” and “PC4”).
AutoSwitch Utility Configuration
Right-click on the AutoSwitch utility icon in the task bar and open “Config”.
Configure the idle time: The idle time is the timeout (in sec) that the AutoSwitch will wait after a task is finished
before the switch becomes available again. After you have entered the value, click “Apply” to make it validated.
Select a printer: If you connect a printer to the USB device port for sharing, then you have to specify which printer
needs to be managed by the Autoswitch utility when a printing request is directed to it.
Click “Select” to bring up the printer listing and select the printer you want. Finally, click OK.

User Manual English
Now the Autoswitch utility has been configured and you can use it on the computer to manage the USB job request
automatically.
Repeat the above steps to configure the Autoswitch utlity for each of the connected computers.
Select Auto Mode or Manual Mode
By default, the Autoswitch will be set in Auto Mode, as indicated by the lit AUTO LED (orange color) on the front
panel. Auto Mode means users of each connected computers don’t have to worry about whether the shared USB
device is available while they are sending out the job requests. They can just “Send-and-Forget” it and the job will
be automatically dispatched to the USB device. All these tasks are managed and controlled by the Auto Switch
utility.
However, Manual Mode is still an option if you need to intervene and designate a certain computer to take the USB
device. If that is the case, you can force the Auto Switch into Manual Mode just by pressing the “Switch” button on
the front panel of the USB AutoSwitch. The Auto/Manual Mode Switch button allows the switch to rotate between
the following states:
Auto Mode (default) Manual Mode (Port 1 Port 2 Port 3 Port 4) Auto Mode
For instance, while you are in Auto Mode, and you press the Switch button once, it will enter Manual Mode/Port 1
(Port 1 has the access) and one further press will take the switch to Manual Mode/Port 2 (Port 2 has the access)
and so on, then right back to Auto Mode again.
While in Manual Mode, the active port LED (Green) will first lit solid, which indicates that it is dedicated ONLY for
the access of that port, and it cannot be switched to another port manually. Wait for the timeout (about 16 seconds)
to expire before the LED starts flashing, which indicates that there’s no data transmission (hence no job going on
for that port) and it can be switched to the next port.
Via Manual Mode users can force the AutoSwitch to go Manual Mode in favor of a certain connected computer to
complete urgent jobs. In most cases, Auto Mode will be sufficient and Manual Mode will serve only in special cases
when users need to allocate the USB resources to a certain computer.
LED Status
Orange AUTO LED: ON – Auto Mode, OFF – Manual Mode
PC Port LEDs – PC1, PC2, PC3, PC4 (Green):
ON – Not available for switching to next port (either data transmission going on or still waiting for timeout)
Flashing – Available for switching to next port
Mac OS & Linux
The AutoSwitch can only be used in Manual Mode with USB enabled versions of Mac OS and Linux, so no
software installation is required. Simply connect the AutoSwitch to each computer using a USB A to B cable and
allow the computer to recognise and install the hardware. Repeat this for each computer which you want to
connect.
 Loading...