

LINDY 38272 User Manual [ml]
Tested to Comply with
FCC Standards
For Home and Office Use!
DP/HDMI/VGA to HDMI Presentation Switch
User Manual English
Benutzerhandbuch Deutsch
Manuel Utilisateur Français
Manuale Italiano
No. 38272
lindy.com
© LINDY Group - THIRD EDITION (August 2017)
Multi Country Power Supply – Netzteil – Alimentation multi-pays – Alimentatore
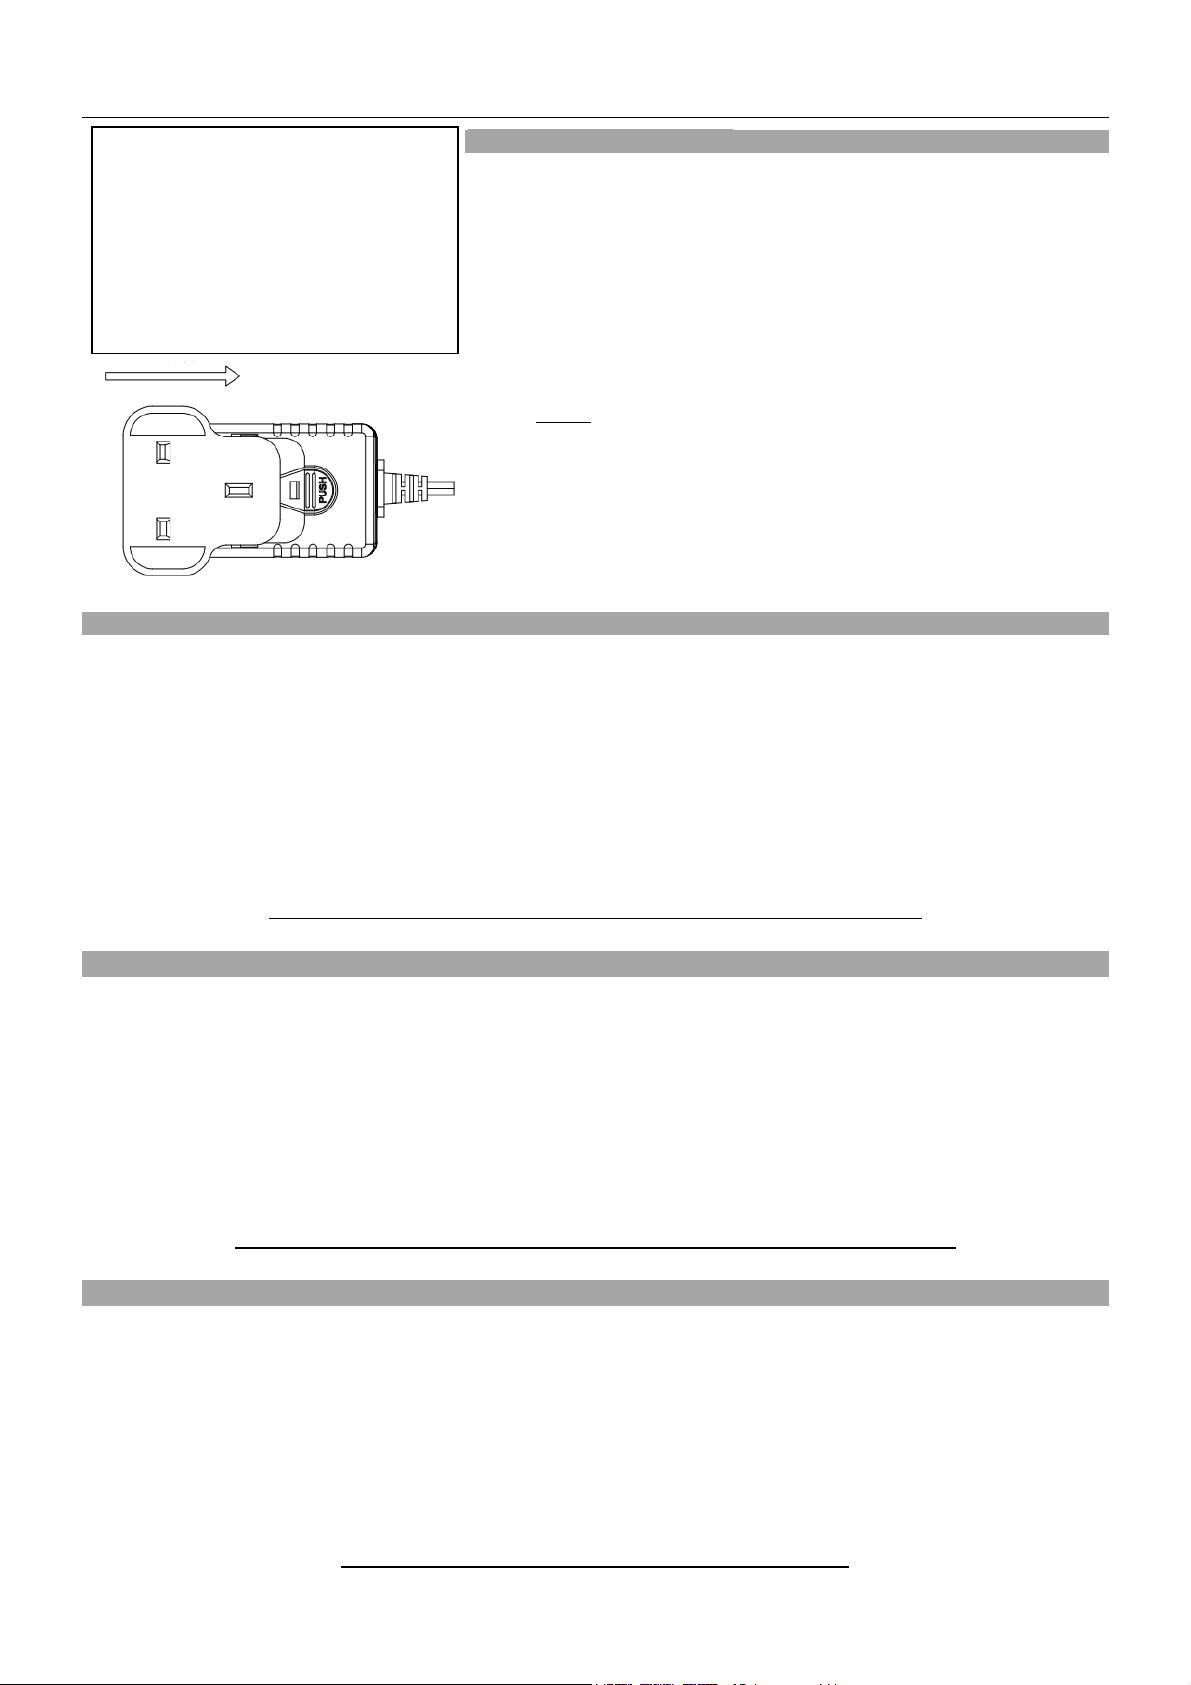
EN: Make sure the plug is locked firmly before
use.
DE: Stellen Sie sicher, dass der Adapter fest
eingerastet ist bevor Sie das Netzteil verwenden
FR: Assurez-vous du bon verrouillage de la prise
avant toute utilisation de l’alimentation.
IT: Assicuratevi che l’adattatore sia inserito
fermamente nell’alimentatore prima di collegarlo
alla presa
ENGLISH – Security Remarks
For safety purposes you must not rebuild or modify the power supply.
Improper use can cause hazards, for which we assume no liability.
Read this manual carefully and retain it for future reference.
Insert the required country plug into the adapter. The plugs are keyed to
avoid incorrect insertion. Push the adapter firmly towards the housing,
push it down and allow the latch on the power supply to click into place.
To remove, slide the locking button to the back. Make sure the plug is
locked firmly in place before use.
Never insert the plug separately into a mains socket!
DEUTSCH – Sicherheitshinweise
Aus Sicherheitsgründen darf das Netzteil nicht geöffnet werden. Für Schäden und Gefahren, die durch
unsachgemäße Handhabung entstehen, übernehmen wir keine Haftung. Lesen Sie diese Bedienungsanleitung
sorgfältig und bewahren Sie sie auf.
Stecken Sie den entsprechenden Länderadapter in das Netzteil. Die Konstruktion der Adapter verhindert ein
falsches Einsetzen. Drücken Sie den Adapter fest gegen das Gehäuse und achten Sie darauf, dass der Riegel
korrekt einrastet. Vergewissern Sie sich vor Inbetriebnahme, dass der Adapter fest im Netzteil sitzt. Wenn Sie den
Adapter wieder vom Netzteil abnehmen und durch einen anderen ersetzen wollen, ziehen Sie den Riegel nach
hinten und entnehmen Sie den Stecker-Adapter.
Stecken Sie niemals einen Länderadapter separat in eine Steckdose!
FRANÇAIS
Pour des raisons de sécurité, vous ne devez pas réparer ou modifier ce produit. Si le produit est utilisé à d’autres
fins que celles décrites, il peut être endommagé. Une mauvaise utilisation peut entraîner des risques, pour lesquels
nous déclinons toute responsabilité. Lisez attentivement ces et conservez-les dans un endroit approprié.
Connectez le bon adaptateur dans l’alimentation. La conception de l’adaptateur empêche une mauvaise mise en
place. Poussez l’adaptateur dans son logement jusqu’au blocage. Assurez-vous de la bonne mise en place dans
l’alimentation avant de le brancher. Pour retirer l’adaptateur de l’alimentation, poussez le bouton de verrouillage
vers l’arrière et retirez l’adaptateur secteur.
Ne jamais connecter un adaptateur secteur seul dans une prise de courant !
ITALIANO
Per motivi di sicurezza non smontate o modificate questo prodotto. Se viene utilizzato per altre applicazioni oltre a
quelle descritte, potrebbe subire danni. L’uso improprio può provocare pericoli per i quali siamo esenti da
responsabilità. Leggete con attenzione le istruzioni e conservatele.
Per prima cosa scegliete l’adattatore adatto al vostro paese fra quelli forniti e installatelo nell’alimentatore. Il
sistema di aggancio è studiato in modo da evitare inserimenti scorretti. Tenete saldamente l’alimentatore,
posizionate l’adattatore nella sua sede e ruotatelo facendo attenzione che gli attacchi si aggancino saldamente.
Per rimuovere l’adattatore premete il tasto di rilascio e ruotatelo nella direzione opposta. Prima di ogni utilizzo
assicuratevi che l’adattatore sia sempre agganciato saldamente all’alimentare prima di inserirlo nella presa.
Non inserite mai solo la spina nella presa di corrente!

User Manual English
Introduction
Thank you for purchasing the DP/HDMI/VGA to HDMI Presentation Switch. This product has been
designed to provide trouble free, reliable operation. It benefits from both a LINDY 2 year warranty and
free lifetime technical support. To ensure correct use, please read this manual carefully and retain it for
future reference.
Featuring DisplayPort, HDMI and VGA inputs which are automatically converted to HDMI for use with
Displays and Projectors the Presentation Switch is an ideal addition to any meeting or conference room,
lecture hall or auditorium. For added flexibility the Switch can be used with LINDY’s range of HDMI
Extenders, to reach remote displays and projectors.
Package Contents
DP/HDMI/VGA to HDMI Presentation Switch
IR Remote Control with 1 x CR2025 battery
Multi-Country Power Supply with UK, EU, US, AUS adapters +5V DC 1.2 Amp
2m DisplayPort Cable (all pins connected)
2 x mounting brackets
User Manual
Features
Supports direct conversion (no-scaling) of DisplayPort and VGA with Audio to HDMI
Supports resolutions up to 4K Ultra HD 3840 x 2160p 60Hz
Compatible with HDCP 2.2 protected content
Switching by IR, Push Button and Auto-Sensing*
* Please Note: Using the auto-sensing switching feature with the DisplayPort input requires the use of
the included all pins connected 20 Pin DisplayPort cable between the source PC or Notebook and the
switch. This cable must not be connected to a DP Display as it may cause malfunction/damage.
Specification
Input Ports: 1 x DisplayPort, 1 x HDMI & 1 x VGA + 3.5mm Audio
Output Port: 1 x HDMI
Supports up to 18 Gbps / 600 MHz bandwidth
Supported Resolutions
HDMI / DisplayPort up to UHD 4K 3840x2160p 60Hz 4:4:4 8bpc
VGA up to 1920x1200p 60Hz RGB
Digital Audio Pass-through, supports Dolby, DTS and PCM formats
HDCP 2.2 compatible
Switching via auto-sensing (DisplayPort requires all pins wired DisplayPort cable), IR & push button
Operating temperature 00C – 400C
Storage Temperature -200C – 600C
Relative humidity: 0 – 60% RH (non condensing)
Dimensions: 155 x 72 x 25 mm (WxDxH)
User Manual English
VGA & Audio In
5V DC
DP In
HDMI In
HDMI Out
HDMI
DP
VGA
Select
1 2 3
4 5 6
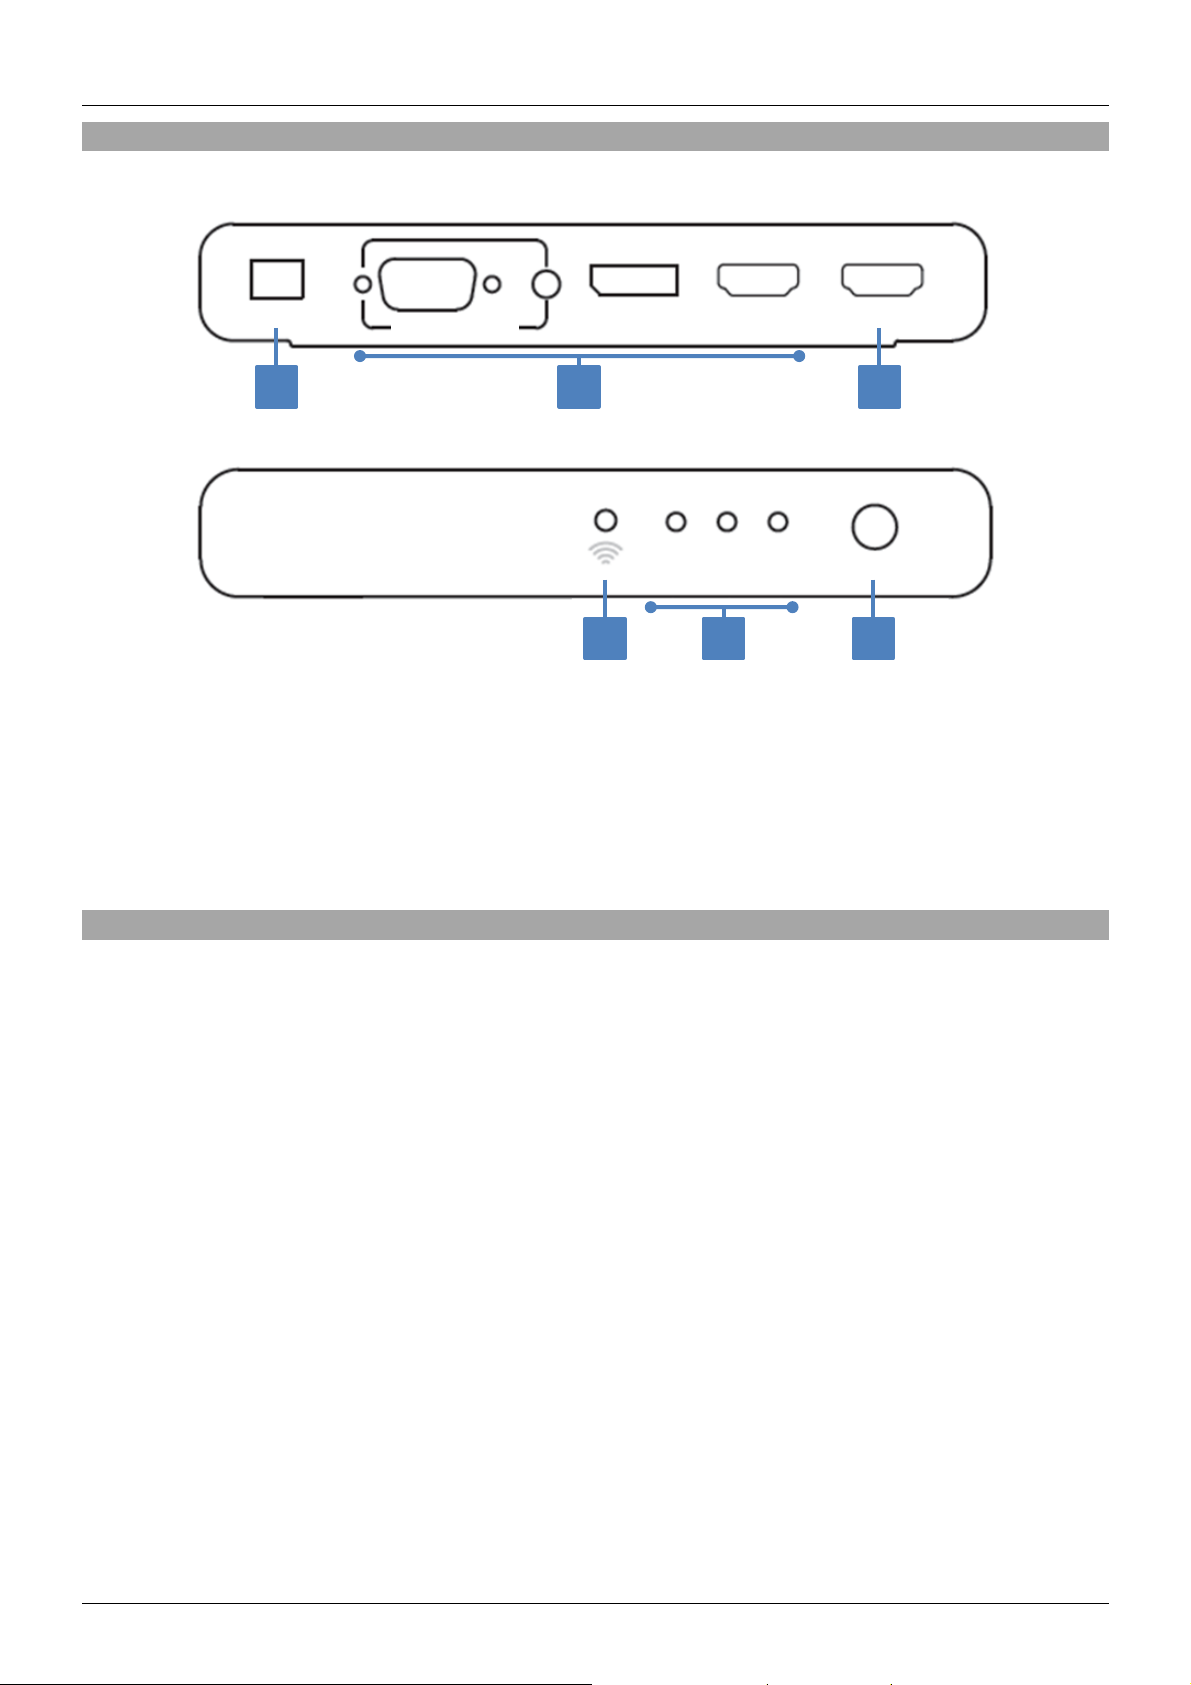
Overview
Rear View
Front View
1. 5V DC – Connect the provided power supply here
2. Video Inputs – Connect to source equipment, such as a PC or Notebook
3. HDMI Output – Connect to a HDMI equipped Display or Projector
4. IR Eye – IR receiver for the included IR Remote control
5. Status LED – Illuminates to show the active input device
6. Select – Toggle between the connected input devices
Installation & Operation
Installation is simple; connect the Presentation Switch to your source equipment using standard male to
male cable for each interface. If you’re using 4K Ultra HD resolutions we recommend using a maximum
of 3m on the input of the Switch. The output can be directly connected to a HDMI Display or Projector
using a high quality cable of up to 10m in length, alternatively an active HDMI extension cable or HDMI
extender may be used to achieve longer distances.
Once all cables have been connected the switch can be used. Using the Auto-sensing feature the Switch
will automatically switch to the most recently connected input, perfect for switching between presenters
during a meeting.
Please Note: The supplied DisplayPort cable (or another all pins wired DisplayPort cable) must be used
for the automatic switching function to work correctly via the DisplayPort input. This cable must not be
connected to a DP Display as it may cause malfunction/damage.
Using the IR remote control you may directly switch between inputs, alternatively you may use the
following IR codes to integrate the Switch with an IR controller:
IR frequency: 38KHz Input 1: VGA (1C)
Custom Code: 40AF Input 2: DisplayPort (0E)
Input 3 HDMI (01)
Using the Select button on the front of the Switch will toggle the Input device from 1. VGA to 2.
DisplayPort to 3. HDMI and then back to 1. VGA.
 Loading...