

Page 1
Tested to Comply with
FCC Standards
For Home and Office Use!
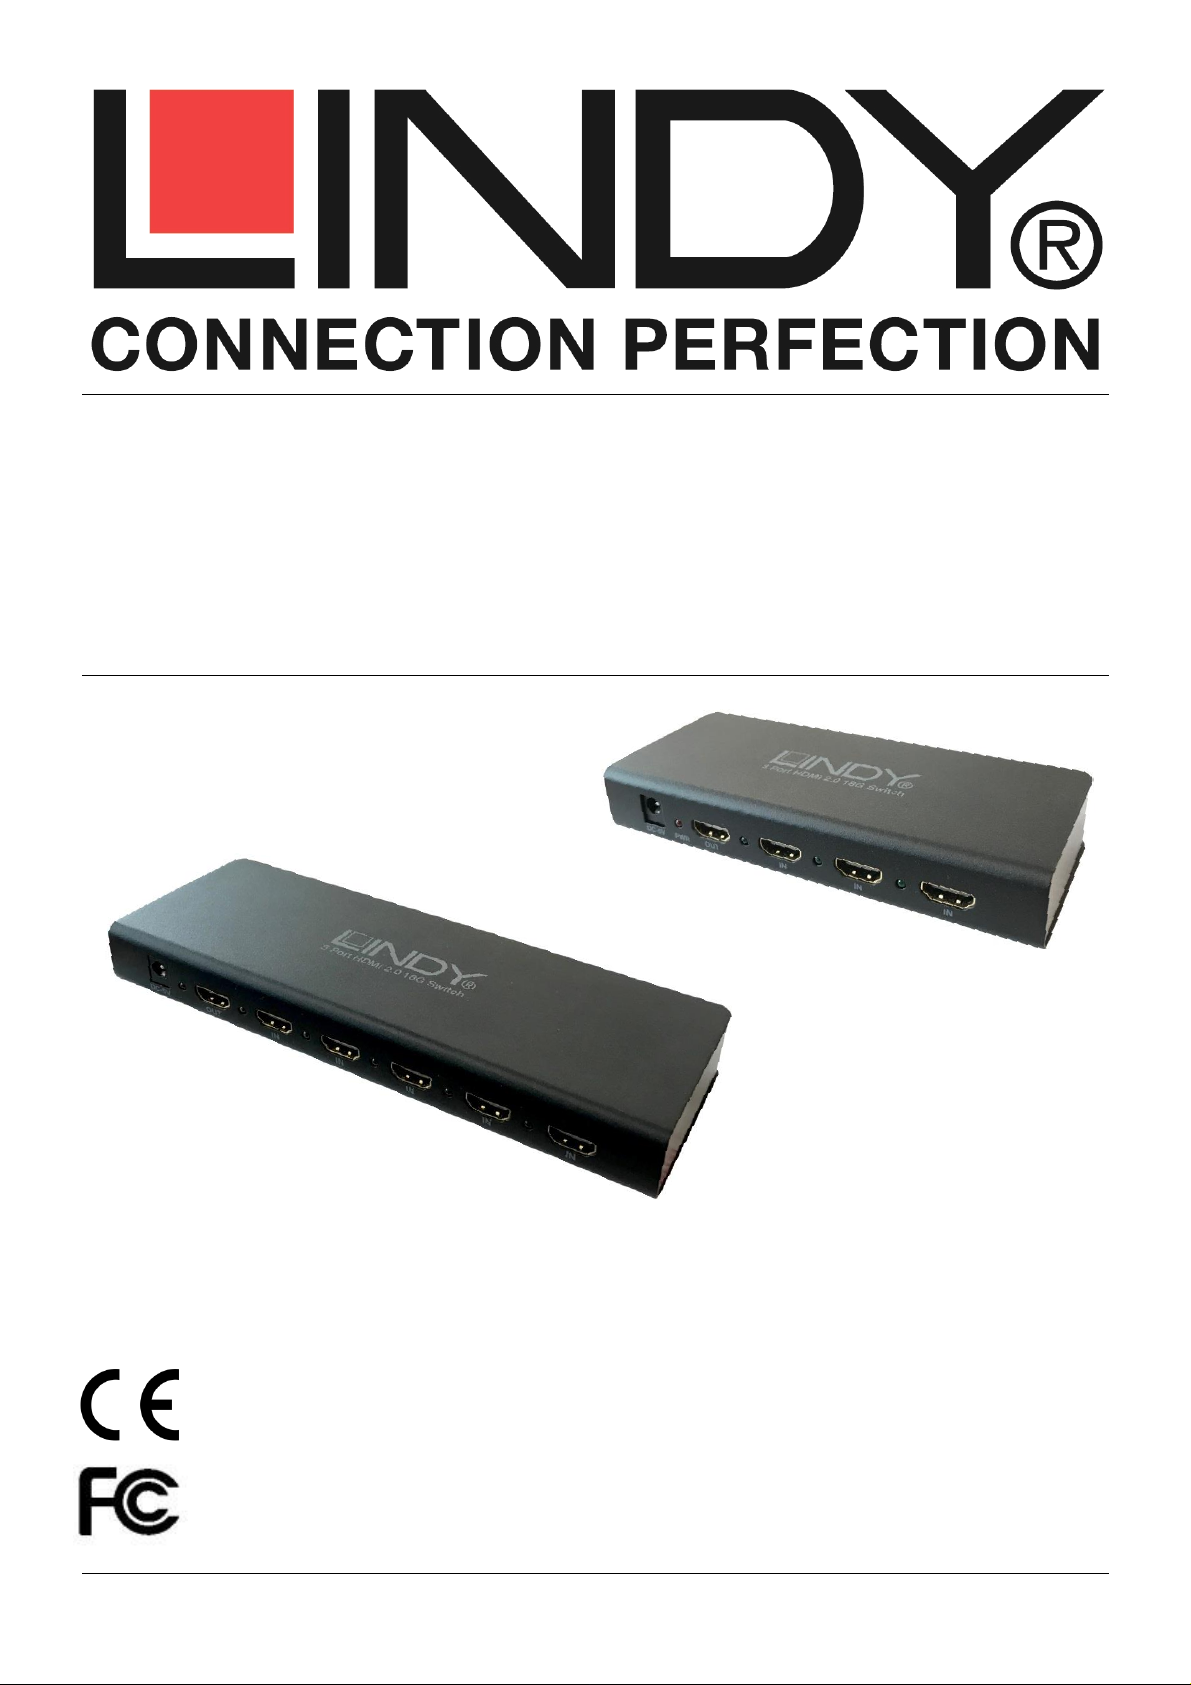
3 & 5 Port HDMI 2.0 18G Switch
User Manual English
Benutzerhandbuch Deutsch
Manuel Utilisateur Français
Manuale Italiano
No. 38243, 38244
lindy.com
© LINDY Group - FIRST EDITION (April 2017)
Page 2

Page 3

User Manual English
Introduction
Thank you for purchasing the LINDY HDMI 2.0 18G Switch. This product has been designed to provide
trouble free, reliable operation. It benefits from both a LINDY 2 year warranty and free lifetime technical
support. To ensure correct use, please read this manual carefully and retain it for future reference.
Package Contents
3 or 5 Port HDMI 2.0 18G Switch
5V DC 1A Multi Country PSU
Remote control including battery
IR extension cable
This manual
Features
Supports HDMI 2.0, HDCP 2.2
Supports resolutions up to 4K2K@60Hz Including 3D 1080p
Supports full 18G bandwidth and 600Mhz TMDS
Supports 7.1 channel of LPCM, Dolby TrueHD and DTS-HD Master Audio digital audio signals
Installation
Make sure all devices are switched off before making any connections! Once all the connections have
been made, switch on the devices in this order: displays, HDMI Splitter, source device.
Connect the source device such as a DVD player or games console to the HDMI switch’s input port.
Then connect the high definition displays to the HDMI switch’s output ports. When all the connections
are made, connect the power supply and switch on.
Operation
Switch
1. PSU Port – Plug the included 5V DC multi country PSU in this port
2. Power LED indicator – When the power is switched on the LED will glow red
3. HDMI output port – Connect your monitor/screen to this port
4. HDMI input port LED indicators – Each individual LED will glow green when an active source is
connected
5. HDMI input ports – Connect your source devices to these ports
6. RS232 port – Connect your control system to this port
7. IR Port – Insert the included IR extension lead and place the eye in a convenient position
8. Switch – Press this button to scroll through the input ports
9. Power switch – This is the main power switch for your product
Page 4

User Manual English
Baud Rate
9600bps
Data Bits
8 Bits
Parity
None
Stop Bits
1 Bit
Flow Control
None
Command
HEX
Feedback
Description
!get_com#
21 67 65 74 5f 63 6f 6d 23
!fb_set_xx# (xx= on /off)
!fb_sw_x#(x=1~3)
Power status
Input port status
!set_off#
21 73 65 74 5f 6f 66 66 23
!fb_set_off#
Power off
!set_on#
21 73 65 74 5f 6f 6e 23
!fb_set_on#
Power on
!sw_1#
21 73 77 5f 31 23
!fb_sw_1#
Switch 1(port)
!sw_2#
21 73 77 5f 32 23
!fb_sw_2#
Switch 2(port)
!sw_3#
21 73 77 5f 33 23
!fb_sw_3#
Switch 3(port)
!sw_4#
21 73 77 5f 34 23
!fb_sw_4#
Switch 4(port)
!sw_5#
21 73 77 5f 35 23
!fb_sw_5#
Switch 5(port)
Remote Control
Red Off Button – This off button will put the switch in stand-by mode only
Green On Button – This button will take the switch out of stand-by mode
1,2,3 or 1,2,3,4,5 – Directly select the input channel you want to display
Up/Down Buttons - The up button will scroll up through the ports, the down
button will scroll down though the ports
RS232 Control Codes
RS232 Command
Page 5

Benutzerhandbuch Deutsch
Einführung
Wir freuen uns, dass Ihre Wahl auf ein LINDY-Produkt gefallen ist und danken Ihnen für Ihr Vertrauen.
Sie können sich jederzeit auf unsere Produkte und einen guten Service verlassen. Dieser HDMI Switch
unterliegt einer 2-Jahres LINDY Herstellergarantie und lebenslangem kostenlosen technischen Support.
Bitte lesen Sie diese Anleitung sorgfältig und bewahren Sie sie auf.
Lieferumfang
3 oder 5 Port HDMI 2.0 18G Switch
Steckernetzteil 100…240VAC/5VDC, mit 4 Wechselsteckern für Euro, US, UK & AUS/CN
IR Fernbedienung mit Batterie
IR Fernbedienungsempfängerkabel
Dieses Handbuch
Eigenschaften
Unterstützt HDMI 2.0, HDCP 2.2
Unterstützt Auflösungen bis 4K2K@60Hz einschließlich 3D 1080p
Unterstützt die volle HDMI 2.0 Bandbreite von 18GBit/s und 600MHz TMDS
Unterstützt 7.1 Kanal LPCM, Dolby TrueHD und DTS-HD Master Audio digitale Audiosignale
Installation
Schalten Sie bitte alle Geräte aus und schließen Sie dann alle Geräte an die HDMI Ein- und Ausgänge
an. Schalten Sie die Geräte in folgender Reihenfolge ein: Zuerst die Displays, dann den HDMI Splitter
und zum Schluss die HDMI Signalquelle.
Sollten einzelne Geräte nicht funktionieren so trennen Sie die HDMI Verbindung zum Gerät für einige
Sekunden. Nach dem Wiedereinstecken dauert es einige Sekunden bis die Geräte den HDMI
Handshake ausgeführt haben und wieder ein Signal zeigen können. Verwenden Sie ausschließlich
HDMI Geräte die die gewollte Auflösung unterstützen!
Betrieb
Anschlüsse und Elemente
1. DC5V – Netzteilanschluss
2. Power LED – Leuchtet rot bei bestehender Stromversorgung
3. HDMI Ausgang OUT – Anschluss für Display/Projektor (Sink)
4. HDMI Eingangs-LEDs – Leuchten grün bei aktivem Eingangssignal
5. HDMI Eingänge IN – Anschlüsse für HDMI Signalquellen
6. RS232 Port – Steuerungsanschluss für RS232 Fernsteuerung
7. IR Eingang – Anschluss für das Kabel des mitgelieferten IR Fernbedienungssensor
8. Switch – Umschalttaste zum Schalten der Eingänge
9. OFF/ON – Ein-/Ausschalter
Page 6

Benutzerhandbuch Deutsch
Baud Rate
9600bps
Data Bits
8 Bits
Parity
None
Stop Bits
1 Bit
Flow Control
None
Command
HEX
Feedback
Description
!get_com#
21 67 65 74 5f 63 6f 6d 23
!fb_set_xx# (xx= on /off)
!fb_sw_x# (x=1~3)
Power status
Input port status
!set_off#
21 73 65 74 5f 6f 66 66 23
!fb_set_off#
Power off
!set_on#
21 73 65 74 5f 6f 6e 23
!fb_set_on#
Power on
!sw_1#
21 73 77 5f 31 23
!fb_sw_1#
Switch port 1
!sw_2#
21 73 77 5f 32 23
!fb_sw_2#
Switch port 2
!sw_3#
21 73 77 5f 33 23
!fb_sw_3#
Switch port 3
!sw_4#
21 73 77 5f 34 23
!fb_sw_4#
Switch port 4
Fernbedienung
Rote Off Taste – Schaltet den Switch in den Standby-Modus
Grüne On Taste – Schaltet ein aus dem Standby
1,2,3 bzw. 1,2,3,4,5 – Schaltet direkt auf den entsprechenden Eingang
Up/Down Rauf/Runter Tasten – Schaltet die Eingänge der Reihe nach
RS232 Control Codes
RS232 Command Codes
Page 7

Manuel Utilisateur Français
Introduction
Nous sommes heureux que votre choix se soit porté sur un produit LINDY et vous remercions de votre
confiance. Vous pouvez compter à tout moment sur la qualité de nos produits et de notre service. Ce
Switch HDMI 2.0 18G LINDY est soumis à une durée de garantie LINDY de 2 ans et d’une assistance
technique gratuite à vie. Merci de lire attentivement ces instructions et de les conserver pour future
référence.
Contenu de l’emballage
Switch HDMI 2.0 18G 3 ou 5 ports
Alimentation multi-pays 5V DC 1A
Télécommande avec pile
Câble d’extension IR
Ce manuel
Caractéristiques
Prise en charge HDMI 2.0, HDCP 2.2
Prise en charge des résolutions jusqu’à 4K2K@60Hz, 3D 1080p inclus
Prise en charge de la bande passante complète 18G et 600Mhz TMDS
Prise en charge des signaux audio 7.1 canaux en LPCM, Dolby TrueHD et DTS-HD Master Audio
numérique
Installation
Assurez-vous que tous les appareils soient hors tension d’avant d’effectuer les connexions !
Une fois toutes les connexions réalisées, mettez les appareils sous tension dans l’ordre suivant:
affichage, switch HDMI, appareils sources. Connectez les appareils sources, comme des lecteurs DVD
ou consoles de jeux aux ports HDMI d’entrées du switch. Connectez ensuite un affichage haute
définition au port de sortie du switch HDMI. Lorsque toutes les connexions ont été faites, connectez
l’alimentation et mettez sous tension.
Utilisation
Switch
1. Port PSU– branchez l’alimentation 5V DC multi-pays fournie à ce port
2. LED indicatrices d’alimentation – lorsque l’alimentation est active la LED s’allume en rouge
3. Port de sortie HDMI – connectez votre moniteur/écran à ce port
4. LED indicatrices des ports d’entrée HDMI – chaque LED individuelle s’allume en vert lorsqu’une
source active est connectée
5. Ports d’entrées HDMI – connectez vos appareils sources à ces ports
6. Port RS232 – connectez votre système de contrôle à ce port
7. Port IR – insérez le cordon d’extension IR fourni et placez le capteur à un endroit approprié
8. Switch – appuyez sur ce bouton pour passer d’un port d’entrée à l’autre
Page 8

Manuel Utilisateur Français
Baud Rate
9600bps
Data Bits
8 Bits
Parity
None
Stop Bits
1 Bit
Flow Control
None
Commande
HEX
Retour d’information
Description
!get_com#
21 67 65 74 5f 63 6f 6d 23
!fb_set_xx# (xx= on /off)
!fb_sw_x#(x=1~3)
Statut d’alim.
Statut port d’entrée
!set_off#
21 73 65 74 5f 6f 66 66 23
!fb_set_off#
Power off
!set_on#
21 73 65 74 5f 6f 6e 23
!fb_set_on#
Power on
!sw_1#
21 73 77 5f 31 23
!fb_sw_1#
Switch 1(port)
!sw_2#
21 73 77 5f 32 23
!fb_sw_2#
Switch 2(port)
!sw_3#
21 73 77 5f 33 23
!fb_sw_3#
Switch 3(port)
!sw_4#
21 73 77 5f 34 23
!fb_sw_4#
Switch 4(port)
!sw_5#
21 73 77 5f 35 23
!fb_sw_5#
Switch 5(port)
9. Bouton marche/arrêt – ceci est le bouton d’alimentation principal de votre produit
Télécommande
Bouton Off rouge – ce bouton off ne met le switch qu’en mode veille
Bouton On vert – ce bouton permet de sortir le switch du mode veille
1, 2, 3 ou 1, 2, 3, 4, 5 – sélectionne directement le canal d’entrée à afficher
Bouton Haut/Bas – Le bouton Haut permet de passer au port supérieur, le
bouton Bas permet de passer au port inférieur
Codes de contrôle RS232
Commandes RS232
Page 9

Manuale Italiano
Introduzione
Vi ringraziamo per aver acquistato lo Switch HDMI 2.0 18G LINDY. Questo prodotto è stato progettato
per garantirvi la massima affidabilità e semplicità di utilizzo ed è coperto da 2 anni di garanzia LINDY
oltre che da un servizio di supporto tecnico a vita. Per assicurarvi di farne un uso corretto vi invitiamo a
leggere attentamente questo manuale e a conservarlo per future consultazioni.
Contenuto della confezione
Switch HDMI 2.0 18G LINDY a 3 o 5 Porte
Alimentatore Multi Country 5V DC 1A
Telecomando con batteria inclusa
Cavo estensione sensore IR
Questo manuale
Caratteristiche
Supporto HDMI 2.0, HDCP 2.2
Supporto risoluzioni fino a 4K2K@60Hz (3D 1080p incluso)
Supporto larghezza di banda a 18G e TMDS a 600Mhz
Supporto segnali audio digitale LPCM 7.1, Dolby TrueHD e DTS-HD
Installazione
Assicuratevi che tutti i dispositivi siano spenti prima di iniziare ad effettuare le connessioni! Una volta
terminate tutte le connessioni accendete i dispositivi in quest’ordine: Schermi, Switch HDMI, Sorgernti.
Collegate i dispositivi sorgente come DVD player o Game Console alle porte HDMI in ingresso dello
Switch. Collegate poi il vostro monitor o videoproiettore alla porta HDMI in uscita dallo switch. Dopo aver
completato questa fase collegate l’alimentatore e accendete i dispositivi come descritto sopra.
Utilizzo
Switch
1. Porta PSU – Collegare qui l’alimentatore 5V DC multi country
2. Indicatore LED Power – Quando l’alimentazione arriva allo switch si illumina in rosso
3. Porta HDMI in uscita (output) – Collegate il vostro monitor/schermo a questa porta
4. LED indicatori porte HDMI in ingresso (Input) – Ogni LED si illumina in verde quando una
sorgente attiva e collegato alla relativa porta
5. Porte HDMI in ingresso (Input) – Collegate le vostre sorgenti a queste porte
6. Porta RS232 – Collegate il vostro sistema di controllo a questa porta
7. Porta IR – Collegate qui il cavo di estensione IR incluso e posizionate il sensore in una posizione
favorevole
8. Switch – Premete questo pulsante per scorrere fra le porte in ingresso
9. Interruttore Power – Questo è l’interruttore di alimentazione per accendere e spegnere lo switch
Page 10

Manuale Italiano
Baud Rate
9600bps
Data Bits
8 Bits
Parity
None
Stop Bits
1 Bit
Flow Control
None
Comando
HEX
Risposta
Descrizione
!get_com#
21 67 65 74 5f 63 6f 6d 23
!fb_set_xx# (xx= on /off)
!fb_sw_x#(x=1~3)
Stato Alimentaz.
Stato porta Input
!set_off#
21 73 65 74 5f 6f 66 66 23
!fb_set_off#
Alimentaz. off
!set_on#
21 73 65 74 5f 6f 6e 23
!fb_set_on#
Alimentaz. on
!sw_1#
21 73 77 5f 31 23
!fb_sw_1#
Switch 1(porta)
!sw_2#
21 73 77 5f 32 23
!fb_sw_2#
Switch 2(porta)
!sw_3#
21 73 77 5f 33 23
!fb_sw_3#
Switch 3(porta)
!sw_4#
21 73 77 5f 34 23
!fb_sw_4#
Switch 4(porta)
!sw_5#
21 73 77 5f 35 23
!fb_sw_5#
Switch 5(porta)
Telecomando
Pulsante Rosso (Off) – Questo pulsante mette lo switch in modalità StandBy
Pulsante Verde (On) – Questo pulsante fa uscire lo switch dalla modalità
Stand-By
1,2,3 o 1,2,3,4,5 – Seleziona direttamente il canale che desiderate
visualizzare sul monitor connesso alla porta in uscita
Pulsanti Su/Giù – Questi pulsanti permettono di scorrere fra le porte dello
switch
Parametri di connessione alla porta RS232
Comandi RS232
Page 11

CE/FCC Statement
CE Certification
This equipment complies with the requirements relating to Electromagnetic Compatibility Standards.
It has been manufactured under the scope of RoHS compliance.
CE Konformitätserklärung
Dieses Produkt entspricht den einschlägigen EMV Richtlinien der EU für IT-Equipment und darf nur
zusammen mit abgeschirmten Kabeln verwendet werden.
Diese Geräte wurden unter Berücksichtigung der RoHS Vorgaben hergestellt.
Die formelle Konformitätserklärung können wir Ihnen auf Anforderung zur Verfügung stellen
FCC Certification
This equipment has been tested and found to comply with the limits for a Class B digital device, pursuant
to part 15 of the FCC Rules. These limits are designed to provide reasonable protection against harmful
interference in a residential installation.
You are cautioned that changes or modification not expressly approved by the party responsible for
compliance could void your authority to operate the equipment.
This device complies with part 15 of the FCC Rules.
Operation is subject to the following two conditions:
1. This device may not cause harmful interference, and
2. This device must accept any interference received, including interference that may cause undesired
operation.
LINDY Herstellergarantie – Hinweis für Kunden in Deutschland
LINDY gewährt für dieses Produkt über die gesetzliche Regelung in Deutschland hinaus eine zweijährige
Herstellergarantie ab Kaufdatum. Die detaillierten Bedingungen dieser Garantie finden Sie auf der LINDY Website
aufgelistet bei den AGBs.
Hersteller / Manufacturer (EU):.
LINDY-Elektronik GmbH LINDY Electronics Ltd
Markircher Str. 20 Sadler Forster Way
68229 Mannheim Stockton-on-Tees, TS17 9JY
GERMANY United Kingdom
Email: info@lindy.com , T: +49 (0)621 470050 postmaster@lindy.co.uk , T: +44 (0)1642 754000
Page 12

Recycling Information
WEEE (Waste of Electrical and Electronic Equipment),
Recycling of Electronic Products
Europe, United Kingdom
In 2006 the European Union introduced regulations (WEEE) for the collection and recycling of all waste electrical
and electronic equipment. It is no longer allowable to simply throw away electrical and electronic equipment.
Instead, these products must enter the recycling process.
Each individual EU member state has implemented the WEEE regulations into national law in slightly different
ways. Please follow your national law when you want to dispose of any electrical or electronic products. More
details can be obtained from your national WEEE recycling agency.
Battery Remark:
Do not put empty batteries in your domestic waste bin as they will not be recycled. Empty batteries can be returned
for recycling at our trade counter or at your local household recycling centre.
The raw materials enclosed in batteries such as Zinc, Iron and Nickel can be reused to a very large proportion. The
recycling of batteries and disused/obsolete electronic equipment is one of the most efficient environment protection
actions you can easily take.
Germany / Deutschland Rücknahme Elektroschrott und Batterie-Entsorgung
Die Europäische Union hat mit der WEEE Direktive Regelungen für die Verschrottung und das Recycling von
Elektro- und Elektronikprodukten geschaffen. Diese wurden im Elektro- und Elektronikgerätegesetz – ElektroG in
deutsches Recht umgesetzt. Das Entsorgen von Elektro- und Elektronikgeräten über die Hausmülltonne ist
verboten! Diese Geräte müssen den Sammel- und Rückgabesystemen zugeführt werden! Dort werden sie
kostenlos entgegen genommen. Die Kosten für den weiteren Recyclingprozess übernehmen die Gerätehersteller.
LINDY bietet deutschen Endverbrauchern ein kostenloses Rücknahmesystem an, beachten Sie bitte, dass
Batterien und Akkus den Produkten vor der Rückgabe an das Rücknahmesystem entnommen werden müssen und
über die Sammel- und Rückgabesysteme für Batterien separat entsorgt werden müssen. Ausführliche
Informationen zu diesen Themen finden Sie stets aktuell auf der LINDY Webseite im Fußbereich.
France
En 2006, l'union Européenne a introduit la nouvelle réglementation (DEEE) pour le recyclage de tout équipement
électrique et électronique.
Chaque Etat membre de l’ Union Européenne a mis en application la nouvelle réglementation DEEE de manières
légèrement différentes. Veuillez suivre le décret d’application correspondant à l’élimination des déchets électriques
ou électroniques de votre pays.
Remarque sur les piles et batteries
En tant que consommateur final, vous êtes tenus de restituer toutes les piles et batteries usagées. Il est clairement
interdit de les jeter avec les ordures ménagères ! Les piles et batteries contenant des substances nocives sont
marquées par le symbole ci-dessus. Vous pouvez déposer gratuitement vos piles ou batteries usagées dans les
centres de collecte de votre commune, dans nos succursales ou dans tous les points de vente de piles ou
batteries. Vous respecterez ainsi la loi et contribuerez à la protection de l'environnement !
Italy
Nel 2006 l’unione europea ha introdotto regolamentazioni (WEEE) per la raccolta e il riciclo di apparecchi elettrici
ed elettronici. Non è più consentito semplicemente gettare queste apparecchiature, devono essere riciclate. Ogni
stato membro dell’ EU ha tramutato le direttive WEEE in leggi statali in varie misure. Fare riferimento alle leggi del
proprio Stato quando si dispone di un apparecchio elettrico o elettronico.
Per ulteriori dettagli fare riferimento alla direttiva WEEE sul riciclaggio del proprio Stato.
LINDY No 38243, 38244
1st Edition, April 2017
www.lindy.com
 Loading...