

Page 1
LINDY USB Webcam
Manual English
Benutzerhandbuch Deutsch
Manuel Français
Manuale Uso Italiano
LINDY Art. Nr. 32849
www.LINDY.com
© LINDY ELECTRONICS LIMITED & LINDY-ELEKTRONIK GMBH - FIRST EDITION (Jul 2001)
Page 2

English Manual
Overview
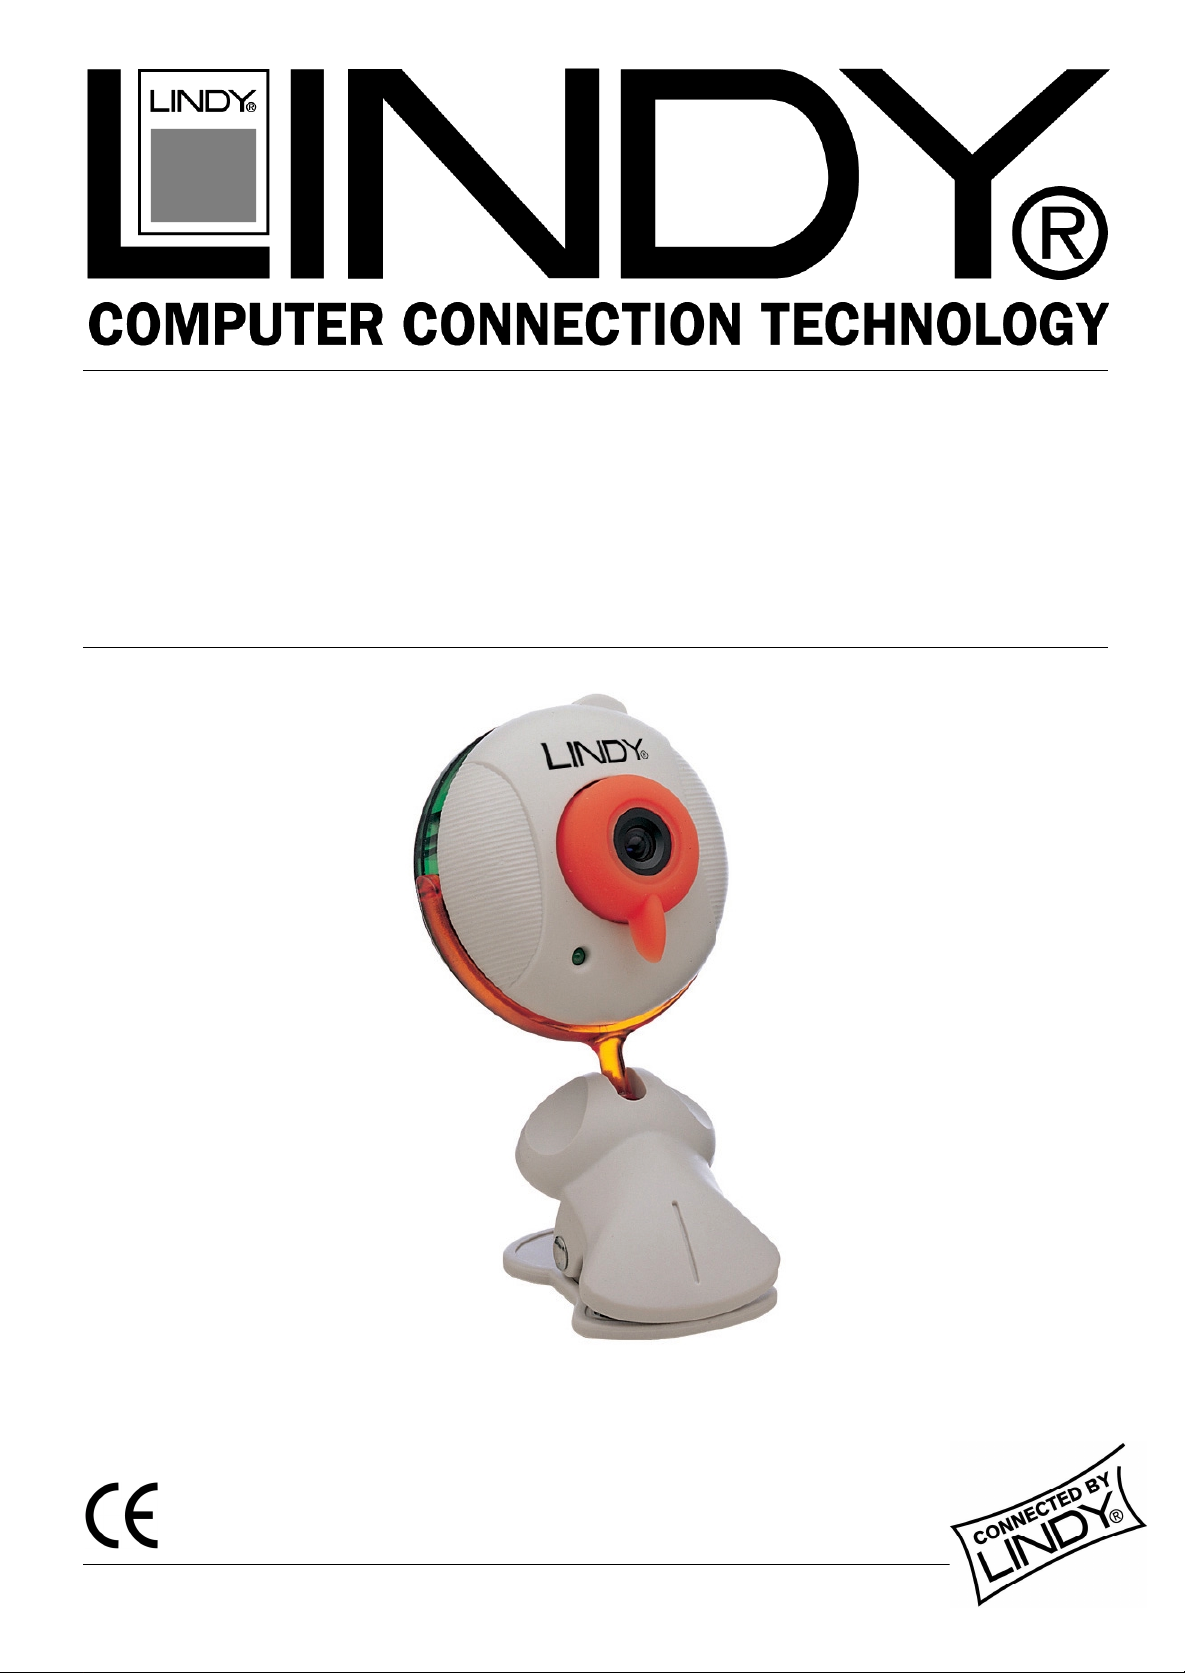
The LINDY USB Webcam is simple to install into the USB port of a computer. No further
hardware required, simply Plug & Play. The software supplied allows the capture of single
pictures or film sequences.
The camera is bundled with the following software for the PC:
• Netmeeting (for video conferencing)
• Photo Special Effects (Image editing)
• Photo EZ (Photo Album)
• Photo Greeting Cards
• Video Capture (Editing of film sequences)
• Video Email (sending videos by email)
• Video Monitor (security program)
Software for the Mac is not included, however, you can easily download Apple Video Player
from the Apple website.
Features:
• CMOS sensor, 300K pixels
• Max. resolution: 640x480
• Frame rate: up to 30 frames per second
• Snapshot button
• Min. Illumination: 5 Lux @ fl.4 (3000K)
• No capture card and no power adaptor needed
• Power supplied by USB Bus
• Cable length: Approx. 1,4m
• Operating systems: Windows 98/ME/2000, Mac OS 9.0 or above
Package Contents:
• LINDY USB Webcam
• CD with drivers and software
• This manual
Driver Installation:
Windows 98/ME/2000:
Insert the CD into the CD-Rom drive. The installation will start automatically. Choose
”Installation of camera drivers“ and follow the instructions in the pop up menus. After the drivers
have been installed, restart the computer. Then connect the camera to the USB port of the
computer. The device will instantaneously become active.
When you install the drivers a small program will automatically be added and shown as an icon
on the screen. With this program you can take pictures by pushing the snapshot button on the
camera.
Page 3

Software installation:
Insert the CD into the CD-Rom drive. The installation routine will start automatically. Choose
“Installation of the software” and follow the instructions in the pop up menus. You can choose
which programs to be installed.
Macintosh Installation:
Insert the CD ROM in to the CD reader.
Drag and drop the file TC 300_MAC.sit from the CD ROM into your extensions folder
In the extensions folder click the file and it will automatically open.
A new file will appear on your desktop called “USBCAMERA".
Restart the Mac. Connect the USB camera.
Once the camera is detected an LED will become active on the camera.
Use appropriate software (not supplied, although Apple Video Player is available from the A pple
Website above) to utilise the camera.
Once the camera is operating, use the front lens to focus the picture by rotating left or right.
Page 4

Deutsches Benutzerhandbuch
Übersicht
Die LINDY USB Webcam ist einfach am USB-Port Ihres Computers zu installieren. Sie
benötigen keine zusätzliche Hardware wie z.B. eine PC-Karte. Die mitgelieferte Software
ermöglicht sowohl die Aufnahme von einzelnen Bildern als auch von Filmsequenzen.
Zusammen mit der Kamera erhalten Sie folgende Software für den PC:
• Netmeeting (für Videokonferenzen)
• Photo Special Effects (Bildbearbeitung)
• Photo EZ (Fotoalbum)
• Photo Greeting Cards (Grußkarten)
• Video Capture (Bearbeiten von Filmsequenzen)
• Video Email (Versenden von Videos per E-Mail)
• Video Monitor (Überwachungsprogramm)
Software für den Mac ist im Lieferumfang nicht enthalten. Sie können jedoch den Apple Video
Player von der Apple Homepage herunterladen.
Eigenschaften:
• CMOS sensor, 300K Pixel
• Maximale Auflösung: 640x480
• Video-Framerate: 30 fps
• Snapshot-Button zur Aufnahme von Einzelbildern
• Minimale Beleuchtung: 5 Lux @ fl.4 (3000K)
• Keine Capture-Karte und kein Netzteil erforderlich
• Stromversorgung über USB- Bus
• Kabellänge: ca. 1,40m
• Betriebssysteme: Windows 98/ME/2000, ab Mac OS 9.0
Lieferumfang:
• LINDY USB Webcam
• CD mit Treibern und Software
• dieses Handbuch
Page 5

Treiberinstallation:
Windows 98/ME/2000:
Legen Sie die CD in das CD-Rom-Laufwerk ein. Die Installationsoberfläche startet automatisch.
Wählen Sie „Installation der Kamera-Treiber“ und folgen Sie den Anweisungen in der
Dialogbox. Nach erfolgter Installation führen Sie einen Neustart durch. Anschließend schließen
Sie die Kamera an den USB-Port Ihres Computers an. Das Gerät wird automatisch
eingebunden.
Die Treiberinstallation bindet ein kleines Programm ein welches rechts neben der Taskleiste als
Icon dargestellt wird. Dieses Programm ermöglicht die Aufnahme von Bildern mittels Druck auf
die an der Kamera angebrachte Taste (Snapshot-Button).
Softwareinstallation:
Legen Sie die CD in das CD-Rom-Laufwerk ein. Die Installationsoberfläche startet automatisch.
Wählen Sie „Installation der Anwendungs-Software“ und folgen Sie den Anweisungen in der
Dialogbox.Sie können im Einzelnen auswählen, welche Programme installiert werden sollen.
Macintosh:
Legen Sie die CD ins CD-ROM-Laufwerk. Ziehen Sie die Datei TC 300_Mac.sit in den Ordner
Systemerweiterungen. Klicken Sie dann auf die Datei und sie wird sich automatisch öffnen. Auf
Ihrem Desktop wird dann eine neue Datei „USBCAMERA“ abgelegt. Führen Sie anschließend
einen Neustart durch. Wenn Sie die USB-Kamera nun anschließen, wird sie automatisch
erkannt und die LED leuchtet.
Software für die Bildbearbeitung usw. finden Sie auf der Apple Homepage (s.o.)
Um ein Bild scharf einzustellen, drehen Sie bi tte die Linse vorne an der Kamera nach links bzw.
rechts.
Page 6

Manuel en français
Introduction
La caméra LINDY USB est simple à installer par le port USB d’un ordinateur. Pas de matériel
supplémentaire n’est nécessaire, simplement Plug & Play. Le logiciel fourni permet la capture
de simples images ou de petites séquences vidéo.
La caméra est fournie avec les logiciels suivants pour votre PC:
• Netmeeting (pour vidéoconférence)
• Photo Special Effects (Edition d’image)
• Photo EZ (Album Photo)
• Photo de cartes de voeux
• Video Capture (Edition de séquences vidéo)
• Video Email (Envoi de vidéos par email)
• Video Monitor (Programme de sécurité)
Les logiciels pour le Mac ne sont pas compris, mais il est possible de télécharger l e logiciel
Apple Video Player à partir du site Internet Apple.
Caractéristiques:
• Capteur CMOS, 300 000 pixels
• Résolution Maximale: 640x480
• Affichage jusqu’à 30 images par seconde
• Bouton Snapshot
• Eclairage Minimum: 5 Lux @ fl.4 (3000K)
• Aucune carte de capture ni d’alimentation nécessaire
• Alimentation fournie par le bus USB
• Longueur de câble: Environ 1,4m
• Systèmes d’exploitation: Windows 98/ME/2000, Mac OS 9.0 ou plus
Contenu de l’emballage:
• Caméra LINDY USB
• Pilotes et logiciels sur CD-ROM
• Le manuel
Installation des pilotes:
Windows 98/ME/2000:
Insérez le CD dans votre lecteur de CD-Rom. L’installation va démarrer automatiquement.
Choisissez ”Installation of camera drivers“ et suivez les instructions dans le menu qui s’affiche.
Lorsque les pilotes ont été installés, red émarrez l’ordinateur. Connectez ensuite la caméra au
port USB de votre ordinateur. Le périphérique va automatiquement être opérationnel.
Page 7

Lorsque vous installez les pilotes, un petit programme va automatiquement être ajouté sous
forme d’icône au bas de l’écran. Avec ce programme, il sera possible de prendre une photo en
appuyant sur le bouton snapshot de la caméra.
Installation logicielle :
Insérez le CD dans votre lecteur CD-Rom. La routine d’installation va automatiquement
démarrer. Choisissez “Installation of the software” et suivez les instru ctions à l’écran.
Vous pouvez sélectionner les programmes à installer.
Installation Macintosh:
Insérez le CD dans votre lecteur CD-Rom.
Faites glisser l e fichier TC 300_MAC.sit du CD dans votre dossier extensions.
Dans le dossier extensions, cliquez sur le fichier et il va automatiquement s’ouvrir.
Un nouveau fichier va apparaître sur votre bureau se nommant “USBCAMERA".
Redémarrez le Mac. Connectez la caméra USB.
Si la caméra est détectée correctement, une LED va s’allumer sur la caméra.
Veuillez utiliser le logiciel approprié (non fourni, Apple Video Player téléchargeable sur l e site
Internet Apple) pour utiliser la caméra.
Lorsque la caméra est opérationnelle, utilisez la molette frontale pour régler la netteté
de l’image en la basculant de gauche à droite.
Page 8

Manuale in Italiano
Introduzione
La LINDY USB Webcam è semplice da instal lare, basta collegarla alla porta USB del computer.
Non richiede particolari requisiti hardware, è Plug & Play. Il software fornito, permette di
catturare immagini o sequenze di filmati.
La WebCam è fornita con il seguente software per PC:
• Netmeeting (per video conferenze)
• Photo Special Effects (elaborazione di i mmagini)
• Photo EZ (Photo Album)
• Photo Greeting Cards
• Video Capture (elaborazione di sequenze di filmati)
• Video Email (invio di video tramite email)
• Video Monitor (programma di sicurezza)
Software per Mac non è incluso, potete comunque scaricare il programma Apple Video Player
dal sito della Apple.
Caratteristiche:
• Sensore CMOS, 300K pixels
• Risoluzione massima: 640x480
• Video frequenza: fino a 30 frame al secondo
• Tasto fotografia istantanea
• Min. iluuminazione: 5 Lux @ fl.4 (3000K)
• Non necessita di scheda capture e di alimentatore
• Alimentazione tramite il Bus USB
• Lunghezza cavo: ca. 1,4m
• Sistemi Operativi: Windows 98/ME/2000, Mac OS 9.0 o versioni superiori
Contenuto scatola:
• LINDY USB Webcam
• CD con driver e software
• Manuale
Installazione Driver:
Windows 98/ME/2000:
Inserire il CD nel drive del CD-Rom. L’installazione si avvierà automaticamente. Scegliere
”Installazione dei drive della WebCam” e seguire le istruzioni. Dopo che i driver sono stati
installati, riavviare il computer. Successivamente collegate la WebCam alla porta USB del
computer. La periferica sarà immediatamente operativa.
Quando installate i driver un programma sarà caricato e apparirà un’icona sul lo schermo. Con
questo programma potrete catturare immagini semplicemente premendo il tasto sulla WebCam.
Page 9

Installazione Software:
Inserire il CD nel drive del CD-Rom. La routine d’installazione si avvierà automaticamente.
Scegliere “Installazione del software” e seguire le istruzioni. Potrete scegliere quale programma
installare.
Installazione Macintosh:
Inserire il CD ROM nel lettore CD.
Copiare il file TC 300_MAC.sit dal the CD ROM nella cartella estensioni.
Nella cartella estensioni ciccate sul file, automaticamente si aprirà.
Un nuovo file APPARIRà SUL Vostro desktop “USBCAMERA".
Riavviare il Mac. Collegare alla porta USB la WebCam.
Una volta che la WebCam sarà rilevata un LED si illuminerà.
Utilizzare un software appropriato (non compreso nella fornitura, comunque il programma Apple
Video Player è possibile scaricarlo dal sito Internet dell Apple) per la WebCam.
Una volta che la WebCam è operativa, utilizzare l’obiettivo per mettere al fuoco le immagini
ruotando a destra o a sinistra.
 Loading...