

Page 1
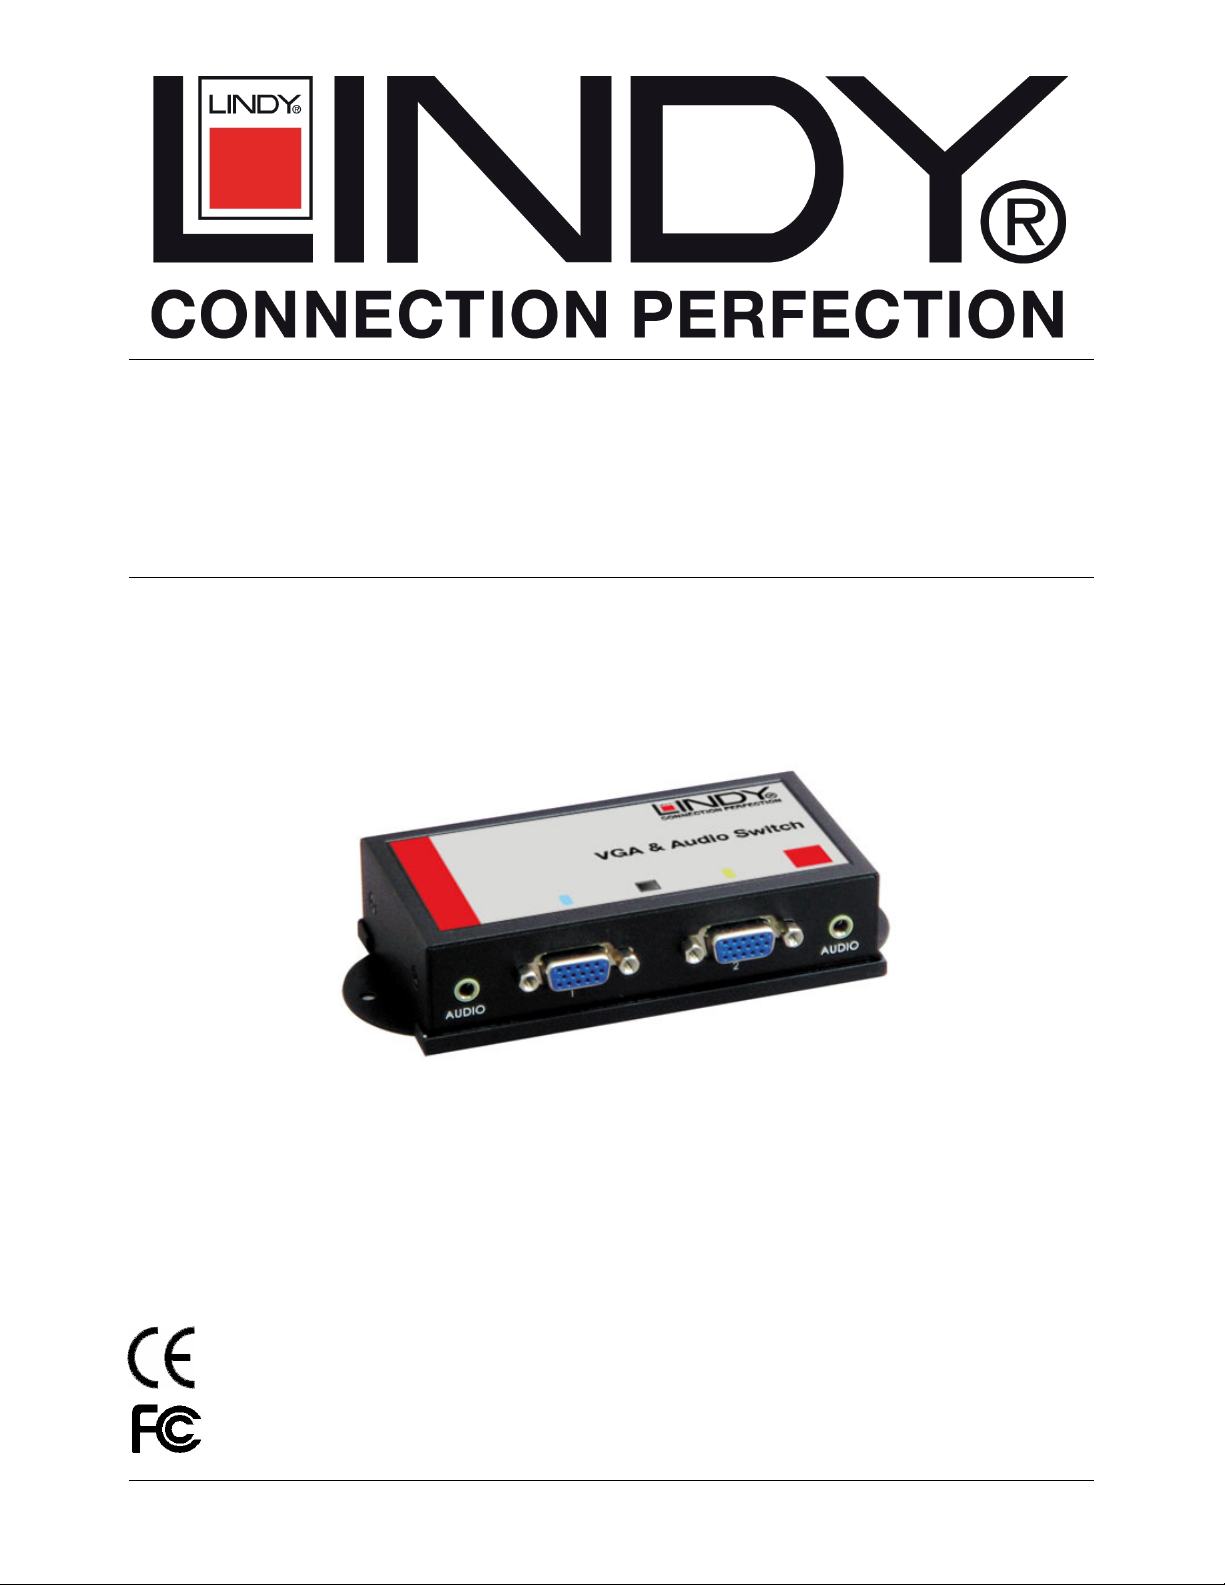
2 Port VGA + Audio Switch
with Remote Control
User Manual English
LINDY No. 32586
www.lindy.com
© LINDY ELECTRONICS LIMITED & LINDY-ELEKTRONIK GMBH - FIRST EDITION (March 2008)
Page 2
User Manual English
Introduction
Thank you for purchasing the LINDY VGA + Audio Switch! With our highly reliable and quality
product, you can enjoy the benefits of switching your VGA and Audio inputs, between two
devices using the supplied remote control.
Package Contents
LINDY VGA + Audio Switch
Remote Control
This manual
Features
Switches Video and Audio from two sources to one display monitor and speakers
LED status to indicate the selected input
Supports VGA resolutions up to: 1920 x 1200
Supports Stereo Audio
Supports cable lengths of up to 50m (output) using LINDY Premium Gold S-VGA cables
Remote control for simple manual selection between inputs
Neat installation- built-in magnetic plate attachment to any metal surfaces
Plug and Play installation
Supports VGA, XGA, SVGA, Multi-sync, CRT and TFT-LCD monitors
Optional Power Supply
Installation and Operation
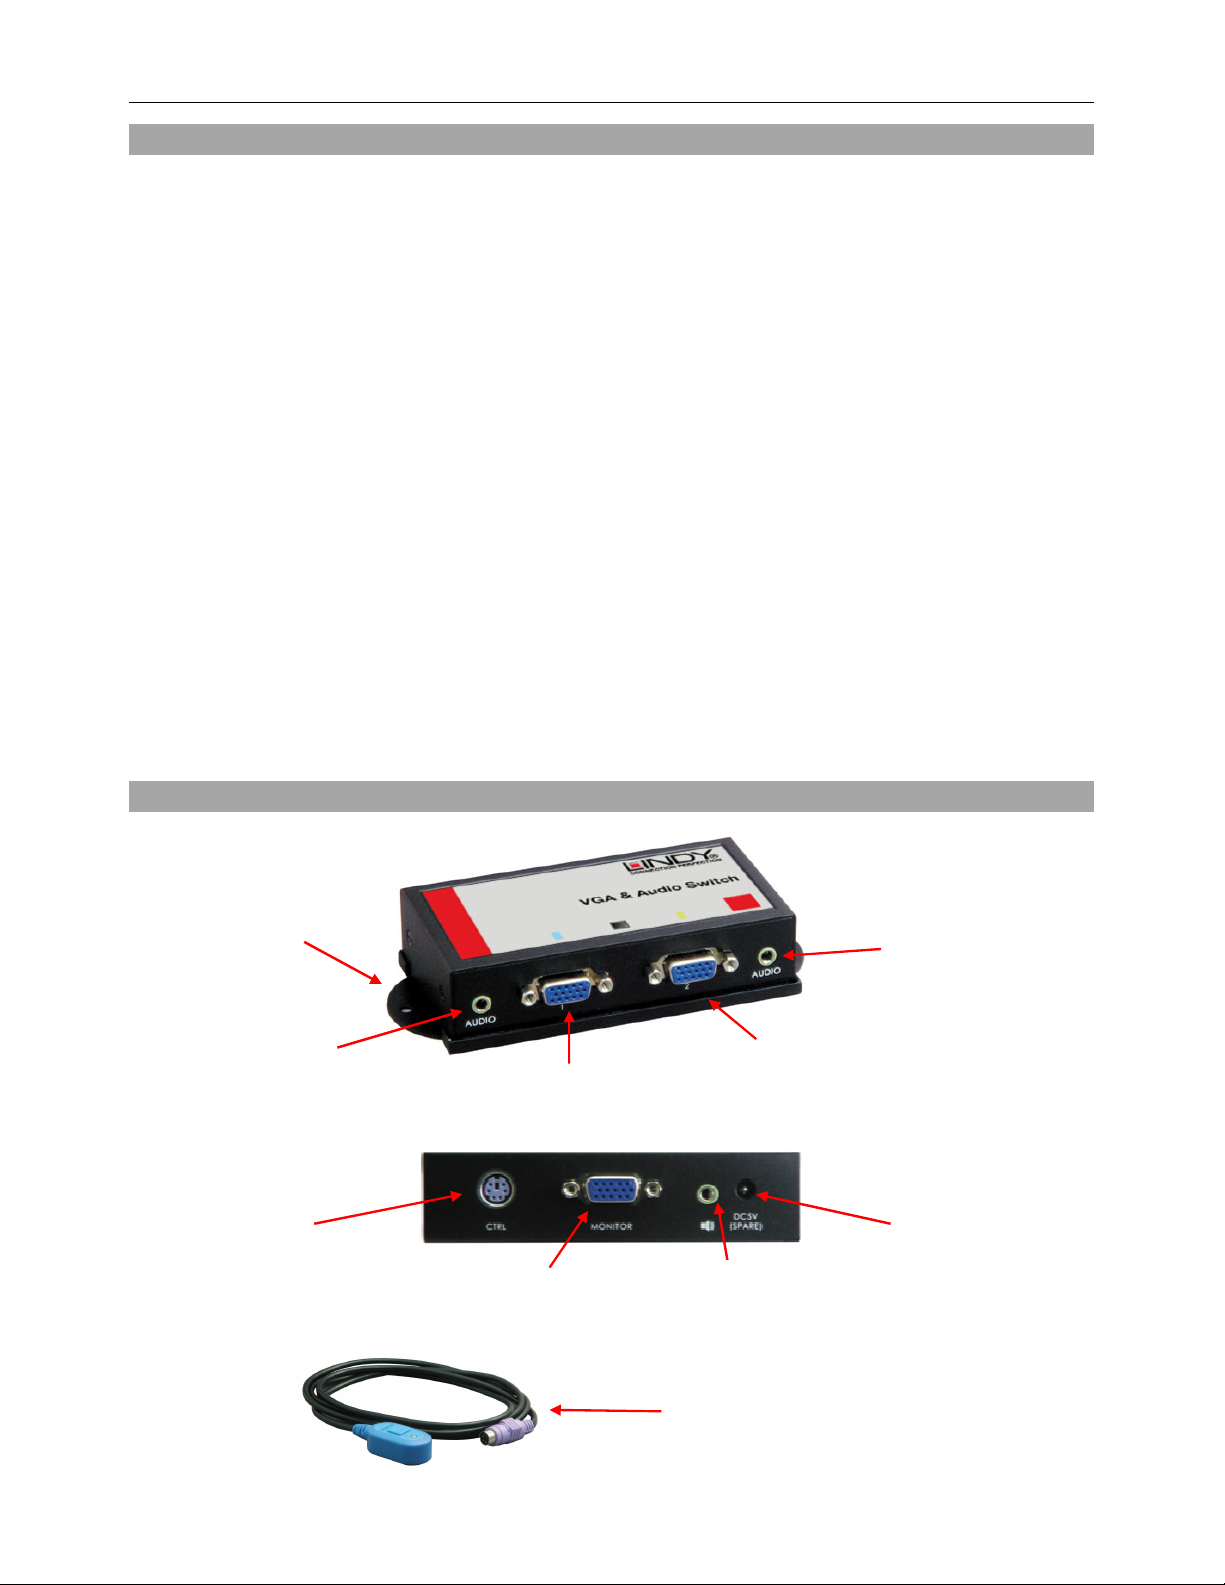
Fixing Plate
Audio Input 1
Video Input 2
Video Input 1
Audio Input 2
Remote
Control Port
Video
Output
Power
Supply Port
Audio
Output
Remote Control
Cable
2
Page 3

User Manual English
1. Before starting the installation, please ensure that all the equipment to be used (PCs,
Monitor, Speakers etc) are switched off.
2. Connect the first of your video sources to Video Input 1 using a VGA cable (HD-15 Male /
HD-15 Male) and the first of your audio sources to Audio Input 1 using a Stereo Audio cable
(3.5mm Male / 3.5mm Male).
3. Repeat step 2 to connect your second audio and video sources to the secondary inputs on
the switch.
4. Connect the Monitor Output of the switch to your monitor using a VGA cable (HD-15 Male /
HD-15 Male) and then connect the Audio Output to your speakers using a Stereo Audio
cable (3.5mm Male / 3.5mm Male).
5. Connect the Remote Control cable to the Remote control Port.
6. Turn on all the connected equipment.
7. The installation is now complete. By default Input 1 will be used for Video and Audio when
the equipment is first powered up.
The simplest way to switch between inputs is using the supplied Remote Control cable, which
will allow you to switch back and forth between inputs at the press of a button. When a device is
powered up (or restarted) the switch will automatically detect this device and switch to it.
Likewise, when a device is powered down, the switch will automatically switch to the other
device/input.
Note: Please use high quality VGA cables, to ensure best image quality we recommend our
range of premium VGA cables (HD-15 M / HD-15 M) which are available from www.lindy.com
Specification
PRODUCT NAME LINDY VGA + Audio Switch
INPUT VGA HD-15 Female x 2
3.5mm Stereo Audio Female x 2
OUTPUT
RESOLUTION
AUDIO CHANNEL STEREO
SWITCHING
METHODS
POWER INPUT
INDICATOR
HOUSING Metal (Black)
SIZE (WxDxH) mm 133 x 60 x 27
VGA HD-15 Female x 1
3.5mm Stereo Audio Female x 1
1920 x 1200
Automatic detection (Power On/Off)
Manual selection with Remote Control
No external power adapter required
Switched channel LED indication
3
Page 4

Radio Frequency Energy, Certifications
Shielded cables must be used with this equipment to maintain compliance with radio frequency
energy emission regulations and ensure a suitably high level of immunity to electromagnetic
disturbances.
FCC Warning
This equipment has been tested and found to comply with the limits for a Class B digital device,
pursuant to part 15 of the FCC Rules. These limits are designed to provide reasonable
protection against harmful interference in a residential installation.
This equipment generates, uses, and can radiate radio frequency energy and, if not installed
and used in accordance with the instructions, may cause harmful interference to radio
communications. However, there is no guarantee that interference will not occur in a particular
installation. If this equipment does cause harmful interference to radio or television reception,
which can be determined by turning the equipment off and on, the user is encouraged to try to
correct the interference by one or more of the following measures:
Reorient or relocate the receiving antenna
Increase the separation between the equipment and receiver
Connect the equipment into an outlet on a circuit different from that to which the receiver is
connected
Consult the dealer or an experienced technician for help
You are cautioned that changes or modification not expressly approved by the party responsible
for compliance could void your authority to operate the equipment.
This device complies with part 15 of the FCC Rules.
Operation is subject to the following two conditions:
1. This device may not cause harmful interference, and
2. This device must accept any interference received, including interference that may cause
undesired operation.
WEEE (Waste of Electrical and Electronic Equipment), Recycling of Electronic Products
In 2006 the European Union introduced regulations (WEEE) for the collection and recycling of
all waste electrical and electronic equipment. It is no longer allowable to simply throw away
electrical and electronic equipment. Instead, these products must enter the recycling process.
Each individual EU member state has implemented the WEEE regulations into national law in
slightly different ways. Please follow your national law when you want to dispose of any
electrical or electronic products.
More details can be obtained from your national WEEE recycling agency.
LINDY No 32586
1st Edition, March 2008
www.lindy.com
 Loading...