

Page 1
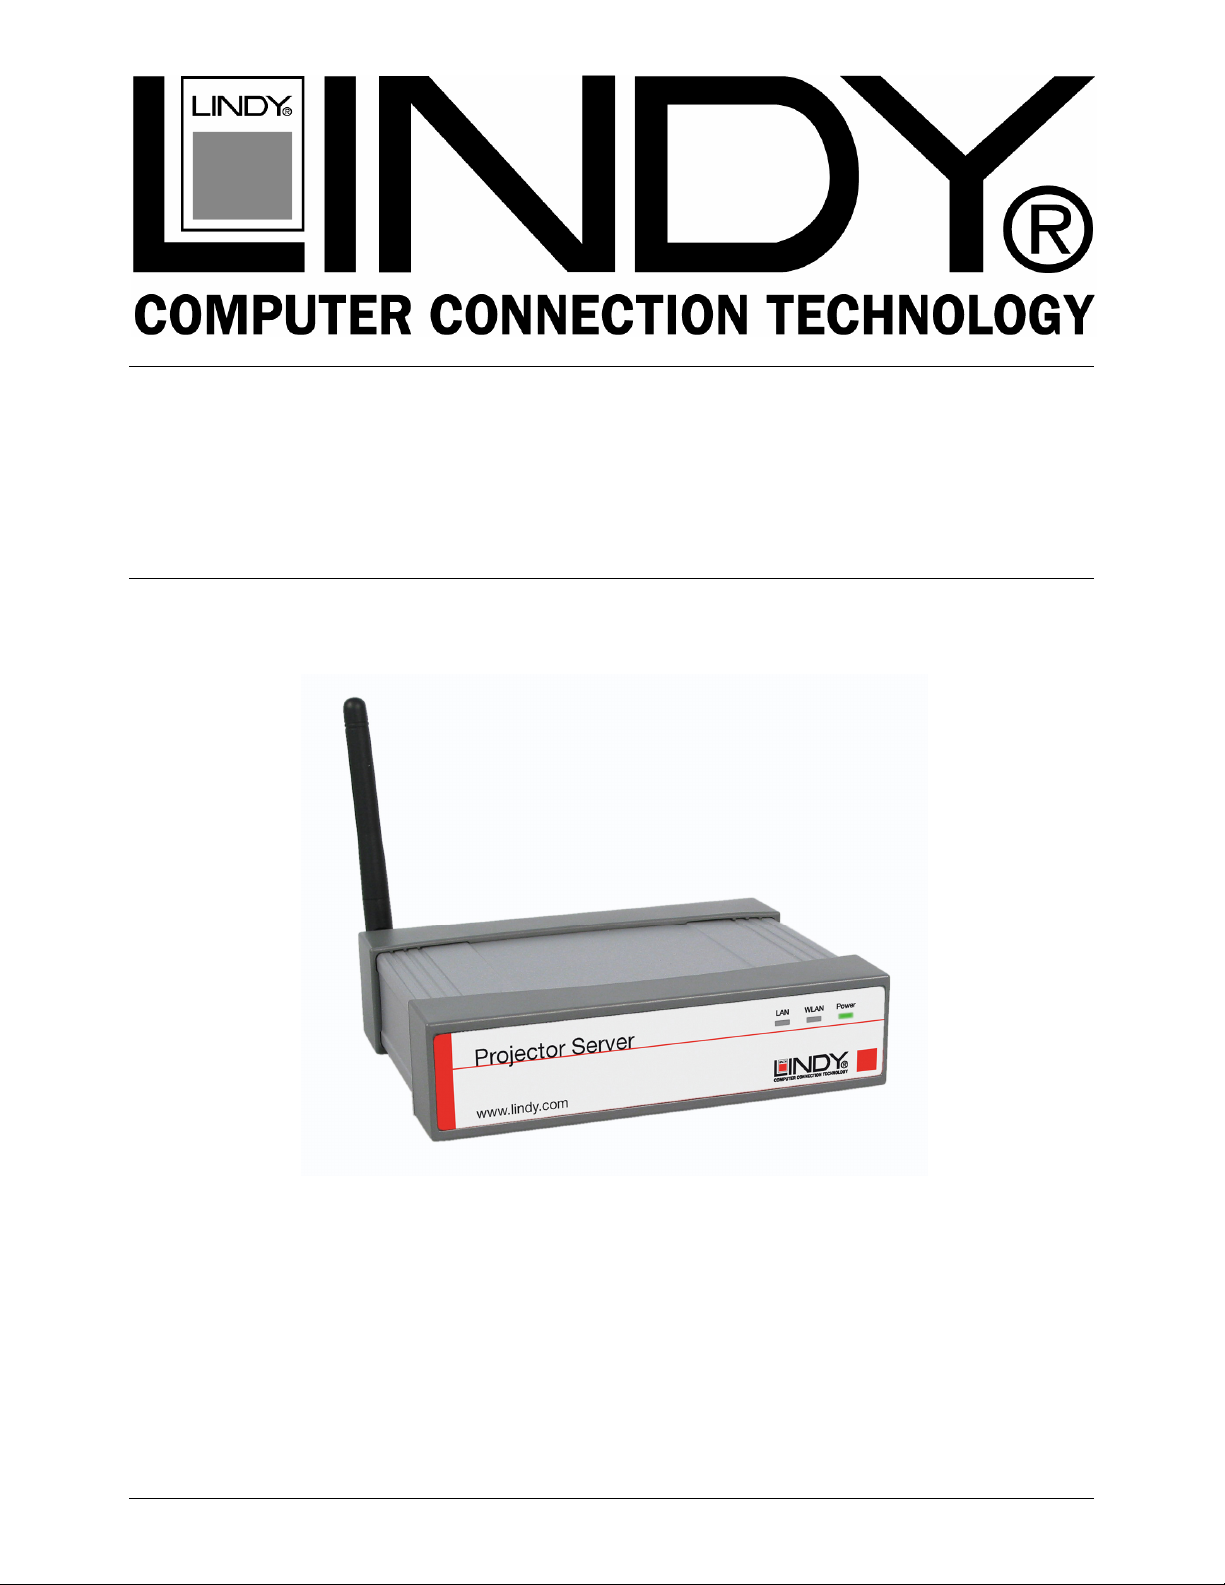
Wireless Projector
Server
User Manual English
LINDY No’s. 32498, 32499
www.lindy.com
© LINDY ELECTRONICS LIMITED & LINDY-ELEKTRONIK GMBH - SECOND EDITION (March 2008)
Page 2

Wireless Projector Server User Manual
1. Introduction
Thank you for purchasing the LINDY Wireless Projector Server. This innovative product
allows you to connect to your projector for presentations via a Wireless LAN or Ethernet
network.
The LINDY Wireless Projector Server features both an IEEE 802.11g 54Mbps WLAN
and a 10/100Mb Ethernet LAN connection for maximum versatility.
This manual refers throughout to the non audio version. The audio version (No.
32499) has an additional audio jack port on the rear and also supports MPEG1/2/4 Video format and audio from 20Hz to 20,000Hz.
Features
Allows connection to a projector or monitor via wired or wireless LAN
IEEE802.11g (DSSS) 2.4GHz wireless connection
Up to 128-Bit WEP encryption
10/100Base-TX interface
Supports WXGA display resolutions of up to 1280 x 768 and 16/32-bit colour
Simple installation and operation
Specifications
Network
Standards: IEEE 802.11g (DSSS) 2.4GHz WLAN; IEEE 802.3u (100Base-TX), 802.3
(10Base-T) LAN
Supports AP/Client modes
Security: 64/128-Bit WEP Encryption
Channels: 11 (US, Canada), 13 (Europe), 14 (Japan)
Range: Up to 100 metres (82 feet)
Detachable external antenna
Interfaces
VGA: 15 Way HD Female
LAN: 100/100Mbps, RJ-45
External Antenna Connection Point
Audio Jack (No. 32499 only)
General
Power: 5V, 2.5A
Dimensions (WxDxH): 139 x 108 x 37mm
Weight: 520g
Operating temperature: 0°C ~ 40°C; 32°F ~ 104°F
Operating humidity: 10% ~ 90%, non-condensing
System Requirements (PC)
Pentium III 300MHz or faster processor
128MB RAM recommended
LAN or WLAN adapter
Windows 2000/XP/Vista
Web browser (IE 5.0, Netscape 4.0 or above)
2
Page 3
Wireless Projector Server User Manual
2. Overview
Front Panel
Rear Panel
LAN LED
WLAN LED
Power
Switch
Power Socket
VGA
Connector
RJ-45 Port
3. Installation
3.1 Connect the power cable to the power socket on the rear of the unit
3.2 Connect the VGA cable from your Projector to the VGA connector on the rear panel
3.3 Turn on your projector
3.4 Turn on the Projector server
• When the projector server is ready the “POWER” LED and “WLAN” LED will show
green.
• When a LAN connection is established, the “LAN” LED will show green and will
blink during data transmission
Power LED
External Antenna
Reset to Default
Button
3
Page 4
Wireless Projector Server User Manual
4 Setup
4.1 The Projector Server is ready for use when you see the picture below
4.2 Make sure your PC WLAN card is enabled in “network connections” in the Windows
control panel
4.3 To connect your PC to the Projector Server, view your available wireless networks in
the Windows Control Panel and double click the WPS option
4.4 Open a browser and enter the default IP address 192.168.100.10 or enter the IP
address shown on the Projector Server screen
4
Page 5
Wireless Projector Server User Manual
4.5 When you have successfully logged in to the Projector Server you will see the screen
below
4.6 Click Download on the left hand side and then click the Download box. You do not
need to put a password in the box.
The box below will appear, click Run and follow the on screen instructions
4.7 After the installation is complete, the program will execute automatically and a login
screen will appear
5
Page 6

Wireless Projector Server User Manual
4.8 Enter the LOGIN CODE from the projector screen to start sending the display signal
4.9 Once you have input the correct “LOGIN CODE” the picture will show on the projector
screen
6
Page 7

Wireless Projector Server User Manual
5 Client Utility
5.2 Opening the Application
5.2.1 Double click the icon on your desktop to execute the program:
5.2.1 The program will start to search for the Projector Server automatically:
5.2.3 When the program finds the Projector Server, the login screen will appear. Enter
the Login Code shown on the Projector Server screen. If there are multiple
Projector Servers in range, a list of the available connections will appear. Please
choose the Projector Server you would like to connect to:
5.2.4 If the Projector Server is not found then the option to reconnect will appear:
5.3 Button Function – Projector mode
Start/Pause projecting
Stop projecting
Refresh projecting screen
Server Login Code
Function menu
7
Page 8

Wireless Projector Server User Manual
This icon blinks when communicating
Minimize the program
Exit the program
5.3.1 Button Function – Video mode
Start/Pause projecting
Stop projecting
Open folder
Mute & volume slider control
Timeline slider control
Server Login Code
Function menu
This icon blinks when communicating
Minimize the program
Exit the program
6 Web Management
6.1 Home Page
6.1.1 Make sure your PC has connected to the box successfully
6.1.2 Open your browser and enter the IP address shown on the projector screen
6.1.3 The default IP Address is 192.168.100.10:
8
Page 9

Wireless Projector Server User Manual
6.2 Conference Control
This function allows you to host a meeting using the WLAN connection and without the
need for constantly swapping a patch cable.
6.2.1 Once logged in, select the Conference Control function
6.2.2 Enter the password (the default password and username is “trainer”) and then
press Login
6.2.3 After you have logged in successfully, you will see a list of users connected to
the Projector Server
6.2.4 The three columns show Computer Name, Play Control and IP Address
Computer Name: The name of the PC connected to the box
Play control Shows the current user’s projecting status
Start projecting
Stop projecting
IP Address The IP address of the connected user
9
Page 10

Wireless Projector Server User Manual
6.3 Login Web Admin
Click Admin and then enter the password (admin) to login to the system status page:
6.4 System Status
Selecting System Status, shows the current system status
Model Name: Product model name
Versions:
1. Firmware version no.: Product firmware version number
Network Status:
1. IP address
2. Subnet Mask address
3. Default Gateway address
4. Wireless Mac address
5. Wire Mac address
Connection Status:
1. Projecting status: “Waiting for projecting” or “Projecting”
2. Total Users: how many users login to the box
10
Page 11

Wireless Projector Server User Manual
6.5 Operating Mode
IP Setup
• IP Address: The default value is 192.168.100.10
• Subnet Mask: The default value is 255.255.255.0
• Default Gateway: 192.168.100.10
DHCP Server Setup – Can be Auto or Disabled
• Start IP: The starting IP address of the DHCP Server
• End IP: The ending IP address of the DHCP Server
Wireless Setup – Can be Enabled or Disabled
• Region: Select your region
• SSID: The maximum length is 32 bytes
• SSID Broadcast: Enable or Disable function
• Channel: Fixed or auto channel; Selecting “Auto” means that after powering on the
box, it will scan all of wireless channels and select clear one channel automatically.
By choosing manual, you can select the channel you want to use
• WEP: Choose to disable WEP key or select one of 64/128bit in ASCII or HEX string
• Key Index: If WEP is enabled, set the key value according to WEP mode selected
GateKeeper
• All Pass / All Block / Internet Only (options)
6.6 Projection Setup
11
Page 12

Wireless Projector Server User Manual
• Resolution: Default resolution is 1024 x 768
• Colour Depth: Based on the settings on your PC
• Screen Refresh Rate: This is VGA output refresh rate, either 60 Hz and 70Hz
• Apply: Confirm and Save modifications
• Cancel: Cancel all the modifications
6.7 Change Passwords
6.7.1 Enter New Password: Enter a new password for each category
6.7.2 Confirm New Password: Confirm the new password
6.7.3 Apply: To confirm and save modifications
6.8 Reset to Default
Select the Reset to Default option to restore factory default settings and then click
Apply to confirm
To reset the Factory Default Settings via the hardware
6.8.1 Power off the Projector Server
6.8.2 On the rear panel, press and hold the Reset button and turn on the Projector
Server
6.8.3 Continue to hold the Reset button for 10 seconds or more
12
Page 13

Wireless Projector Server User Manual
6.8.4 The Projector Server will now restore to Factory Default Settings
6.9 Firmware Upgrade
6.9.1 Download the latest version of the Firmware from www.lindy.com
6.9.2 Save the downloaded Firmware a suitable location on your PC
6.9.3 Click Browse to search for the downloaded file
6.9.4 Click Upgrade to start
6.9.5 A warning message will appear with a countdown counter on the screen
6.9.6 Once the upgrade has finished a box will appear stating “update successful“
Warning: Don’t power off the Projector Server while the firmware
upgrade is in progress, otherwise you will cause serious damage and the
unit will need to be returned to LINDY for repair
13
Page 14

Wireless Projector Server User Manual
6.9.7 Click OK to restart the projector server
7 Wall Mount Instructions
8 Troubleshooting
Q1. Can I use the old client utility software after a firmware upgrade?
A: After the firmware upgrade is complete, we recommend you download the Client
utility software from the Projector Server to replace the previous version. This will
resolve any incompatibility issues
Q2. My PC and Projector Server connection is established but the client utility can’t
find the projector Server.
A: (1) Check that the client utility software is not blocked by your Firewall software. If it
is then add it to the allowed list and try again
(2) Make sure you are using the newest version of the client utility software
Q3. How do I know when the firmware upgrade is complete?
A: While the firmware upgrade is in progress, the POWER LED will be “RED” and the
LAN LED will be blinking, once the upgrade is complete then the POWER LED will
turn yellow and LAN LED will be green
14
Page 15

CE/FCC
CE Statement
This device complies with the European Regulations for Electromagnetic Compatibility (EMC) of the
European Union and it is equipped with the CE mark. This unit has to be used with high quality
shielded connection cables. Only if these high quality shielded cables are used it can be sure that
the EMC compatibility is not adversely influenced.
FCC Statement
Shielded cables must be used with this equipment to maintain compliance with radio frequency
energy emission regulations and ensure a suitably high level of immunity to electromagnetic
disturbances.
FCC Warning
This equipment has been tested and found to comply with the limits for a Class B Digital device,
pursuant to part 15 of the FCC Rules. These limits are designed to provide reasonable protection
against harmful interference in a residential installation. This equipment generates, uses, and can
radiate radio frequency energy and, if not installed and used in accordance with the instructions,
may cause harmful interference to radio communications. However, there is no guarantee that
interference will not occur in a particular installation. If this equipment does cause harmful
interference to radio or television reception, which can be determined by turning the equipment off
and on, the user is encouraged to try to correct the interference by one or more of the following
measures:
Reorient or relocate the receiving antenna
Increase the separation between the equipment and receiver
Connect the equipment into an outlet on a circuit different from that to which the receiver is
connected
Consult the dealer or an experienced technician for help
You are cautioned that changes or modifications not expressly approved by the party responsible for
compliance could void your authority to operate the equipment.
15
Page 16

Recycling Information
WEEE (Waste of Electrical and Electronic Equipment),
Recycling of Electronic Products
United Kingdom
In 2006 the European Union introduced regulations (WEEE) for the collection and recycling of all
waste electrical and electronic equipment. It is no longer allowable to simply throw away electrical
and electronic equipment. Instead, these products must enter the recycling process.
Each individual EU member state has implemented the WEEE regulations into national law in
slightly different ways. Please follow your national law when you want to dispose of any electrical or
electronic products.
More details can be obtained from your national WEEE recycling agency.
Germany
Die Europäische Union hat mit der WEEE Direktive umfassende Regelungen für die Verschrottung
und das Recycling von Elektro- und Elektronikprodukten geschaffen. Diese wurden von der
Bundesregierung im Elektro- und Elektronikgerätegesetz – ElektroG in deutsches Recht umgesetzt.
Dieses Gesetz verbietet vom 24.März 2006 an das Entsorgen von entsprechenden, auch alten,
Elektro- und Elektronikgeräten über die Hausmülltonne! Diese Geräte müssen den lokalen
Sammelsystemen bzw. örtlichen Sammelstellen zugeführt werden! Dort werden sie kostenlos
entgegen genommen. Die Kosten für den weiteren Recyclingprozess übernimmt die Gesamtheit der
Gerätehersteller.
France
En 2006, l'union Européenne a introduit la nouvelle réglementation (DEEE) pour le recyclage de
tout équipement électrique et électronique.
Chaque Etat membre de l’ Union Européenne a mis en application la nouvelle réglementation
DEEE de manières légèrement différentes. Veuillez suivre le décret d’application correspondant à
l’élimination des déchets électriques ou électroniques de votre pays.
Italy
Nel 2006 l’unione europea ha introdotto regolamentazioni (WEEE) per la raccolta e il riciclo di
apparecchi elettrici ed elettronici. Non è più consentito semplicemente gettare queste
apparecchiature, devono essere riciclate.
Ogni stato membro dell’ EU ha tramutato le direttive WEEE in leggi statali in varie misure. Fare
riferimento alle leggi del proprio Stato quando si dispone di un apparecchio elettrico o elettronico.
Per ulteriori dettagli fare riferimento alla direttiva WEEE sul riciclaggio del proprio Stato.
LINDY No. 32498
LINDY No. 32499
2nd Edition march 2008
www.lindy.com
16
 Loading...