

Page 1
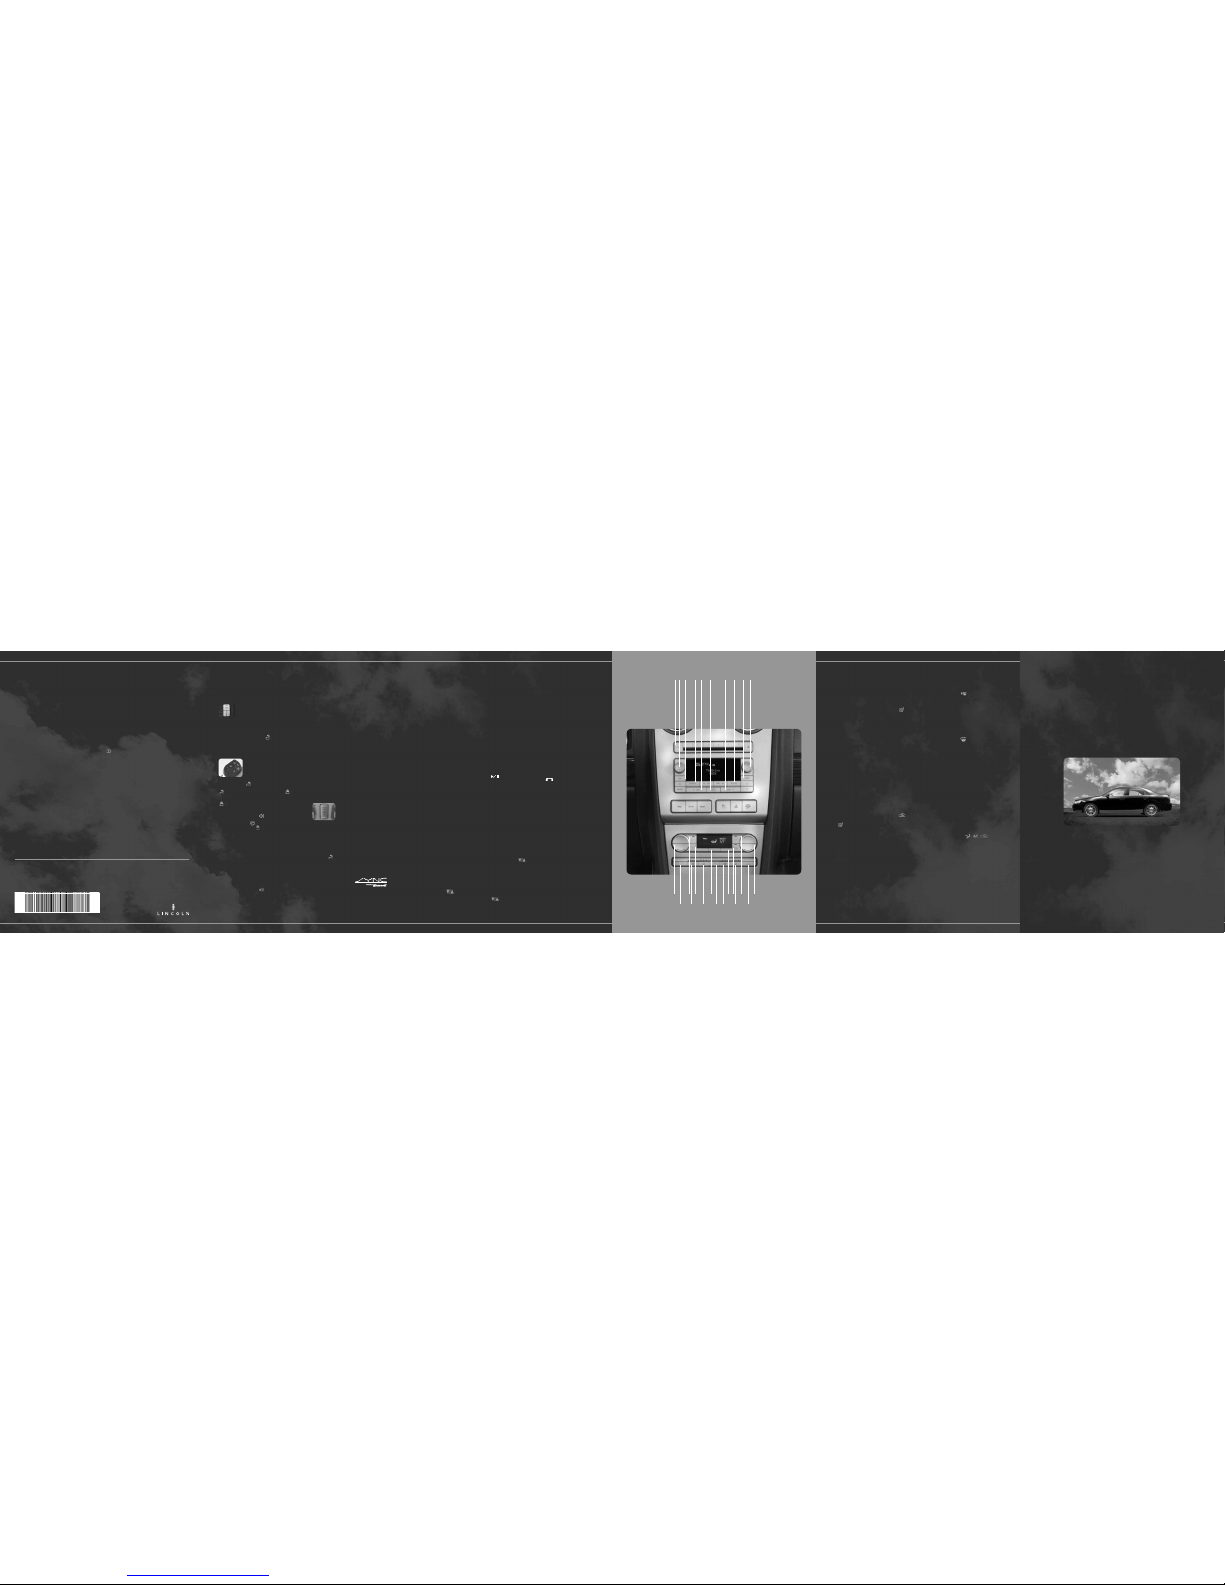
.1 Tempera ture Contro ls
Press the driver side
controls to increase/
decrease the temperature
in the vehicle cabin (single
zone). Press the passenger
side controls to activate
dual zone and allow the driver
and passenger to control
their individual settings.
.2 Fan Speed – Press
to manually increase or
decrease the fan speed.
To return to automatic fan
operation, press AUTO.
.3 AUTO – Press to
activate automatic
temperature control. The
system will automatically
determine fan speed,
airfl ow location, A/C on
or off and outside or
recirculated air, to heat or
cool the vehicle to reach
the desired temperature.
Press again to deactivate.
.4
Driver/Passenger
Cooled Seats (if equipped)
Press to activate. Press
once for full cool (three
lights), twice for medium
cool (two lights) and a third
time (one light) for low cool.
Press again to deactivate
(no lights) .
.5 OFF – Outside air is
shut out and the fan will
not operate.
.6 Driver/Passenger
Heated Seats – Press to
activate. Press once for full
heat (three lights), twice for
medium heat (two lights)
and a third time (one light)
for low heat. Press again to
deactivate (no lights).
.7 EXT – Press to display
the outside air temperature.
Press again to display cabin
temperature settings.
.8 Air fl ow Direction Control
Press repeatedly to cycle
through the available air
distribution modes. The
selected mode will appear
in the display. To return to
full automatic control,
press AUTO.
.9 Recirculation
Control Used to
manually enable or
disable recirculated air
operation. When activated,
recirculates air in the
cabin thereby reducing the
amount of time to cool
down the interior of the
vehicle. May also help
reduce undesired odors
from reaching the interior
of the vehicle. Will work in
all modes except defrost.
.10
Rear Window
Defroster Press to clear
the rear window and the
outside rearview mirrors
of thin ice and fog.
Press again to deactivate.
The defroster will turn
off automatically after
10 minutes.
.11 Defrost – Press
to distribute outside air
through the windshield
defroster and demister
vents. Can be used to
clear thin ice or fog from
the windshield.
.12 DUAL Zone Selector
Press to activate dual zone
mode where the driver
and passenger individually
control their temperature
settings. Press again to
return to single zone
mode where the driver’s
settings determine the
cabin temperature.
For Maximum Cooling
Performance
Press , , and set
the temperature to 60º
F (16º C) and the highest
blower setting.
Memory Feature
The memory feature enables the vehicle
to “remember” the position of your driver
seat and exterior mirrors. To set,
position the driver’s seat and
exterior mirrors where you want
them. Press SET on the driver’s
door panel. Within fi ve seconds,
press the lock or unlock control on the
Integrated Keyhead/Keyfob Transmitter (IKT)
and then press 1 or 2 on the driver’s door
panel to save the settings under Driver 1 or
Driver 2. When you press
on the IKT to
get into the vehicle, the seat and mirrors will
automatically adjust to your desired positions.
Integrated Keyhead Transmitter and
Remote Entry System Features
IKTs are both a programmed
ignition key and a remote
keyless entry transmitter.
Handle the IKT carefully
when starting the car to avoid
accidentally pressing any of the remote entry
buttons. Press
once to unlock the driver’s
door. The interior lamps will illuminate. Press
twice to unlock all the doors. Press once
to lock all the doors and activate the perimeter
alarm system. The turn lamps will fl ash. Press
twice to confi rm all the doors and trunk are
closed. The horn will chirp and the turn signal
lamps will fl ash once if all the doors and the
trunk are closed. Press
to activate the panic
alarm. (Press again or turn the ignition on to
deactivate.) Press
twice within 3 seconds to
open the trunk. Press
twice within 3 seconds
to activate the car fi nder; the horn will chirp and
the turn lamps will fl ash. It is recommended that
this method be used to locate your vehicle,
rather than using the panic alarm. Ensure that
you keep the IKT adhesive security label in a
safe place for future reference.
SecuriLock™
The SecuriLock™ passive anti-theft system
is an engine immobilization system. This
system is designed to help prevent the engine
from being started unless a coded Integrated
Keyhead Transmitter (IKT) programmed to
your vehicle is used. Using the wrong type of
coded key may lead to a “no start” condition.
The anti-theft indicator
(if equipped)
in the
instrument cluster will fl ash to indicate the
SecuriLock system is functioning as a theft
deterrent when the ignition is turned off.
Reverse Sensing (if equipped)
Your vehicle may be equipped with a reverse
sensing system which can warn you if there
is an object behind the vehicle. The system
will sound a warning tone that increases in
frequency as the object gets closer and will
sound continuously when the object is less
than 10 inches away. Refer to your Owner’s
Guide for safety information and more details.
All Wheel Drive (AWD) (if equipped)
Your vehicle may be equipped with All Wheel
Drive (AWD). AWD uses all four wheels to
power the vehicle, thereby increasing traction
and enabling you to drive over terrain and
road conditions that a conventional twowheel drive vehicle cannot. Note: If your
vehicle is equipped with AWD, a spare tire of
a different size (other than the tire provided)
should never be used. Using a different
size could cause the AWD system to stop
functioning and default to front wheel drive.
Your vehicle is not intended for off-road use.
Rear Seat Release
Both rear seats can be folded down for
additional cargo space. Pull the release handle
located inside the trunk to fold down the seat.
Moon Roof (if equipped)
The moon roof is equipped with a
one-touch express opening/closing and
venting feature. To open the moon roof,
press and release the rear
portion of the control. To close
the moon roof, press and
release the front portion of
the control. To vent, press and
release the front portion of the control when
the glass panel is closed. To stop motion at
any time during the one-touch operation,
press the control a second time.
Global Open Front Windows (if equipped)
You can open your front windows and moon
roof (if equipped) simultaneously using your
Integrated Keyhead Transmitter (IKT). Press
and hold
until the two front windows and
moon roof begin to open. If any other remote
entry transmitter control is pressed during
the opening operation, both windows and
the moon roof will stop opening.
SYNC (if equipped)
Your vehicle may
be equipped with
SYNC – a hands-free communications and
entertainment system with special phone
and media features. For more information,
please refer to the SYNC Supplement or
to the SYNC section in the Navigation
Supplement. Please also feel free to visit
www.SyncMyRide.com.
THX® II (if equipped) – Your
vehicle may be equipped
with the THX II certifi ed
premium audio system. This
system creates optimal
acoustic quality for all seating
positions and road conditions.
The system offers an advanced
speaker system, amplifi ers,
subwoofer and equalization.
.1 Load – Press LOAD and
a memory preset to load to a
specifi c slot. Press and hold
to auto load up to six CDs.
.2 ON/OFF/Volume
Press to turn ON/OFF. Turn to
increase/decrease volume.
If the volume is set above a
certain level and the ignition
is turned off, the volume will
come back on at a “nominal”
listening level when the
ignition switch is turned
back on.
SATELLITE RADIO CONTROLS
(if equipped)
.3 AUX – Press repeatedly
to cycle through SAT1, SAT2,
SAT3 (satellite radio mode if
equipped), LINE IN (auxiliary
audio mode) or SYNC (if
equipped). Satellite radio is
available only with a SIRIUS
radio subscription. Check
with your authorized dealer
for availability. If your
vehicle is equipped with
SYNC, please refer to the
SYNC supplement for
further information. Once
Satellite Radio mode is
activated you may use the
following functions:
Press MENU when satellite
radio mode is active to
access. Press OK to enter
into the SATELLITE RADIO
MENU. Press to cycle
through the following
options: CATEGORY, SAVE
SONG, DELETE SONG,
DELETE ALL SONGS, ENABLE
ALERTS/DISABLE ALERTS.
.4 SHUFFLE – Press to play
all tracks on the current CD/
MP3 disc in random order.
.5 SEEK – Press to access
the previous/next strong
station or CD track.
.6 TEXT/SCAN – In radio
mode, when listening to a
RBDS-equipped station,
press and release to view the
text information of the radio
station, if available. Press
and hold for a brief sampling
of radio stations. In CD/MP3
mode, press and release
to view the track title, artist
name, disc title or fi le name,
if available. Press and hold
for a brief sampling of all
tracks on the current disc.
.7
(PLAY/PAUSE) & OK
PLAY/PAUSE – In CD/MP3
mode, press to pause the
playing media. PAUSE will
appear in the display. Press
again to return to the
playing media.
OK – Use in various menu
selections. Your vehicle may
be equipped with SYNC. For
more information, refer to the
SYNC supplement.
.8 MENU – Press repeatedly
to cycle through:
Autoset – Allows you to set
the strongest local radio
stations without losing your
original stored stations in
AM/FM1/FM2. Use to
turn on/off. When the six
strongest stations are fi lled,
the station stored in preset 1
will begin playing. If there are
less than six strong stations,
the system will store the last
one in the remaining presets.
Occupancy mode, if equipped –
Use to select and
optimize sound for ALL
SEATS, DRIVERS SEAT or
REAR SEATS.
Speed sensitive volume
Radio volume automatically
changes slightly with vehicle
speed to compensate
for road and wind noise.
Recommended level is 1-3.
Level 0 turns the feature
off and level 7 is the
maximum setting.
RBDS (Radio Broadcast Data
System) – In FM mode, this
feature allows you to search
for certain categories of
music or announcements.
For more information, refer to
your Owner’s Guide.
.9 Tune – Turn to go up/
down the frequency band in
individual increments, or to
advance to the next/previous
MP3 folder.
– If your vehicle is
equipped with SYNC, press
to access SYNC PHONE
features. For further
information please refer to
your SYNC supplement for
further information. If your
vehicle is not equipped with
SYNC, the display will read
NO PHONE.
Auxiliary Input Jack – Your
vehicle is equipped with an
auxiliary input jack which
allows you to play audio from
a portable music player
through the vehicle speakers.
To use, plug your portable
player into the input jack
located inside the center
console. Turn the radio on
and adjust the volume to a
comfortable level. Turn on
your portable music player
and adjust to approximately
1
/2 volume. Press AUX on your
audio system repeatedly until
LINE IN appears in the
display. Adjust the volume
as needed. Refer to your
Owner’s Guide for more
information. If your vehicle is
equipped with a navigation
system, refer to your navigation
supplement for information
on accessing this mode.
About Your Leather Seats – Your leather seats have
a clear, protective coating over them which requires
special care. Use only Motorcraft Delu xe Leather and
Vinyl Cleaner (ZC-11-A). Dry with a sof t cloth.
Do not use any household cleaning products or
oil/petroleum-based conditioners a s they may cause
premature wearing of the protective coating.
Location of Spare Tire and Tools – If you get a fl at
tire while driving, do not apply the brake heavily.
Instead, gradually decrease your speed. Hold the
steering wheel fi rmly and slowly move to a safe place
on the side of the road. Your vehicle is equipped
with a temporary spare tire. The spare tire, jack and
tool bag are located under the carpeted fl oor panel
in the trunk. The temporary spare is designed fo r
emergency use only and should be replaced as so on
as possible. For complete details on how to change
your tire, refer to the Roadside Emergencies chapter
in your Owner’s Guide.
Fuses – If the vehicle’s electrical compo nents are not
operating, a fuse may have blown. The fuse panel is
located below the instrument panel on the drive r’s
side; remove the cover to view the fuses. Additional
fuses are located in the power distribution b ox in
the engine compartment. For more information
regarding changing fuses, refer to the Roadside
Emergencies chapter in your Owner’s Guide.
Fuel Type and Tank Capacity – Front Wheel Drive
(FWD) vehicles have a fuel tank capacity of 17.5
gallons (66.2L) while All Wheel Drive (AWD) vehicles
have a fuel tank capacity of 16.5 gallons (62.4L).
Your vehicle is designed to use “Regular” unleaded
gasoline with an octane rating of 87. Do not use
gasoline labeled as “Regular” in high altitude areas
that are sold with octane ratings less t han 87. Do not
use E85 fuels as your vehicle was not designed t o
run on E85 fuels that are blended with a maximum
of 85% ethanol.
Tire Pressure – Your vehicle’s tire pressure
specifi cations are found on the vehicle’s Safety
Compliance Certifi cation Label or Tire Label located
on the driver’s door jamb. Check your tires for proper
air pressure monthly, and before long trips. Use an
accurate tire gauge to check the tire infl ation
pressure, including the spare (if equipped)
. Check
the tire pressure when tires are cold, afte r the
vehicle has been parked for at least three hours
or has been driven less than three miles (5 km).
(As you drive, the temperature in the tire warms
up, increasing the tire pressure.) As an added
safety feature, your vehicle has been equipped
with a tire pressure monitoring system (T PMS)
that illuminates a low tire pressure warning light
when one or more of your tires is signifi cantly
under-infl ated. Warning: Improperly infl ated tires
can affect vehicle handling and can fail suddenly,
resulting in a possible loss of vehicle contr ol. Refer
to the Tires, Wheels and Loading chapter in your
Owner’s Guide for further information.
Fuel Pump Shut-Off Switch – The fuel pump shut-off
switch stops the electric fuel pump from sending
fuel to your engine when your vehicle has sustained
a substantial jolt. The switch is loca ted in the
passenger’s footwell, in the right upper corner. For
more information, refer to the Roadside Emergencies
chapter in your Owner’s Guide.
Roadside Assistance – Your new Lincoln MKZ
comes with the assurance and suppor t of 24-hour
emergency roadside assistance. Roadside
assistance includes such servic es as: lockout
assistance, limited fuel delivery, batte ry jump starts,
changing a fl at tire, towing and winch out.
To receive roadside assistance in the
United States, call 1 (800) 241-3673.
In Canada, call 1 (800) 665-2006. For
more information on coverage period
and details of service, refer to your
Roadside Assistance Information card.
This Quick Reference Guide is not intended
to replace your vehicle Owner’s Guide which
contains more detailed information concerning
the features of your vehicle, as well as important
safety warnings designed to help reduce the
risk of injury to you and your passengers. Please
read your entire Owner’s Guide carefully as you
begin learning about your new vehicle and refer
to the appropriate sections when questions
arise. All information contained in this Quick
Reference Guide was accurate at the time of
duplication. We reserve the right to change
features, operation and/or functionality of any
vehicle specifi cation at any time. Your Lincoln
dealer is the best source for the most current
information. For detailed operating and safety
information, please refer to your Owner’s Guide.
Ford Motor Company, Customer Relationship
Center, P.O. Box 6248, Dearborn, MI 48121
1-800-392-3673 (FORD), (TDD for the hearing
impaired: 1-800-232-5952)
Climate System
Dual Automatic Temperature Control (DATC) System with Heated and Cooled Seats (if equipped)
Additional Features
MKZ Quick Reference Guide
Audio System
In-Dash Six CD/MP3 THX II Satellite Compatible Sound System
(if equipped)
Essential Information
MKZ Quick Reference Guide
MKZ
2009
Quick Reference Guide
April 2008
First Printing
Quick Reference
Guide
Lincoln MKZ
Litho in USA
45 6 5 7 9
135467
84 6 12
1
2
8
9
1 3
10 11
2
9H6J 19G217 AA
Page 2
Sleek. Dynamic. Stylish. The Lincoln MKZ awaits you. From the luxurious
amenities to the quiet interior, Lincoln’s classic touch ensures that every drive
is a unique and comforting one. Experience your own private sanctuary as the
spirited engine carries you effortlessly through the next curve, the MP3 sound
system sets the pace with your favorite music, and the luxurious leather seats
enfold you. You may never want to leave.
Take a few minutes to use this Quick Reference Guide to acquaint you with any
of the features you’ll use most. For more detailed information, and important
safety information, refer to your Owner’s Guide.
Use extreme caution when using any device or feature that may take your
attention off the road. Your primary responsibility is the safe operation of the
vehicle. Only use non-essential features and devices when it is safe to do so.
serviced immediately by an
authorized dealer.
.11 Airbag Readiness Light
The Airbag Readiness light
illuminates
briefl y when
the ignition
is turned on.
If this light
remains on or continues
to fl ash after the engine is
started, have the system
serviced immediately by your
authorized dealer. A chime
will sound if a malfunction in
the supplemental restraint
system is detected as well.
.12 Anti-Lock Brake
System (ABS)
The ABS light illuminates
briefl y when
the ignition is
turned on. If
the ABS light
remains on
or fl ashes after the engine
is started, have the system
serviced immediately by your
authorized dealer. Normal
braking (less ABS) will still be
functional unless the brake
system warning light is also
illuminated. Note: It is normal
to feel a pedal pulsation or
hear a slight noise when the
ABS system is activated.
.13 Brake System
Warning Light
The brake system warning
light illuminates briefl y when
the ignition is turned on.
This light will
remain on
when the
parking brake
is applied and
the ignition is on. If this light
remains on after releasing the
parking brake, this indicates
a low brake fl uid level or a
brake system malfunction.
Have the brake system
inspected immediately by
an authorized dealer.
.14 Check Fuel Cap Light
This icon
illuminates
when the
fuel cap
may not be
properly installed. If you
continue to drive with this
light illuminated, the Service
Engine Soon indicator light
may come on.
HomeLink® (if equipped)
Located on the driver’s visor,
the HomeLink® Wireless Control
System is a convenient way to
replace up to three hand-held
transmitters with a single built-in
device. This system learns the
radio frequency codes of most
transmitters to operate garage
doors, entry gates, security
systems, entry door locks, and
home or offi ce lighting. Refer to
your Owner’s Guide for
more information.
Auxiliary Power Point
The auxiliary power point
is located in the utility
compartment in the center
console. Note: Do not use the
power point over the capacity
of 12VDC/180W.
USB PORT (if equipped)
Your vehicle may be
equipped with a USB port
inside your center console.
This feature allows you
to plug in media playing
devices, memory sticks,
and also to charge devices
(if supported). For more
detailed information,
please refer to the SYNC
supplement or the SYNC
section of the Navigation
supplement.
Glove Box CD Storage
Your vehicle is
equipped with
a special area
for your CD
storage. It is
located inside the glove box,
to the right of the main bin.
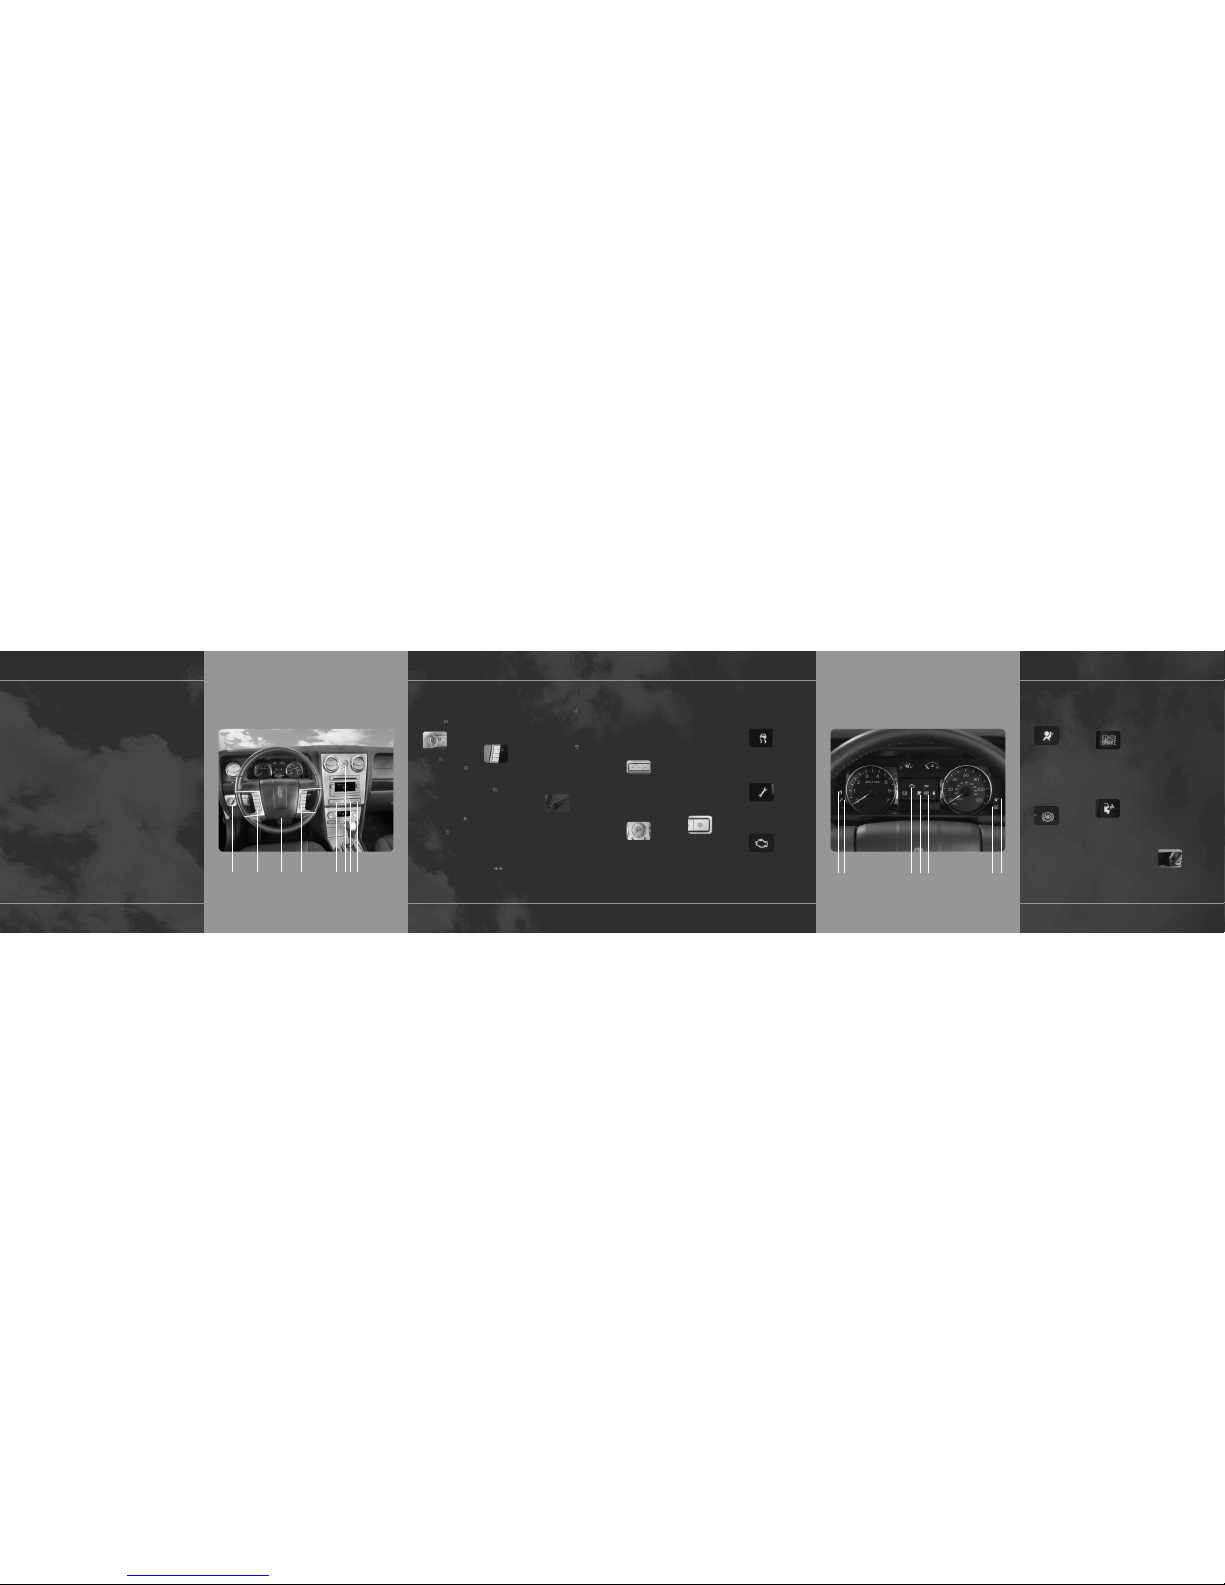
Cockpit
Quick Reference Guide
system warnings. To access
the selectable features, press
the following buttons on the
instrument panel:
INFO – Press to scroll through
the following displays: Odometer,
Trip Odometer A or B, Distance
to Empty, Average Fuel Economy,
Average Speed, Trip Elapsed
Drive Time 1 or 2 and compass.
RESET – Press to select and
reset functions
shown in the
Info and SetUp
Menu.
SETUP – Press to scroll through:
System Check, Units (English/
Metric), Language (language
choices). Easy Entry/Exit Seat
and Reverse Sensing System
(Park aid). For more information,
please see your Owner’s Guide
.
.5 In-Dash Clock
Press +
to advance
the time.
Press –
to reverse
the time.
.6 AdvanceTrac®
(if equipped)
The AdvanceTrac® stability
enhancement system helps
avoid wheel spin and loss
of traction (Traction control)
as well as helping you to
avoid skids or lateral slides
(Electronic Stability Control).
These features help you
to maintain stability and
steerability of your vehicle
during a variety of road
conditions. If your vehicle
becomes stuck in the snow,
mud or sand, try turning off
the AdvanceTrac® system
to allow wheel spin and
help increase momentum
to help dig the vehicle out.
The system defaults to
on and the control will
illuminate when turned off.
Refer to your Owner’s Guide
for safety information and
more details.
.7 Passenger Airbag Off
Your vehicle has a safety
feature which
automatically
knows when
to engage or
disengage
the passenger airbag.
When the system senses
no weight or light to medium
weight (such as a heavy
binder or suitcase), in the
front passenger seat, the
PASS AIRBAG OFF indicator
lamp will illuminate,
signifying the passenger
airbag is not engaged. Refer
to your Owner’s Guide for safety
information and more details.
.8 Traction Control™ Light
This light illuminates when
the Traction
Control™ is
active. If the
light remains
on, have the
system serviced immediately
by an authorized dealer.
.9 Throttle Control/
Transmission Light
This light illuminates when
a powertrain or AWD (if
equipped)
fault has been
detected.
Contact an
authorized
dealer as soon as possible to
have your vehicle serviced.
.10 Service Engine
Soon Light
The Service Engine Soon light
illuminates
briefl y when
the ignition
is turned on.
If it remains
on or is blinking after the
engine is started, the On Board
Diagnostics System (OBD-II)
has detected a malfunction.
Drive in a moderate fashion
and have your vehicle
MKZ
2009
Quick Reference Guide
.1
Headlamps, Fog Lamps
and Panel Dimmer Control
Turn the control one position
to the right to turn on the
parking lamps, instrument
panel lamps,
license plate
lamps and tail
lamps. Turn
the control
to the second position on
the right to turn on the
headlamps. Turn the control
one position to the left
to activate the autolamp
feature, which automatically
turns the exterior lamps on
and off, based on available
daylight. The system also
keeps the lights on for a short
time after the ignition switch
is turned to the LOCK (OFF)
position. Pull the control out
to activate the fog lamps. The
fog lamp indicator light will
illuminate. The fog lamps will
not operate when the control
is turned off ( ) or when
the high beams are on. Use
the panel dimmer control to
adjust the level of brightness
on the instrument panel
during parking lamp and
headlamp operation. Move
the control to the full upright
position, past the detent, to
turn on the interior lamps.
.2 Steering Wheel Controls
The appearance and
functionality of your vehicle’s
steering wheel controls
may vary according to your
option package. Refer to your
Owner’s Guide for a complete
description of all possible
options.
To set the
speed control,
press and
release ON.
Accelerate to the desired
speed. Press and release
the SET (+) control. Take your
foot off the accelerator pedal.
The speed control indicator
light will illuminate in the
cluster. To set a higher speed:
press and hold SET (+) until
the desired speed is reached,
or briefl y press SET (+) to
increase the speed by small
amounts. To set a lower speed:
press and hold SET (-) until the
desired speed is reached, or
briefl y press SET (-) to decrease
the speed by small amounts.
Press RESUME to return to the
previously set speed. To turn
speed control off, depress the
brake pedal or press OFF.
Press – VOL + to decrease/
increase the volume.
Press to access the
previous/next preset radio
station, CD track or preset
satellite radio channel (if
equipped). Press
to
activate the Voice recognition
system. Refer to your SYNC
or Navigation supplement (if
equipped) for more information.
Press MEDIA repeatedly to
scroll through all possible
media sources (AM, FM1, FM2,
CD . . .etc ). Press
to answer
a call if equipped with SYNC.
Press and hold to end a call.
Refer to your SYNC supplement
for more information.
.3
Tilt/Telescopic
Steering Wheel
Push the lever down to unlock
the steering column. Move
the steering
wheel up or
down and in
or out to fi nd
the desired
position. While holding the
steering wheel in place,
pull the lever up to lock the
steering column.
.4 Message Center
The message center displays
important vehicle information
through a constant monitoring
of vehicle systems. The
message center also provides
vehicle system checks and will
notify you of potential vehicle
problems with a display of
1 3 2 4
8 9 10 11 12 13 14
2 76
5
 Loading...