

lilitab Surface Pro Mount
Assembly Instructions
v3.0
39 Larkspur Street | Suite B t: 888.705.0190
San Rafael, CA 94901 e: support@lilitab.com www.lilitab.com

lilitab Surface Pro Mount Assembly Instructions v3.0
2
TABLE OF CONTENTS
Assembly Preparation and Packing List.............3
Features ......................................4
Assembly Instructions ...........................5
Bolt Down Installation ...........................6
GOT QUESTIONS? WE’RE HERE TO HELP!
EMAIL support@lilitab.com PHONE 888.705.0190

lilitab Surface Pro Mount Assembly Instructions v3.0
3
MOUNT ASSEMBLY PREPARATION
FOR BASE PLATE INSTALLATION, YOU’LL NEED:
4 Phillips screwdriver
FOR BOLT DOWN INSTALLATION, YOU’LL NEED:
4 Powered drill/driver, preferably with impact action
4 4 x bolts or wood screws (m5, no.10, no.11, 3/16” or
13/64 diameter)
PACKING LIST

lilitab Surface Pro Mount Assembly Instructions v3.0
4
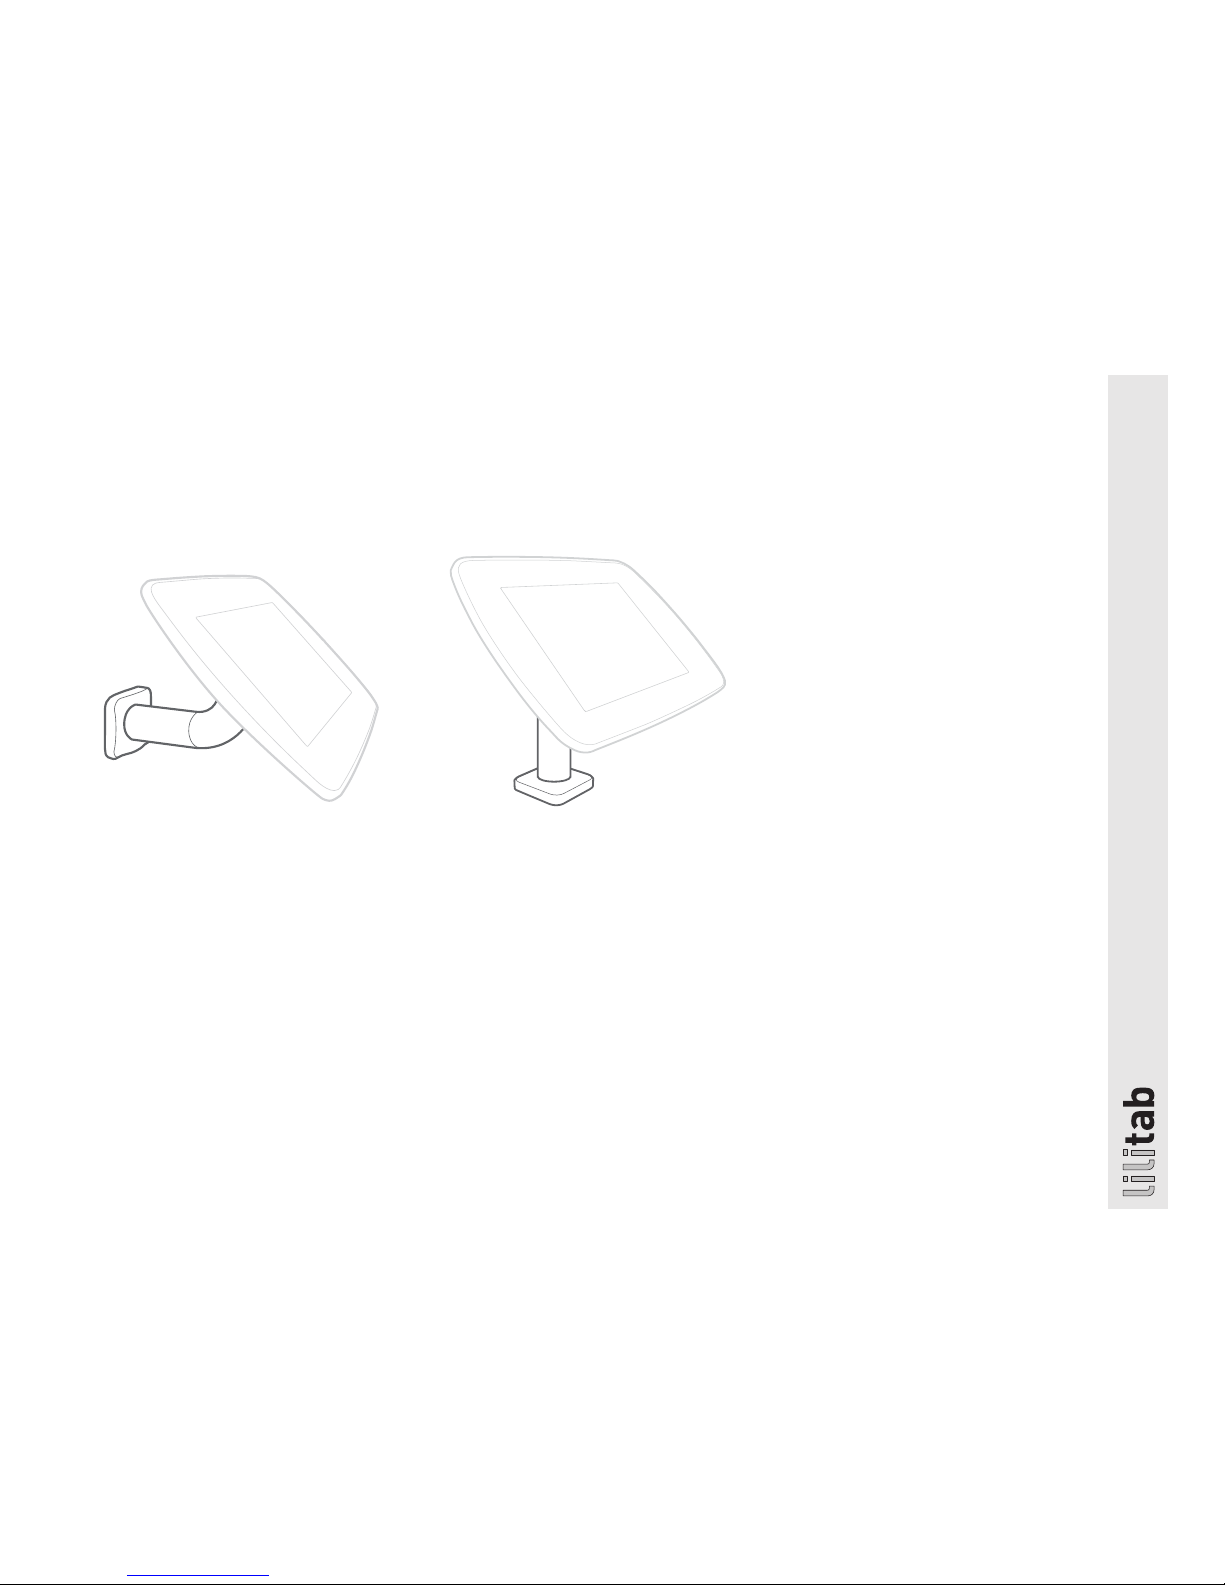
FEATURES
MULTI-POSITION NECK JOINT
Permits tilt up/down. It has two
operator configurable modes:
Fixed. The head unit can
be set to any fixed angle
between completely
vertical and +/-22.5.°
Tilt. Can be configured to
allow the user to tilt the
head unit.
Head unit shown for illustrative
purposes only. Your head unit may
vary depending upon your tablet
choice. Please refer to your head
unit owner manual for more details.
All lilitab head units do not
cause radio interference.
lilitab Surface Pro Mount Assembly Instructions v3.0
5
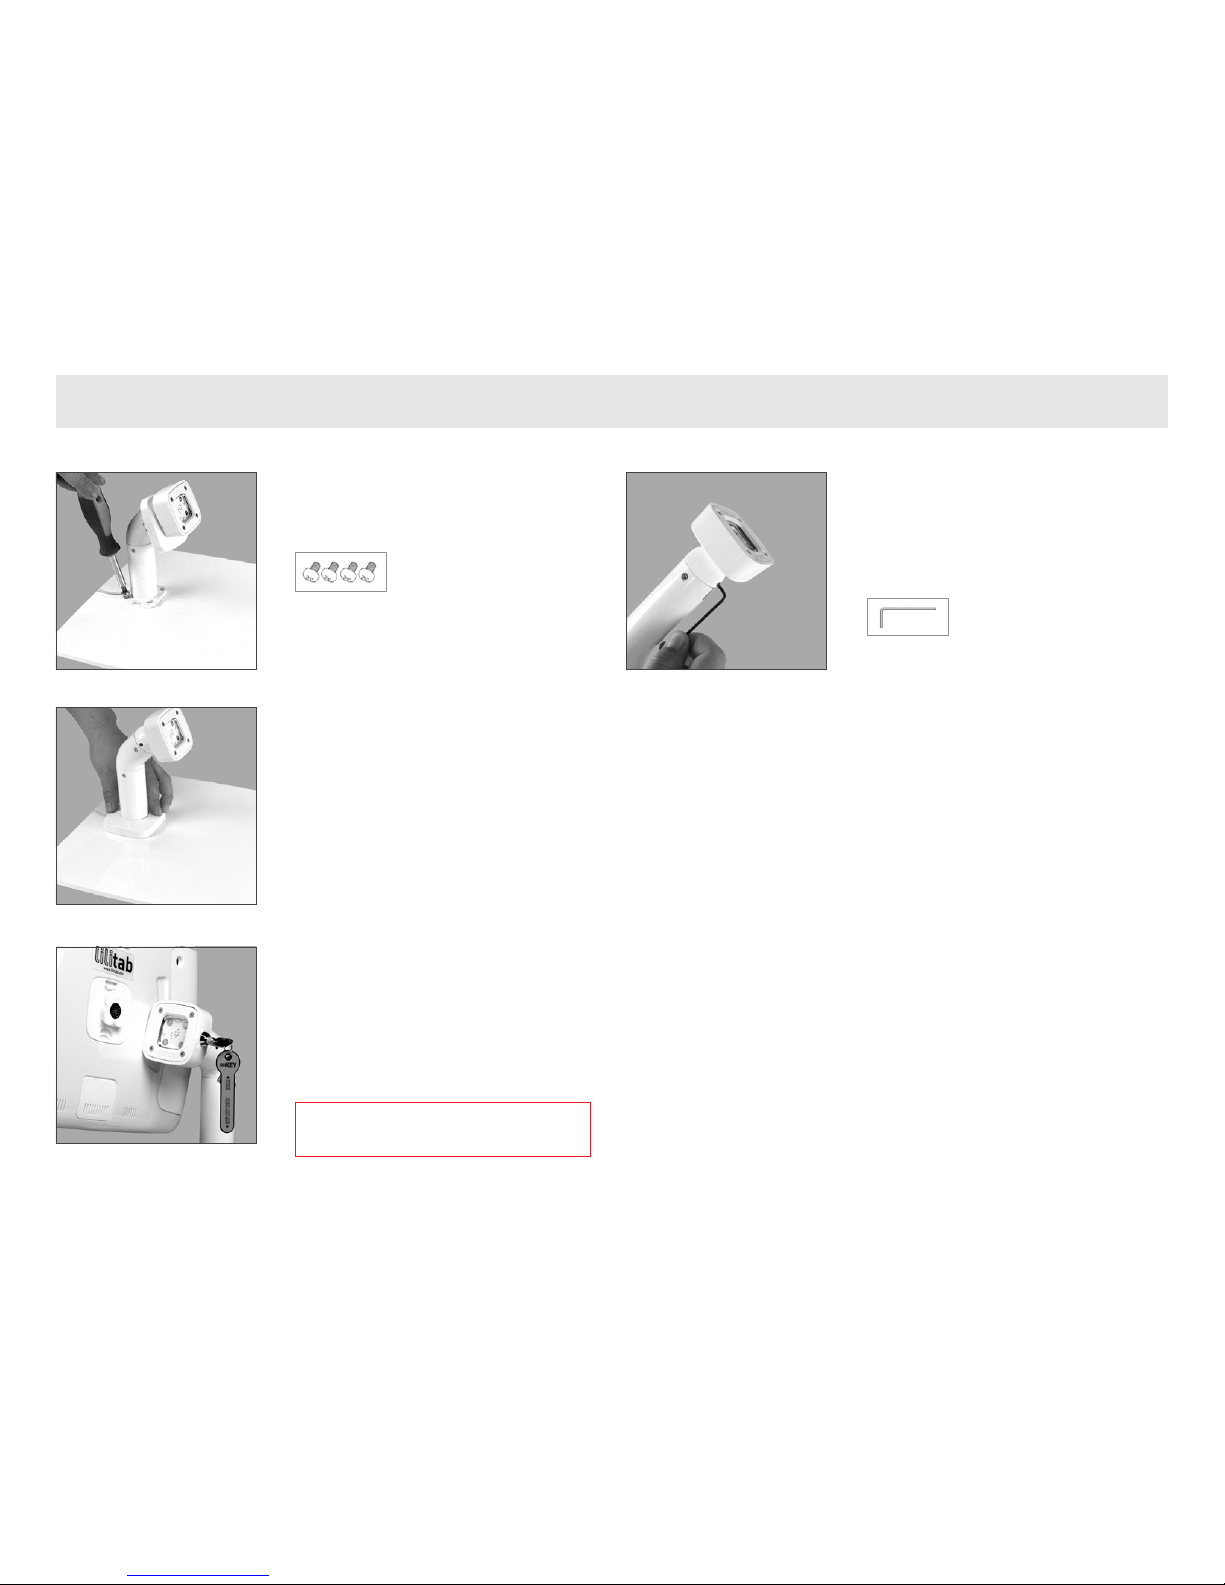
ASSEMBLY INSTRUCTIONS
1. Attach base plate. Line up the bottom of the
lilitab mount with the four screw holes in
the base plate. Secure together using the
four (4) 1/4-28 x 0.375 Compact Base Screws.
NOTE: You may need to hold the foot cover up and
out of your way while securing.
2. Install the foot cover by sliding the it gently
down to pole to cover the screws (velcro will
hold it in place once positioned).
3. Place your head unit onto the MagDOCK
mount in either landscape or portrait
orientation. Turn the key to lock it in place.
WARNING: Not locking the MagDOCK will result in
the unit falling off, possibly damaging the unit and/
or the tablet. The lilitab Pro is designed to be
operated with the lock closed.
4. Tilt feature. By default the lilitab head
unit can be tilted by the user to suit. If
you wish to disable tilt, position your head
unit at the desired angle and tighten the
bottom screw on the neck joint with the
Black L Key provided.
Refer to your lilitab Head owner’s manual
for tablet installation instructions.
lilitab Surface Pro Mount Assembly Instructions v3.0
6
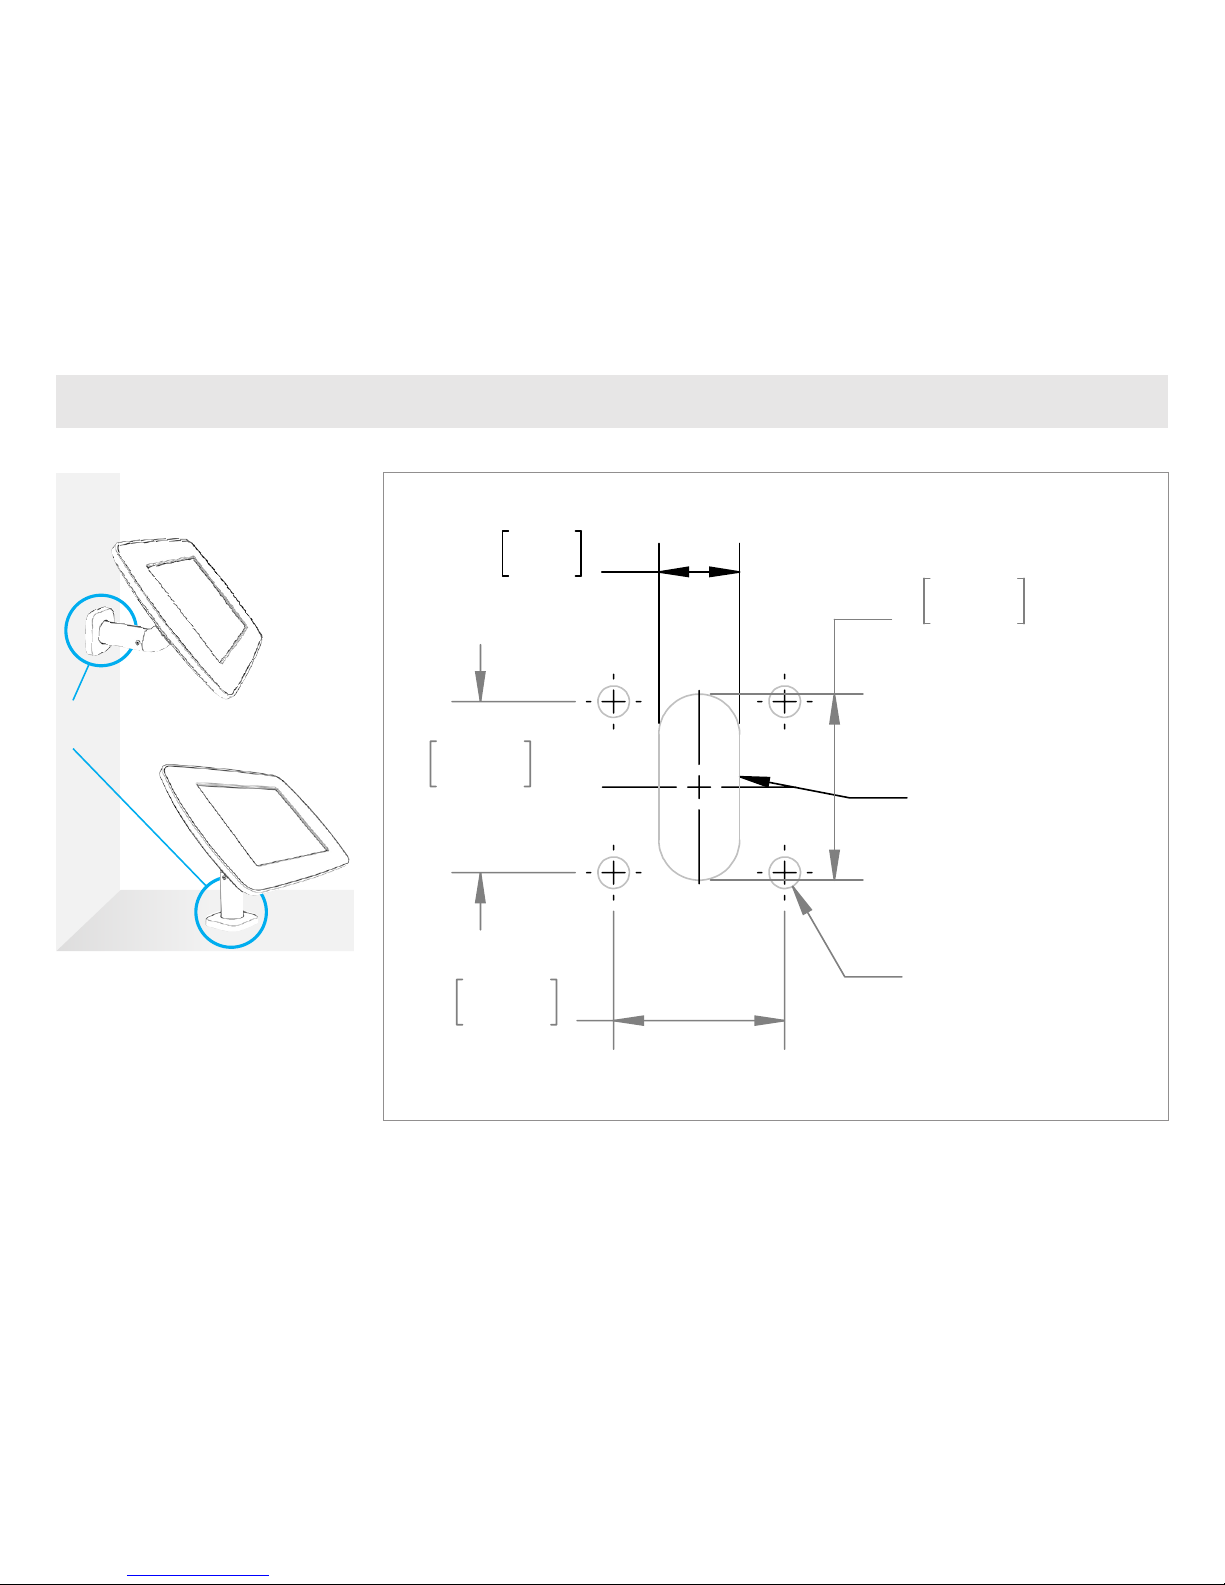
Mounting pattern
The lilitab Surface Basic can be mounted
horizontally or vertically to any hard surface
using 2 x bolts, wood screws or other
fastener suitable for your surface’s
substrate (m6, no.14 or 1/4” diameter).
Use the mounting pattern to the right for
proper alignment.
BOLT DOWN INSTALLATION
1.50
38.10
1.50
38.10
4X M6 OR
1/4-20
1.63
41.44
.71
18
SLOT FOR
POWER CABLE:
USB TYPE A,
~12" PIGTAIL
Power supply cable
can run under or on
top of surface.
 Loading...