

info@lilitab.es
www.lilitab.es
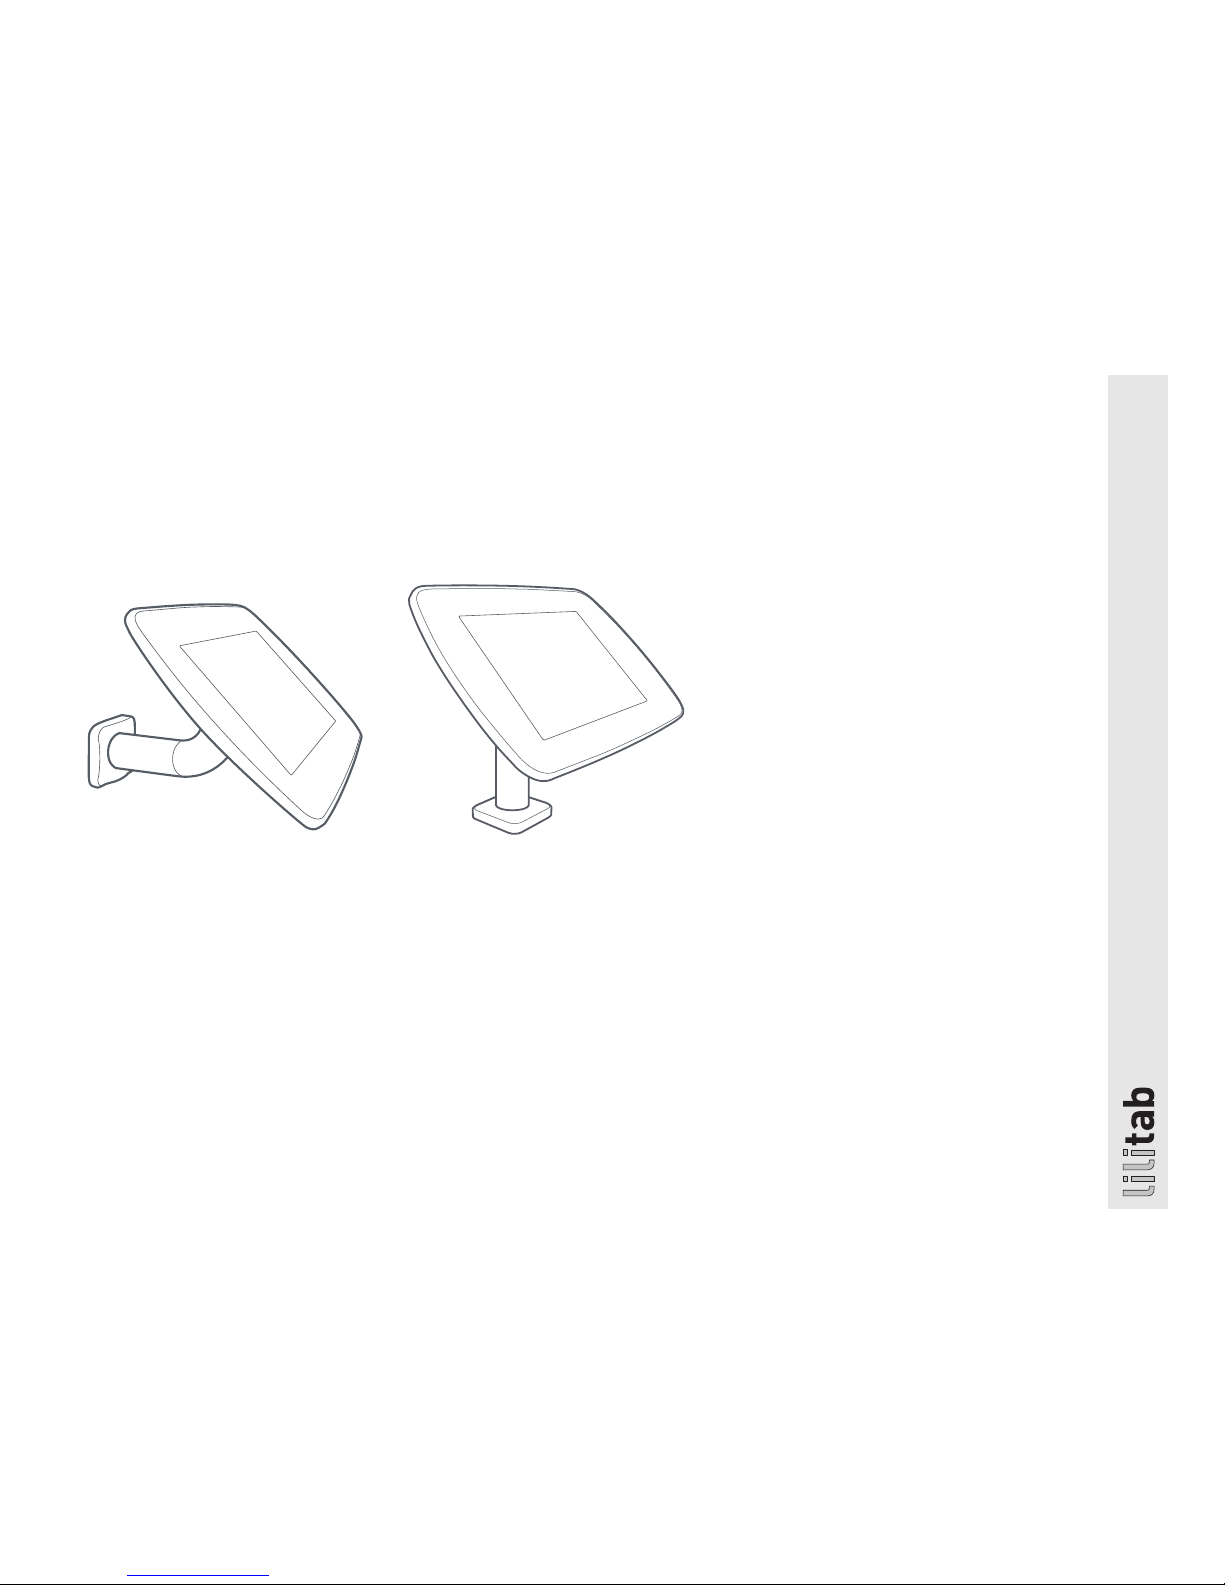
lilitab Surface Pro
Packing List and Assembly Instructions
v.1.0
t: +34 917 558 019
San Romualdo 26, 3ª
28037 Madrid · Spain

lilitab Surface Pro Packing List and Assembly Instructions v1.0
2
TABLE OF CONTENTS
LILITAB SURFACE PRO PACKAGING AND ASSEMBLY INSTRUCTIONS
lilitab Surface Pro Assembly Preparation ...................3
lilitab Surface Pro Features............................... 4
lilitab Surface Pro Mount Options ..........................5
lilitab Surface Pro Mounting Pattern .......................6
lilitab Surface Pro Assembly Instructions ................... 7
lilitab Surface Pro Using Your MagKey...................... 9
lilitab Surface Pro Packing List and Assembly Instructions v1.0
3
ASSEMBLY PREPARATION
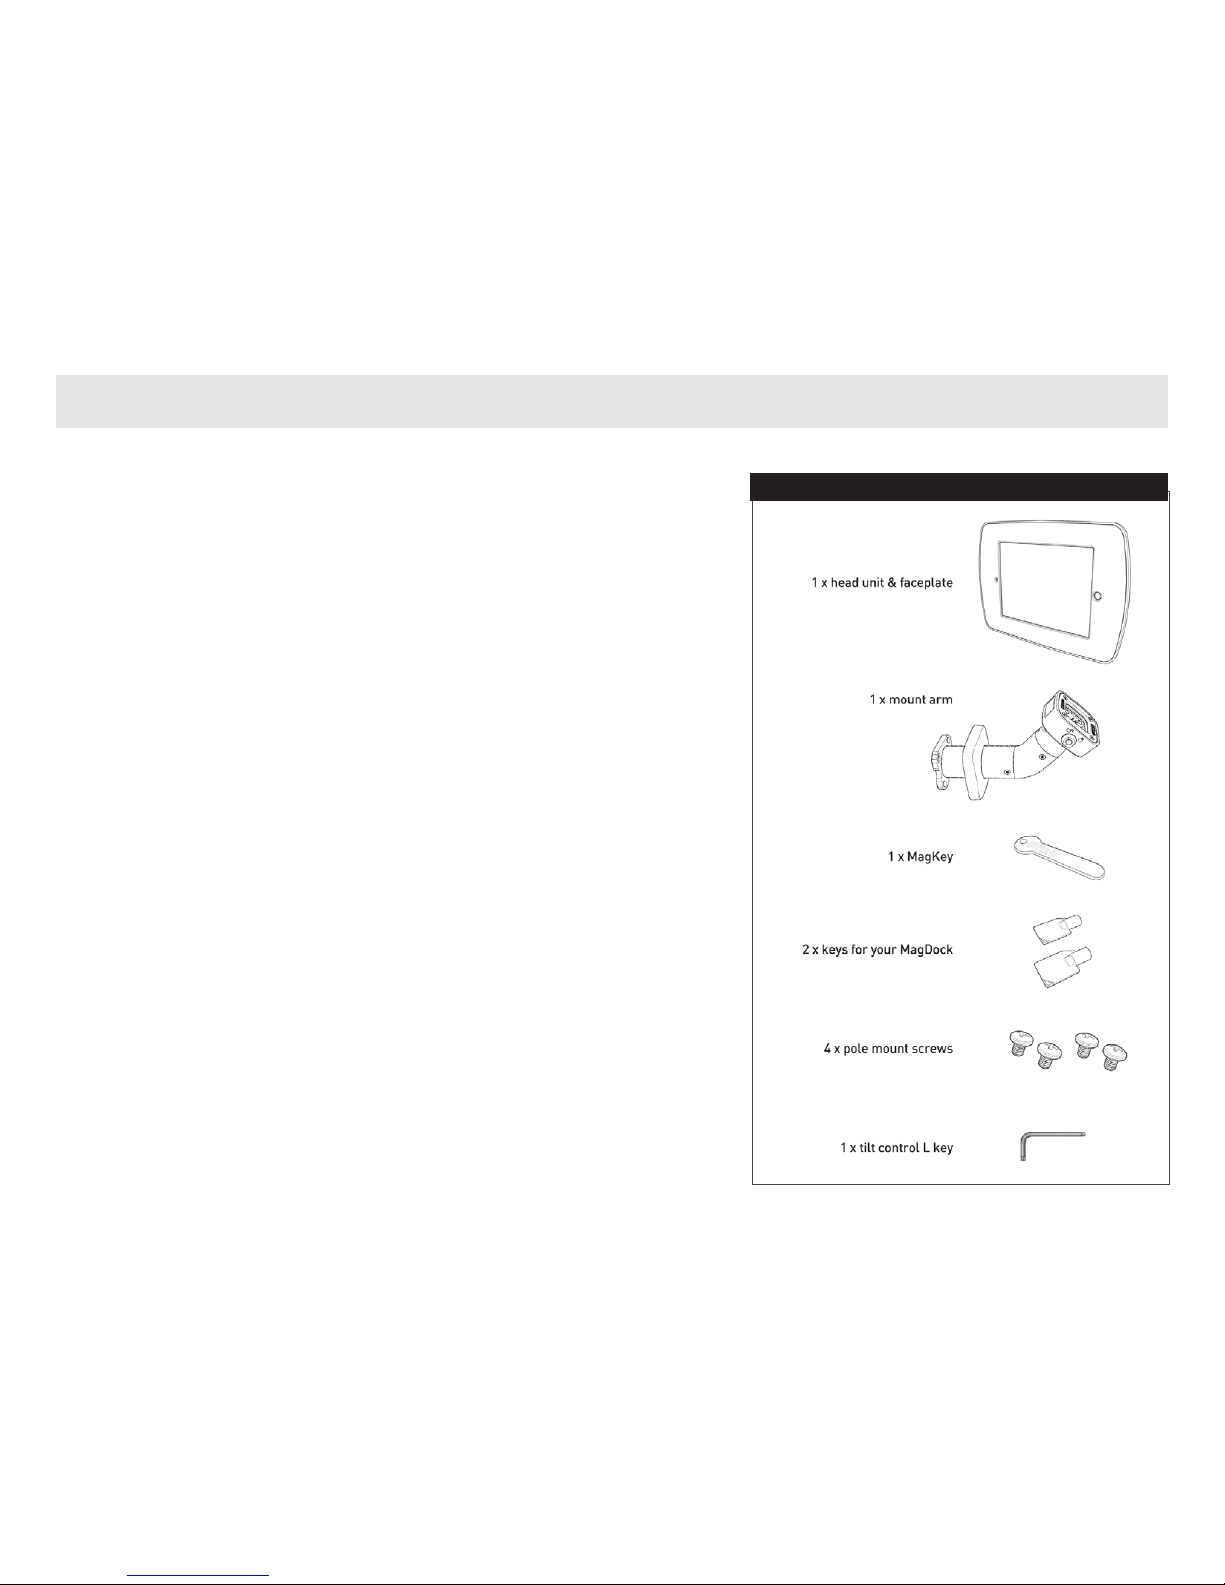
PACKING LIST
TO ASSEMBLE YOUR LILITAB YOU WILL NEED:
4 Philips screwdriver.
TO MOUNT YOUR LILITAB TO A SURFACE YOU WILL NEED:
4 Powered drill/driver, preferably with impact action
4 4 x bolts or wood screws (m5, no.10, no.11, 3/16” or
13/64 diameter)

lilitab Surface Pro Packing List and Assembly Instructions v1.0
4
FEATURES
MAGKEY SLOT
Accepts a MagKey for securely
sleeping an iPad.
MAGDOCK
With the turn of a key, the operator
can dock/undock the lilitab head unit.
When the head unit is docked it
automatically begins charging and it
can be docked in any orientation.
MULTI-POSITION NECK JOINT
Permits tilt up/down. It has two
operator configurable modes:
Fixed. The head unit can
be set to any fixed angle
between completely
vertical and +/-22.5.°
Tilt. Can be configured to
allow the user to tilt the
head unit.
WIRELESS TRANSPARENCY
The lilitab head unit causes no
radio interference.

lilitab Surface Pro Packing List and Assembly Instructions v1.0
5
MOUNT OPTIONS
COUNTER TOP WITH OPTIONAL BASE PLATE BOLT DIRECTLY TO HORIZONTAL SURFACE BOLT DIRECTLY TO VERTICAL SURFACE

lilitab Surface Pro Packing List and Assembly Instructions v1.0
6
1.50
38.10
1.50
38.10
4X M6 OR
1/4-20
1.63
41.44
.71
18
SLOT FOR POWER CABLE:
USB TYPE A,
~12" PIGTAIL
MOUNTING PATTERN

lilitab Surface Pro Packing List and Assembly Instructions v1.0
7
ASSEMBLY INSTRUCTIONS
1. Attaching directly to a counter or wall: If
you are not using a baseplate and instead
attaching your unit directly to a surface
you will need to obtain 4 fasteners suitable
for your substrate. Use the mount pattern
provided on page 6 of this document to
mark your screw openings.
Attaching to the optional baseplate: Use
the 4 large m6x8 screws to bolt your unit
to the baseplate.
2. Fit foot cover over screws (velcro will
hold it in place once positioned).
3. Configure head tilt. By default the
head unit can be tilted by the user to
suit. If you wish to disable tilt, position
your head unit at the desired angle and
tighten the bottom screw on the neck
joint with the included L key.
5. Place the head unit onto a clean
surface with the inside of the enclosure
facing up (the lilitab logo on the rear of
the unit will face down and away from
you). Slide all four of the green retaining
clips towards the outside of the
enclosure.
6. Plug the provided cable into your
tablet’s charge port and place it inside
the enclosure face up (screen faces
towards you).
4. Open the lilitab head unit by placing
it facedown on a clean surface and
squeezing the finger latches together as
shown. Carefully lift up and the faceplate
will come off, allowing access to the
inside of the head unit.

lilitab Surface Pro Packing List and Assembly Instructions v1.0
8
ASSEMBLY INSTRUCTIONS
8. Position the faceplate over the tablet
such that its openings are oriented as
you wish (faceplates have different
combinations of home button and
camera openings). Gently press down
around the edge of the faceplate and it
will snap into place.
NOTE: If the faceplate does not snap into place
evenly (or if one or more corners is lifting up)
ensure that all four of the green retaining clips are
seated fully home
9. Place your lilitab onto the MagDock
mount in either landscape or portrait
orientation.
TURN THE KEY to lock it in place.
WARNING: Not locking the MagDock
WILL result in the unit falling off,
possibly damaging the unit and/or the
tablet. The lilitab Pro range is designed
to be operated with the lock closed!
7. Slide all four green retaining clips
towards the center of the tablet
ensuring they securely hold the
tablet in place.
NOTE: You may need to adjust the position of the
tablet slightly to allow all four clips to slide home
properly.

lilitab Surface Pro Packing List and Assembly Instructions v1.0
9
USING YOUR MAGKEY
1. You can use the included MagKey with an iPad 2,3 or 4 in your lilitab. The
MagKey allows you to sleep the iPad without having any access to it. This
ensures you (and your staff!) can turn your kiosk on and off at the end of the
day without removing the iPad from the kiosk. You will always know when
the iPad is sleeping because once inserted the MagKey pokes out the top of
unit like a little flag.
2. To sleep your iPad simply insert your MagKey with the orange side facing
front and the black side facing back.
3. Remove your MagKey and your lilitab will wake up, in exactly the same
state it was in before it went to bed ;-)
NOTE: The MagKey will work on any iPad® 2 or newer. It requires that the iPad Cover Lock/Unlock
preference is turned on. You can find this in Settings> General> iPad Cover Lock/Unlock.
Replacement MagKeys can be ordered directly from the website: www.lilitab.com

QUEST IONS?
We’re here to help!
EMAIL: info@lilitab.es
PHONE: +34 917 558 019
Cleaning and caring for your lilitab.
To keep your lilitab looking and working great we recommend using a lint-free cloth to gently wipe it down.
To remove and prevent fingerprints we recommend Brillianize.
DO NOT use window cleaner, ammonia-based cleaners or any type of scouring or abrasive cleaner.
 Loading...