

Page 1

39 Larkspur Street | Suite B t: 888.705.0190
lilitab K Basic Head Unit
for Samsung Tab A 9.7” and Tab E 9.6”
Assembly Instructions
v1.0
Page 2
lilitab K Basic Head Unit for Samsung Tab A 9.7” and Tab E 9.6” Assembly Instructions v1.0
2
TABLE OF CONTENTS
Packing List............................................2
Assembly Instructions ...................................3
Cleaning Instructions.................................... 4
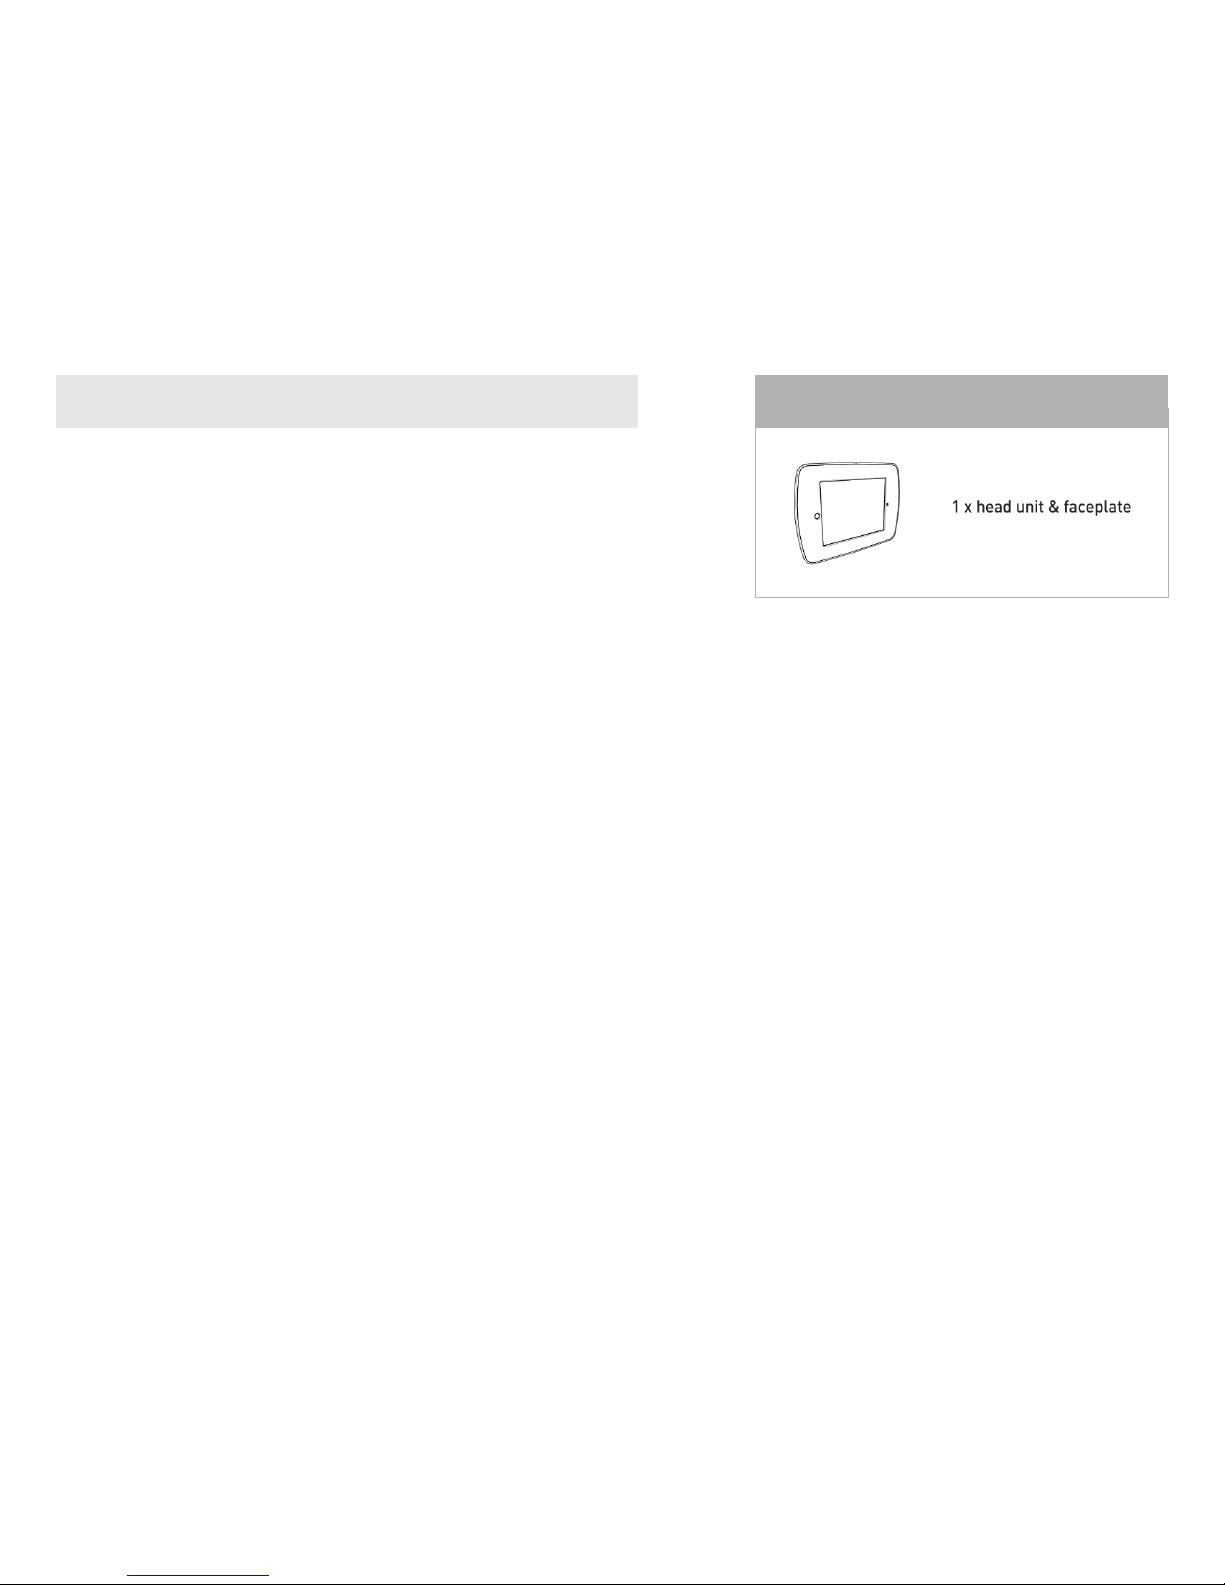
PACKING LIST
GOT QUESTIONS? WE’RE HERE TO HELP!
EMAIL [email protected] PHONE 888.705.0190
Page 3
lilitab K Basic Head Unit for Samsung Tab A 9.7” and Tab E 9.6” Assembly Instructions v1.0
3
ASSEMBLY INSTRUCTIONS
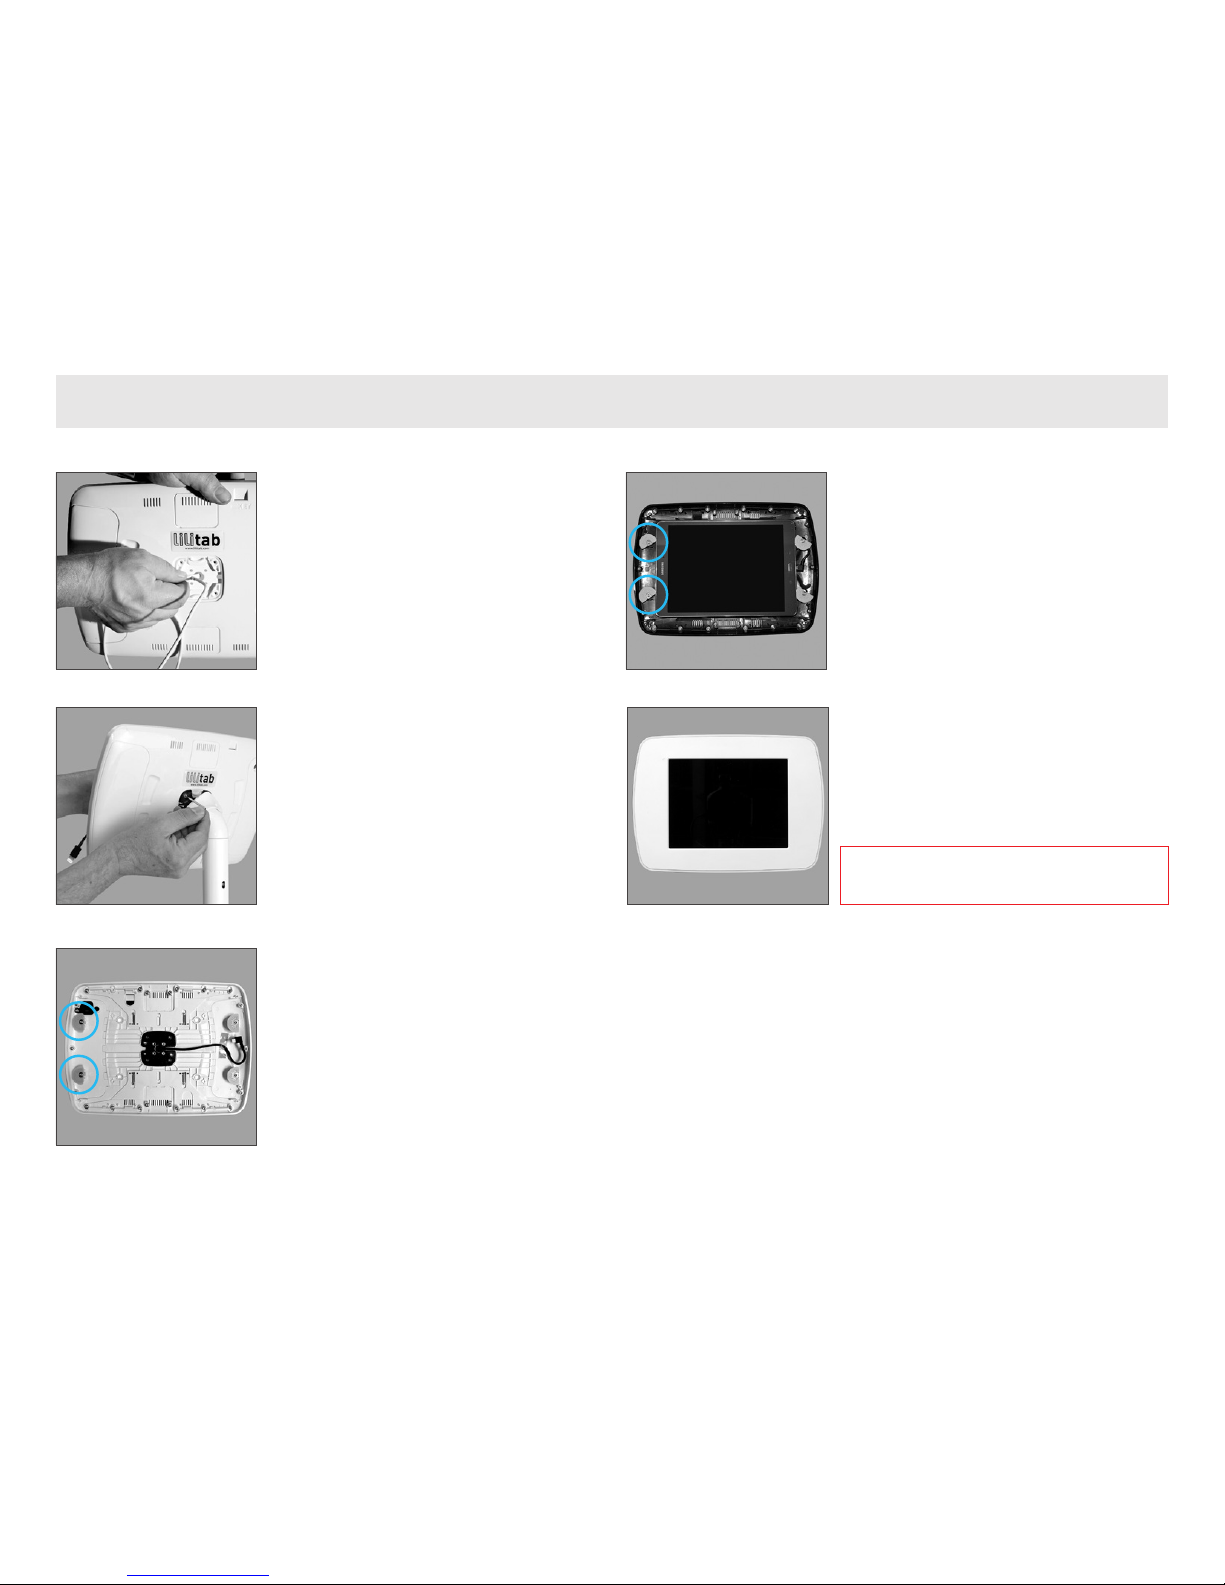
4. Plug the cable that came with your kiosk
into your tablet. Slide the tablet under the
keepers on the right side ensuring your
tablet is centered inside the enclosure.
Rotate the keepers on the left side such that
the number “1” is closest to the center of
the tablet as shown in the photo to the left.
5. Position the faceplate over the tablet.
Be sure to align the openings. Gently press
down around the edges—it should snap
into place.
Refer to your lilitab Mount owner’s manual
for instructions on attaching the head unit.
1. Thread the charge and sync cable from
the top of the pole through the metal plate
located in the center of the lilitab head unit
and pull through to the front side.
2. Attach your lilitab head unit to the top of
pole with the four (4) head mount security
screws and silver L key that came with your
mount.
NOTE: Rotating the neck security cover 90° will make
access to the screw openings easier to access.
3. Rotate the green “rotational keepers” on
the left side of the enclosure such that the
#2 is closest to the outside edge.
Page 4
lilitab K Basic Head Unit for Samsung Tab A 9.7” and Tab E 9.6” Assembly Instructions v1.0
4
CLEANING INSTRUCTIONS
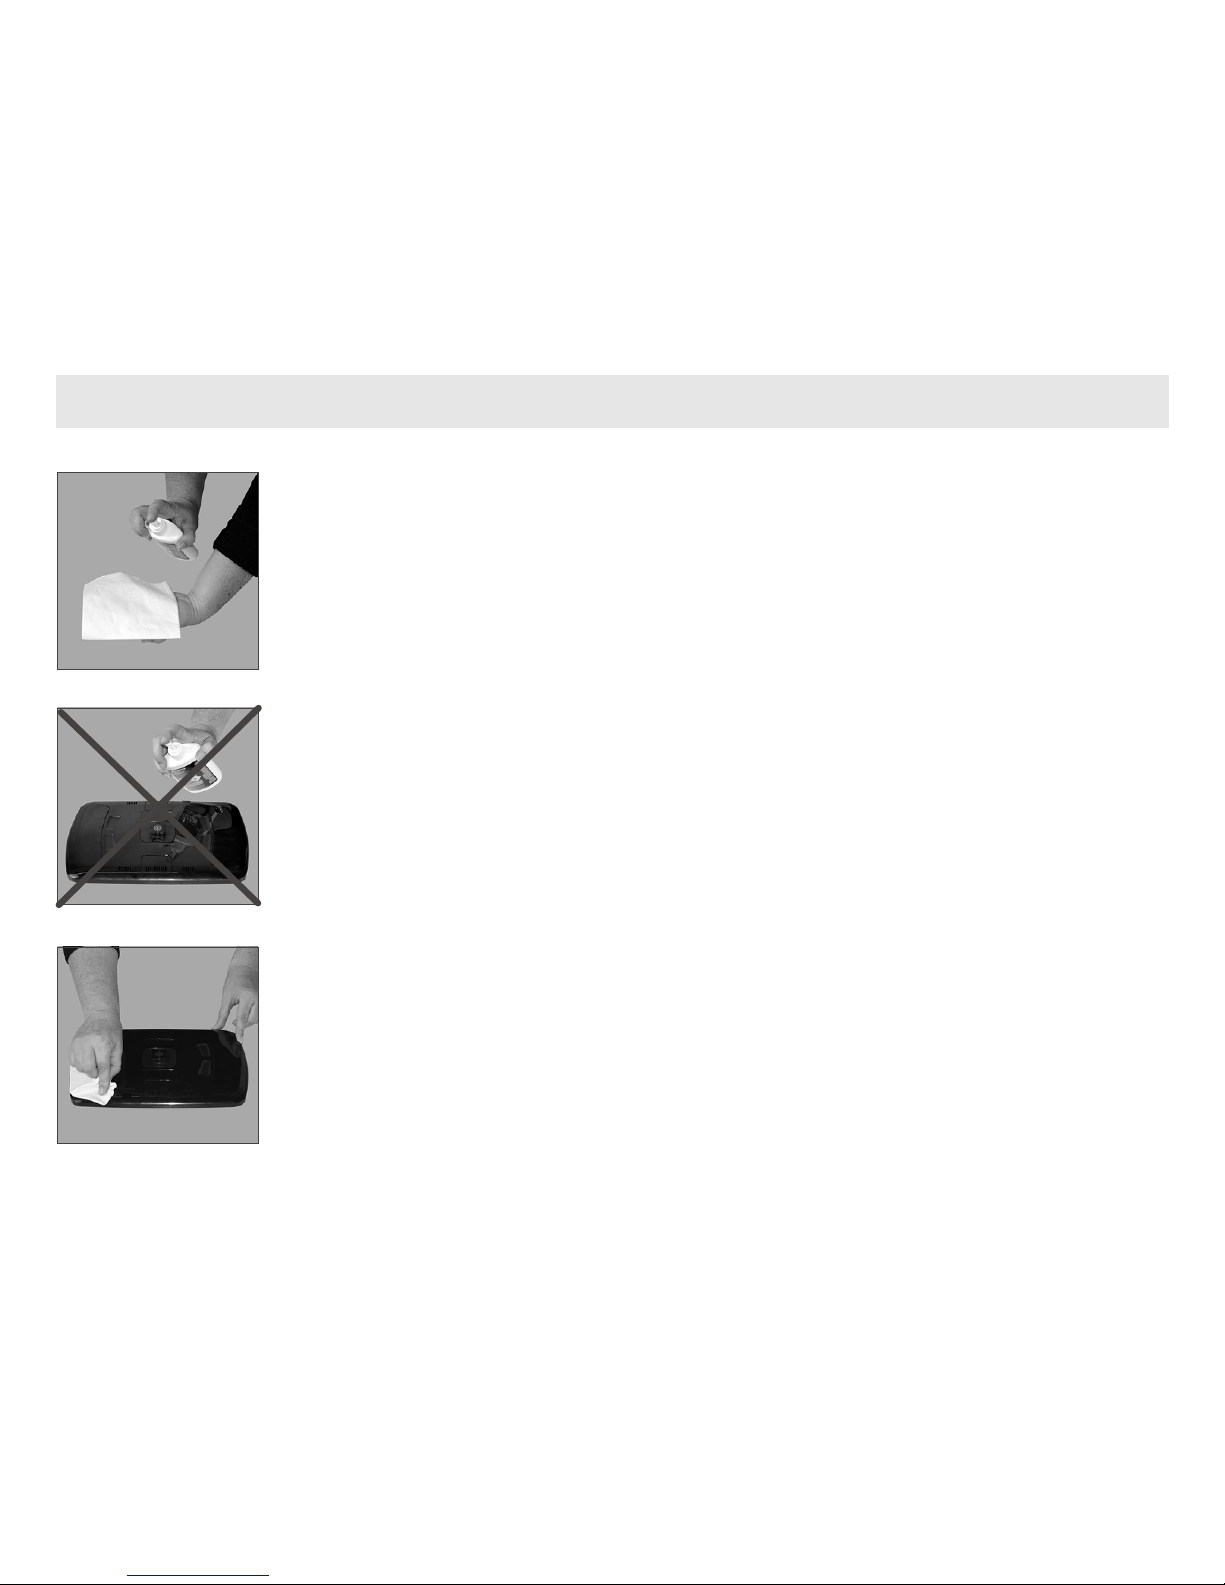
1. Spray the Brillianize onto one of
the cloths provided.
WARNING: Other cloth/material may
scratch the surface of your lilitab
2. DO NOT spray directly onto your lilitab!
3. Rub gently in a circular motion to remove
fingerprints and dirt.
WARNING: Applying excess pressure can
scratch the surface of your lilitab.
Cleaning kit available on our
website in the accessories section.
 Loading...