

Page 1
39 Larkspur Street | Suite B t: 888.705.0190
San Rafael, CA 94901 e: support@lilitab.com www.lilitab.com
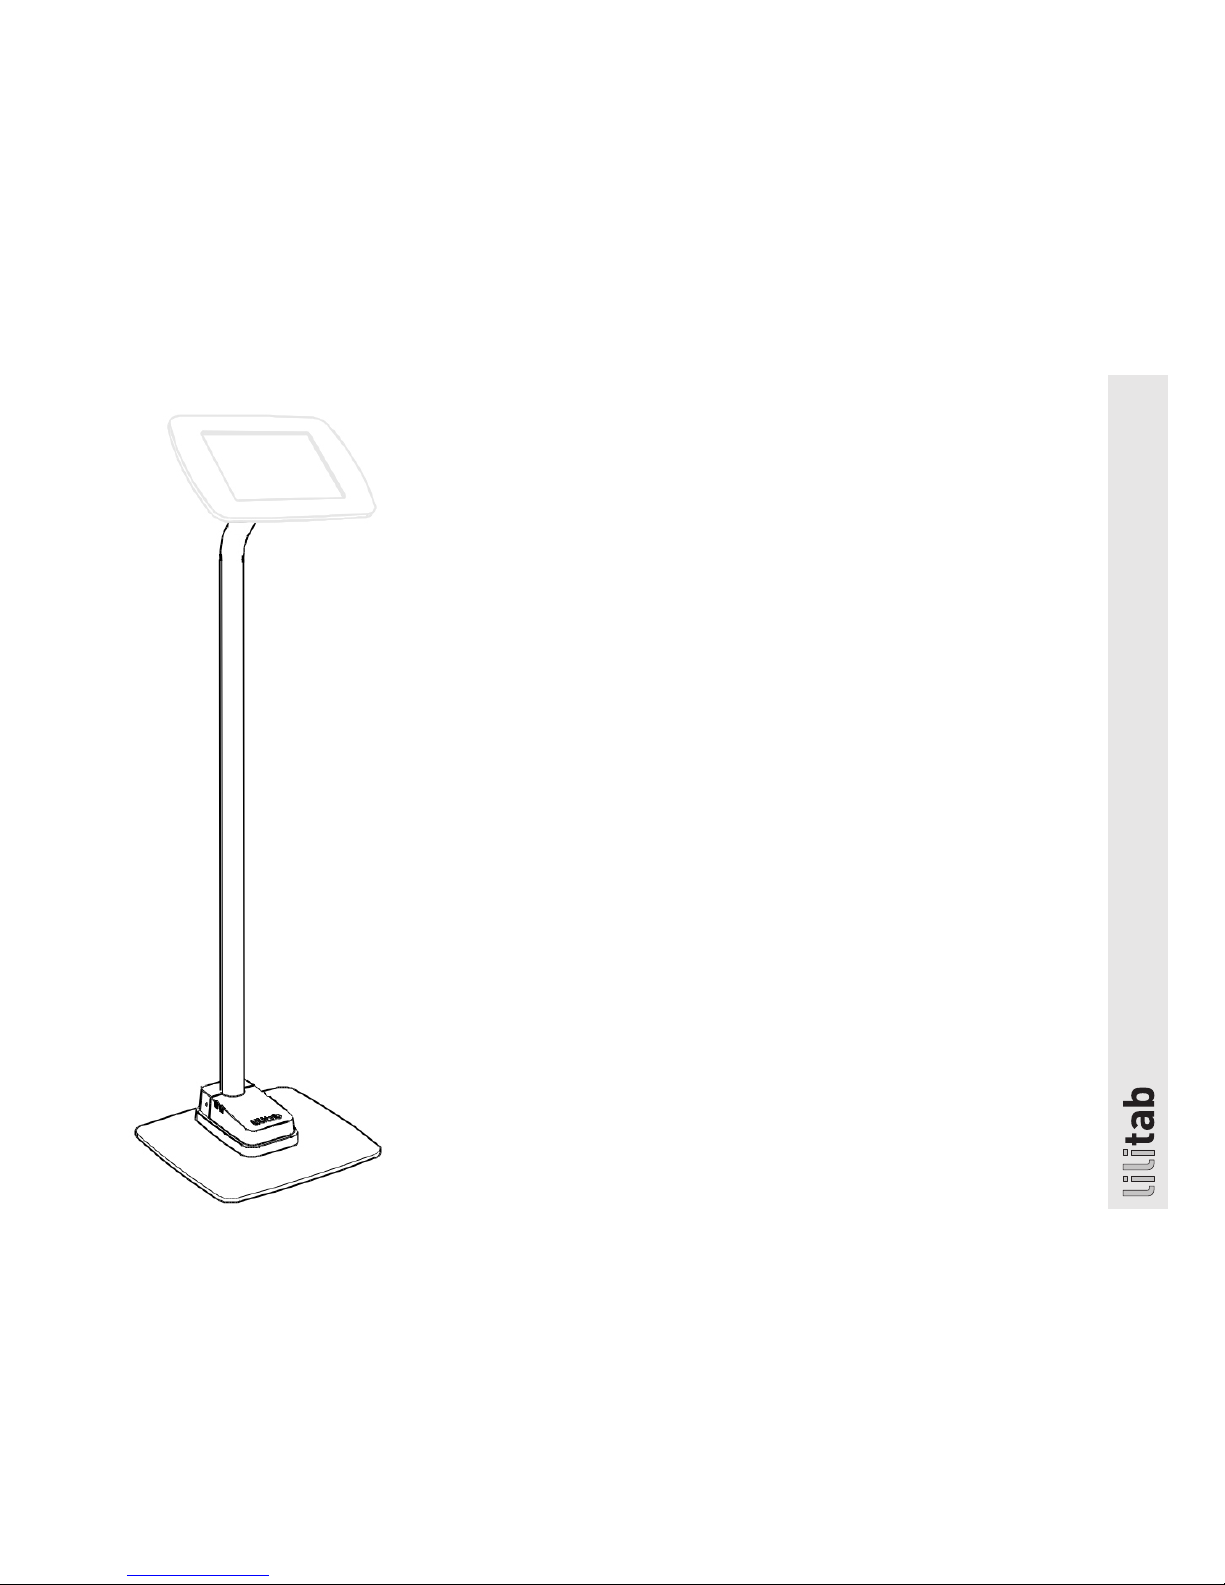
lilitab Floor Basic Mount
Assembly Instructions
v4.0
Page 2

lilitab Floor Basic Mount Assembly Instructions v4.0
2
TABLE OF CONTENTS
Assembly Preparation and Packing List.............3
Features ......................................4
Assembly Instructions ...........................5
Bolt Down Installation ...........................6
GOT QUESTIONS? WE’RE HERE TO HELP!
EMAIL support@lilitab.com PHONE 888.705.0190
Page 3

lilitab Floor Basic Mount Assembly Instructions v4.0
3
MOUNT ASSEMBLY PREPARATION
FOR BASE PLATE INSTALLATION, YOU’LL NEED:
4 Phillips screwdriver
FOR BOLT DOWN INSTALLATION, YOU’LL NEED:
4 Powered drill/driver, preferably with impact action
4 Socket wrench with a neck of at least 5”, this may require
a socket extension
4 2 x bolts, wood screws or other fastener suitable for your
floor’s substrate (m6, no.14 or 1/4” diameter)
TO SECURE YOUR LILITAB YOU WILL NEED:
4 Kensington compatible cable lock
PACKING LIST
Page 4

lilitab Floor Basic Mount Assembly Instructions v4.0
4
FEATURES
All lilitab head units do not
cause radio interference.
2 X M4 ACCESSORY MOUNT POINTS
Accepts Backdrop Graphic
LOCK POINT
Accepts kensington lock
USB CABLE SLOT
For peripherals
BASE PLATE
Optional
BASE HOUSING FOR
TABLET’S AC ADAPTER
Included with optional base
Head unit shown for illustrative
purposes only. Your head unit may
vary depending upon your tablet
choice. Please refer to your head
unit instructions for more details.
Page 5

lilitab Floor Basic Mount Assembly Instructions v4.0
5
ASSEMBLY INSTRUCTIONS
3. Connect and position cables:
1. Connect the USB cable to the tablet’s
AC adapter. Then connect the adapter
to your extension cord.
2 . Position both cables underneath the
base housing’s two plastic tabs. The
extension cord should exit the rear of
the housing.
3 . Screw down the base housing using the
two (2) M6x14mm long base screws.
4. Attach base housing:
1. Attach the base housing cover by
sliding it into place.
2 . Secure the base cover using the
two (2) M3x6mm base security screws
and silver L key.
1. Thread the charge and sync cable that
came with your tablet through the top of
the lilitab mount. Insert the pole mount into
the base housing on an angle to clear the
welded flange, as pictured.
2. Attach base plate. Line up the bottom of the
lilitab mount with the four screw holes. Using
the two (2) M6x12mm short base screws, secure
through the welded flange’s two rear-most
openings closest to the cable egress slot.
NOTE: You will need to hold the base housing up and
out of your way while bolting.
(iPad AC adapter shown with optional apple
power extension cord. Your AC adapter will
vary depending upon your tablet type.)
5. You will attach your head unit using the
four (4) M3x7mm head mount security
screws and silver L key.
Refer to your lilitab Head owner’s manual
for tablet installation instructions.
6. Install security cover. After you attached
your head unit, install the security cover
using the two (2) M3x10mm security cover
screws and silver L key.
Page 6

lilitab Floor Basic Mount Assembly Instructions v4.0
6
Mounting pattern
The lilitab Floor Basic can be mounted
directly to any hard floor surface using
2 x bolts, wood screws or other fastener
suitable for your floor’s substrate (m6,
no.14 or 1/4” diameter). Use the mounting
pattern to the right for proper alignment.
BOLT DOWN INSTALLATION
1.50
38.10
1.50
38.10
4X M6 OR
1/4-20
1.63
41.44
.71
18
SLOT FOR
POWER CABLE:
USB TYPE A,
~12" PIGTAIL
Power supply cable
can run under or on
top of floor.
 Loading...