

Page 1
Professional Series
www.lightwaverf.house
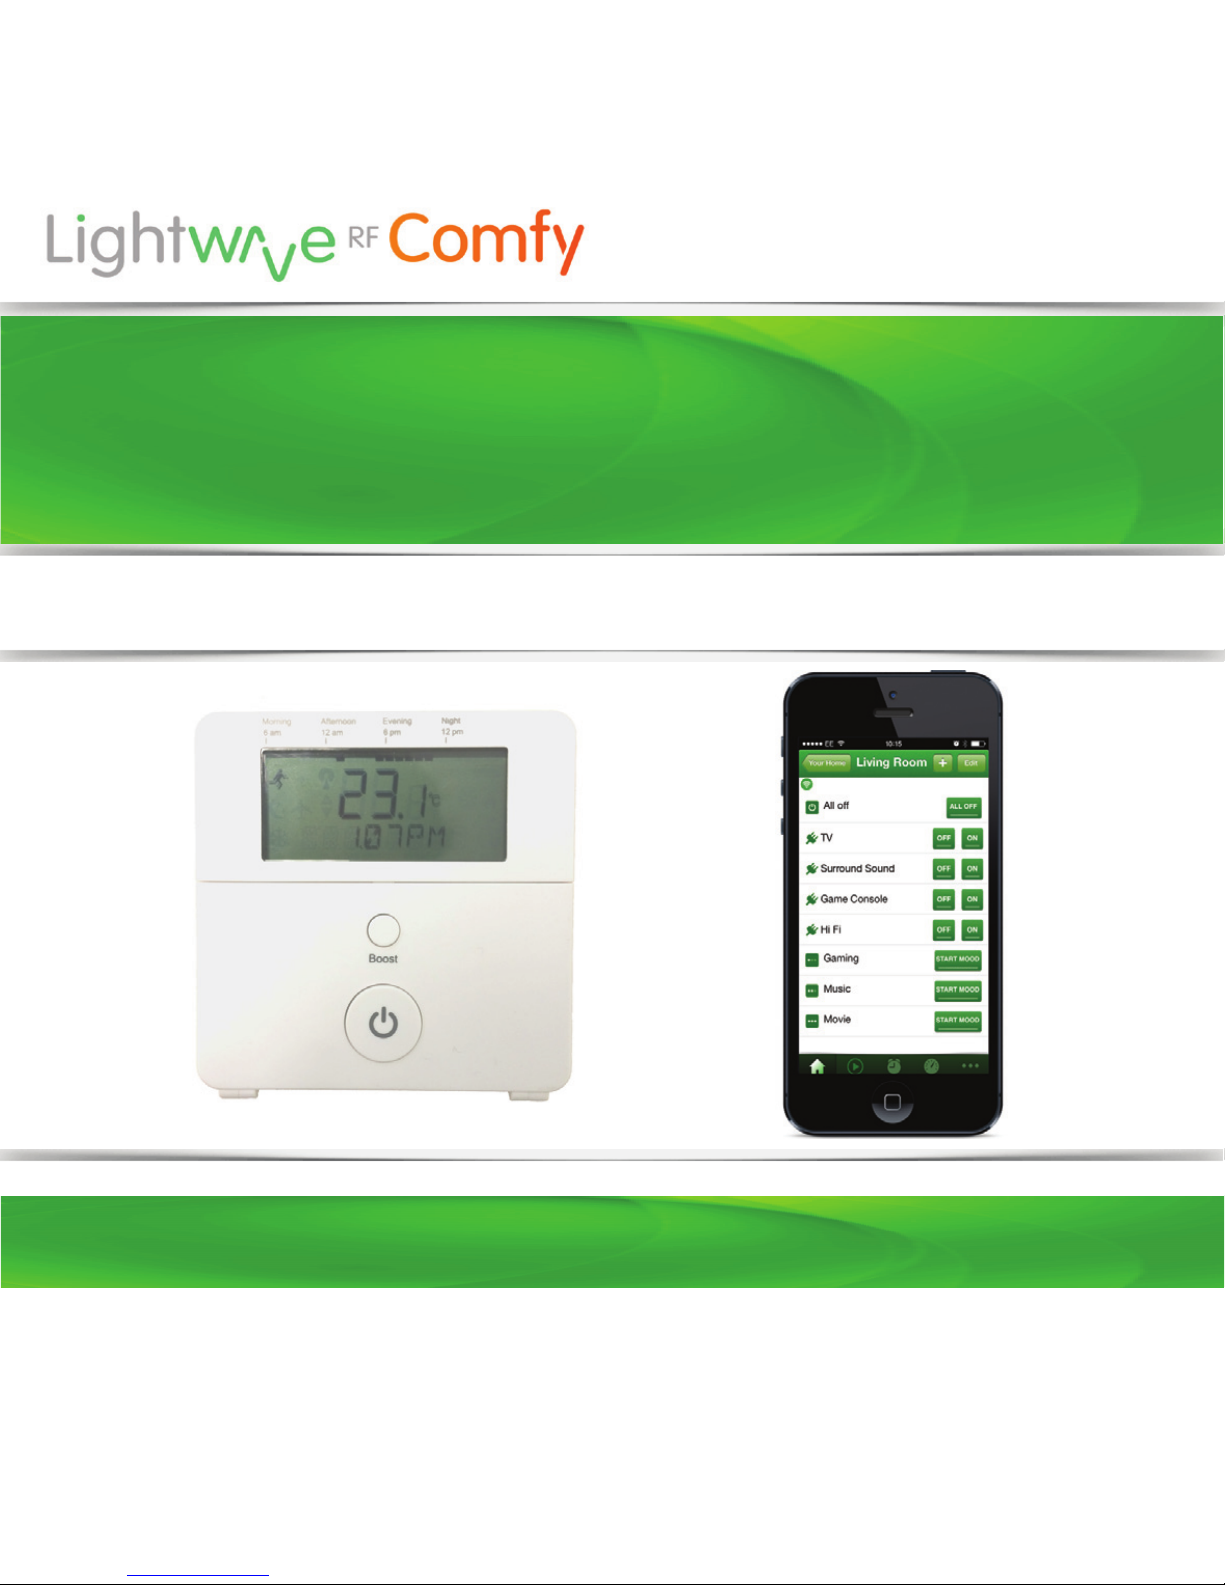
Home Thermostat
Model No. LW921
Instruction Manual
Version 2.2
Page 2

EC DECLARATION OF CONFORMITY
Responsible Authority:
LightwaveRF PLC,
Innovation Campus Birmingham
Faraday Wharf
Holt Street
Birmingham
B7 4BB
Model Number(s): JSJSLW921
Description: Home Thermostat
Directives this equipment
Complies with: 2006/95/EC The Low Voltage Directive N/A
2004/108/EEC The Electromagnetic Compatibility Directive
1999/5/EC R&TTE Directive
93/68/EEC CE Marking Directive
Standards Applied in order to verify compliance
Safety: BS EN 60730-1: 2011
Health:
R&TTE: EN 301 489-1 V1.9.2: (2011-09), EN 301 489-3 V1.4.1: (2002-08)
EN 300 220-1 V2.1.1: 2006, EN 300 220-2 V2.1.2: 2007
EMC: EN 301 489-1 V1.9.2: (2011-09), EN 301 489-3 V1.4.1: (2002-08),
EN 55022: 2010, EN 61000-3-2: 2006 +A1: 2009 +A2: 2009 Class A,
EN 61000-3-3: 2008, EN61000-4-2: 2009,
EN 61000-4-3: 2006 +A1: 2008 +A2: 2010, EN 61000-4-4: 2012,
EN 61000-4-5: 2006, EN 61000-4-6: 2009, EN 61000-4-11: 2004
For and on behalf of LightwaveRF PLC
---------------------------------------Name J Shermer
Position Managing Director
Page 3
What do I need?
How do I get started?
The following setup guide will explain how to link
the Home Thermostat to other LightwaveRF
heating devices. It is recommended to use the
Thermostat in conjunction with the Lightwave
Link & Web App.
The Home Thermostat does not need any tools
or expertise to be installed. It is completely
wireless and can be positioned anywhere in the
home. It also comes with a backplate that can be
screw mounted or stuck to the wall.
Help video & further guidance
For additional guidance, and to watch a video
that will help guide you through the installation
process, please visit the support section on
www.lightwaverf.com
Get Started
Page 4
IMPORTANT: Please retain these instructions for guidance on how to link
other LightwaveRF heating devices to the Home Thermostat. For App
setup and additional guidance please visit www.lightwaverf.com
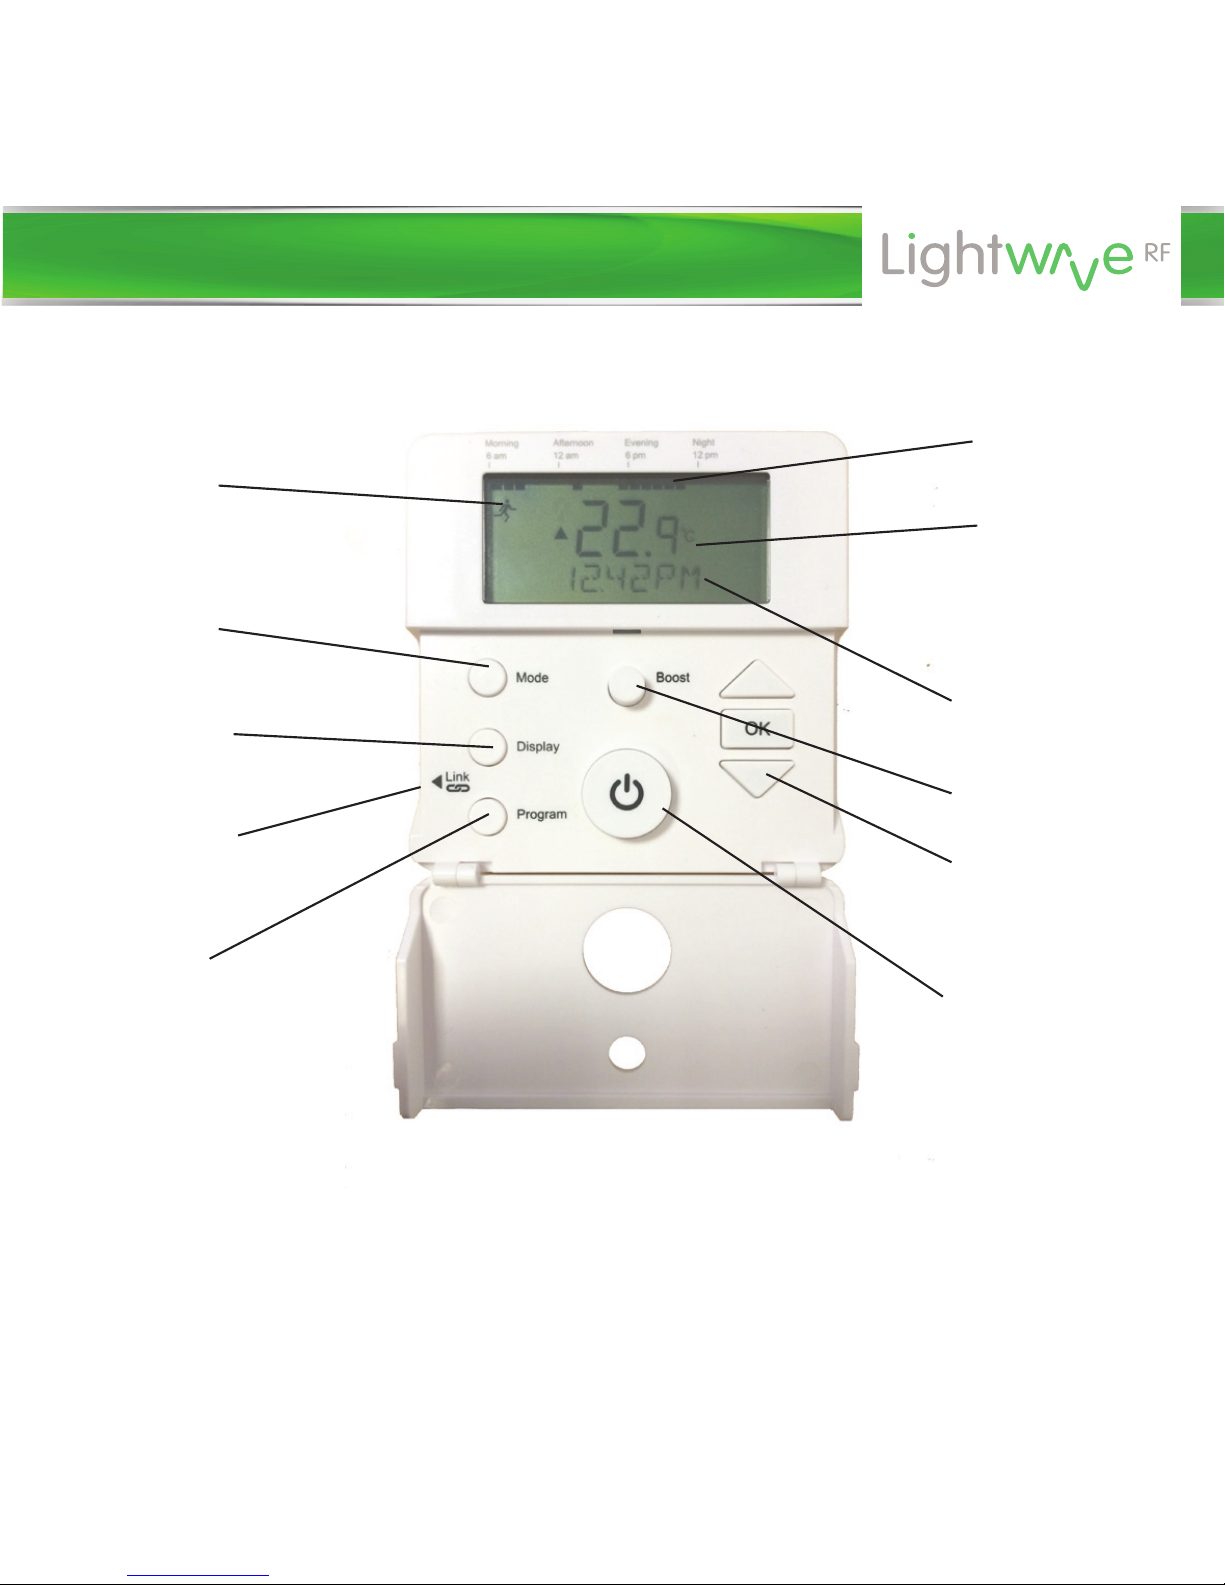
Current
mode
Boost button
Current
temperature
Overview
Standby button
Program
modes
Up / down / OK
buttons
Select
mode
View target
temperature
Link button
Current day
schedule
Current Time
Installation
Page 5
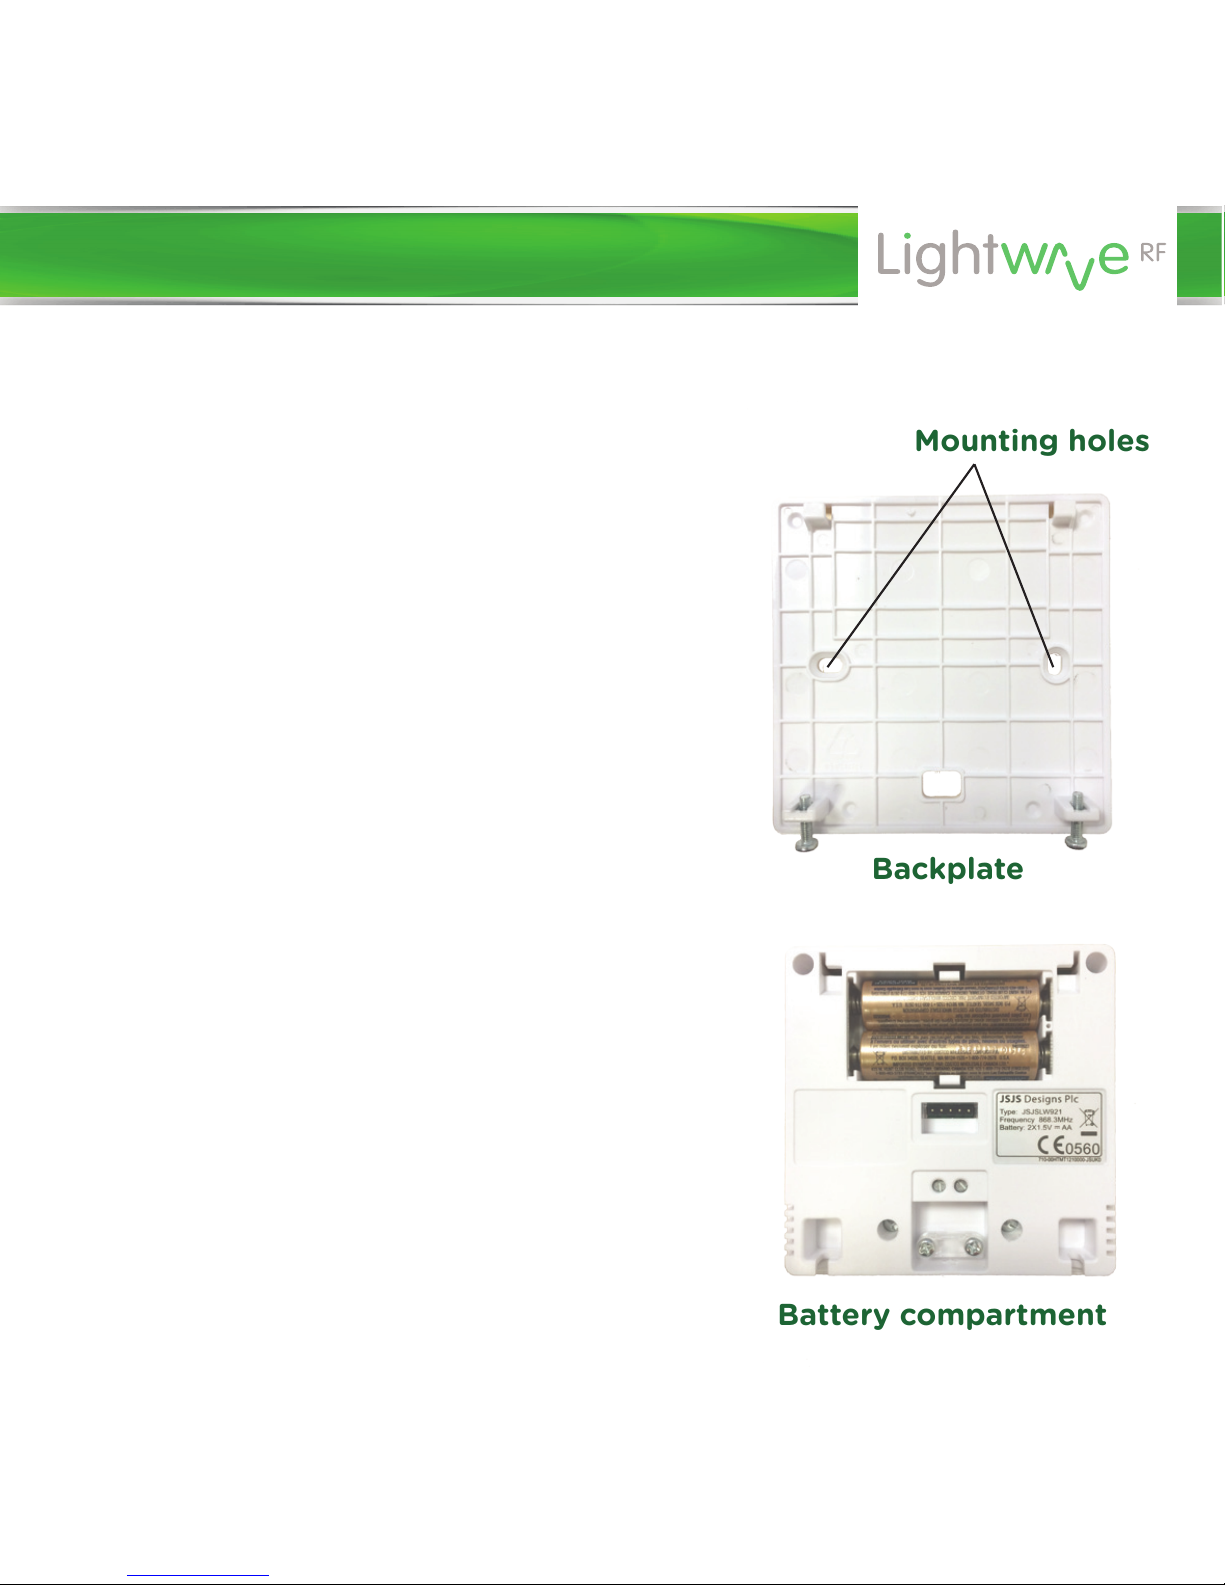
The Home Thermostat requires 2 x AA
batteries for operation. The battery
compartment can be accessed by
removing the backplate. To do this, the
two screws at bottom of the
Thermostat need to be loosened. The
backplate can be gently pulled away
from the Thermostat body and slid
downwards until it comes free from
the hooks at the top of the device.
The backplate is designed to be wall
mounted. This can be achieved by
inserting suitable screws through the
two mounting holes, or by using
adhesive pads (not included).
Inserting / changing the batteries
Backplate
Mounting holes
Battery compartment
Wall mounting
Installation
Page 6
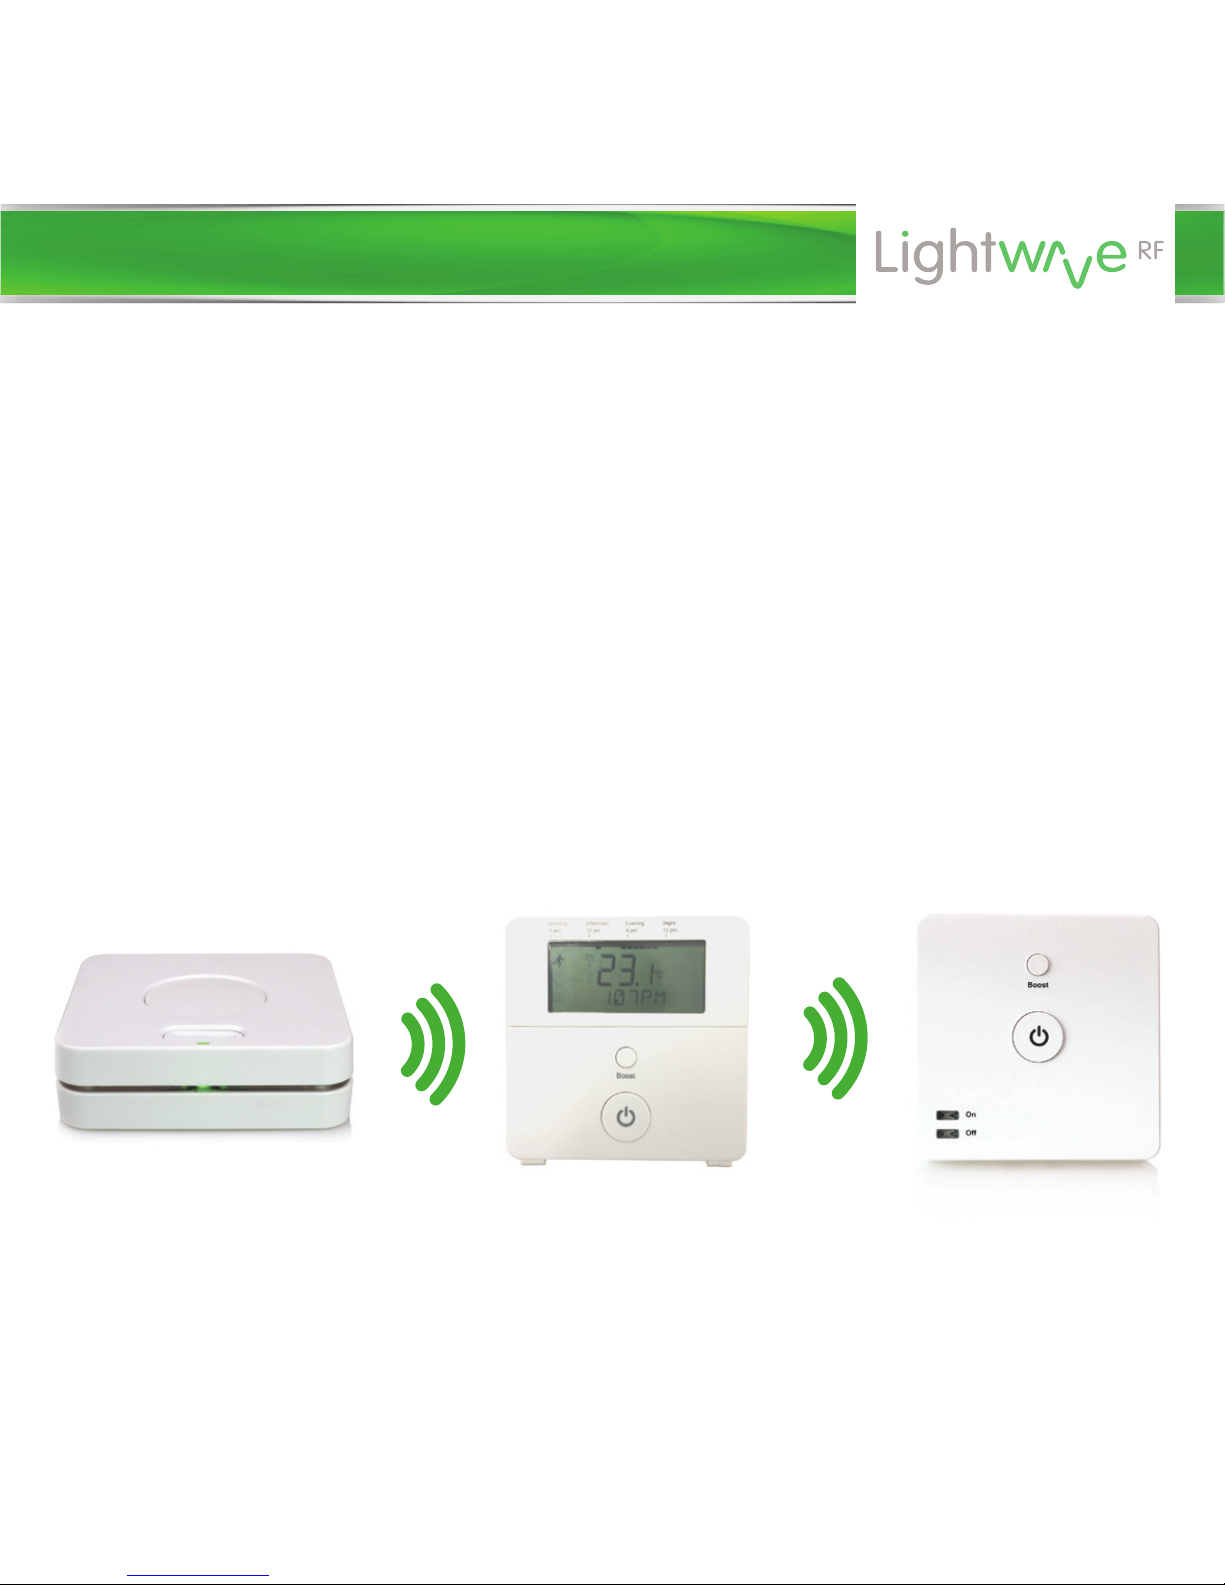
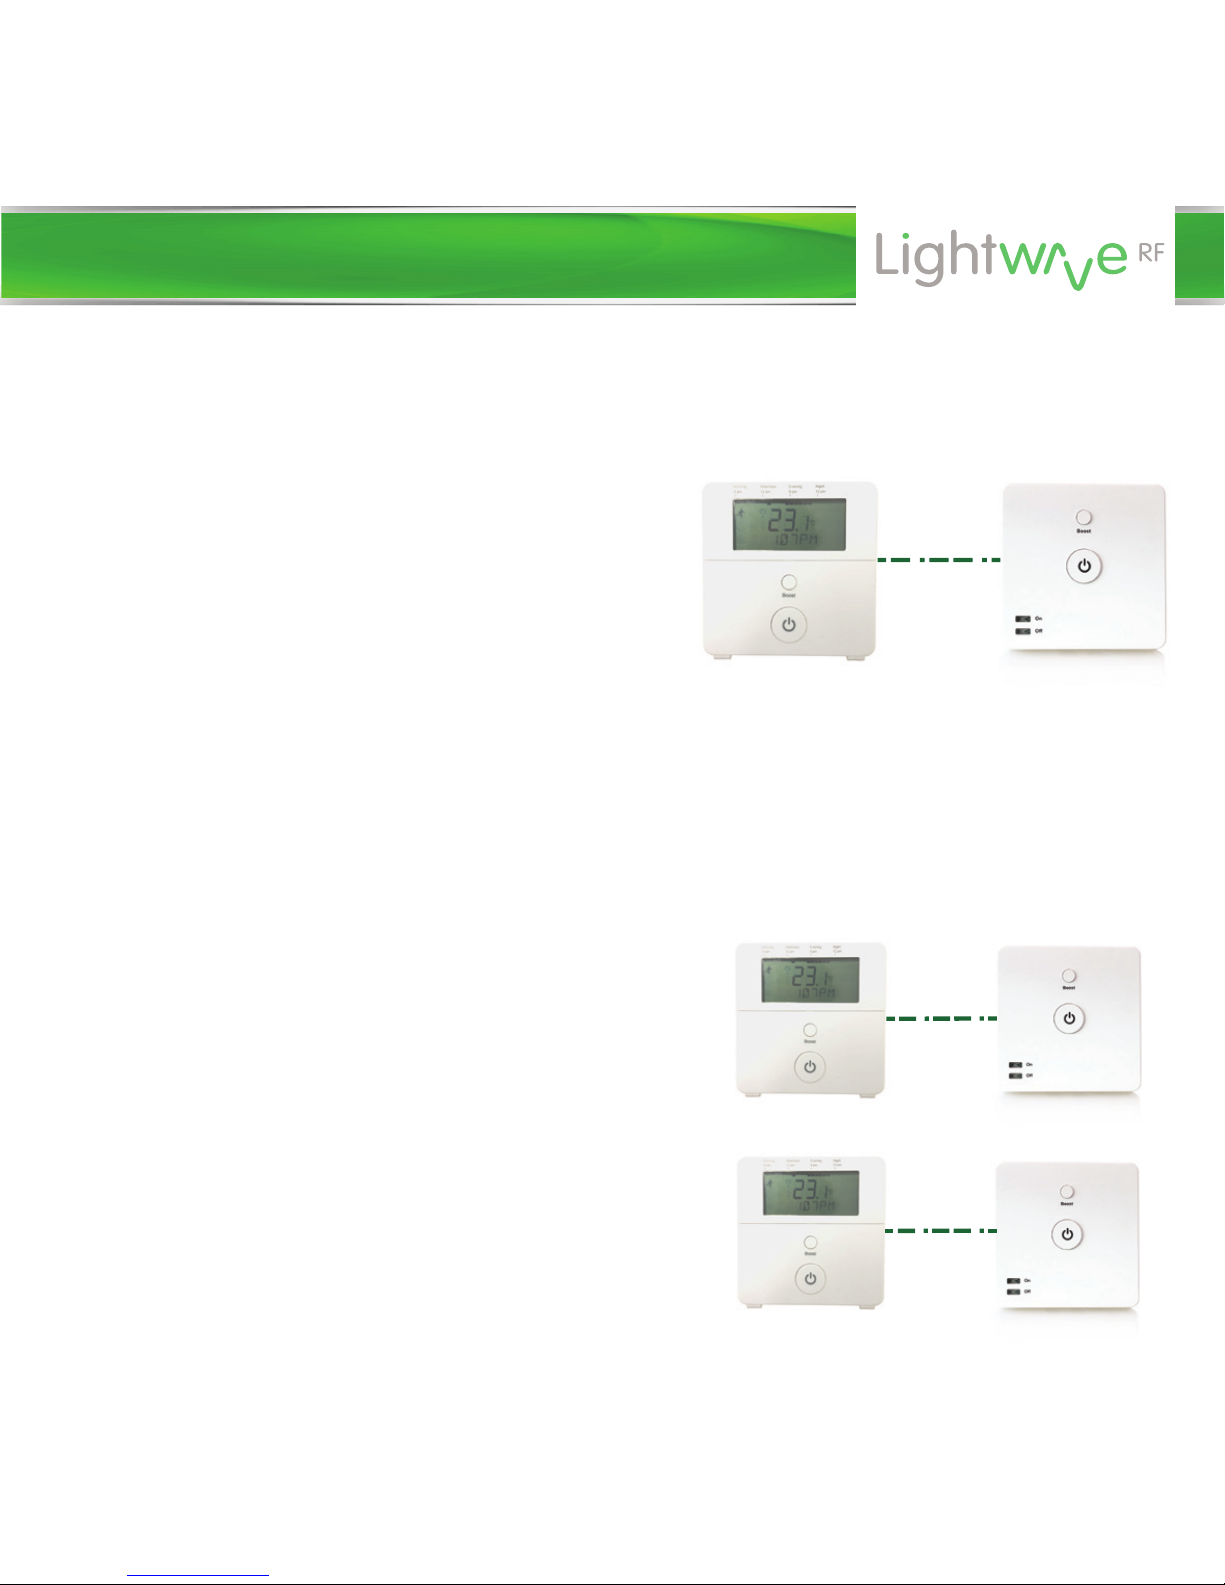
The Home Thermostat is used to control and schedule home heating. It
wirelessly links to LightwaveRF Boiler Switch which turns on and o your boiler.
If the Thermostat is also linked to the Lightwave Link, you can also control and
schedule your heating via the LightwaveRF App. This section will show you how
to setup the basic functions of the Home Thermostat including setting the
target temperature, modes, and creating a schedule. The following section will
show you how to link the Thermostat to other LightwaveRF Heating devices,
such as the Boiler Switch, to integrate it into your heating system.
Basic operation
Lightwave Link Home Thermostat Boiler Switch
Device setup
Page 7
The default mode of operation of the Home Thermostat is referred to as
‘Running Mode’. This is denoted by the symbol of the running man on the
main display. When in Running Mode, the Thermostat implements the
pre-set heating schedule and maintains pre-set ‘on’ and ‘setback’
temperatures during the relevant set time periods (see programming
section for information on how to set this).
If the heating is on, pressing the Standby button overrides the schedule and
turns o the heating until the next ‘on period’. If the heating is o, pressing
the Standby button will turn the heating on until the next ‘o period’. When
toggling Standby, the new target temperature is briefly displayed on the
screen in place of the current temperature. If the thermostat requires the
heating to be turned on to achieve its new target temperature, a flame
symbol will be displayed to indicate that it has sent a command to the
LightwaveRF Boiler Switch to turn on the boiler.
Holding the Standby button for a couple of seconds activates ‘Away mode’. Away
mode also reverts to a pre-set setback temperature (see setting modes); however,
rather than returning to the schedule at the next on/o period, the mode will
continue to remain active until it is manually cancelled by pressing the Standby
button. These functions can also be carried out on the LightwaveRF App.
The Standby button
Device setup
Page 8
The Boost function
Pressing the Boost button sets a temporary target temperature 1.5 degrees
above the current temperature for the duration of 1 hour. If there is a target
temperature higher than the current temperature already set, pressing the
boost button will match this temperature.
Pressing the button twice boosts the temperature for 2 hours, three times 4
hours, four times 8 hours, and the fifth press will cancel the boost function. An
active boost function is denoted by a sun symbol on the display. It can be
cancelled at any time by pressing the standby button (press twice to return
to normal running mode).
Setting a target temperature
The arrow shaped buttons on the Thermostat allow you to manually change
the current target temperature. Tap the up or down buttons to move the
temperature in 0.5 degree increments. The new target temperature will
remain active until standby mode is activated, the mode button is pressed to
change modes, or the next ‘heating cycle’ in the running schedule is initiated
(explained in next section). These actions will revert the target temperature
to the current existing pre-sets. Pressing the ‘Display’ button allows you to
view the current target temperature.
Device setup
Page 9
Modes
Pressing the Mode button toggles between the thermostat modes. Each
mode changes the thermostats behavior. Pressing the standby button at any
time will revert back to running mode (the default operating mode).
Running mode (running man symbol): This is the standard mode of
operation. In running mode, the set temperature is governed by the heating
schedule (see next section). In a scheduled o period, the word ‘standby’
will also appear at the bottom of the screen to indicate that the heating is
set to the setback (o) temperature until the next scheduled on period.
Away mode (moon symbol):
Away mode sets the heating to the
temperature specified until the next day (starting at 6 a.m.). This mode can
also be activated by holding the standby button for several seconds.
Holiday mode (aeroplane symbol): Holiday mode sets the heating to the
specified temperature for the number of days specified. The thermostat will
revert to the heating schedule after this time period.
Constant mode (sun symbol): Selecting constant mode will cause the
heating to remain at the specified temperature until cancelled. The schedule
will be ignored. The target temperature can be altered using the arrow keys.
Frost mode (snowflake symbol):
This mode should be activated when the
home is unoccupied for long periods. It prevents pipes from freezing by
reverting to a low setback temperature.
Device setup
Page 10
Programming Running mode
1.
Press the ‘Program’ button and then press the ‘OK’ button when option ‘1’
appears on the display.
2. The next option screen allows you to choose which days of the week to
schedule. You can set all week days to be the same, setup week then
weekend days, or each day individually. Select the appropriate option by
using the Arrow keys to scroll and then pressing the ‘OK’ button. You will
need to return to the menu several times if you want to setup days individually.
3. Next, the target temperature and setback temperature (on and o) need
to be set for each ‘heating cycle’. Once again, use the Arrow keys to scroll
and OK to select a temperature.
4. Once this is set, you need to choose the periods of the day that you want
to be heated. Each one is referred to as a ‘heating cycle’ and is denoted on
the display by a series of blocks corresponding to the times of day marked
next to it. Set the first heating cycle by scrolling to select a start time and
pressing OK. Then select an end time and press OK. Running mode allows
up to 4 independent heating cycles. Each one of these needs to be set,
however, if you require less than 4, simply set the on and o times for
unwanted cycles to the same time which will eectively cancel them.
Device setup
Page 11
Setting Away, Holiday and Frost modes
Programming time, date & oset temperatures
1. Press the ‘Program’ button, scroll using the Arrow keys, and then press the ‘OK’
button when options ‘3 (Away), 5 (Holiday) or 6 (Frost)’ appear on the display.
2. Select a target temperature by scrolling using the Arrow Keys and
pressing OK when the desired temperature has been selected. This applies
to all three modes.
.
To set the time and date, press the Program button, scroll to option 2 using
the Arrow keys, and press the OK button. Scroll to select the correct, year,
month and day followed by the time, and press OK to save it.
Setting the oset temperature causes the Thermostat to display a current
temperature that is higher or lower that the actual temperature measured.
It can be raised or lowered in 1 degree increments using the arrow keys and
saved by pressing the OK button.
Device setup
Page 12
Using the Thermostat with a Boiler Switch
The Home Thermostat schedules the
heating by wirelessly controlling the
LightwaveRF Boiler Switch which turns
the boiler on or o. It is also be linked to
the Lightwave Link to allow the App to
control the boiler via the Home
Thermostat.
Using Thermostats & Boiler Switches to manage a multi-zone
(upstairs/downstairs) system.
If you have an existing multi-zone heating
setup that includes motorised valves (more
common in larger houses), more than one
Home Thermostat and Boiler Switch can be
used to control each zone separately. Refer
to the Boiler Switch instruction manual for
more information about this setup. See
www.lightwaverf.com/product-manuals.
Device setup
Page 13
Linking the Thermostat to LightwaveRF heating devices
To use a LightwaveRF Home Thermostat with other
LightwaveRF heating devices, such as the Boiler Switch, you
will need to ‘link’ them. The thermostat can be linked to other
LightwaveRF heating devices using the following method.
1. Press and release the ‘link’ button on the thermostat. ‘link’
should appear on the display.
2. Press the Link button on the heating device you wish to
link. ‘Link OK’ should appear to indicate that the Thermostat
is linked.
To unlink a heating device from the Thermostat, press and
release the linking button and then press the Standby button.
This activates ‘unlinking’ mode. Press the linking button on the
heating device you wish to unlink. The ‘deleted’ should be
displayed to indicate that the devices have been unlinked.
To completely clear the memory of the Thermostat, press
and release the linking button. Then hold the linking button
until ‘clear’ is displayed. Finally, press and release the linking
button once more. ‘Cleared’ should be displayed.
Device setup
Page 14
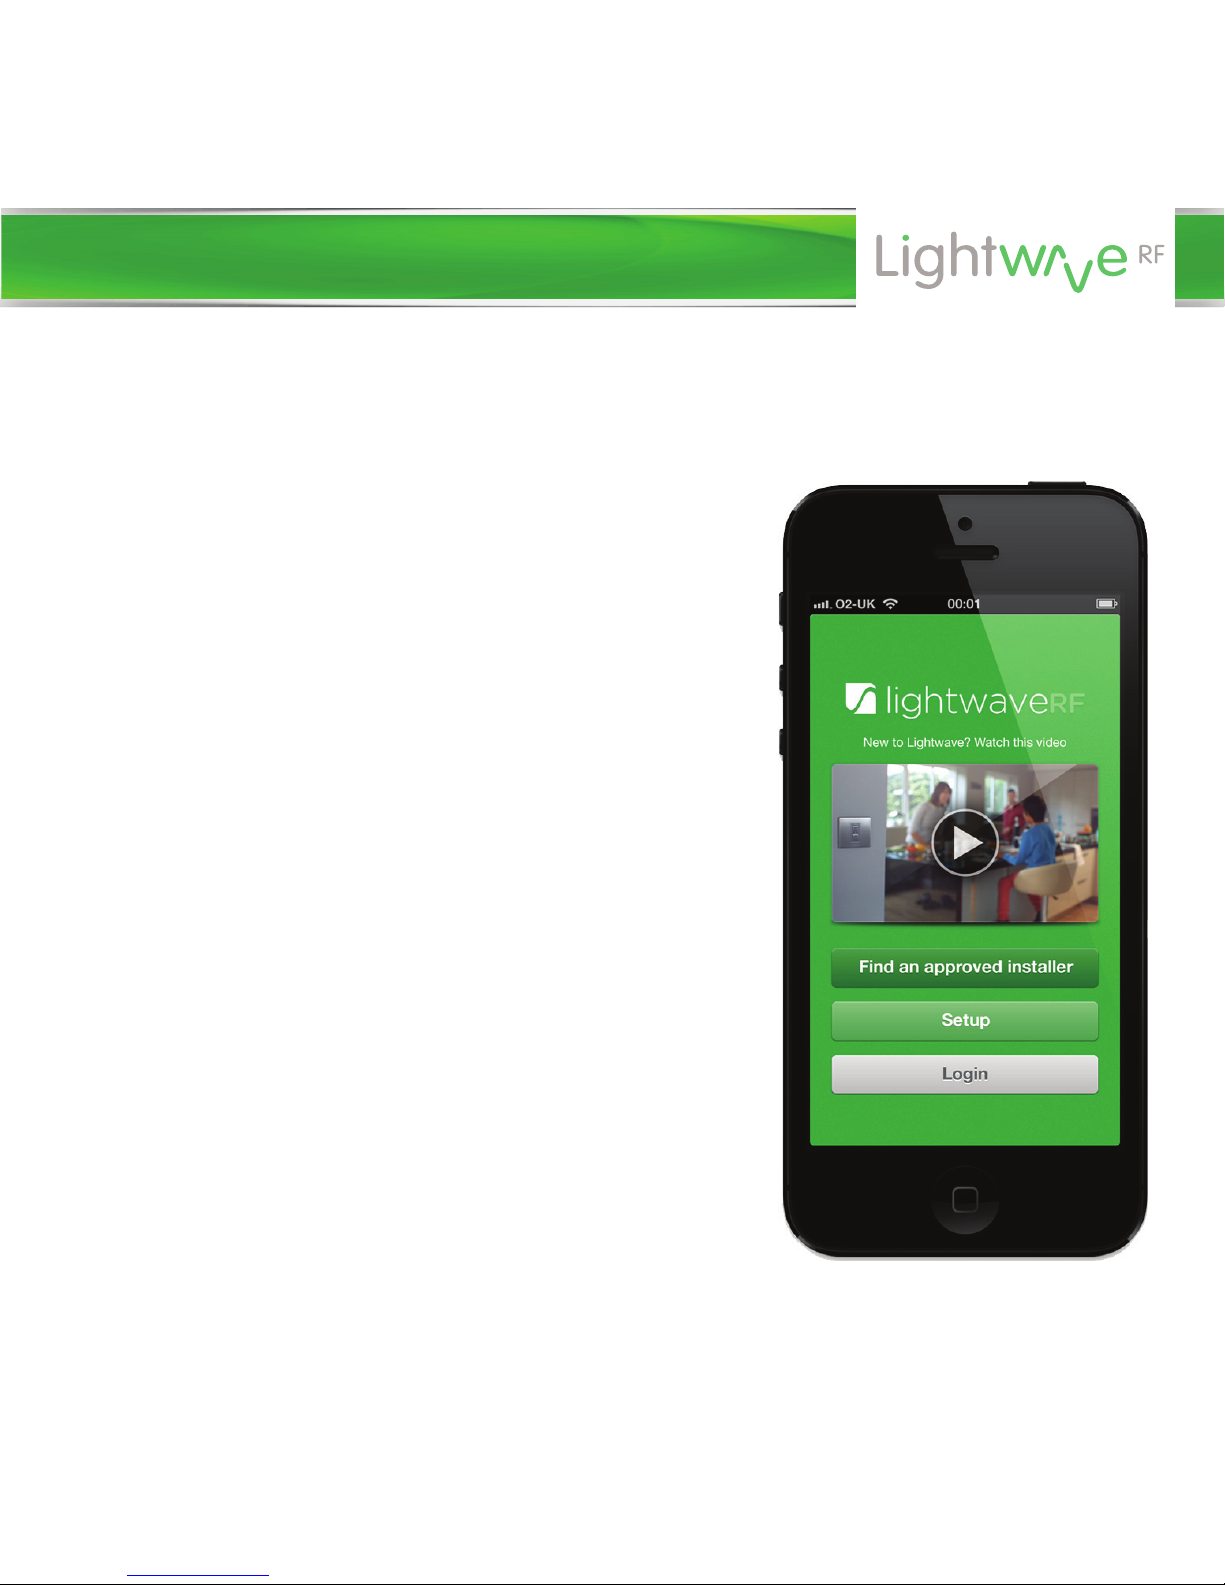
Linking to the LightwaveRF Apps
To use the LightwaveRF App or Web App
to control the Home Thermostat, you will
first need to install the ‘Lightwave Link’.
This allows any LightwaveRF devices to be
linked to and controlled by a smartphone,
tablet or PC. The Thermostat can be linked
to the App using the following method:
1. Download the App and follow the
in-App setup instructions to setup the
Lightwave Link and App. Access the
‘Heating Page’ and follow the instructions
regarding how to add a device.
2. When prompted, press and release the
‘Link’ button on the Thermostat (‘link’ will
flash on the screen).
3. Send the linking command from the
App (the in-App instructions will explain
how to do this). ‘Link Ok’ will flash on the
screen to indicate a successful link.
Setting up the LightwaveRF App
Page 15
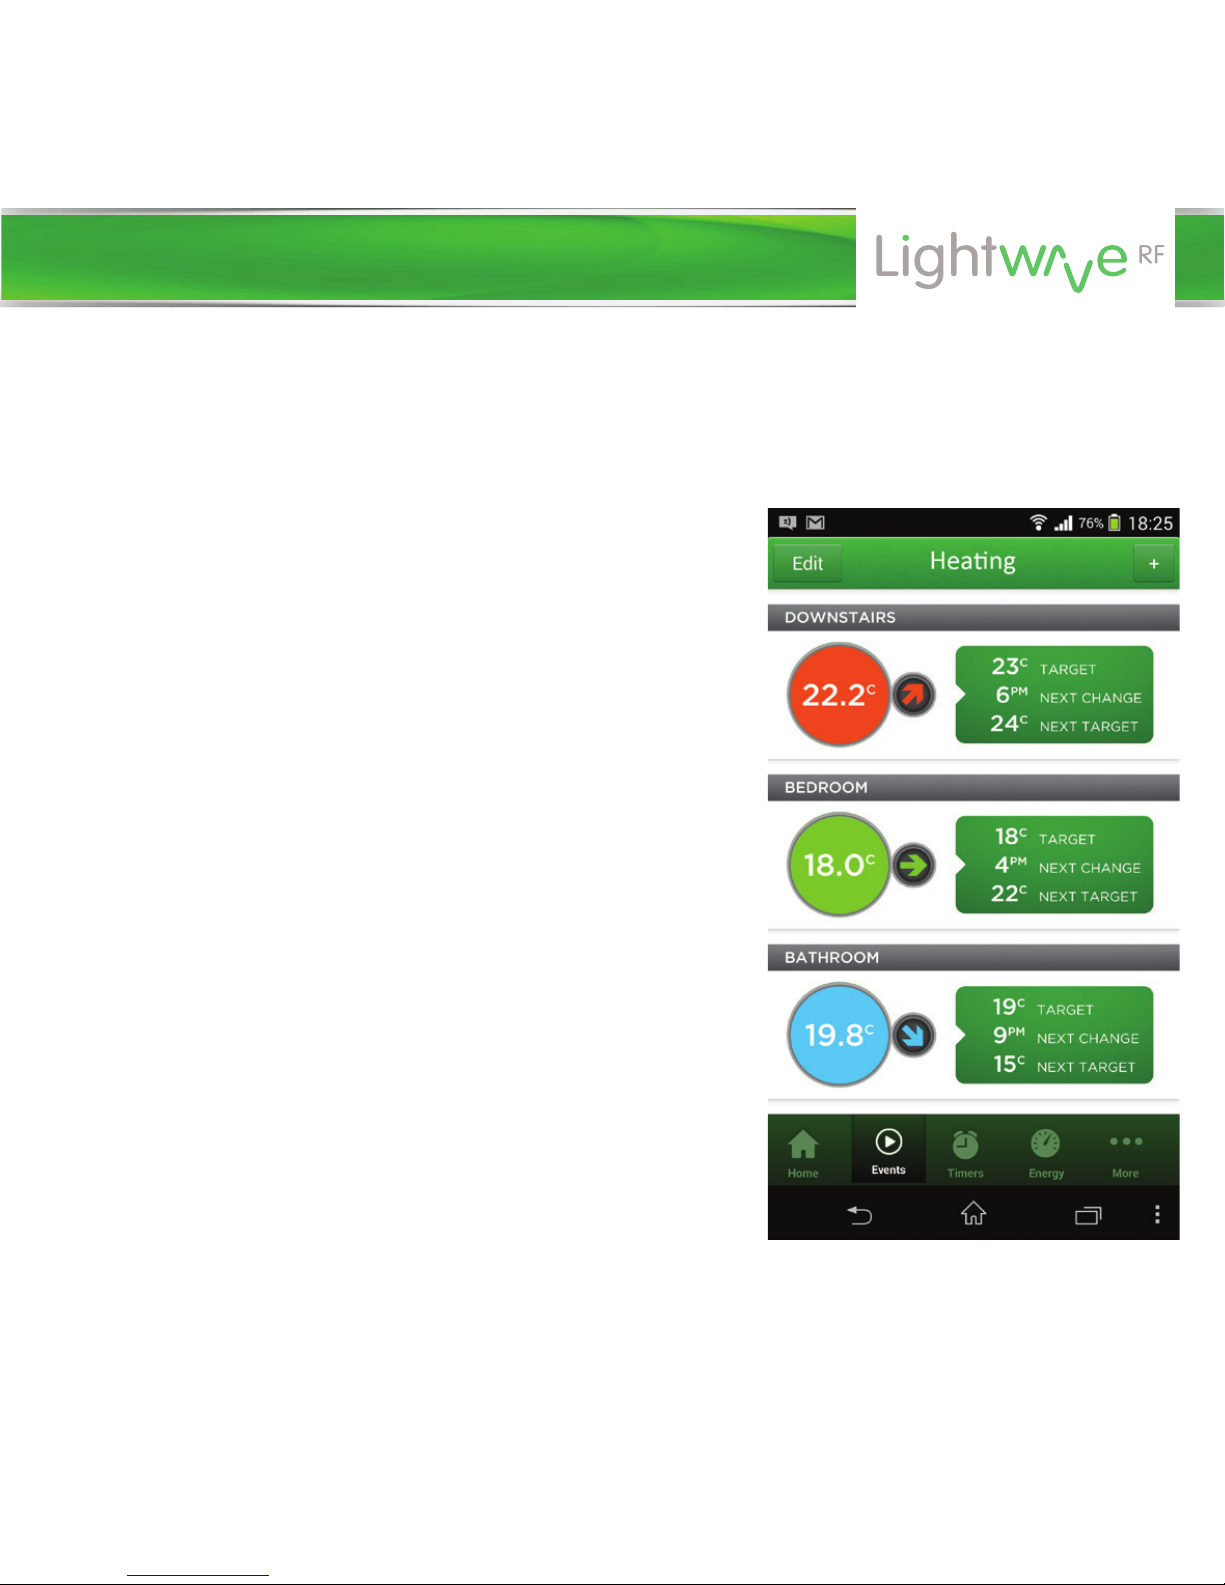
Using the Home Thermostat with the App
IMPORTANT: For full instructions on how
to use the Home Thermostat with the App
or Web App follow the in-App help or visit
www.lightwaverf.com.
The main use of the Home Thermostat, if
linked to the LightwaveRF App and Web
App, is to be an accurate temperature
reference. You can still schedule the
heating and select modes using the
thermostat. It may be more convenient,
however, to do this from the App or Web
App on your smartphone/tablet. The
Thermostat now acts as a convenient
manual control to complement the App.
Importantly, the Home Thermostat and
App work together: when you change the
mode or schedule on the Home
Thermostat or the App, it will
automatically appear on the other device.
Setting up the LightwaveRF App
Page 16
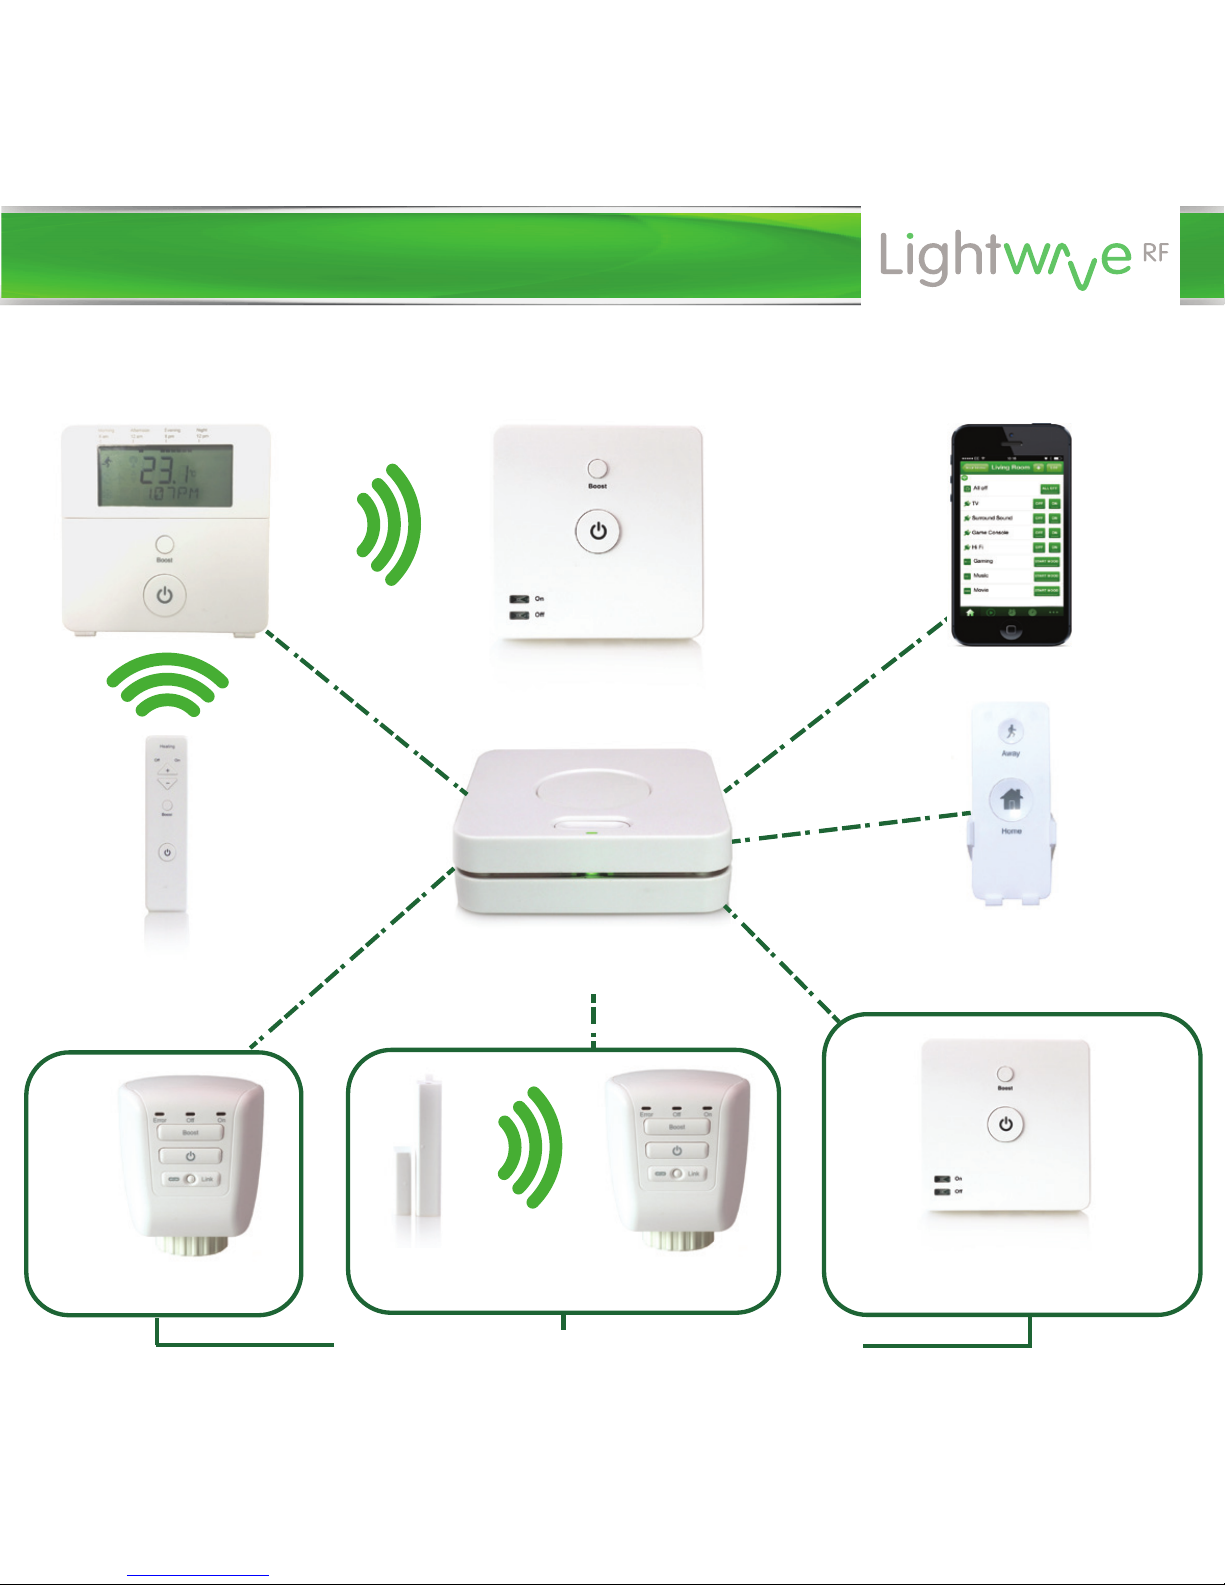
Lightwave Link
(runs the show)
Electric Switch
(controls electric radiators)
Heating Remote
(sets house temp.)
Magnetic Trigger
(open window turns o TRV)
TRV
(controls radiator)
Room by room radiator control
Lightwave App
(control from anywhere)
Boiler OR Electric Switch
(turns boiler on/o)
Home Thermostat
(monitors house temp.)
Home or Away button
(turn house on/o)
Add other heating devices
Page 17
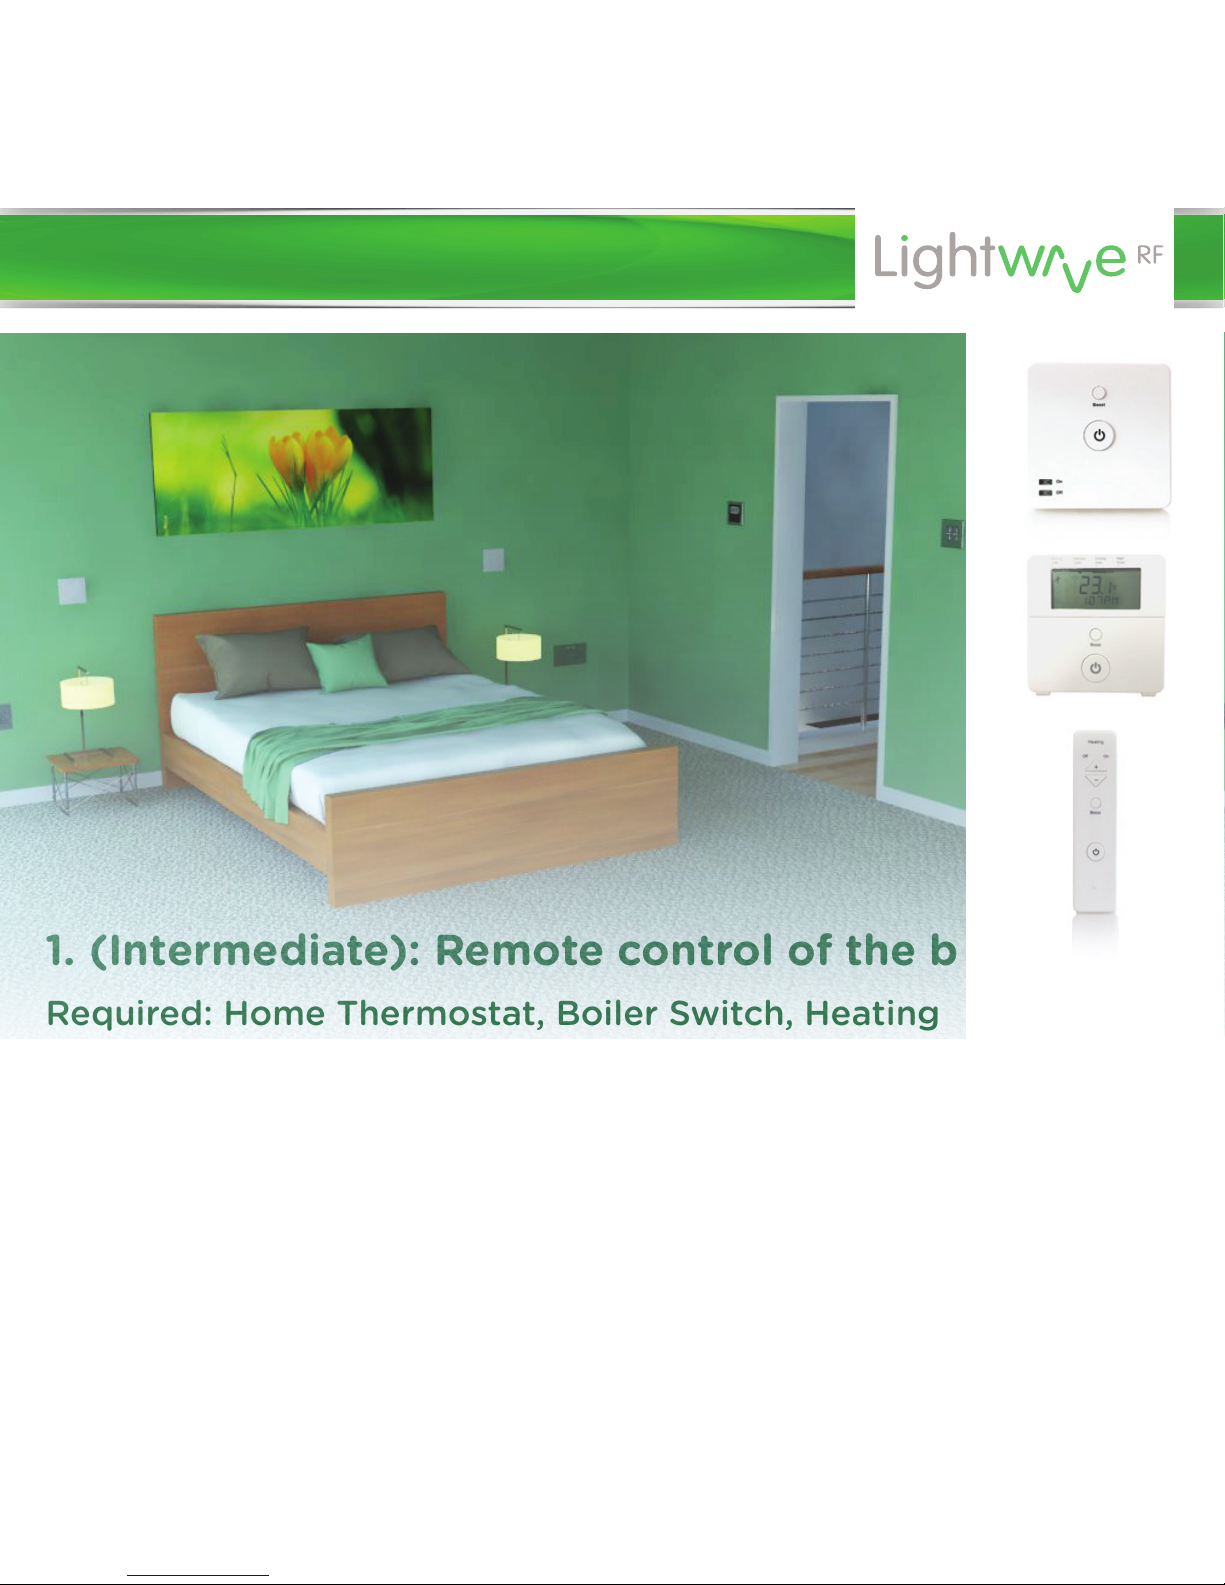
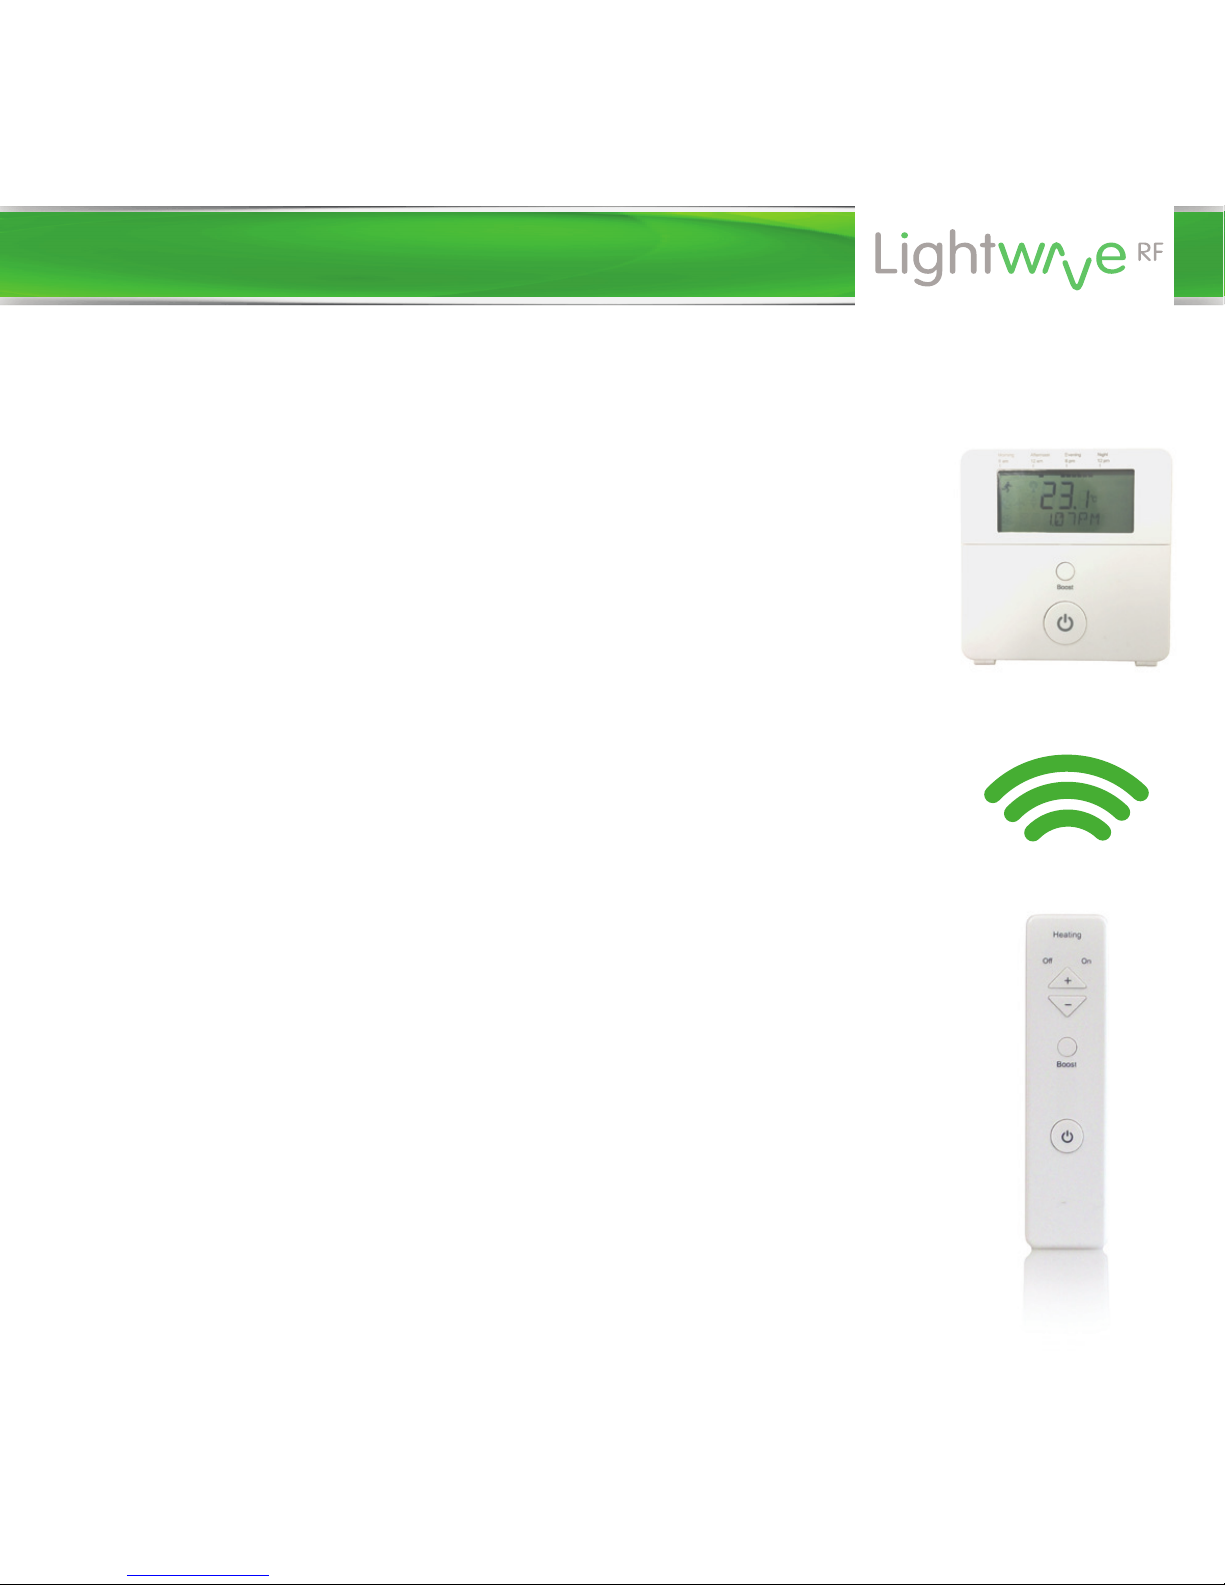
1. (Intermediate): Remote control of the boiler
Required: Home Thermostat, Boiler Switch, Heating Remote
It is really comfortable and convenient to be able to have direct control over
the house temperature without having to get up and alter the thermostat or
boiler. This can be achieved using the LightwaveRF Home Thermostat,
Boiler Switch and Heating Remote. You can turn the temperature up and
down, boost the heating for an hour or simply turn it on/o. Use the Remote
to control the Home Thermostat from the comfort of the sofa, and this will,
in turn, carry the commands to the Boiler Switch.
Creative ideas for heating
Page 18
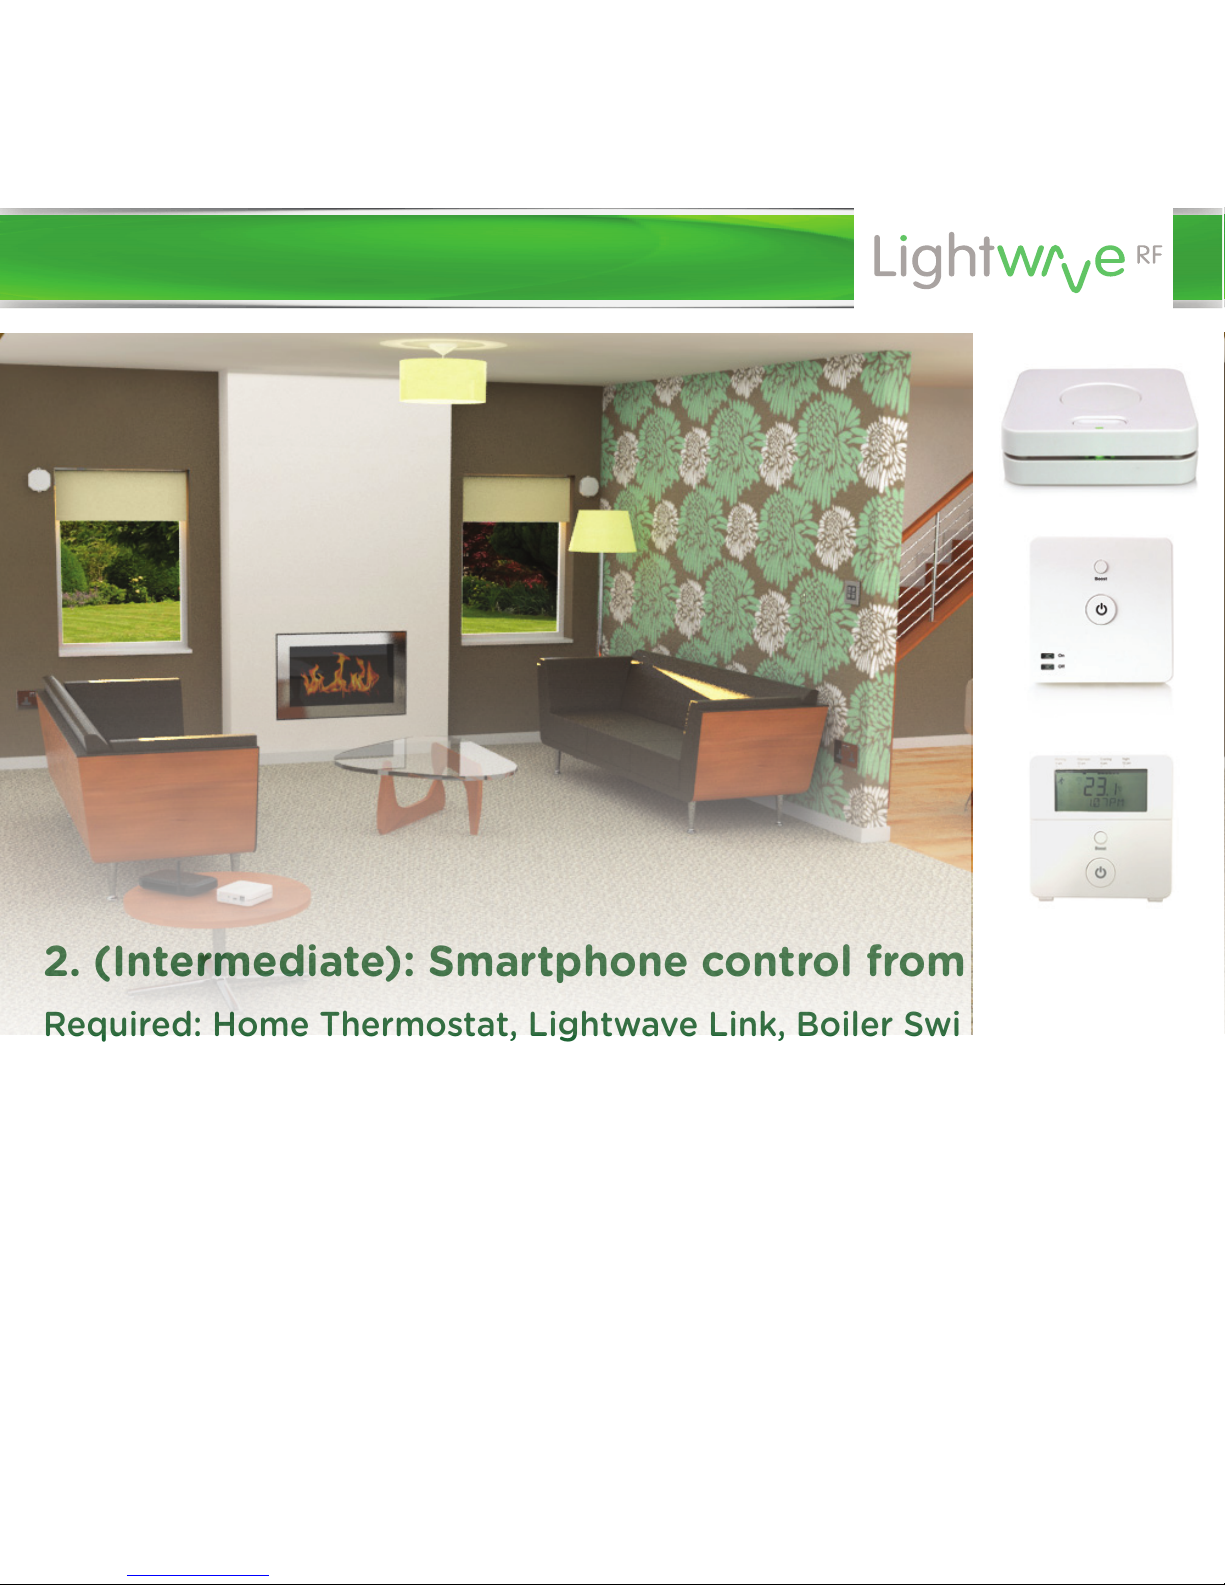
2. (Intermediate): Smartphone control from anywhere
Required: Home Thermostat, Lightwave Link, Boiler Switch
Installing a LightwaveRF Boiler Switch and linking it to a Lightwave Link and
Home Thermostat allows you to control your home heating from anywhere
using a smartphone or tablet. If you are staying late at work, you can turn o
the heating so as not to waste energy, or turn it on in advance if coming back
late on a cold night. If you are away on holiday in the winter, turn on the
heating to a low level to make sure that the house does not get cold and
damp. This simple installation can save you a significant amount of energy.
Creative ideas for heating
Page 19
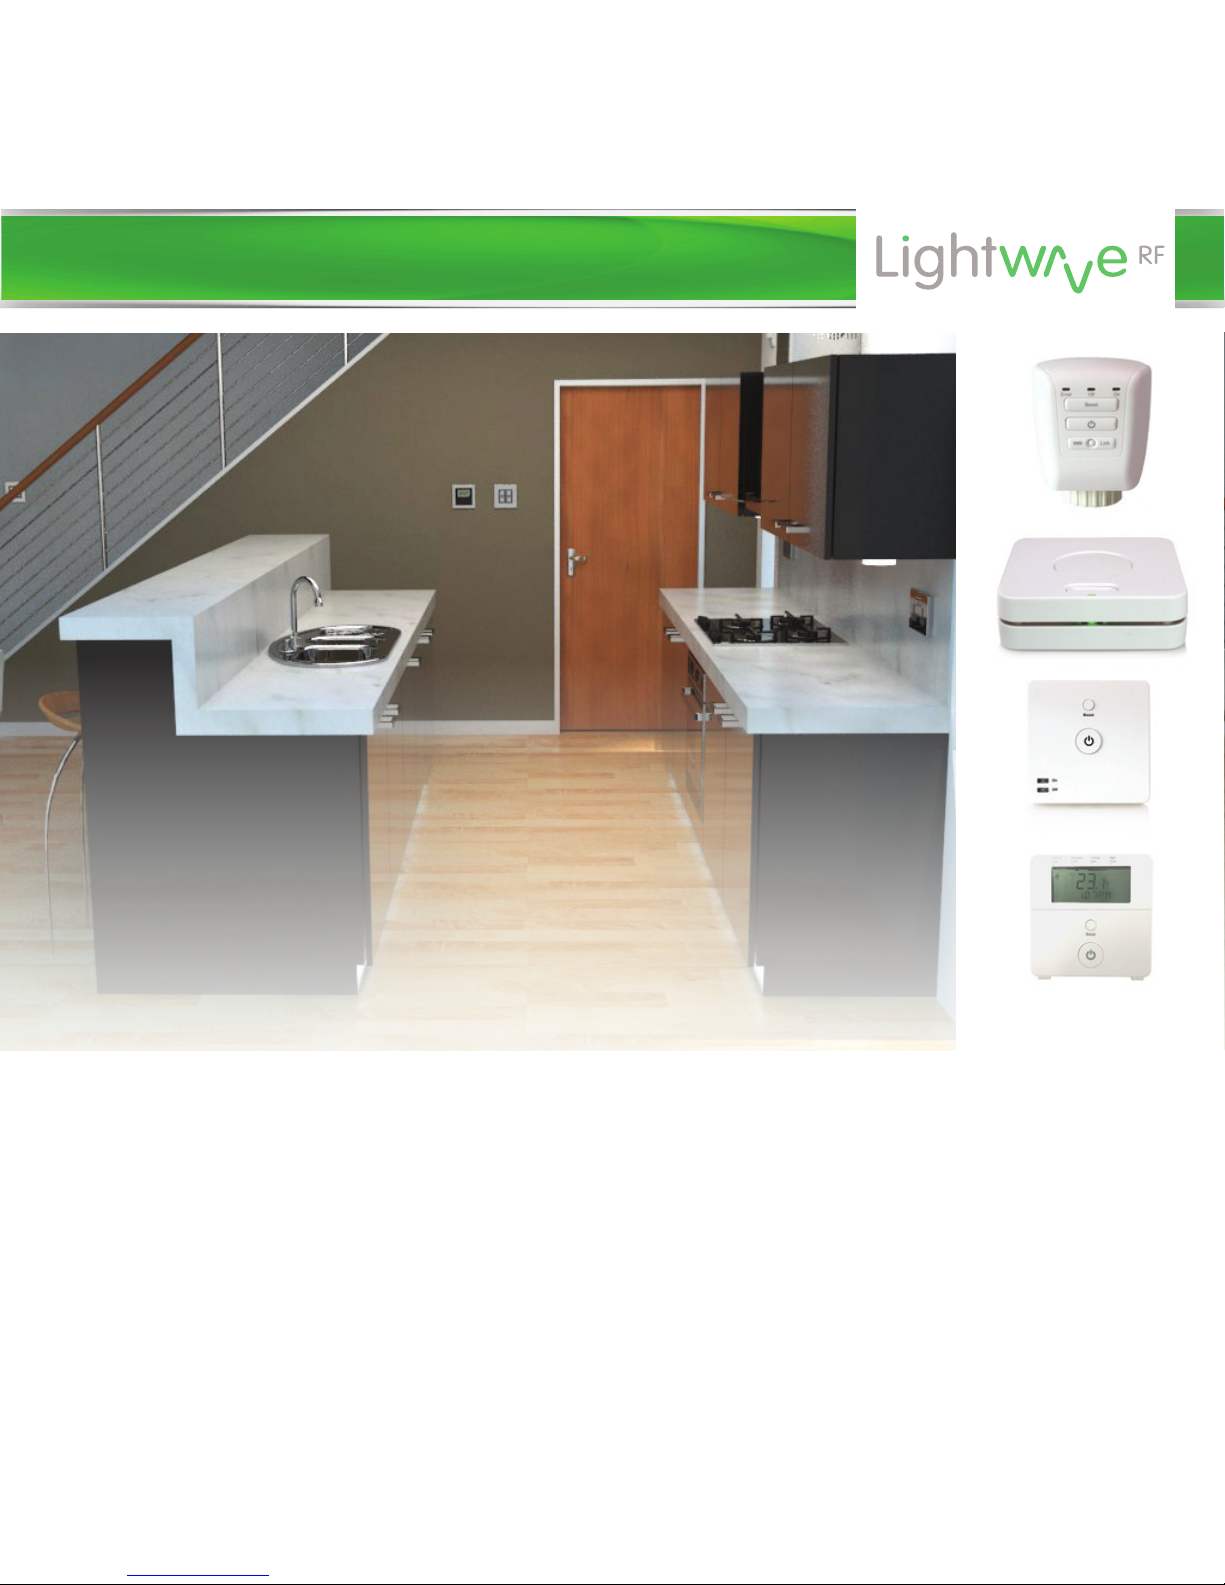
3. (Advanced): Zoned heating
Required: Home Thermostat, Link, Universal Heating Switch, TRVs
With the LightwaveRF App and the Lightwave Link you can create an
expandable zoned system that can take care of your entire home.
Temperatures can be set for each room or ‘heating zone’, and heating can be
planned week by week and room by room. If you have electric radiators, you
can still achieve this by connecting them to Universal Heating Switches. You
can also link wet radiators AND electric radiators and schedule them together
for a totally integrated heating system!
Creative ideas for heating
Page 20
Problem: The Thermostat will not consistently operate remotely.
Solution: The Remote/Thermostat/Lightwave Link may be encountering
interference or may be at the edge of its reliable range of operation. First,
ensure that there are no large pieces of metal or bodies of water in the path
of the transmission. If the problem persists, try moving the devices closer
together.
Troubleshooting
Page 21

Q. How many heating devices can I install on the App?
A. You can currently install up to 80 heating devices on the App.
Q. Can I link a TRV, Electric Switch or Magnetic Trigger to a Thermostat?
A. It is possible to link one of these devices to a home thermostat directly.
Q. Is it legal for me to install a LightwaveRF Thermostat myself?
A. Yes, LightwaveRF products are fully legal to install in your own home.
Q. How long do the batteries last?
A. This can vary, but up to one year can be expected with normal use and
good quality batteries. For optimum battery life, lithium batteries are
recommended.
Q. How do I know if the batteries need replacing?
A. The display will report that batteries are low. The App should also report
that battery levels are running low.
FAQs
Page 22

Specification
RF frequency: 868 MHz
Batteries: 2 x 1.5V (AA)
Warranty: 2 year standard warranty
Technical Specification
Page 23
Version 2.2
2 Quadrant Park
Mundells
Welwyn Garden City
Herts
AL7 1FS
01707 386035
www.lightwaverf.house
 Loading...