

Connect Series
www.lightwaverf.house
Signal Booster
Model No. LW800
Instruction Manual
Version 2.1

EC DECLARATION OF CONFORMITY
Responsible Authority:
LightwaveRF PLC,
Innovation Campus Birmingham
Faraday Wharf
Holt Street
Birmingham
B7 4BB
Tel: +44 (0)121 250 3625
Email: enquiries@lightwaverf.com
Model Number(s): JSJSLW800
Description: Signal Booster
Directives this equipment
Complies with: 2006/95/EC The Low Voltage Directive N/A
2004/108/EEC The Electromagnetic Compatibility Directive
1999/5/EC R&TTE Directive
93/68/EEC CE Marking Directive
Standards Applied in order to verify compliance
Safety: BS EN 60730-1: 2011
Health:
R&TTE: EN 301 489-1 V1.9.2: (2011-09), EN 301 489-3 V1.4.1: (2002-08)
EN 300 220-1 V2.1.1: 2006, EN 300 220-2 V2.1.2: 2007
EMC: EN 301 489-1 V1.9.2: (2011-09), EN 301 489-3 V1.4.1: (2002-08),
EN 55022: 2010, EN 61000-3-2: 2006 +A1: 2009 +A2: 2009 Class A,
EN 61000-3-3: 2008, EN61000-4-2: 2009,
EN 61000-4-3: 2006 +A1: 2008 +A2: 2010, EN 61000-4-4: 2012,
EN 61000-4-5: 2006, EN 61000-4-6: 2009, EN 61000-4-11: 2004
For and on behalf of LightwaveRF PLC
---------------------------------------Name J Shermer
Position Managing Director
How does it work?
How do I get started?
Please refer to the following instructions that will
guide you through the setup of a LightwaveRF
Signal Booster. Once successfully setup, the
Booster will extend the range of linked
LightwaveRF Controllers (including the
Lightwave Link & Smartphone App).
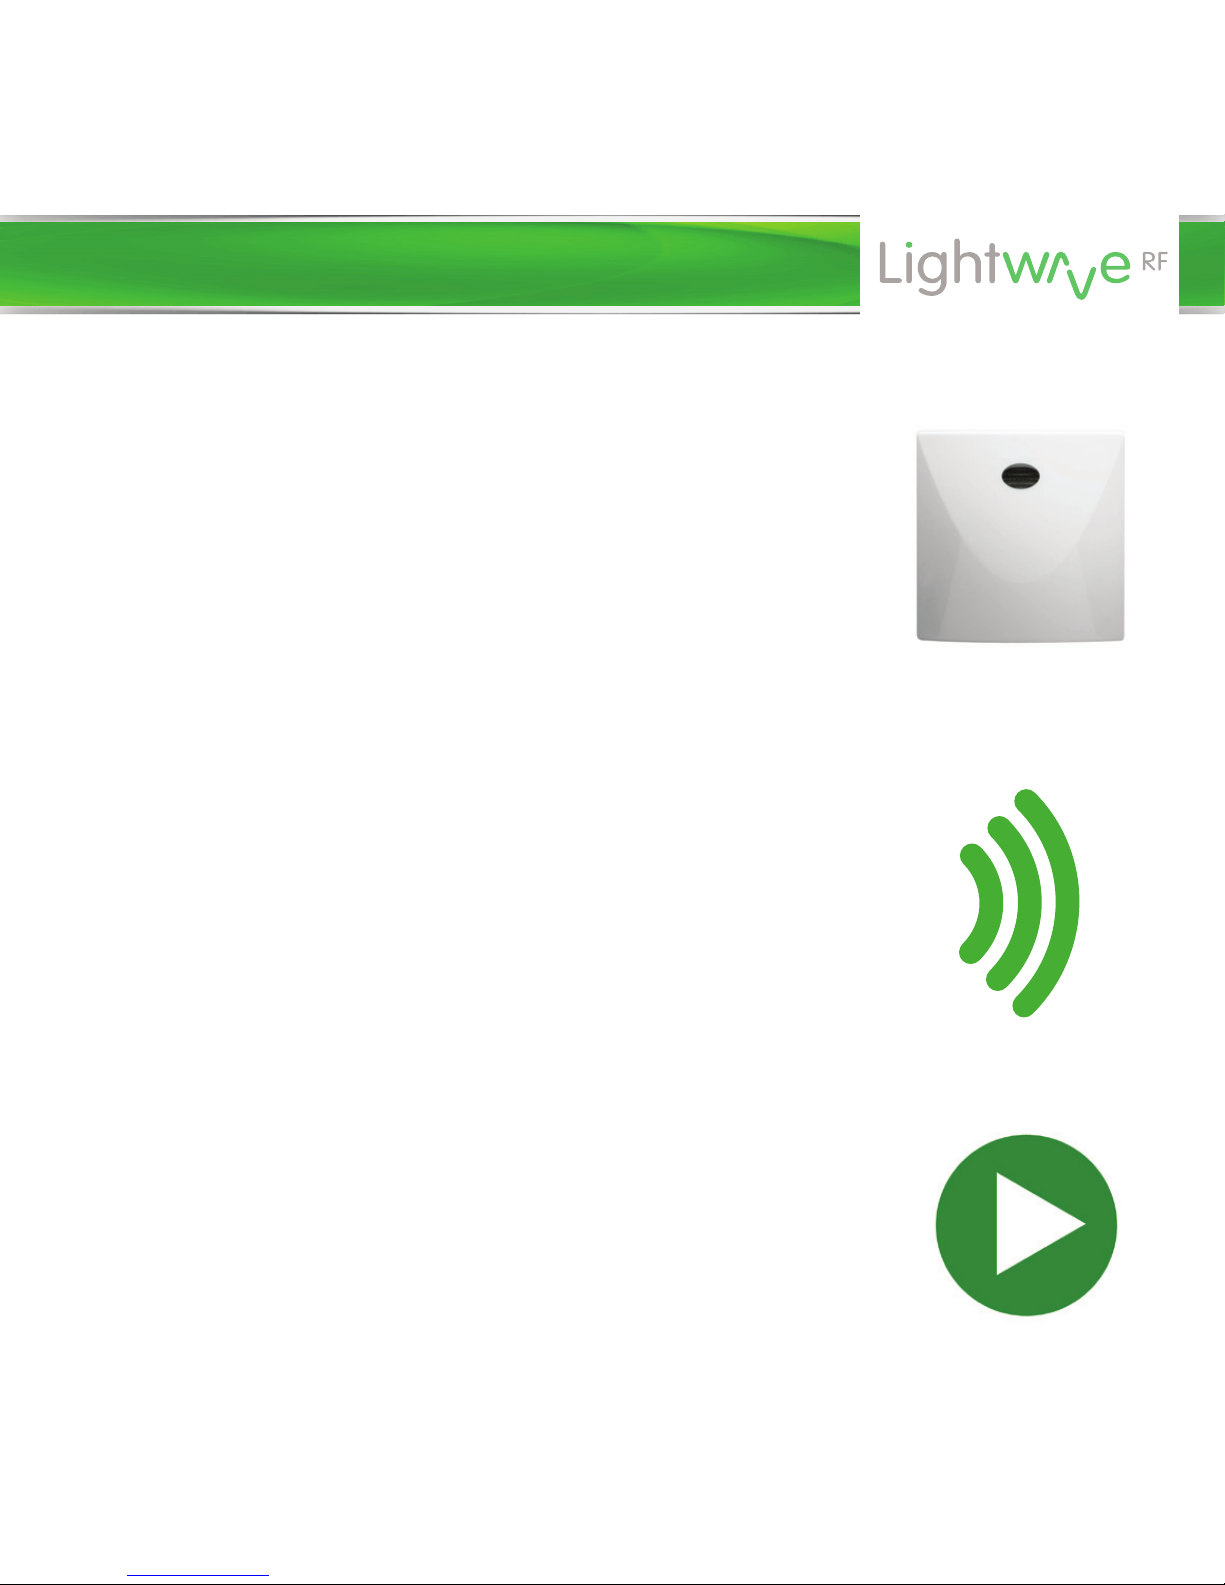
The Signal Booster is a wireless, portable device
and should be positioned between the
LightwaveRF controller and the target device
(must be within the 15m range of either). As it is
waterproof, It can be positioned outdoors. It is
designed to receive the signal from the controller
and resend it, thereby extending the range.
Help video & further guidance
For additional guidance, and to watch a video
that will help guide you through the installation
process, please visit the support section on
www.lightwaverf.com
Get Started

IMPORTANT: Please retain these instructions for guidance on how to link
the sensor to other LightwaveRF devices. For additional guidance please
visit www.lightwaverf.com
Main indicator
LED
Waterproof
housing
Overview
Front
Installation

Stand mounting
hook
Battery
compartment
Cover
mounting
screw hole
Back
(cover and stand removed)
Linking button
Waterproof seal
Installation
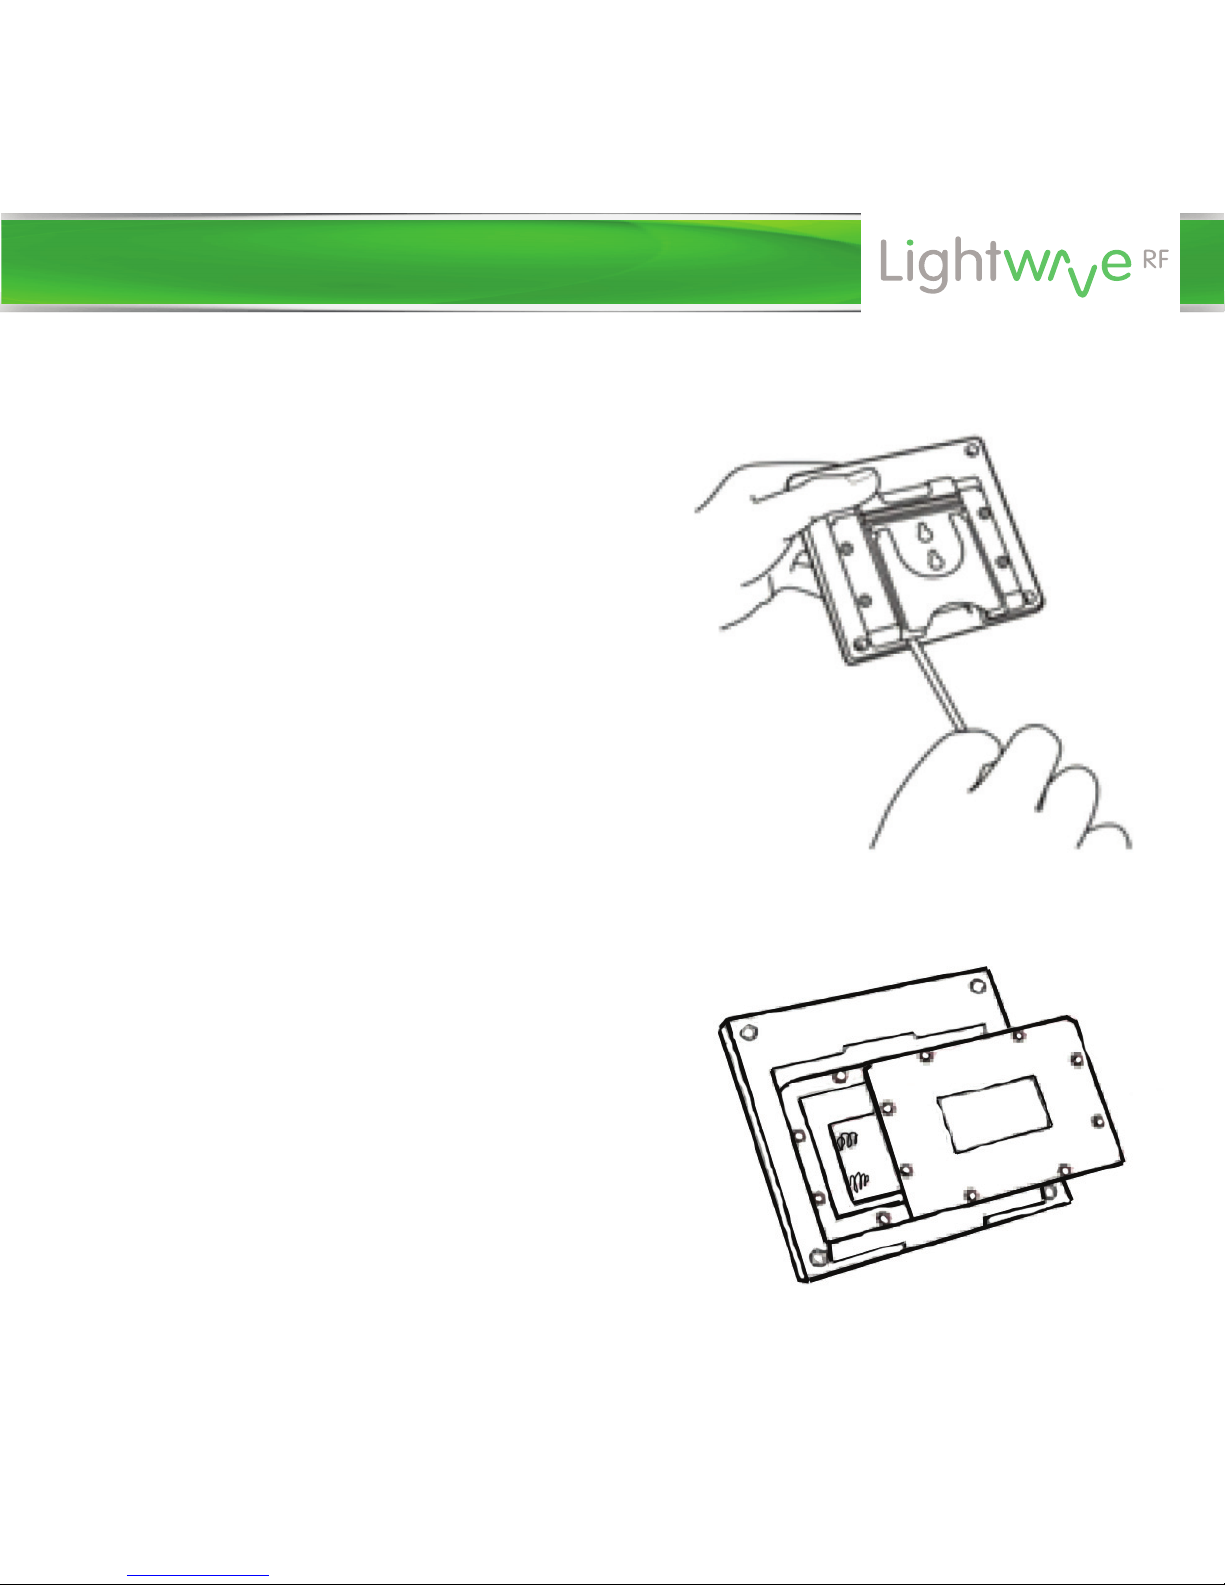
Removing the back cover
In order to setup the Signal
Booster, and to insert or replace
the batteries, the back cover must
first be removed.
1. Gently unhook the rear stand
using a flathead screwdriver as
shown.
2. Unscrew the back cover using a
suitable screwdriver.
NOTE: When reassembling, it is
important that the back cover is
screwed on securely in order to
retain the waterproof quality of
the booster housing.
Installation
Linking the booster to a
LightwaveRF controller
1.
Ensure that the controller (or
LightwaveRF App) that requires its
range extending is linked to the target
device - e.g. LightwaveRF Handheld
Remote linked to a LightwaveRF
Dimmer Switch. To understand how to
do this, see the relevant instructions
for that device.
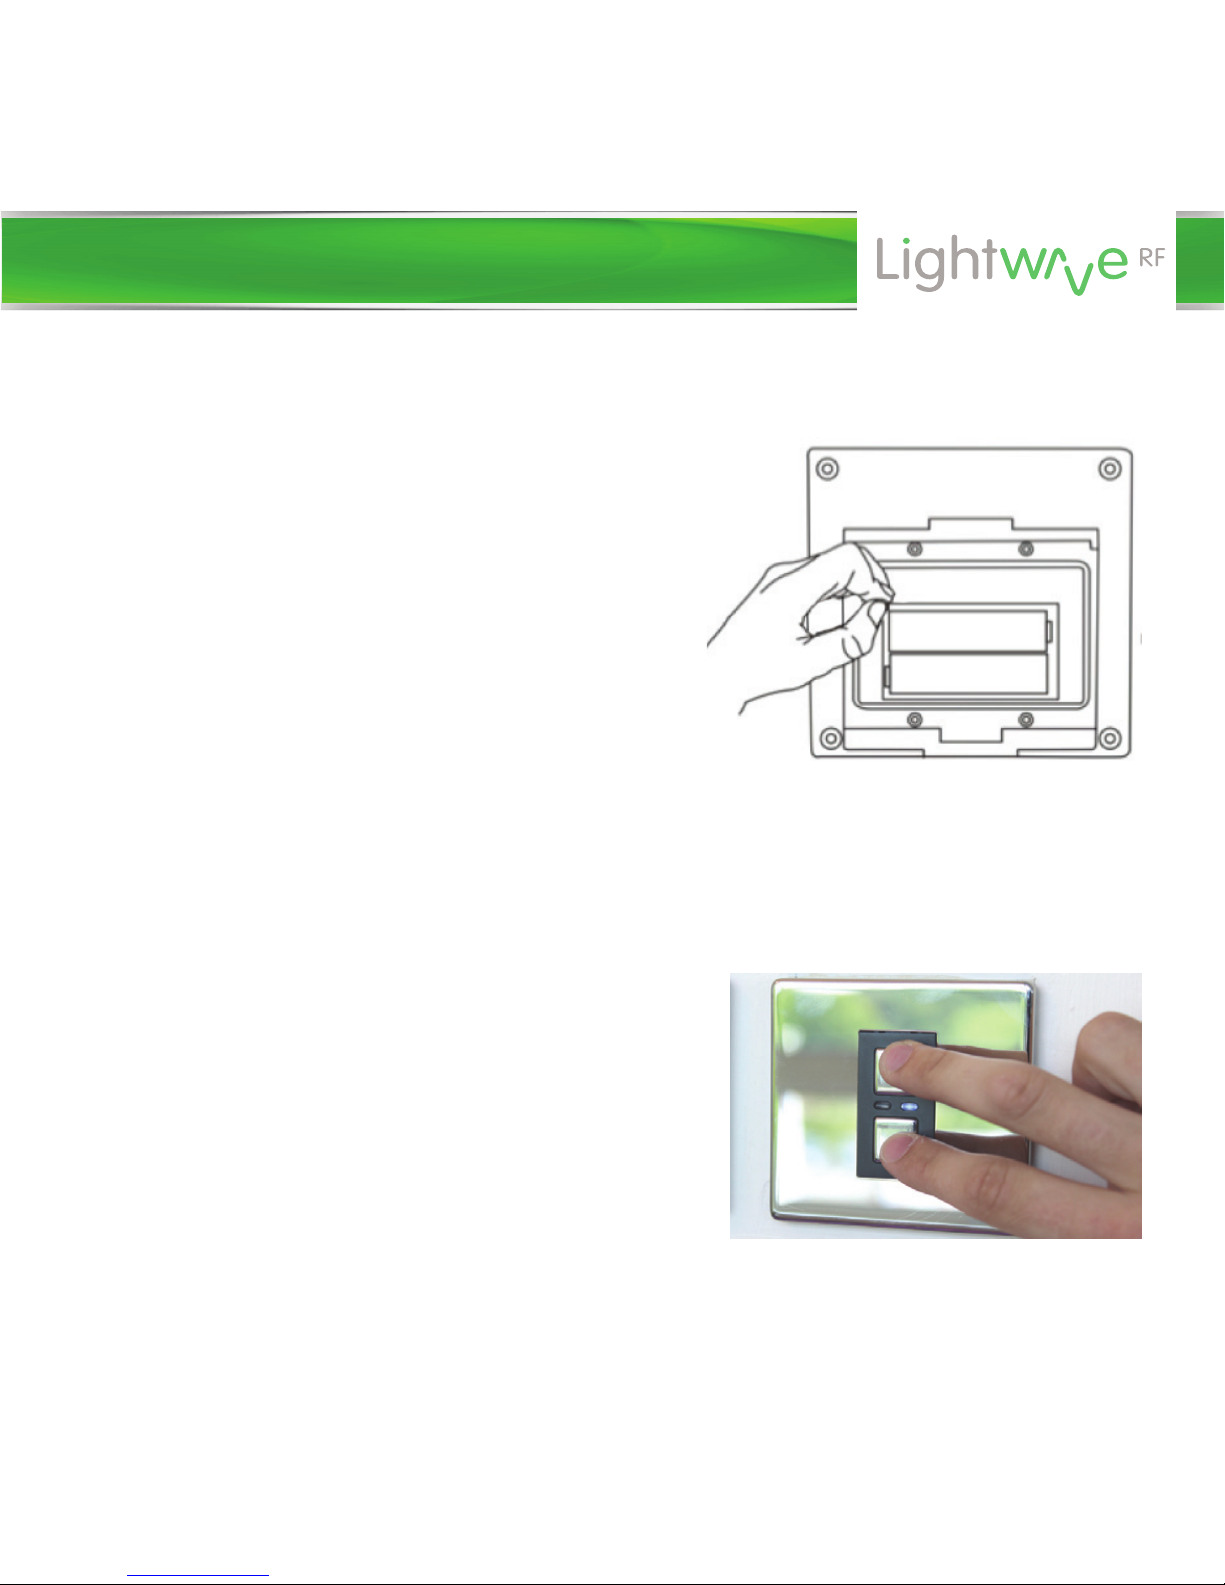
Inserting the batteries
The battery compartment is accessed
from the rear of the booster beneath
the cover. 2 x AA batteries are
required (not included).
NOTE: When the batteries are low, the
booster LED will flash every 3
seconds.
Device setup

2. Press and release the linking button (located under the back cover). The
LED on the Signal Booster will flash repeatedly to indicate that it has
entered linking mode.
3. Whilst the device is in linking mode, send a command from the controller
/ App. The LED on the Signal Booster should flash twice more slowly to
indicate that it has received and stored the command. The next time that
the command is sent, the booster should receive and acknowledge it (the
LED will flash) and resend it to the target device after 2 seconds.
Device setup
Unlinking the booster from a LightwaveRF device
1.
Press and release the linking button (located under the back cover). The
LED on the Signal Booster will flash repeatedly to indicate that it has
entered linking mode.
2. Whilst the device is in linking mode, send a command from the
controller / App. The LED on the Signal Booster should flash twice more
slowly to indicate that it has received and removed the command.
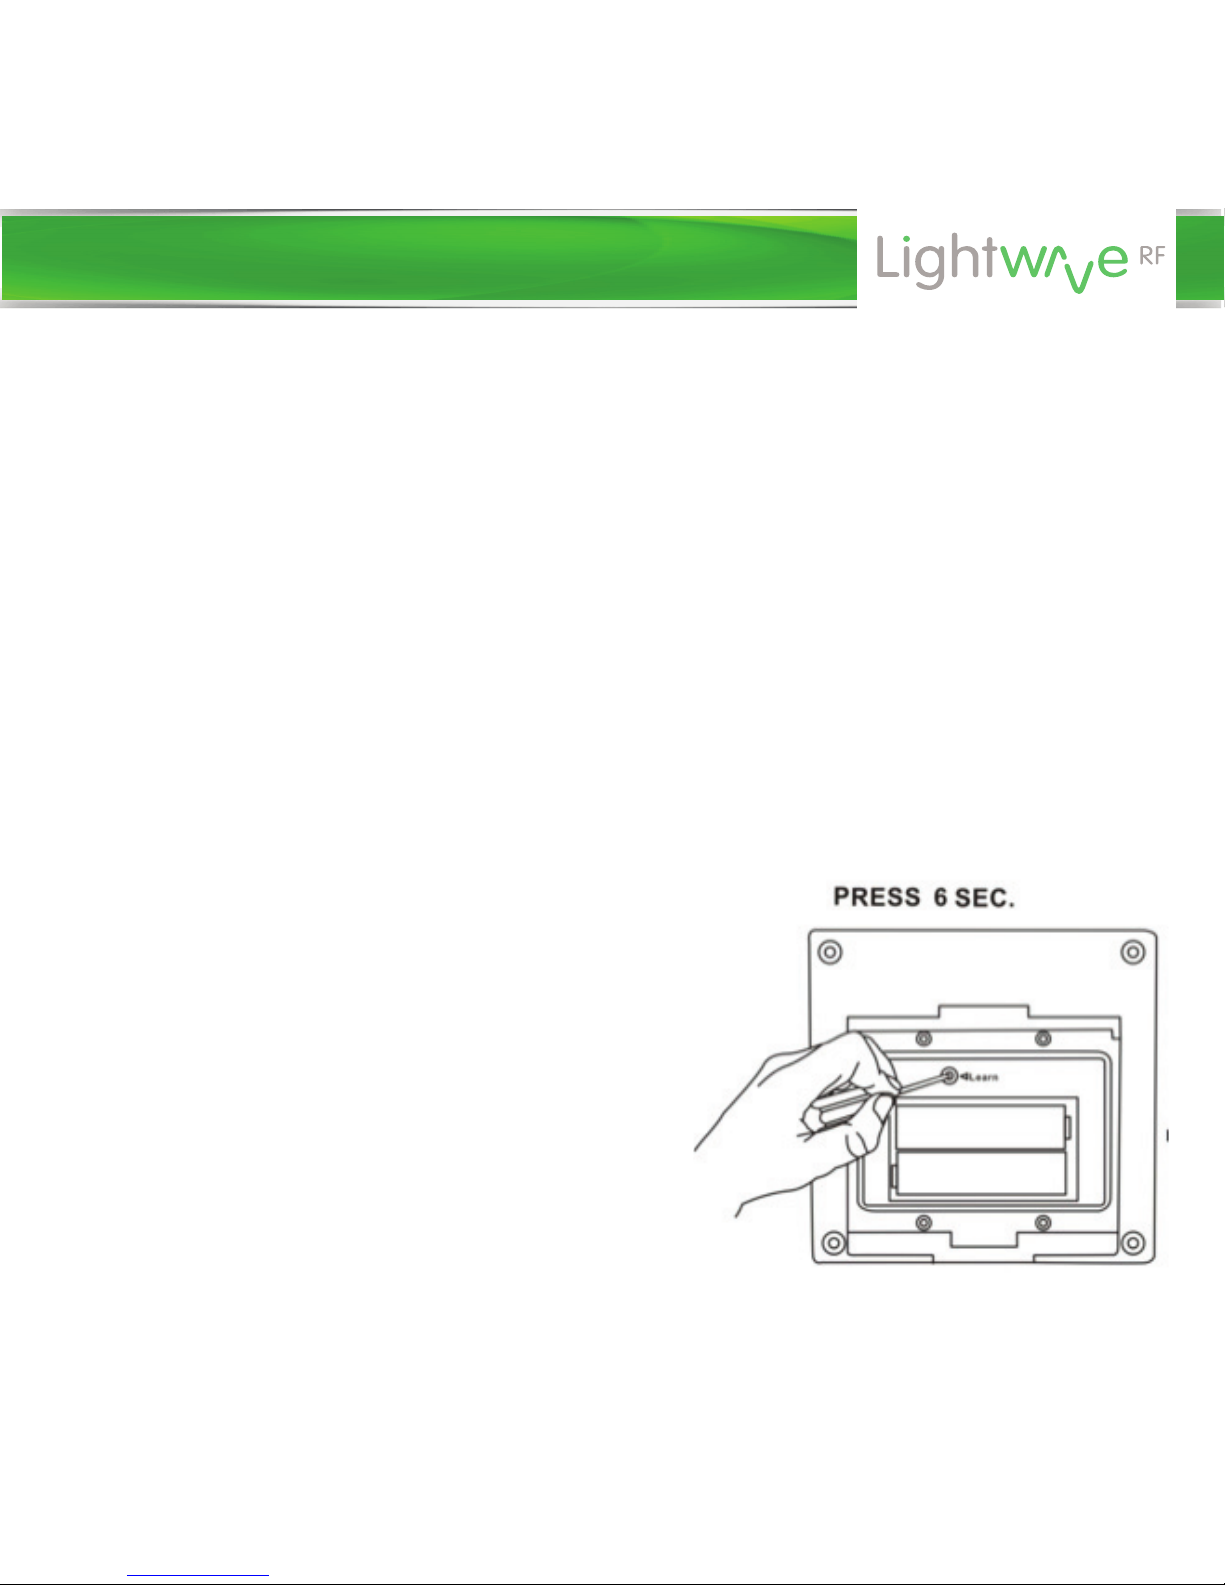
Clearing the Signal Booster memory
1. Press and hold the linking button
(located under the back cover) for
around 6 seconds. The LED on the
Signal Booster will flash rapidly.
2. Whilst the LED is still flashing, press
and release the linking button. The LED
will flash twice slowly to indicate that
the memory has been cleared.
Device setup

Placement of the Signal Booster
IMPORTANT: For reliable operation, the positioning of the Signal Booster is
important. It must be placed within the range of both the transmitter
(controller) and receiver (target device). Under normal indoor conditions
this is around 15m; however, this distance may be reduced if there are
objects present that could aect radio signals. These include large metal
objects (large radiators, structural steel), large bodies of water, or very
thick walls.
In the event of unreliable performance, as it is portable, the Signal Booster‘s
position can be altered in order to achieve better transmission.
NOTE:
The Signal Booster can be linked to six independent commands in
total from any LightwaveRF controllers, including the Lightwave Link &
App. If it will not successfully link to a new controller then it is possible that
the booster memory is full.
Device setup

Q. Can I link the Signal Booster to the Lightwave Link?
A. The Signal Booster can boost to up to 6 specific commands (total) from
any combination LightwaveRF controllers. This includes commands from the
Lightwave Link. To boost a Lightwave Link command, that command needs
to be sent from the LightwaveRF App whilst the booster is in linking mode.
The command is then stored and boosted every time that it is sent from the
App.
Q. How do I initially link devices that are out of range and in a fixed location
(e.g. if a Lightwave Link transmission will not reach a Dimmer Switch)?
A. Link the specific command from the controller (e.g. Lightwave Link) that
is out of range to the Signal Booster first. Then, move the booster closer to
the target device. Whilst the target device is in linking mode, resend the
command from the controller. This should link the target device to the
controller via the Signal Booster.
Q. What if the performance is still unreliable after setting up the Booster?
A. Try repositioning the Signal Booster. Because the device is portable, this
should be easy to do. Remember that very thick walls, bodies of water or
metal objects can aect radio performance. Positioning the booster higher
up and away from large objects may improve performance.
FAQs

Specification
RF frequency: 433.92 MHz
Input rating: 1.5V (2 x AA Batteries)
Range: 15m (indoors)
IP56 Approved.
Technical Specification

Version 2.1
2 Quadrant Park
Mundells
Welwyn Garden City
Herts
AL7 1FS
01707 386035
www.lightwaverf.house
 Loading...