

Lighttoys Visual Poi, Visual Poi Maxi, Visual Poi Classic, FT chip Mini User Manual
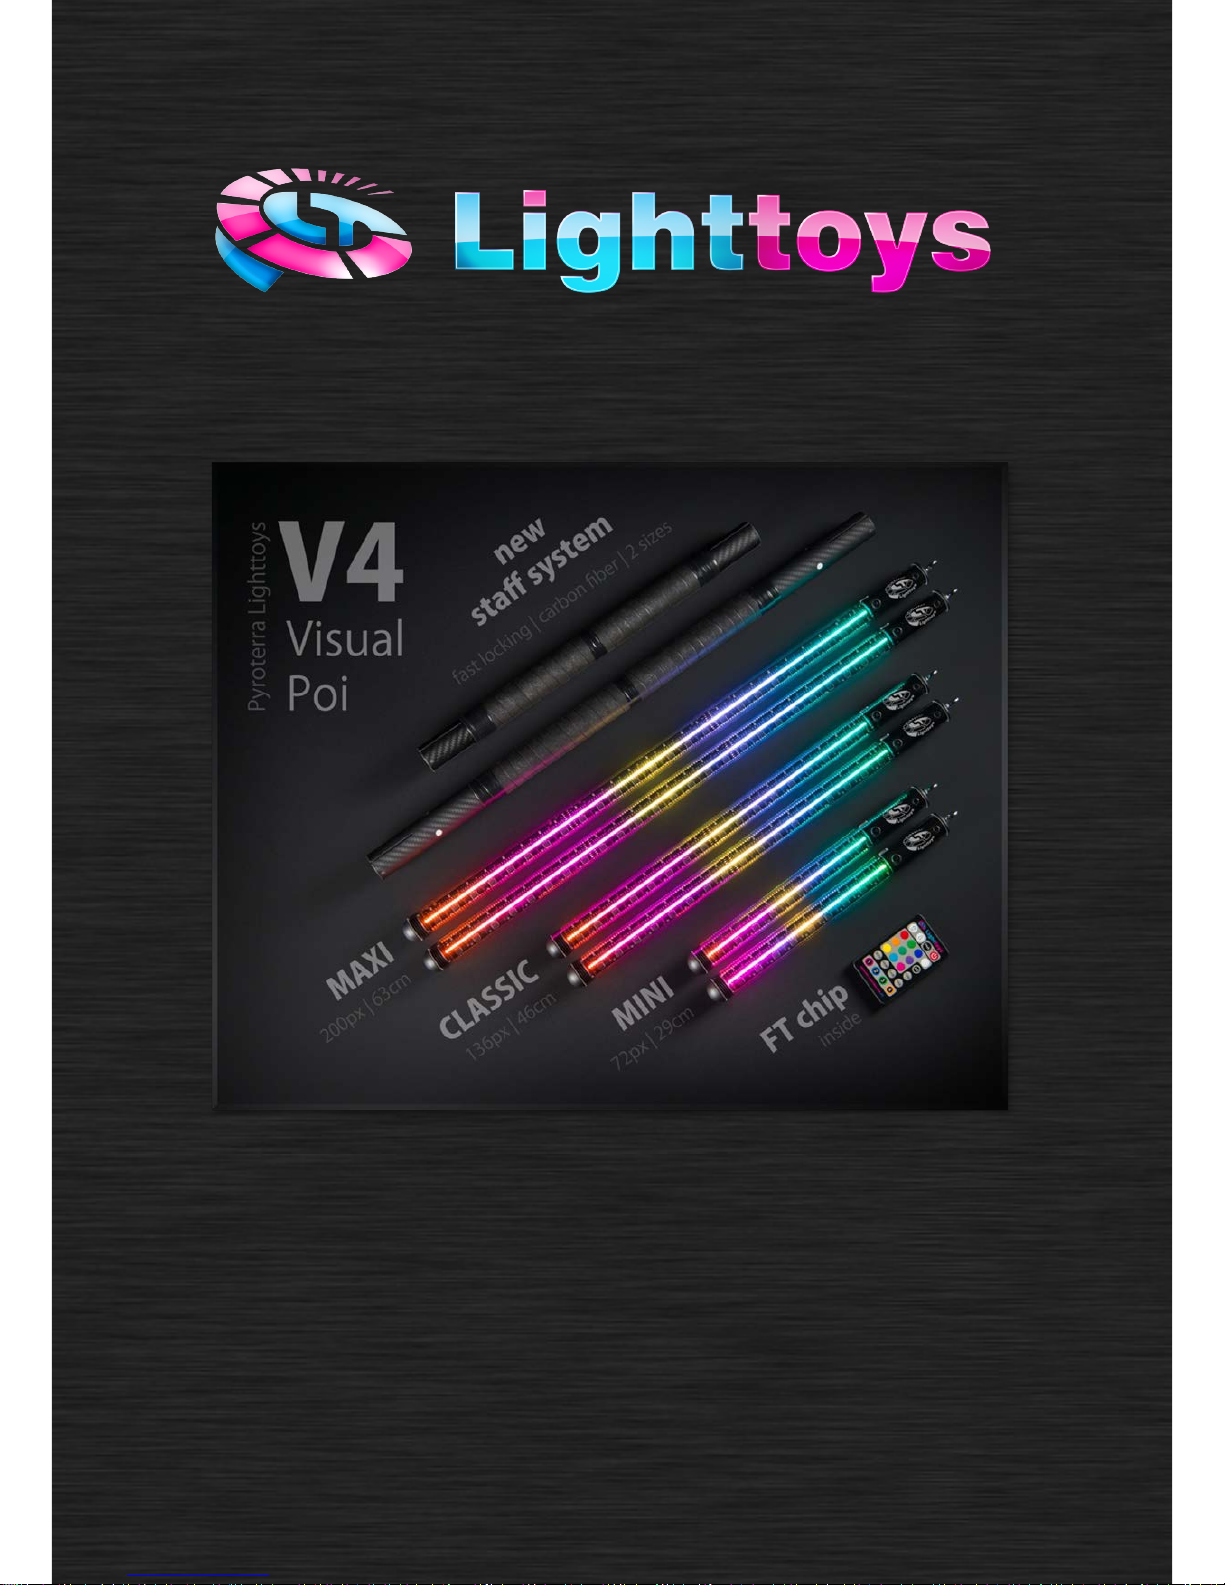
Visual Poi V4
User manual
V2.1

Content
Introduction ............................................................................................................................................. 3
What’s included ....................................................................................................................................... 3
Getting started ........................................................................................................................................ 4
Software installation ............................................................................................................................... 6
Windows PC ......................................................................................................................................... 6
MAC OS X ............................................................................................................................................. 7
Using Lighttoys Composer ....................................................................................................................... 8
Overview.............................................................................................................................................. 8
Menu options ...................................................................................................................................... 9
Working with the timeline................................................................................................................... 9
Visualization ...................................................................................................................................... 11
Image tuning ...................................................................................................................................... 11
Uploading your first image sequence .................................................................................................... 13
Using the FT remote controller ............................................................................................................. 14
Powering on / off ............................................................................................................................... 14
LED indicator ..................................................................................................................................... 15
Pairing procedure .............................................................................................................................. 15
Perfect sync feature .............................................................................................................................. 16
How it works ...................................................................................................................................... 16
Assembling the staff connector ............................................................................................................. 17
Available staff sizes ........................................................................................................................... 18
How to spin Visual Poi ........................................................................................................................... 19
Tips & Tricks........................................................................................................................................... 19
Ideal image design ............................................................................................................................. 19
FAQ ........................................................................................................................................................ 20
Taking photos & videos of Visual Poi .................................................................................................... 20
Taking photos .................................................................................................................................... 20
Taking videos ..................................................................................................................................... 20
Maintenance ......................................................................................................................................... 21
Charging ............................................................................................................................................. 21
Afterword .............................................................................................................................................. 22
Introduction
Dear customer, thank you very much for your purchase of the Visual Poi V4 product. Before you
start using your new equipment, please dedicate a few minutes to the contents of this manual.
Even though we strived to make the Visual Poi as durable as possible, please keep in mind that it is a
sensitive electronic device and so appropriate caution is needed.
The first part of this manual is devoted to the usage of Visual Poi, the second part is devoted to the
creation of graphic sequences for your Visual Poi – so that your shows always look the best!
“With proper use, Visual Poi will bring
you and your audience great visual amazement.”
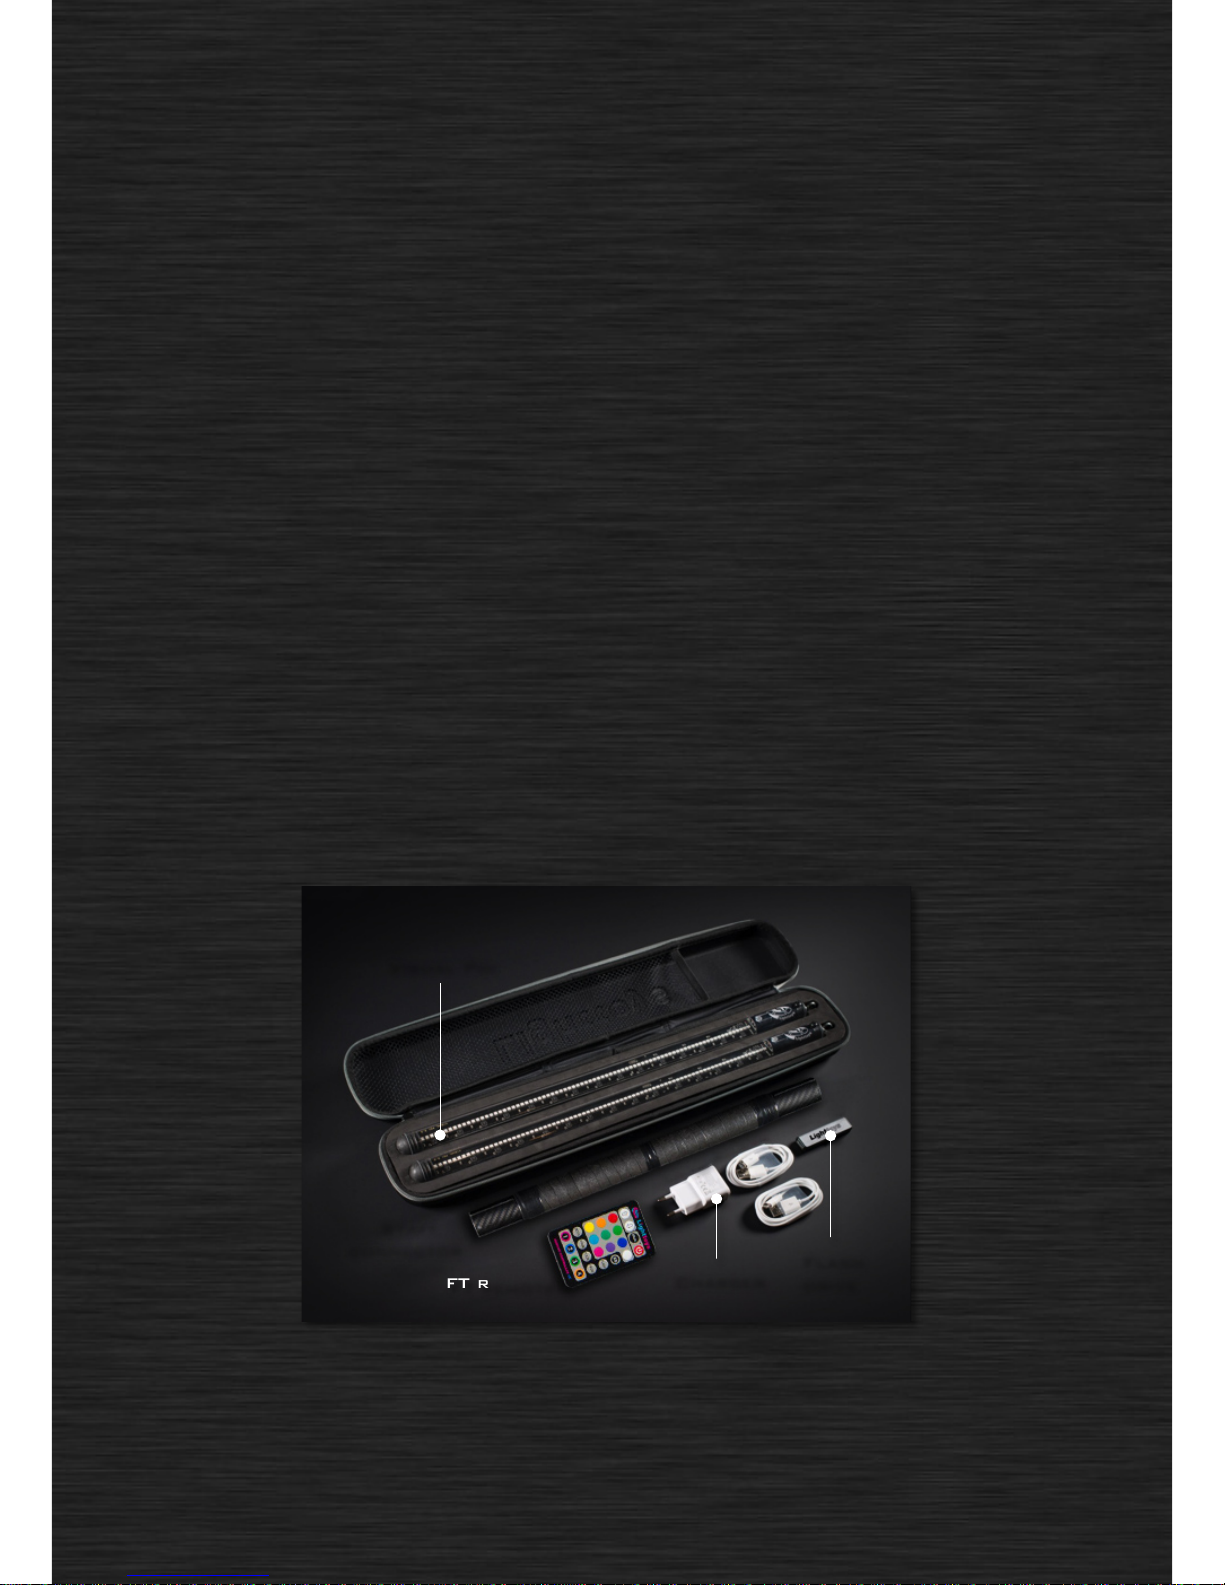
What’s included
The Visual Poi V4 comes with the following parts and accessories:
• 2x Visual Poi V4
• 1x FT remote controller
• 1x USB wall charger
• 2x USB cable
• 1x USB flash drive with the user software
• 1x transport case
• *Staff connector (optional accessory)
Content of the package
Visual Poi
Charger
Flash
drive
FT remote
Staff
connector
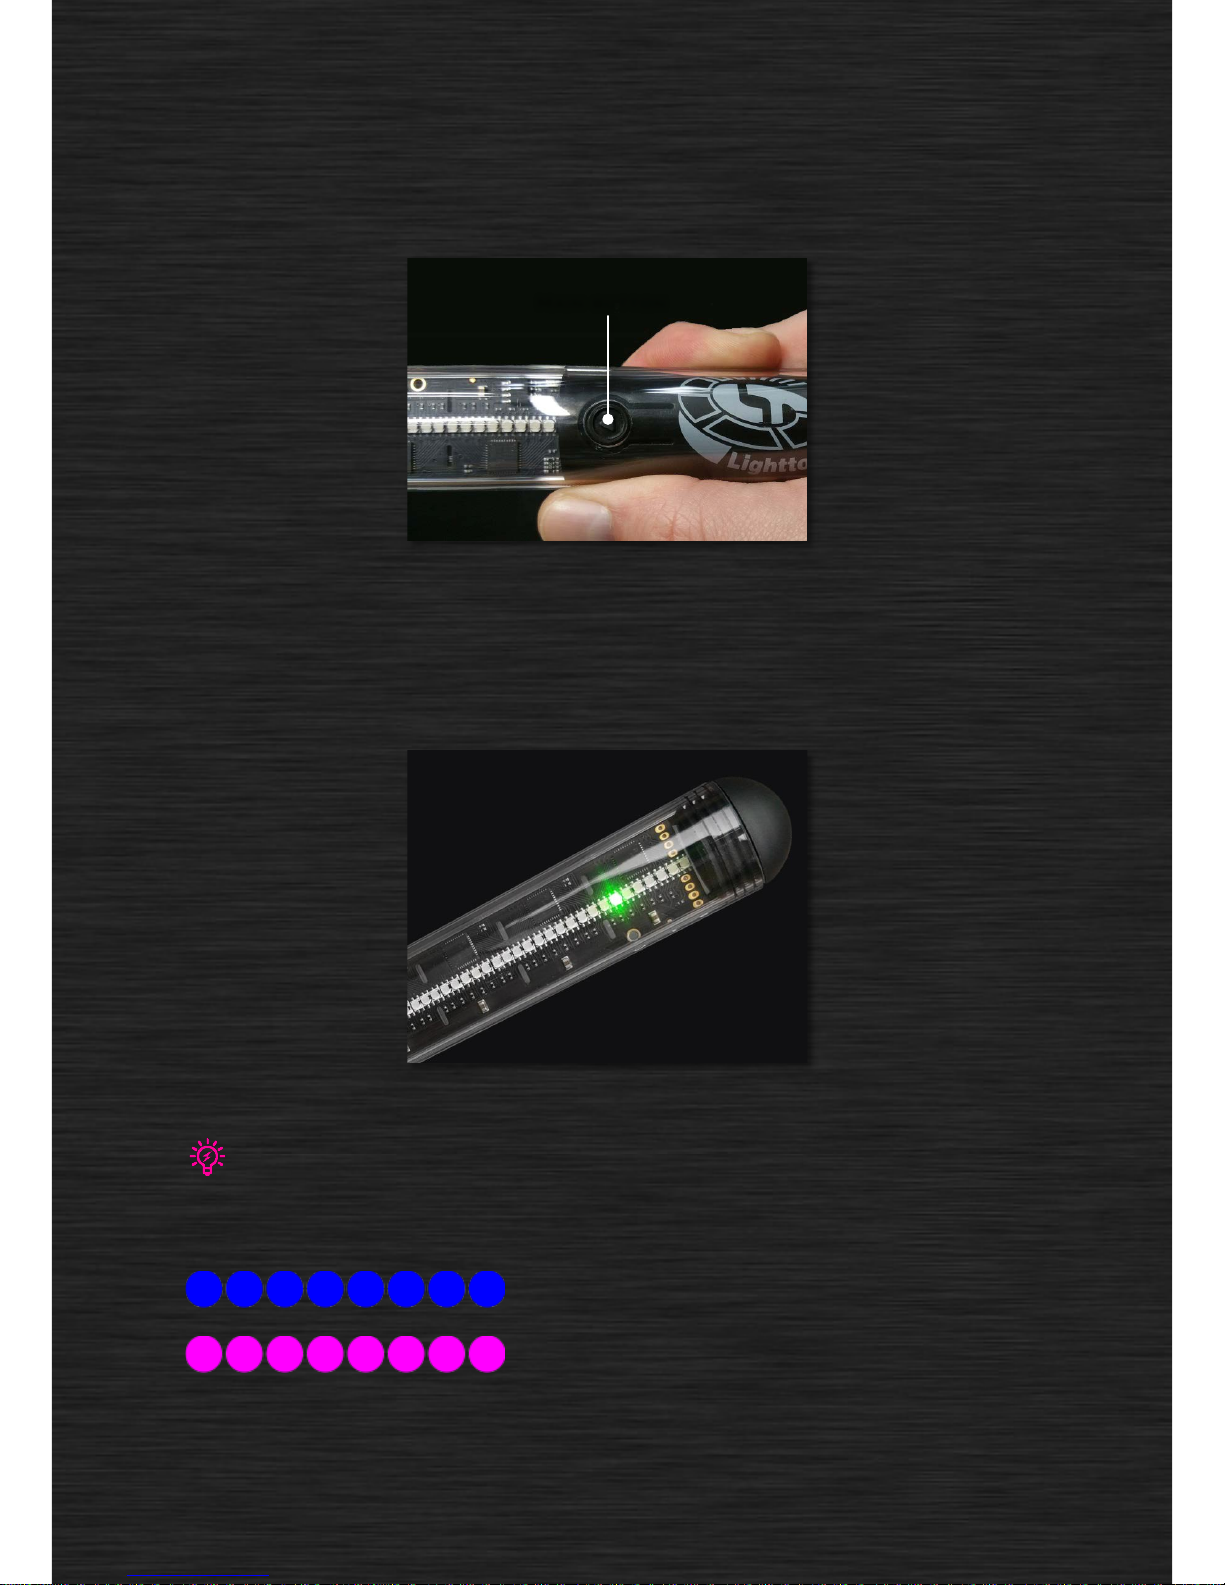
Getting started
Visual Poi V4 is very easy to operate. All functions of the device are controlled by pressing a single
button located at the end of the poi, in the handle:
Location of the main button on the Visual Poi
Visual Poi is turned ON/OFF by pressing the main button for 2 seconds. It’s indicated by a quick
double blink of one LED on the device, which also serves as a battery level indicator. Green color –
battery is full, orange color – battery is getting empty, red color – battery is empty and needs
recharge.
Visual Poi battery level indicator
If you leave Visual Poi unattended for 20 minutes, it automatically turns off. Also when the battery level drops too low, the Visual
Poi turns itself OFF to protect the battery and you need to charge the Visual Poi to use it again.
After turning on, the Visual Poi enters a so called “standby mode”. In this mode, 8 LEDs closest to the
main button will shine in either blue or pink color, indicating communication with the FT remote:
FT remote is answering, signal quality is good.
FT remote is turned off or signal quality is poor.
Press the main button once (or any button on the FT remote) to quit the standby mode.
Main button

Now Visual Poi enters the memory bank selection menu, where you can select which image
sequence to play. It is indicated by 4 LEDs closest to the main button:
Bank 1 Bank 2 Bank 3 Bank 4
There are up to 4 memory banks available, each indicated by a different LED color. Press the main
button repeatedly to make your selection, currently selected bank will shine with a brighter color on
the LEDs:
Bank 3 selected
To confirm your selection, make a longer press of the main button – the Visual Poi will enter a
“prelaunch mode”, ready to start your image sequence at will. This is indicated by only a single LED
shining in the color of the memory bank:
Bank 3 ready to be started
When you are ready to start your Visual Poi show, press the main button and the image sequence
will start to play immediately.
The running image sequence can be stopped at any time by a successive combination of a long press (2 sec) + short press of the
main button. This prevents any accidental interruptions of your show. More details in the description of the Perfect sync feature.
Software installation
After you play with the preloaded sequences we put into Visual Poi, surely you want to try some
graphics of your own, don’t you? To do so, you need to install the software which is used to prepare
your image sequences and upload them into the device.
The software comes with the included USB flash drive. It runs on both Windows PC and MAC OS X. To
download the latest version, please visit Lighttoys support page at: www.lighttoys.cz/support/
.
The user software consists of the following:
• Visual Poi driver (for Windows only)
• Lighttoys Composer application
Windows PC
The first step is to install the Visual Poi driver. Connect one Visual Poi with the provided Micro USB
cable to the PC and power it ON with a long press of the main button.
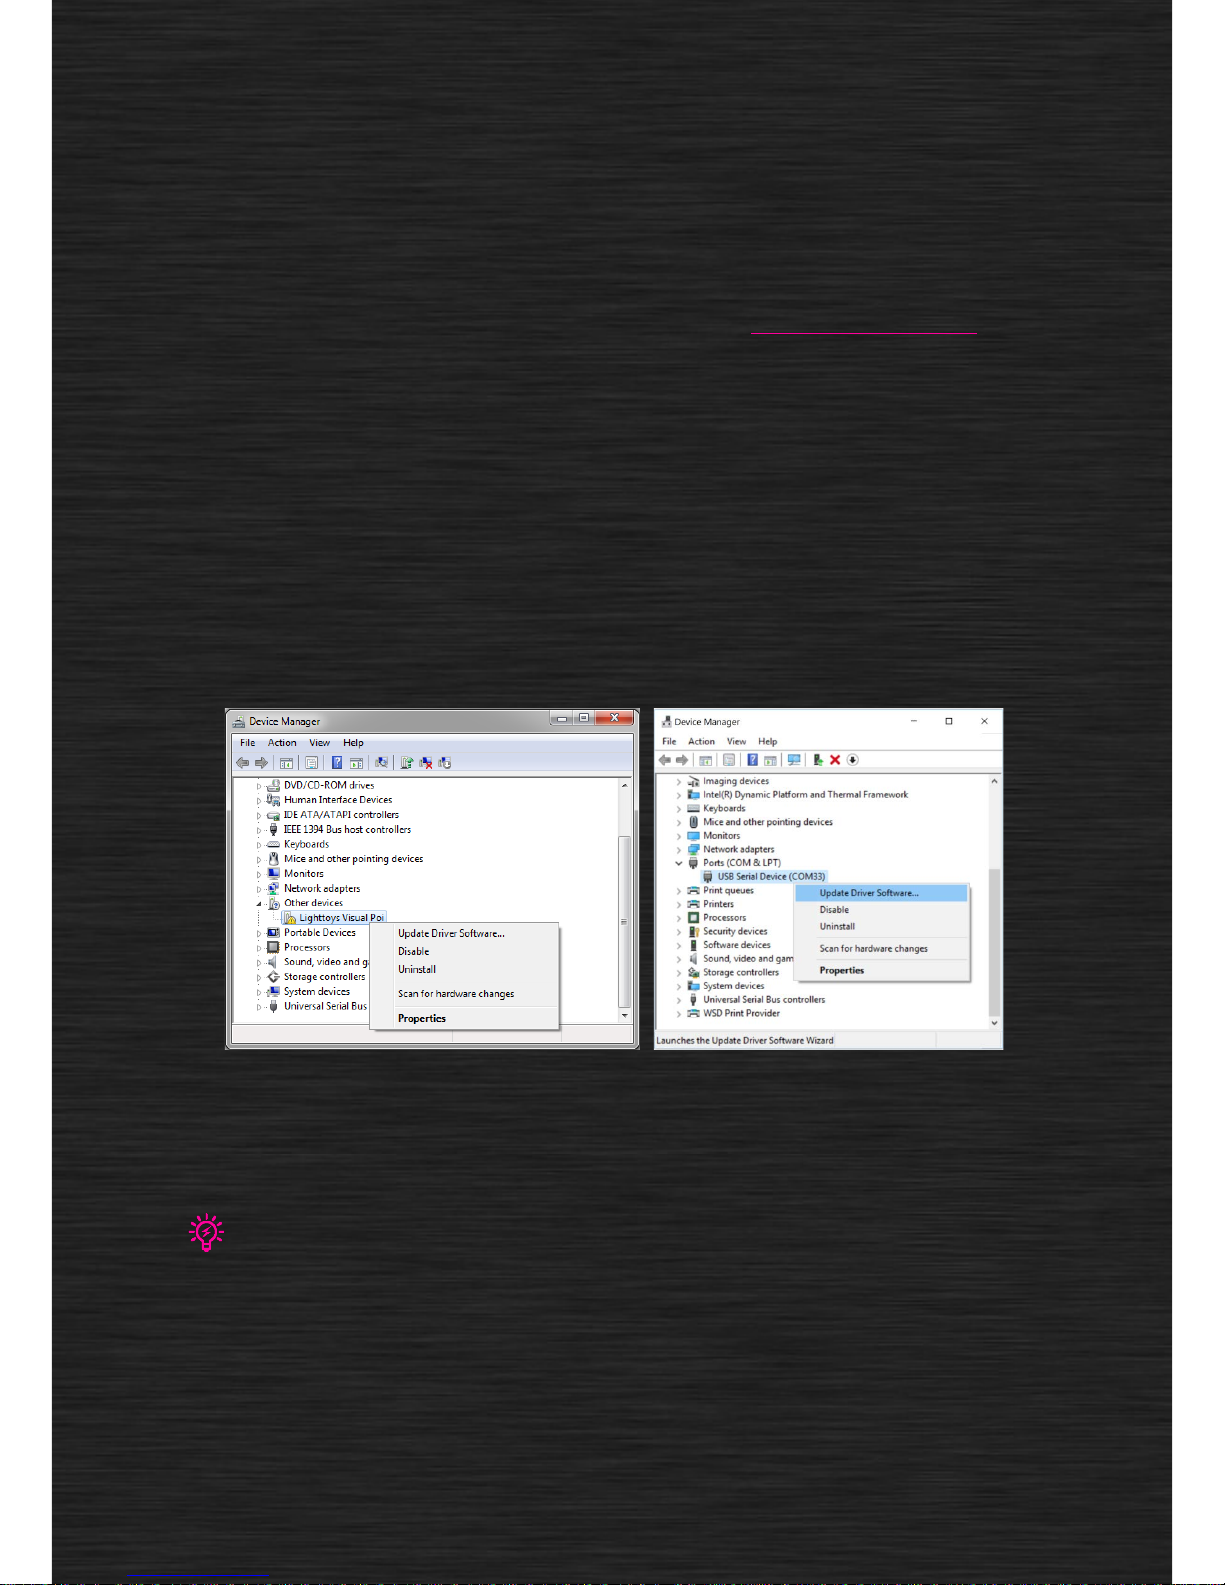
On Windows 7, click the Start button, type “Device manager“ into the search bar and hit Enter. On
Windows 8 and 10, press Windows Key + X to open the Start menu, then select Device manager from
the list.
Device manager showing connected Visual Poi on Windows 7 and 10
In the new window you should see your connected Visual Poi in the list. It should be listed under
“Other devices” or “Ports (COM & LPT)“. In some rare cases, Visual Poi can also be listed under
“Portable Devices”.
If you cannot find Visual Poi listed in Device Manager like shown above, try disconnecting and reconnecting Visual Poi to your PC
and watch for any new item appearing on the list. The newly appeared item is Visual Poi device.
Right click on the item and select ”Update Driver Software…”. In the next window, select “Browse
my computer for driver software”.
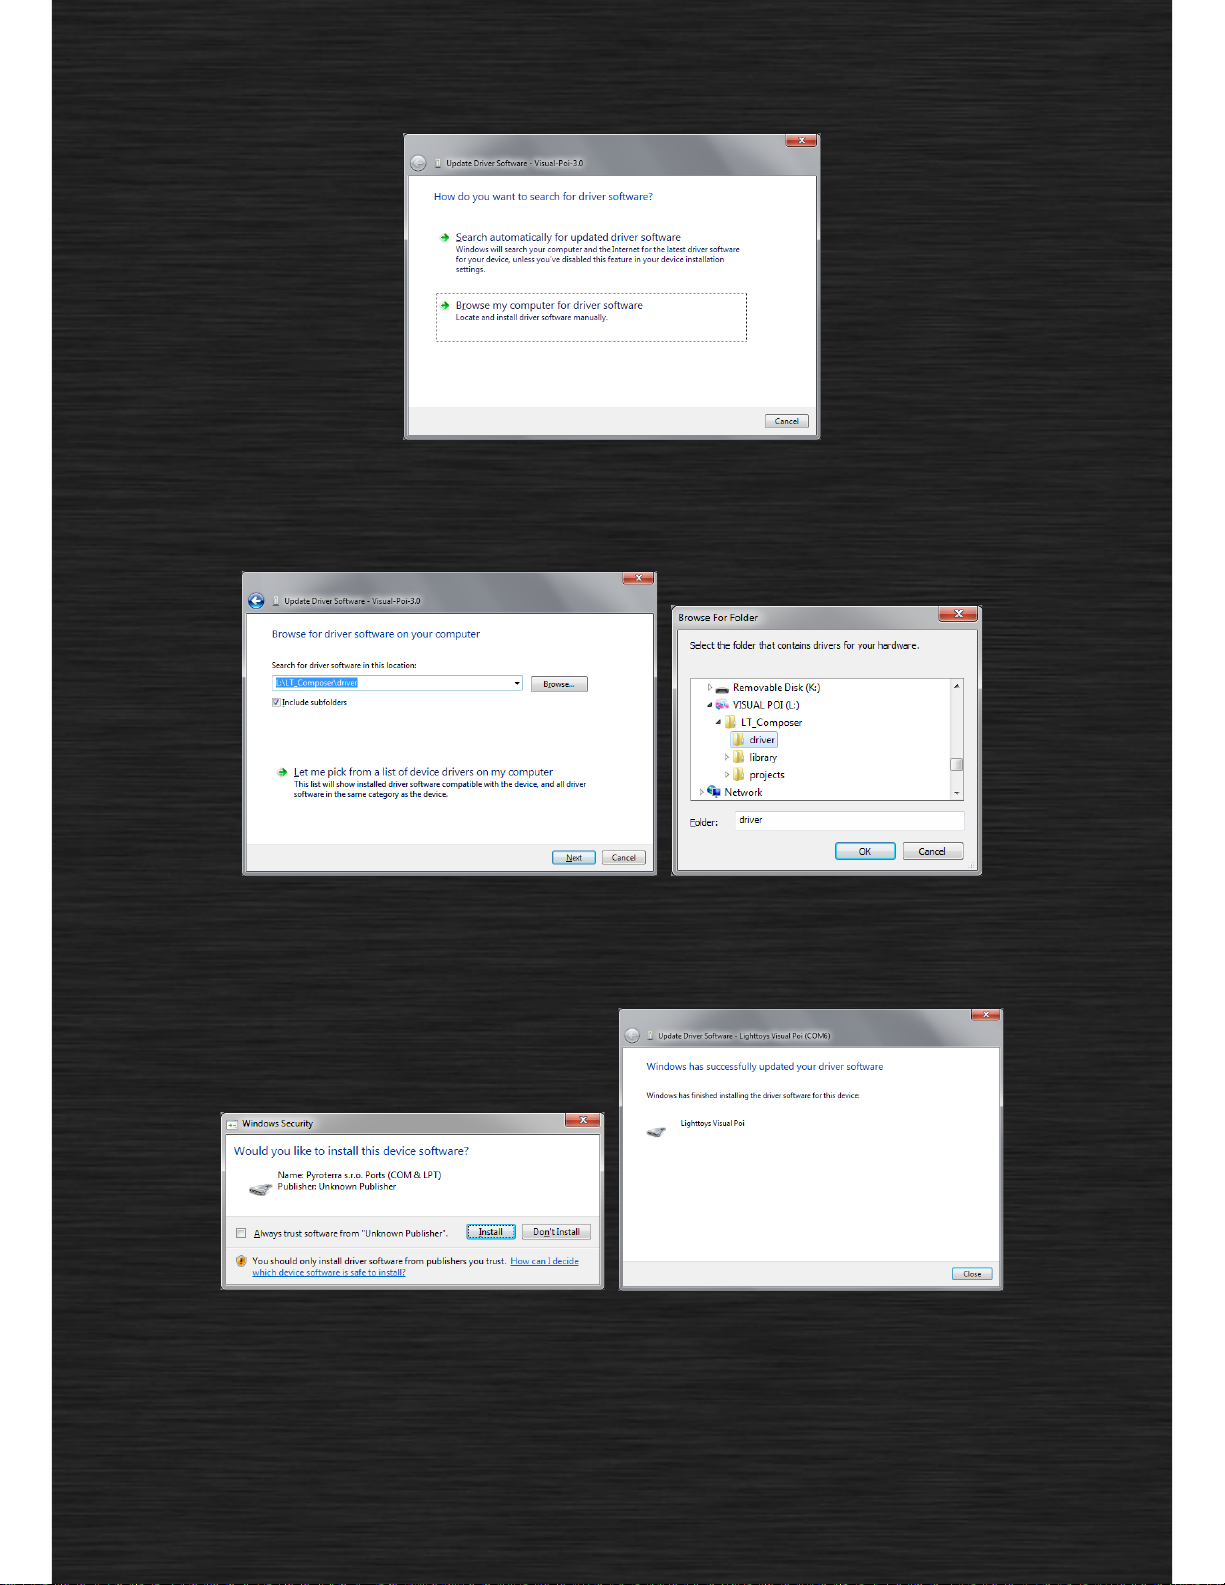
Driver installation process #1
In the next window, select “Browse…” and locate the folder called “driver” on the included USB flash
drive, click OK and Next.
Driver installation process #2
A new window appears, asking you for permission to install the driver, click “Install”. Visual Poi driver
should be now successfully installed:
Successful installation of the driver
MAC OS X
Running Lighttoys Composer on MAC is straightforward, no driver installation is needed.
 Loading...