

Page 1
1
INSTALLATION INSTRUCTIONS
1
IMPORTANT
Before opening your LampLust Taper Candles with Removeable Base, please
make sure that you carefully read through these instruction sheets.
NOTE: The important safeguards and instructions that appear in this manual
are not meant to cover all possible conditions and situations that may occur. It
must be understood that common sense, caution and care are factors that
can’t be built into any product. This approach must be used by the person(s)
caring for and operating the candles.
GENERAL INFORMATION
Battery installation should only be performed by an adult. Only batteries
of the same or equivalent type as recommended should be used. Battery
leakage can cause corrosion and damage to this product so please remove
non-functioning batteries immediately. Remove the batteries from product
during long periods of non-use.
DO NOT DISPOSE OF IN FIRE. Please dispose at your local recycling facility.
STEP BY STEP INSTRUCTIONS
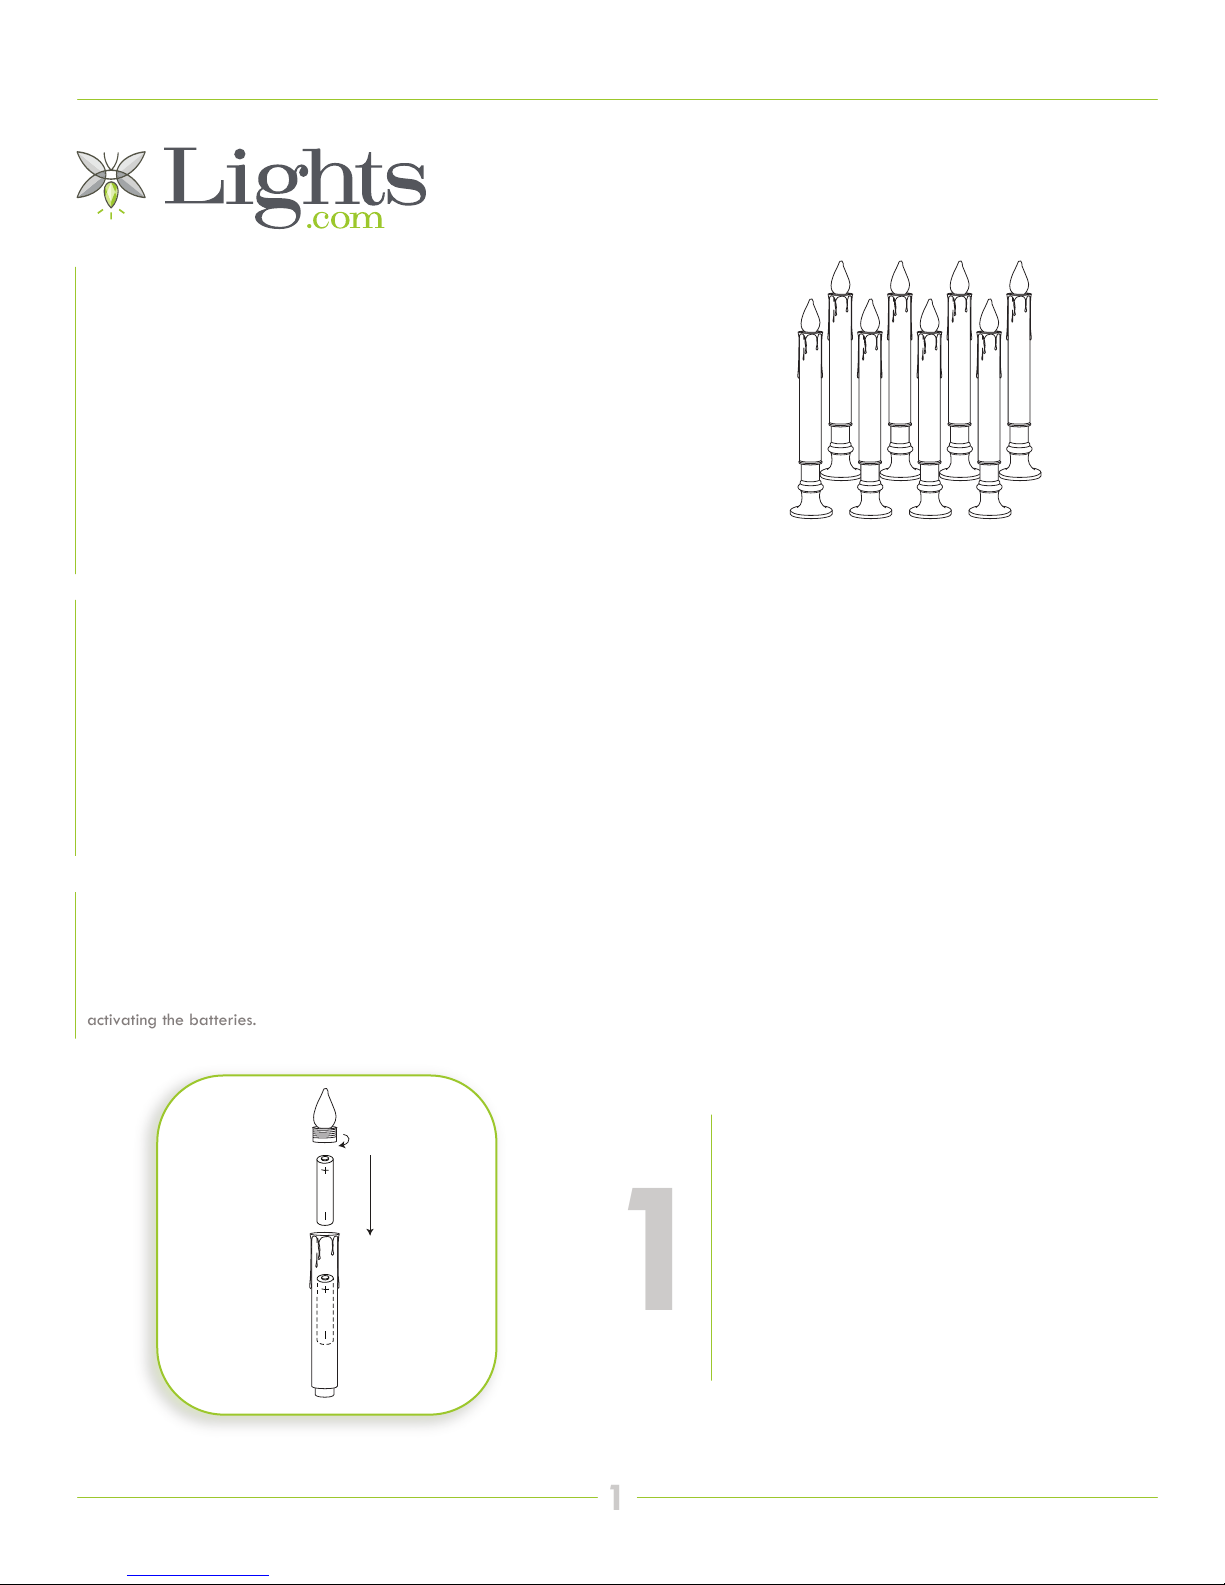
Before turning your candles on, remove the battery tab from the battery
compartment (located on top of the candle underneath the flame), thereby
activating the batteries.
MODEL NO.
LC003448
LC003449
BATTERY INSTALLATION
The candles work with 2 x AA batteries (included). To
WHAT WE PROVIDE
• Eight White Taper Candles
with Removable Bases
• 16 AA Batteries (2 Per Candle)
• 6 Button Remote Control
• 8 Suction Cup Holders
locate the battery compartment unscrew the flame from
the top of the candle (counter clockwise). Batteries
should be inserted with the correct polarity as indicated
(+/-) and battery compartments secured before use.
Page 2
INSTALLATION INSTRUCTIONS
2
3
REMOTE FUNCTIONS
The candle switch must be turned to “ON” in order for
the remote control to function.
4
2
ON/OFF
SWITCH
ON/OFF
The ON/OFF switch is located on the bottom of the
taper. To turn the candle ON/OFF remove the candle
from the base and use this switch. Once the candle is
turned to the “ON” position, it can be controlled using
the remote, until it is manually turned to “OFF”.
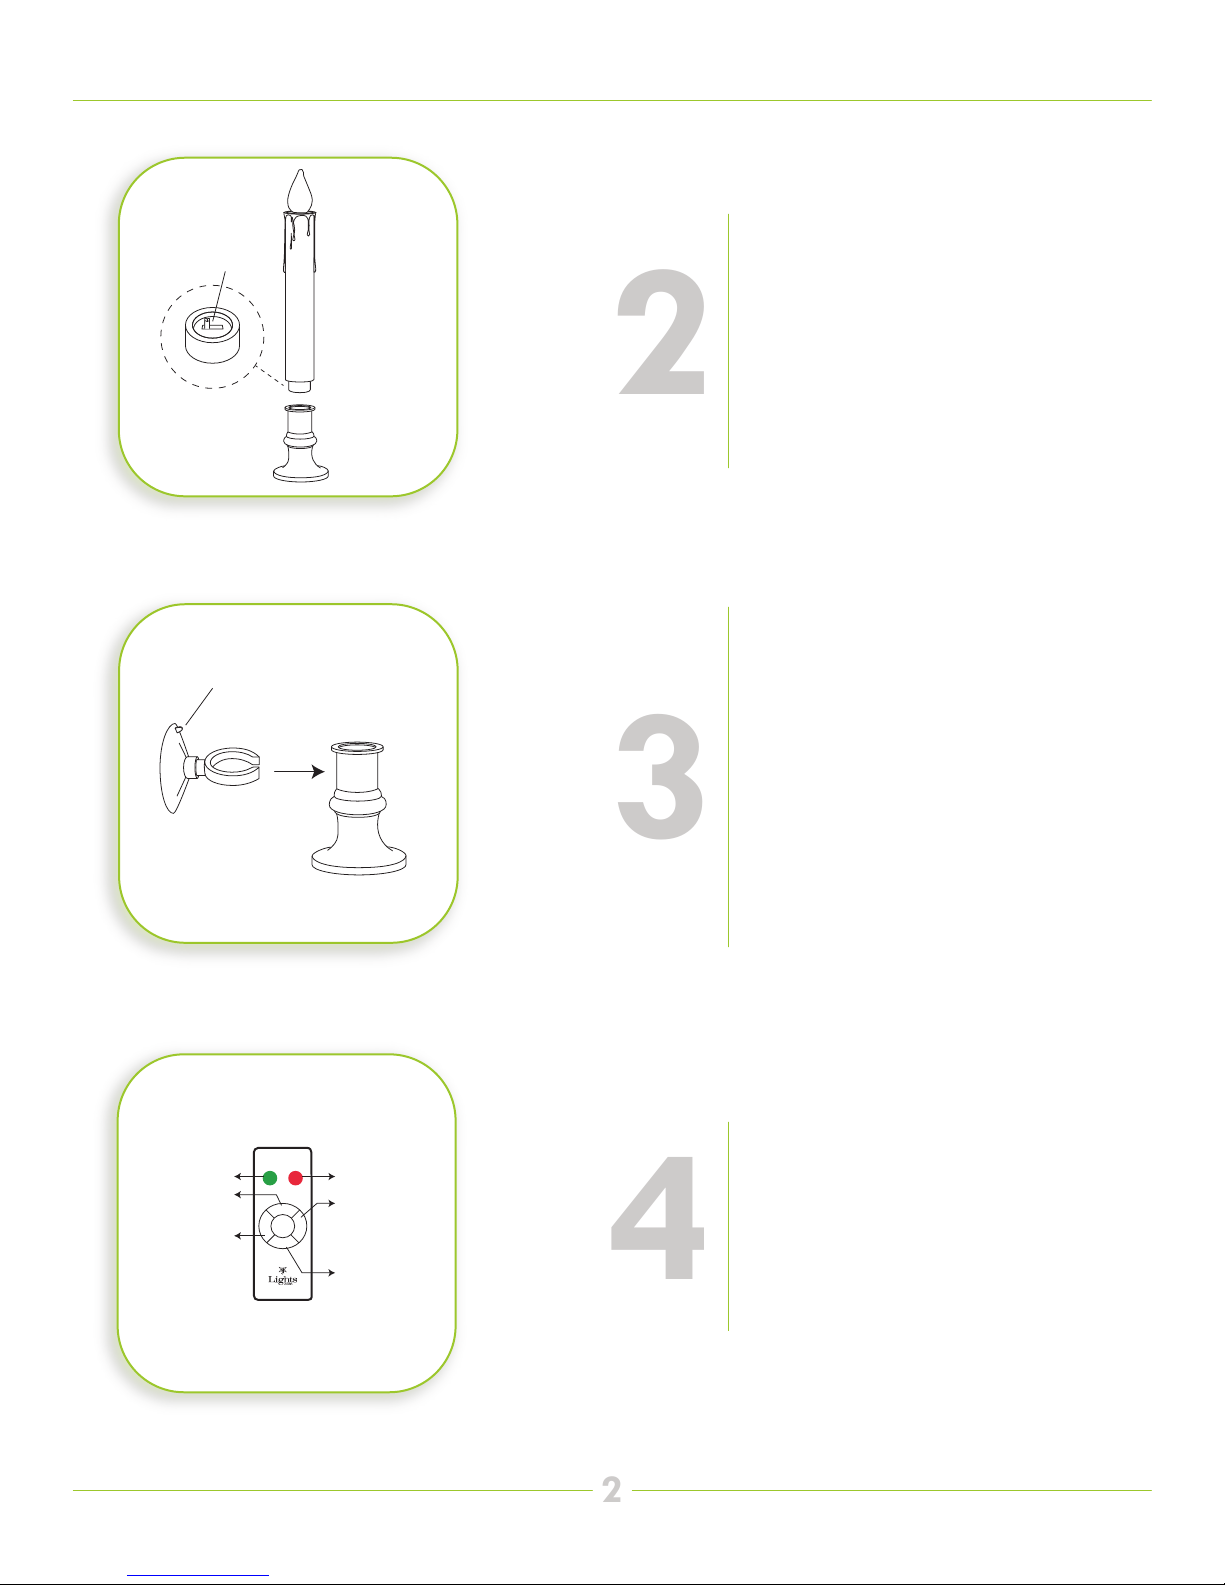
SUCTION CUP HOLDER (OPTIONAL)
Carefully, clip the suction cup holder onto the candle
base as shown in the diagram. To ensure a firm bond,
surfaces should be totally free of dirt and soap film
before attaching the suction cup. Rinse the inside of the
suction cup under warm water then shake off the
excess water. Press the suction cup firmly in place,
making sure there are no air bubbles between the cup
and the mounting surface.
RELEASE TAB
ON
Flicker
Steady
8H4H
OFF
OFF
Steady Option
8 Hour Timer Option
{candle will turn on the
same time every day
for 8 hours}
ON
Flicker Option
4 Hour Timer Option
{candle will turn on
the same time every
day for 4 hours}
 Loading...