

Page 1
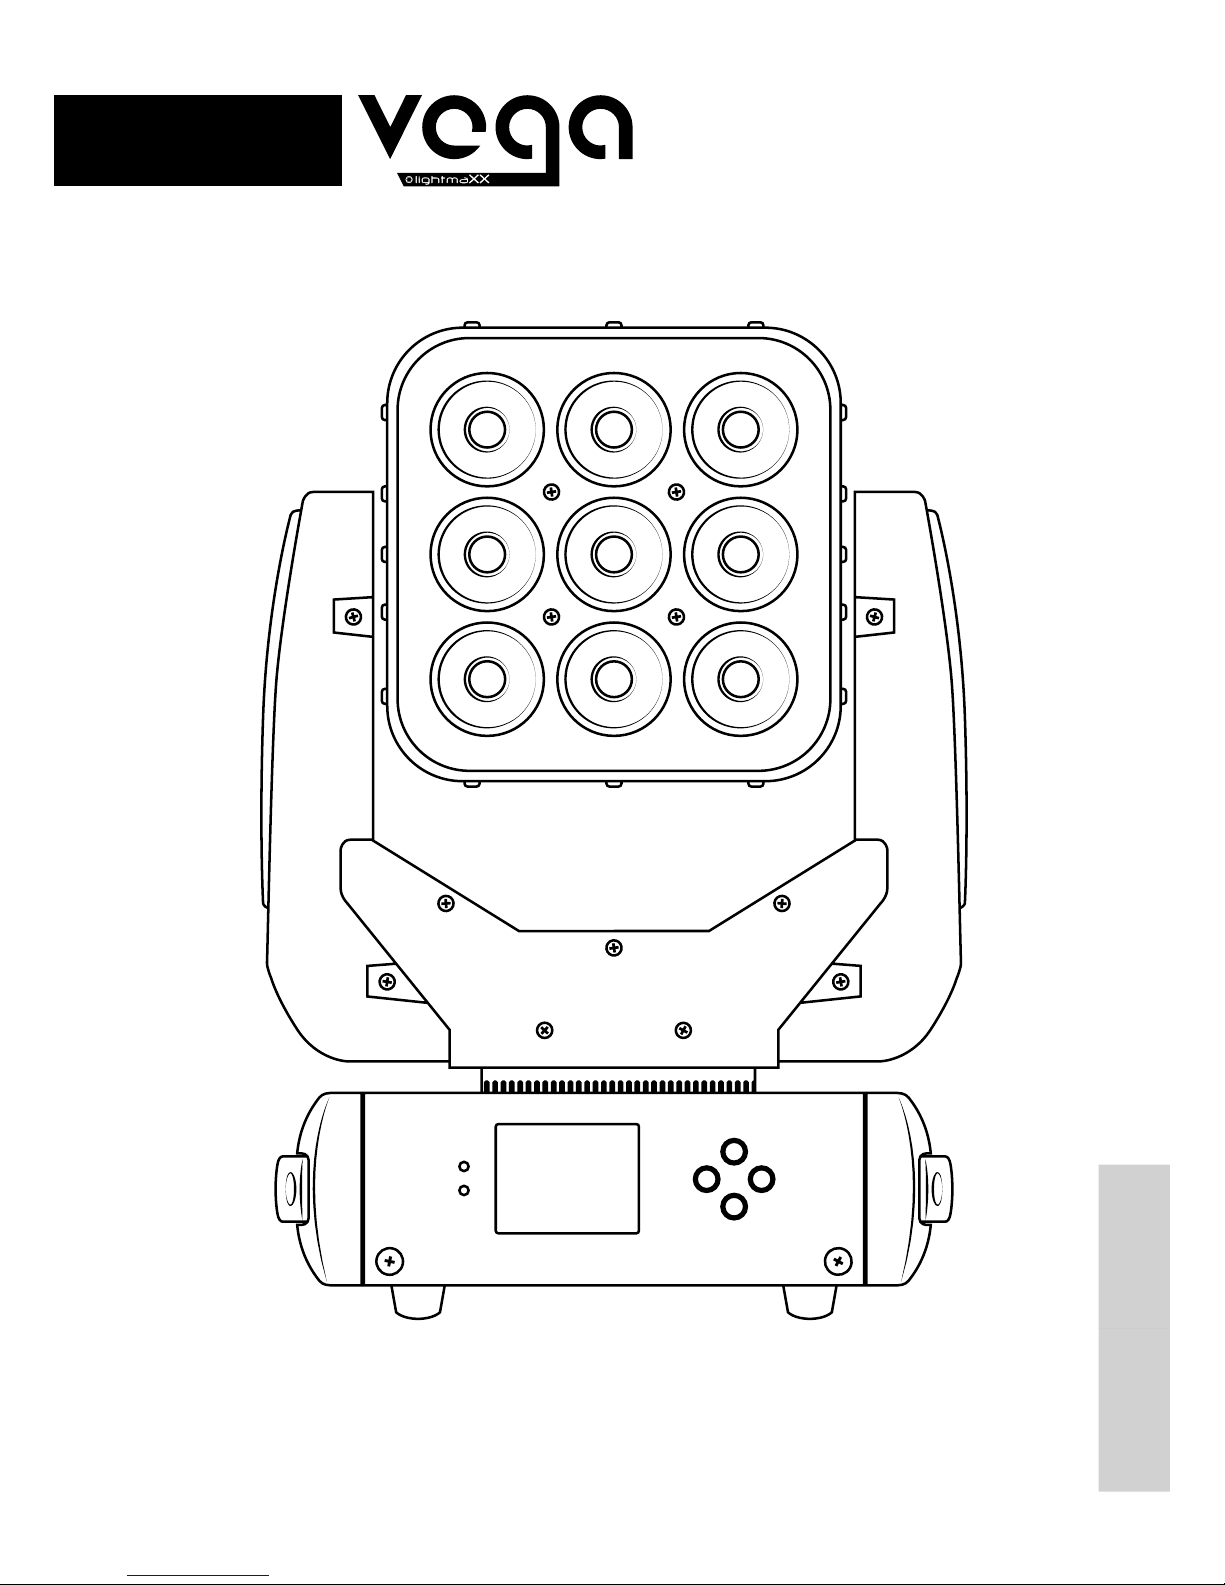
Bedienungsanleitung
User‘s Manual
DEUTSCH ENGLISH
MATRIX Wash
Page 2
DEUTSCHENGLISH
2
Wichtige Sicherheitshinweise! Bitte vor Anschluss lesen!
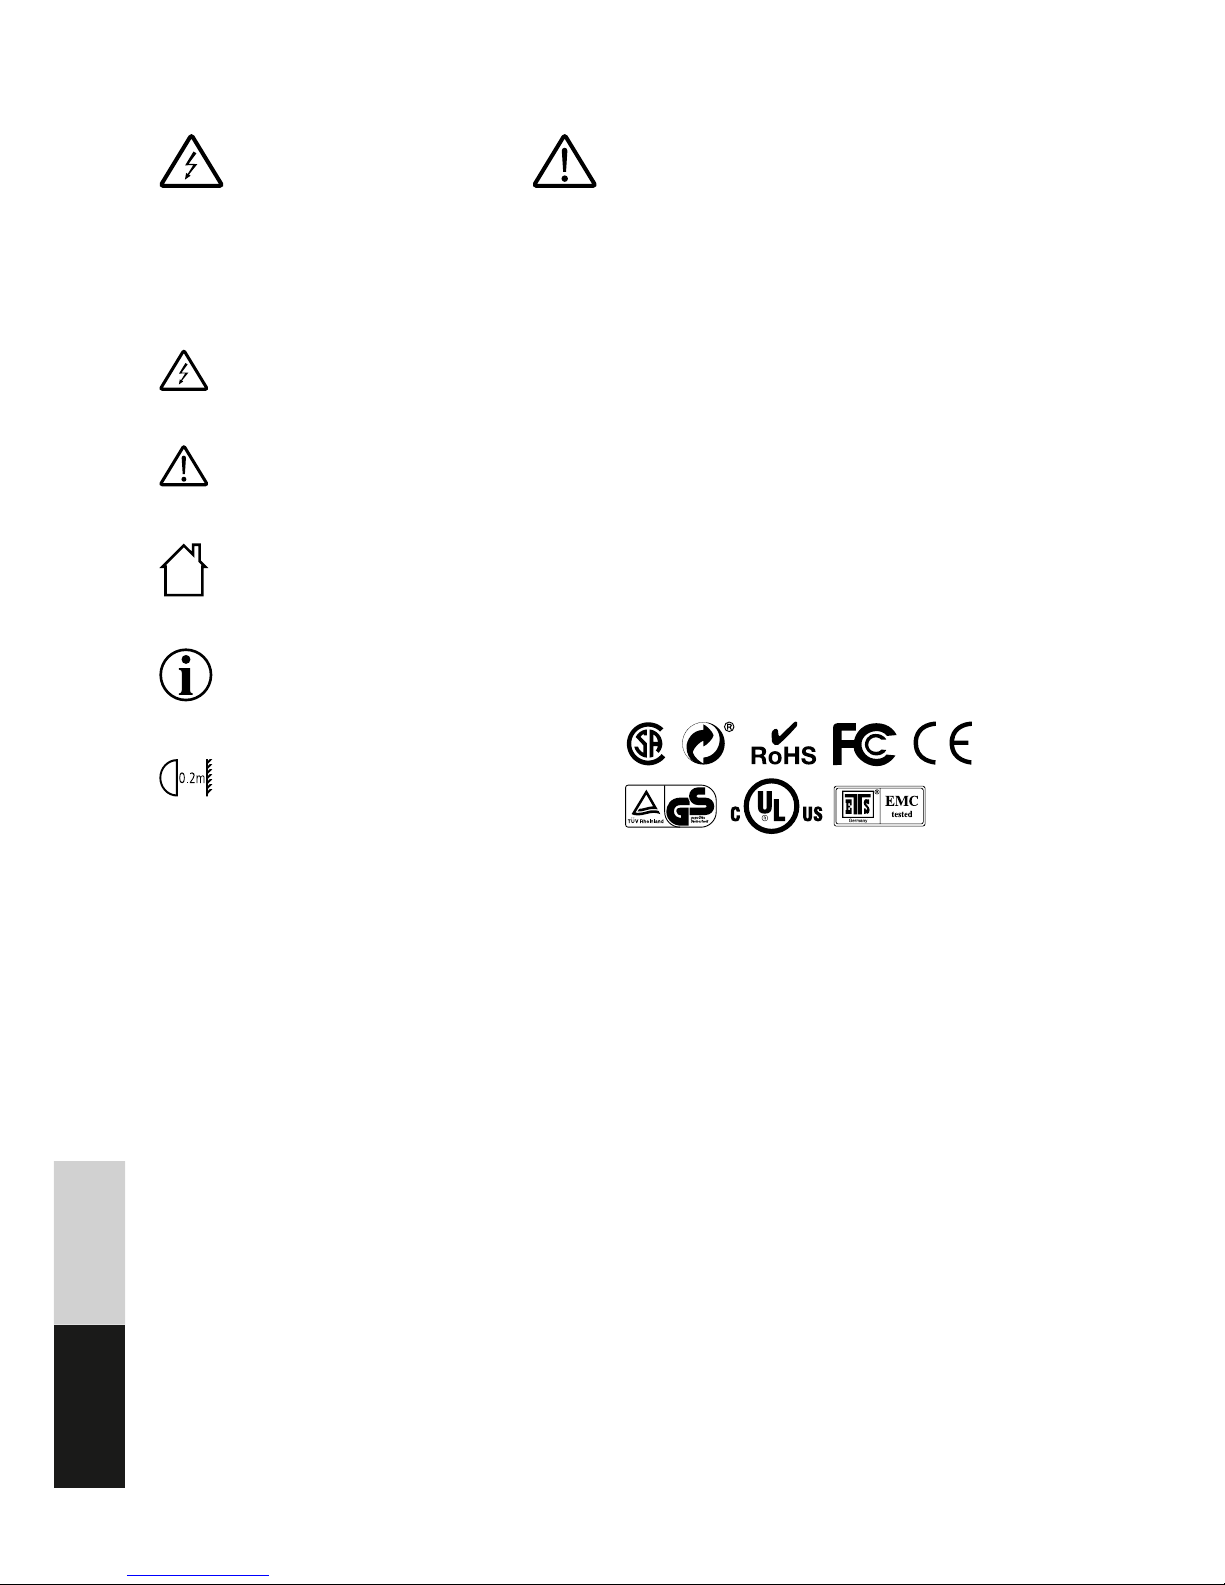
RISK OF ELECTRIC SHOCK
DO NOT OPEN
ACHTUNG: Um der Gefahr eines elektrischen Schlages vorzu-
beugen, öffnen Sie auf keinen Fall das Gerät.
Überlassen Sie alle Wartungs- sowie Reparaturarbeiten einer
qualifizierten Service Werkstatt oder wenden Sie sich an
Ihren Händler.
Das Blitzsymbol warnt den Nutzer vor nicht
isolierter Spannung und der Gefahr eines Stromschlages.
Das Ausrufezeichensymbol weist den Nutzer auf
wichtige Wartungs- sowie Bedienungshinweise
in der Bedienungsanleitung hin.
Nur für den Innenbereich geeignet
Bedienungsanleitung lesen
Dieses Symbol legt den minimalen Abstand des
zu beleuchtenden Objektes fest.
• Aus Umweltschutzgründen die Verpackung bitte richtig
recyceln.
• Ein neues Produkt kann manchmal zu unerwünschten
Gerüchen oder für kurze Zeit zu minimaler Rauchentwicklung führen. Diese Reaktion ist normal und
verschwindet nach einigen Minuten wieder.
• Das Gerät ist ausschließlich für den Innenbereich gedacht
(IP20)! Bitte benutzen Sie das Gerät nur in trockener Umgebung. Halten Sie das Gerät von Regen, Feuchtigkeit,
direkter Hitze und Staub fern.
• Um Kondensation im Gerät zu vermeiden, sollte sich das
Gerät vor Inbetriebnahme an die Umgebungstemperatur
anpassen.
• Bitte platzieren Sie das Gerät an einem gut belüfteten
Ort, außerhalb der Reichweite von brennbaren Materialien oder Flüssigkeiten.
• Es dürfen keine Lüftungsöffnungen abgedeckt werden,
Überhitzung kann die Folge sein.
• Bitte ziehen Sie den Netzstecker, wenn das Gerät über
einen längeren Zeitraum nicht benutzt wird oder Sie
Wartungsarbeiten vornehmen.
• Das Gerät ist für eine maximale Umgebungstemperatur
von 40° Celsius ausgelegt.
• Die Installation des Gerätes sollte nicht von unerfahrenen Personen durchgeführt werden und muss unter
Einhaltung der mechanischen und elektrischen Sicherheit
in Ihrem Land erfolgen.
• Im Falle von Beschädigungen des Netzkabels muss dieses
umgehend gegen ein Original Ersatzteil des Herstellers
ersetzt werden.
• Stellen Sie sicher, dass die Netzspannung nicht höher als
die auf dem Gehäuse angegebene Spannung ist.
• Bei einer Fehlfunktion des Gerätes kontaktieren Sie bitte
Ihren Händler und stellen Sie den Betrieb des Gerätes
unverzüglich ein.
• Es ist ein Mindestabstand von 1m zu brennbaren Materialeien oder Flüssigkeiten einzuhalten.
ACHTUNG: Nicht direkt in die Lichtquelle schauen!
Gerät nicht verwenden, wenn sich Leute mit Epilepsie in der
Nähe befinden!
ÜBERKOPF MONTAGE
Die Montage darf ausschließlich von qualifiziertem Fachpersonal
ausgeführt werden. Unvorschriftsmäßige Montage kann erhebliche Verletzungen und Schäden verursachen. Beachten Sie die
Belastungsgrenzen der gewählten Instalaltions-Position.
Stellen Sie sicher, dass sich während des Auf- oder Abbaus/ der
Wartung keine unbefugten Personen unterhalb des Gerätes
befinden.
Hersteller: MUSIC STORE professional GmbH,
Istanbulstraße 22-26, 51103 Köln, Deutschland
Page 3
DEUTSCH ENGLISH
3
Herzlichen Glückwunsch zu Ihrem neuen LightmaXX Produkt!
Vielen Dank, dass Sie sich für dieses LightmaXX Produkt entschieden haben.
Bitte lesen Sie vor dem ersten Gebrauch sorgfältig die Bedienungsanleitung, um lange
Freude am Produkt zu haben und um technischen- sowie Personenschäden vorzubeugen.
Bitte bewahren Sie die Bedienungsanleitung auf!
Viel Spaß mit Ihrem neuen Produkt!
Ihr LightmaXX Team
Garantie
Es gelten die aktuellen AGBs und Garantiebedingungen der MUSIC STORE professional GmbH.
Einzusehen unter: www.musicstore.de
Bei Fragen und Anregungen wenden Sie sich bitte an:
MUSIC STORE professional GmbH
Istanbulstr. 22-26
51103 Köln
Geschäftsführer: Michael Sauer
WEEE-Reg.-Nr. DE 41617453
Tel: +49 221 8884-0
Fax: +49 221 8884-2500
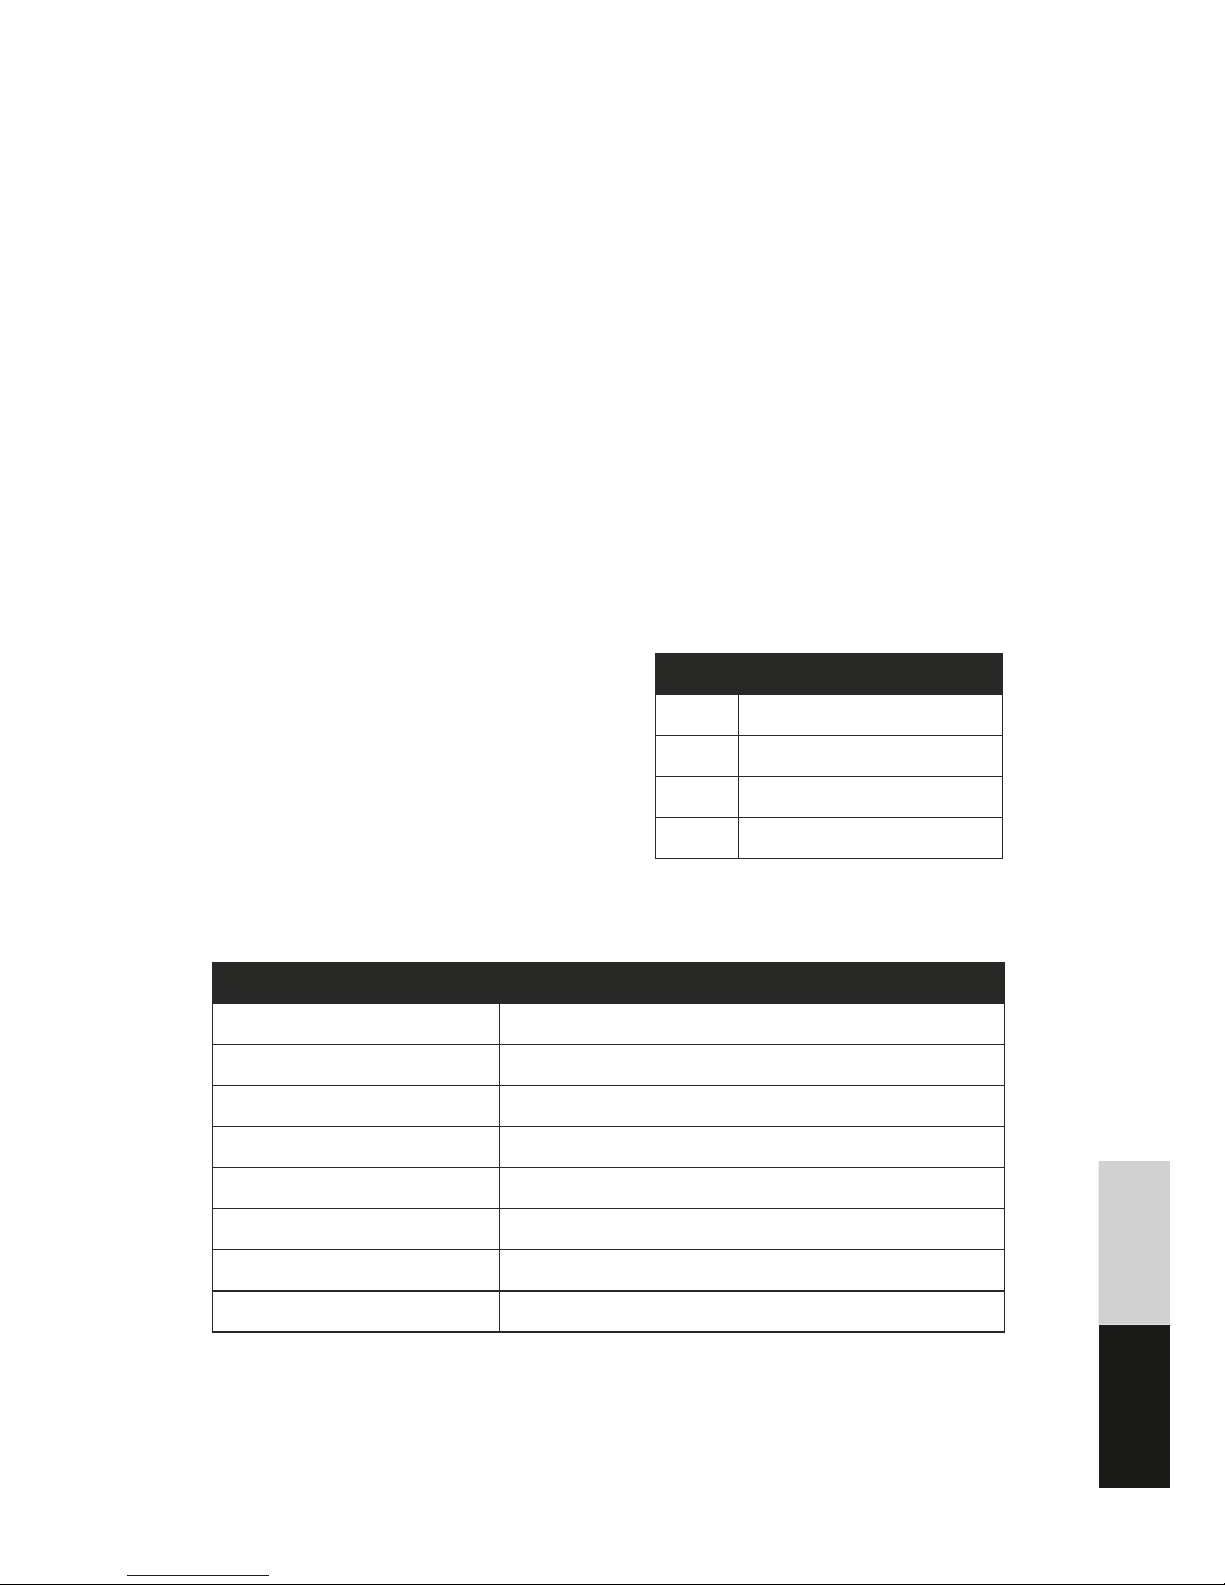
Lieferumfang
Anzahl Bezeichnung
1x LightmaXX Vega MATRIX Wash
1x Bedienungsanleitung
1x Netzkabel
1x Omega Bracket
Modell Vega MATRIX Wash
Leistungsaufnahme 115 Watt
Netzspannung 240V 50/60 Hz
LED Source 9x 12 Watt RGBW LED
DMX Kanäle 13 Kanal / 48 Kanal
Control Mode DMX 512, Master-Slave, Auto Run, Sound 2 Light
Display LCD Display
Maße 440 x 340 x 430mm
Gewicht 7 Kg
Technische Daten
Page 4

4
DEUTSCHENGLISH
DMX Adresse einstellen
Mit dieser Funktion lässt sich die DMX Adresse über das LCD Display einstellen.
Die Auswahl erfolgt über die Tasten an der Frontseite des Gerätes.
Drücken Sie die Enter Taste, um in die Systemeinstellungen zu gelangen.
Wählen Sie in den Systemeinstellungen den Menüpunkt „DMX Address“ aus
und bestätigen Sie mit der Enter Taste.
Nun lässt sich die gewünschte DMX Adresse einstellen.
Drücken Sie die Enter Taste, um Ihre Auswahl zu bestätigen.
Aus allen Menü Unterpunkten gelangen Sie durch das drücken
der Menü Taste zurück ins Hauptmenü
Menu-Übersicht: siehe Seite 14
Run Mode
Mit dieser Funktion lässt sich der Betriebsmodus des Gerätes über das LCD Display einstellen.
Die Auswahl erfolgt über die Tasten an der Frontseite des Gerätes.
Drücken Sie die Enter Taste, um in die Systemeinstellungen zu gelangen.
Wählen Sie in den Systemeinstellungen den Menüpunkt „Run Mode“ aus und
bestätigen Sie mit der Enter Taste.
Nun lässt sich der gewünschte Modus anwählen.
Drücken Sie die Enter Taste, um Ihre Auswahl zu bestätigen.
Language Setting
Mit dieser Funktion lässt sich die Display Sprache über das LCD Display einstellen.
Die Auswahl erfolgt über die Tasten an der Frontseite des Gerätes.
Drücken Sie die Enter Taste, um in die Systemeinstellungen zu gelangen.
Wählen Sie in den Systemeinstellungen den Menüpunkt „Language“ aus und
bestätigen Sie mit der Enter Taste.
Nun lässt sich die gewünschte Sprache Adresse einstellen.
Drücken Sie die Enter Taste, um Ihre Auswahl zu bestätigen.
Advanced Setting
Mit dieser Funktion lassen sich die erweiterten Einstellungen über das LCD Display konfigurieren.
Die Auswahl erfolgt über die Tasten an der Frontseite des Gerätes.
Drücken Sie die Enter Taste, um in die Systemeinstellungen zu gelangen.
Wählen Sie in den Systemeinstellungen den Menüpunkt „DMX Advanced Setting“ aus und bestätigen Sie mit der Enter Taste.
Nun lässt sich die gewünschte Einstellungen anwählen.
Drücken Sie die Enter Taste, um Ihre Auswahl zu bestätigen.
Funktionen
Page 5

5
System Info
Mit dieser Funktion lassen sich die System Informationen Abrufen.
Die Auswahl erfolgt über die Tasten an der Frontseite des Gerätes.
Drücken Sie die Enter Taste, um in die Systemeinstellungen zu gelangen.
Wählen Sie in den Systemeinstellungen den Menüpunkt „System Info“ aus und
bestätigen Sie mit der Enter Taste.
Nun lässt sich die gewünschte Information anwählen.
Drücken Sie die Enter Taste, um Ihre Auswahl zu bestätigen.
Manual Control
Mit dieser Funktion lassen sich manuell die einzelnen Funktionen des Gerätes
anwählen.
Die Auswahl erfolgt über die Tasten an der Frontseite des Gerätes.
Drücken Sie die Enter Taste, um in die Systemeinstellungen zu gelangen.
Wählen Sie in den Systemeinstellungen den Menüpunkt „Manual Control“ aus
und bestätigen Sie mit der Enter Taste.
Nun lässt sich die gewünschte Funktion anwählen.
Drücken Sie die Enter Taste, um Ihre Auswahl zu bestätigen.
DEUTSCH ENGLISH
Page 6
DEUTSCHENGLISH
6
Safety Instructions! Please read before connection and operation!
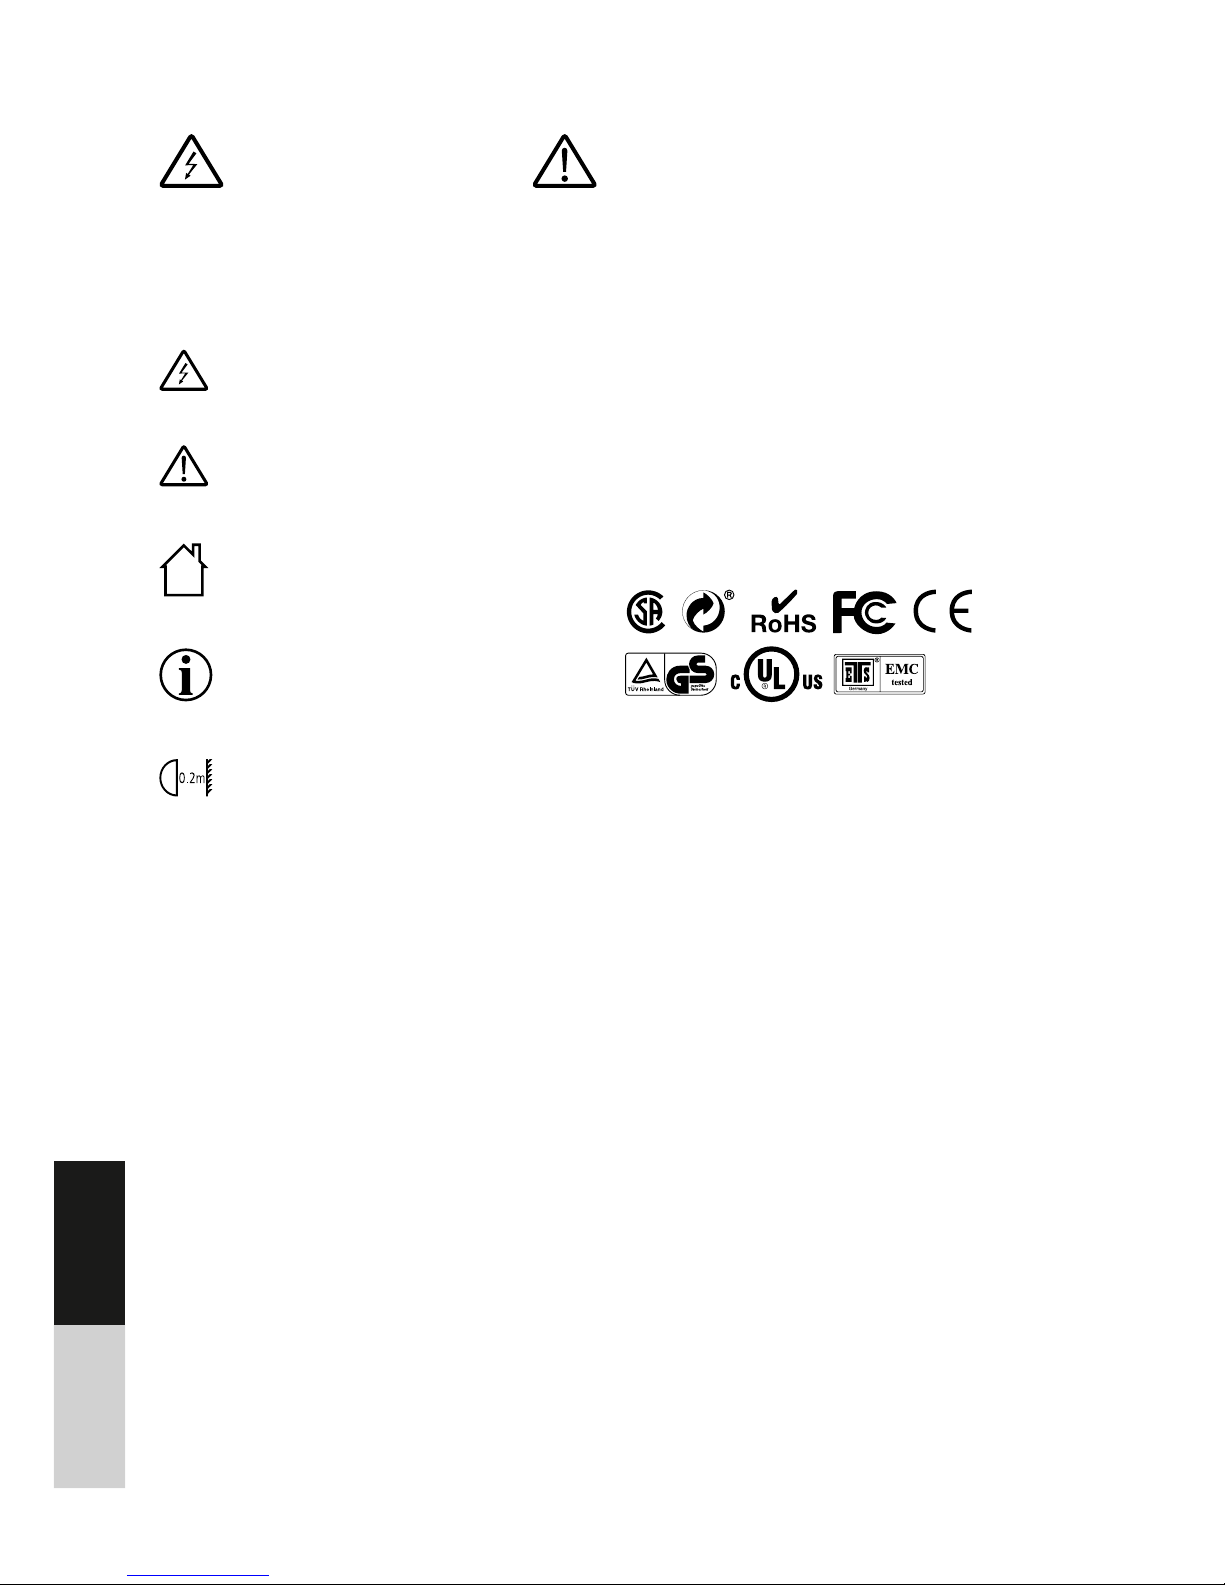
RISK OF ELECTRIC SHOCK
DO NOT OPEN
WARNING: To prevent the risk of electrocution, do not open
the device.
Please leave all maintenance and repairs to a qualified service
workshop or contact your distributor.
The lightning flash symbol warns the user about
non-insulated current and the risk of electrocution.
The exclamation mark symbol warns the user
about important maintenance and operating instructions in the manual.
Intended for indoor use only.
Read the manual.
This symbol indicates the minimum distance to
illuminated objects.
• Please recycle the packaging correctly to protect the
environment.
• Occasionally a new product may cause undesirable
odours or even emit smoke for a short period of time.
This reaction is normal and will disappear after a few
minutes.
• The device is intended exclusively for us indoors (IP20)!
Please use this device only in dry environments. Keep the
device away from rain, moisture, direct heat and dust.
• To prevent condensation from forming in the device,
please allow the device to adapt to the surrounding
temperature before operating.
• Please position the device in a well ventilated area,
beyond the reach of flammable materials or liquids.
• Do not block any ventilation openings, as it may cause
over-heating.
• Please remove the power cable if the device is not
operated for extended periods of time or maintenance is
to be conducted.
• This device is designed to operate in environments with a
maximum temperature of 40° Celsius.
• The installation of the device is not to be conducted by
inexperienced persons and must adhere to the mechanical and electrical safety standards of the local law.
• In case of a damaged power cable, it must be replaced
by an original replacement part from the manufacturer.
• Ensure that the supply voltage does not exceed the
voltage capacity indicated on the housing of the device.
• In case of failure of the device, please contact the distributor and stop all operations of the device immediately.
• The device must keep a minimum distance of one metre
from flammable materials or liquids.
WARNING: Do not look directly into the light source!
Do not operate this device in the presence of persons suffering
from epilepsy!
OVERHEAD INSTALLATION
The installation must be performed exclusively by qualified
personnel. Incorrect installation can cause serious injuries or damage. Note the load limits of the selected installation position.
Ensure that during installation or dismantling/ maintenance
there are no unauthorized persons below the device.
Manufacturer: MUSIC STORE professional GmbH,
Istanbulstraße 22-26, 51103 Köln, Germany
Page 7
DEUTSCH ENGLISH
7
Congratulations on owning your new LightmaXX product!
Thank you for choosing this LightmaXX product. Before using this product, please read
this manual carefully in order to understand and be informed about all of its various
features and functions, for your own safety and that of others.
Please keep this manual in a safe place.
Enjoy your new product!
Your LightmaXX Team
Guaranty
The current terms and conditions as well as the warranty terms
of the MUSIC STORE professional GmbH apply.
Can be viewed at: www.musicstore.de
For more information or any questions please contact us at:
MUSIC STORE professional GmbH
Istanbulstr. 22-26
51103 Köln
Director: Michael Sauer
WEEE-Reg.-Nr. DE 41617453
Tel: +49 221 8884-0
Fax: +49 221 8884-2500
Scope of delivery
Qty. Name
1x LightmaXX Vega MATRIX Wash
1x Manual
1x Power Adapter
1x Omega Bracket
Model Vega MATRIX Wash
Power consumption 115 Watt
Supply voltage 240V 50/60 Hz
LED Source 9x 12 Watt RGBW LED
DMX Channels 13 Channel / 48 Channel
Control Mode DMX 512, Master-Slave, Auto Run, Sound 2 Light
Display LCD Display
Dimensions 440 x 340 x 430mm
Weight 7 Kg
Technical Data
Page 8

8
DEUTSCHENGLISH
While in any Submenu, press the Menu button to go back to
the Main Menu.
Menu Overview: look at page 14
Functions
DMX Address Settings
This function allows the DMX Address to be adjusted via the LCD Display.
Press the Enter button to reach the System Settings.
Select “DMX Address” from the System Settings menu and confirm using the
Enter button.
The desired DMX Address can now be selected.
Press the Enter button to confirm the selection.
Run Mode
This function allows the Operating Mode of this device to be adjusted via the
LCD Display.
Press the Enter button to reach the System Settings.
Select “Run Mode” from the System Settings menu and confirm using the Enter
button. The desired Mode can now be selected.
Press the Enter button to confirm the selection.
Language Setting
This function allows the Display Language to be adjusted via the LCD Display.
Press the Enter button to reach the System Settings.
Select “Language” from the System Settings menu and confirm by pressing the
Enter button.
The desired language may now be chosen.
Press the Enter button to confirm the selection.
Advanced Setting
This function allows the Advanced Settings to be configured via the LCD Display.
Press the Enter button to reach the System Settings.
Select “DMX Advanced Setting” from the System Settings menu and confirm by
pressing the Enter button.
The desired settings may now be adjusted.
Press the Enter button to confirm the selection.
Page 9

9
DEUTSCH ENGLISH
System Info
This function displays the System Information via the LCD Display.
Press the Enter button to reach the System Settings.
Select “System Info” from the System Settings menu and confirm by pressing
the Enter button.
The desired information may now be selected.
Press the Enter button to confirm the selection.
Manual Control
This function allows the individual functions of this device to be selected manually. Press the Enter button to reach the System Settings.
Select the “Manual Control” submenu from the system settings and confirm by
pressing the Enter button.
The desired function may now be selected.
Press the Enter button to confirm the selection.
Page 10
10
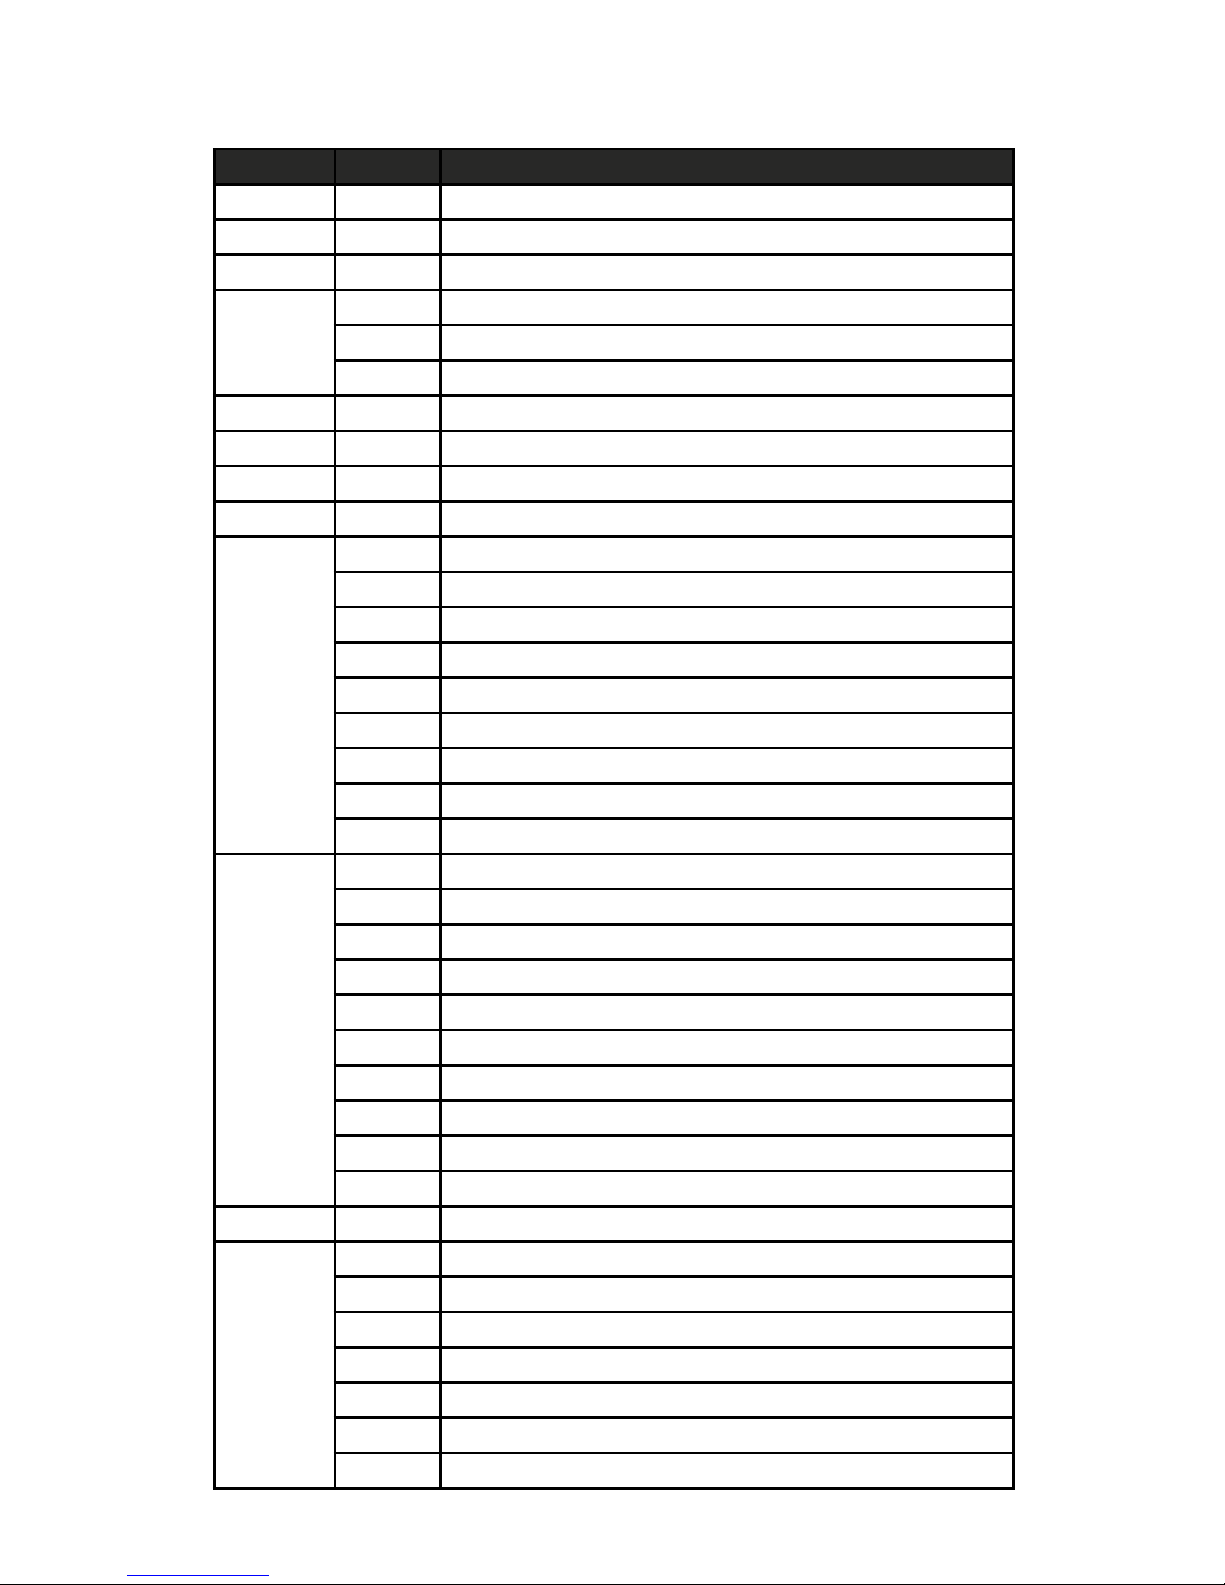
Channel Value Description
CH1 000-255 X
CH2 000-255 Y
CH3 000-255 Dimmer (0-100%)
CH4
000-004 Shutter closed
005-250 Strobe effect slow to fast
251-255 Shutter open
CH5 000-255 R(ALL)
CH6 000-255 G(ALL)
CH7 000-255 B(ALL)
CH8 000-255 W(ALL)
CH9
000-007 Empty
008-037 LED Run 1
038-067 LED Run 2
068-097 LED Run 3
098-127 LED Run 4
128-157 LED Run 5
158-187 LED Run 6
188-217 LED Run 7
218-255 LED Run 8
CH10
000-007 Empty
008-037 LED Auto Play 1
038-067 LED Auto Play 2
068-097 LED Auto Play 3
098-127 LED Auto Play 4
128-157 LED Auto Play 5
158-187 LED Auto Play 6
188-217 LED Auto Play 7
218-247 LED Auto Play 8
248-255 LED Sound Control MODE
CH11 000-255 LED Auto Play Speed (Slow to Fast)
CH12
000-007 Empty
008-033 X/Y auto run 1
034-059 X/Y auto run 2
060-085 X/Y auto run 3
086-111 X/Y auto run 4
112-137 X/Y auto run 5
138-163 X/Y auto run 6
13 Channel Definition Table
Page 11
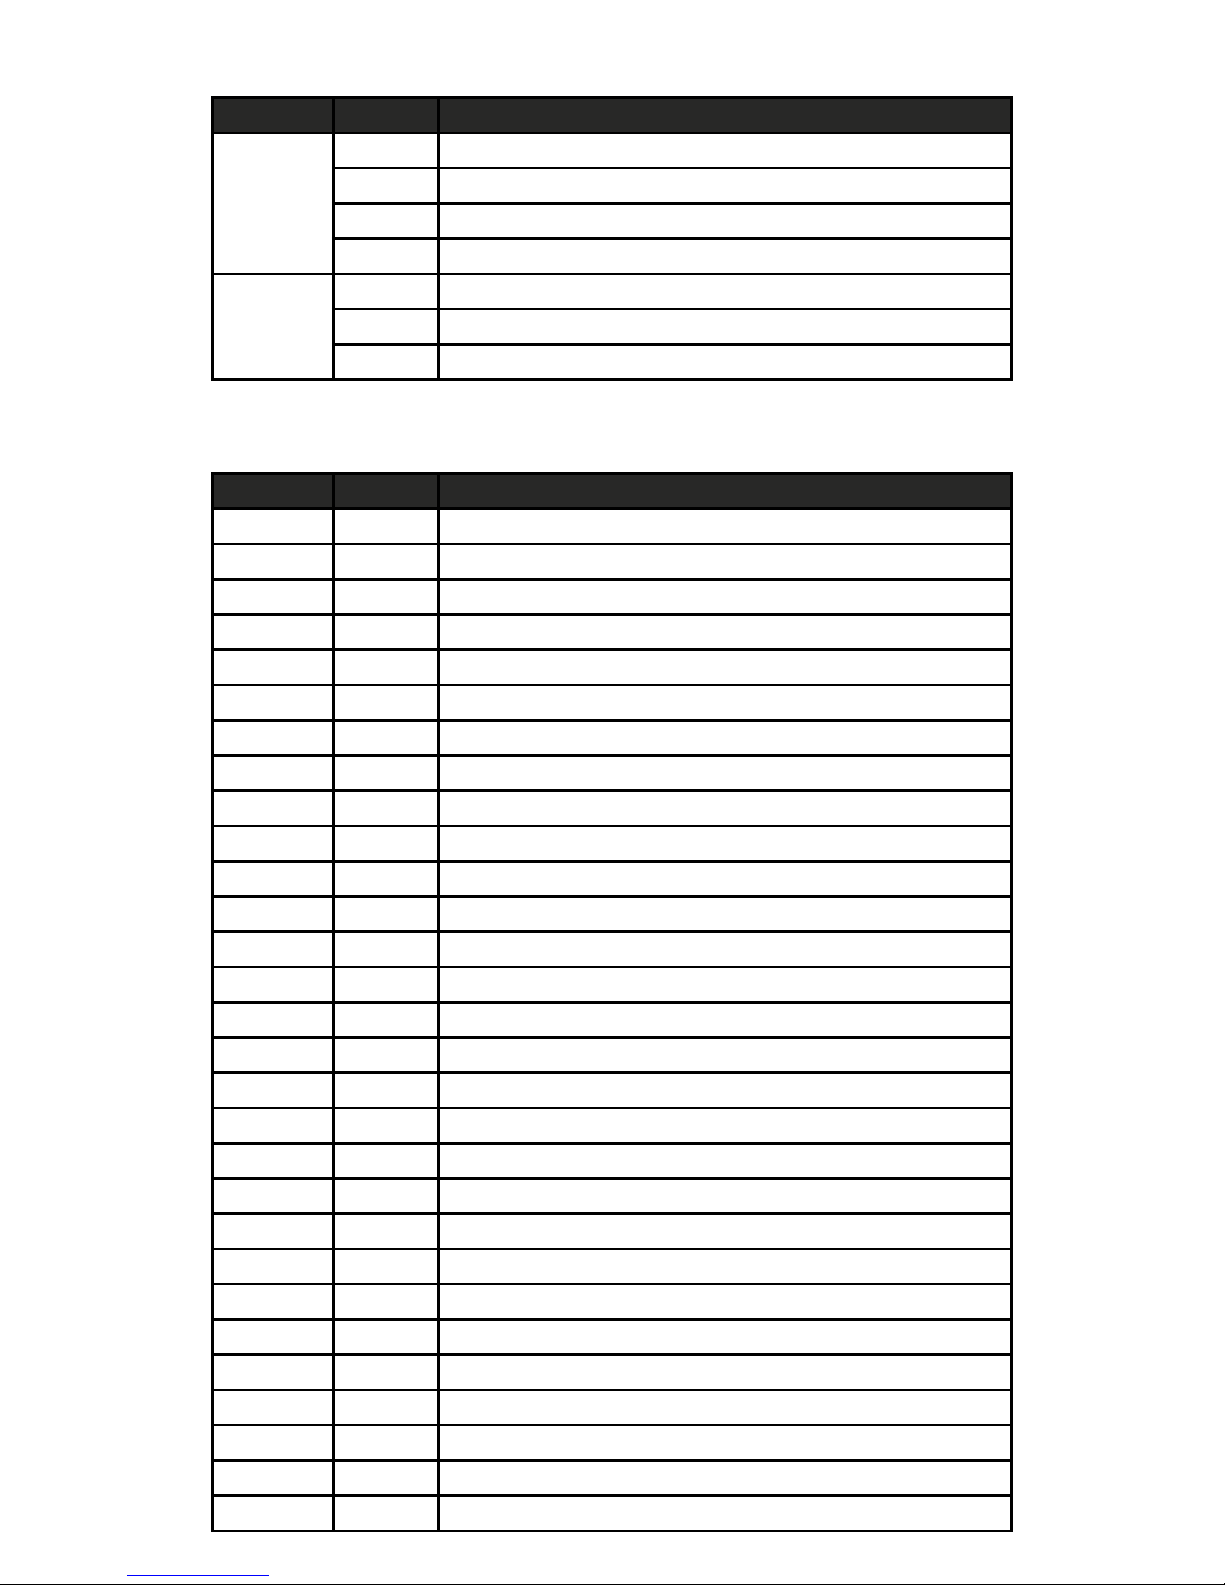
Channel Value Description
CH12
164-189 X/Y auto run 7
190-215 X/Y auto run 8
216-240 X/Y auto run 9
241-255 X/Y Sound Control
CH13
000-199 Empty
200-209 Reset Motor
210-255 Empty
11
Channel Value Description
CH1 000-255 X
CH2 000-255 X-Fine
CH3 000-255 Y
CH4 000-255 Y-Fine
CH5 000-255 XY SPEED
CH6 000-255 Dimmer (0-100%)
CH7 000-004 Shutter closed
005-250 Strobe effect slow to fast
251-255 Shutter open
CH8 000-255 Red 1
CH9 000-255 Green 1
CH10 000-255 Blue 1
CH11 000-255 White 1
CH12 000-255 Red 2
CH13 000-255 Green 2
CH14 000-255 Blue 2
CH15 000-255 White 2
CH16 000-255 Red 3
CH17 000-255 Green 3
CH18 000-255 Blue 3
CH19 000-255 White 3
CH20 000-255 Red 4
CH21 000-255 Green 4
CH22 000-255 Blue 4
CH23 000-255 White 4
CH24 000-255 Red 5
CH25 000-255 Green 5
CH26 000-255 Blue 5
CH27 000-255 White 5
48 Channel Definition Table
Page 12
12
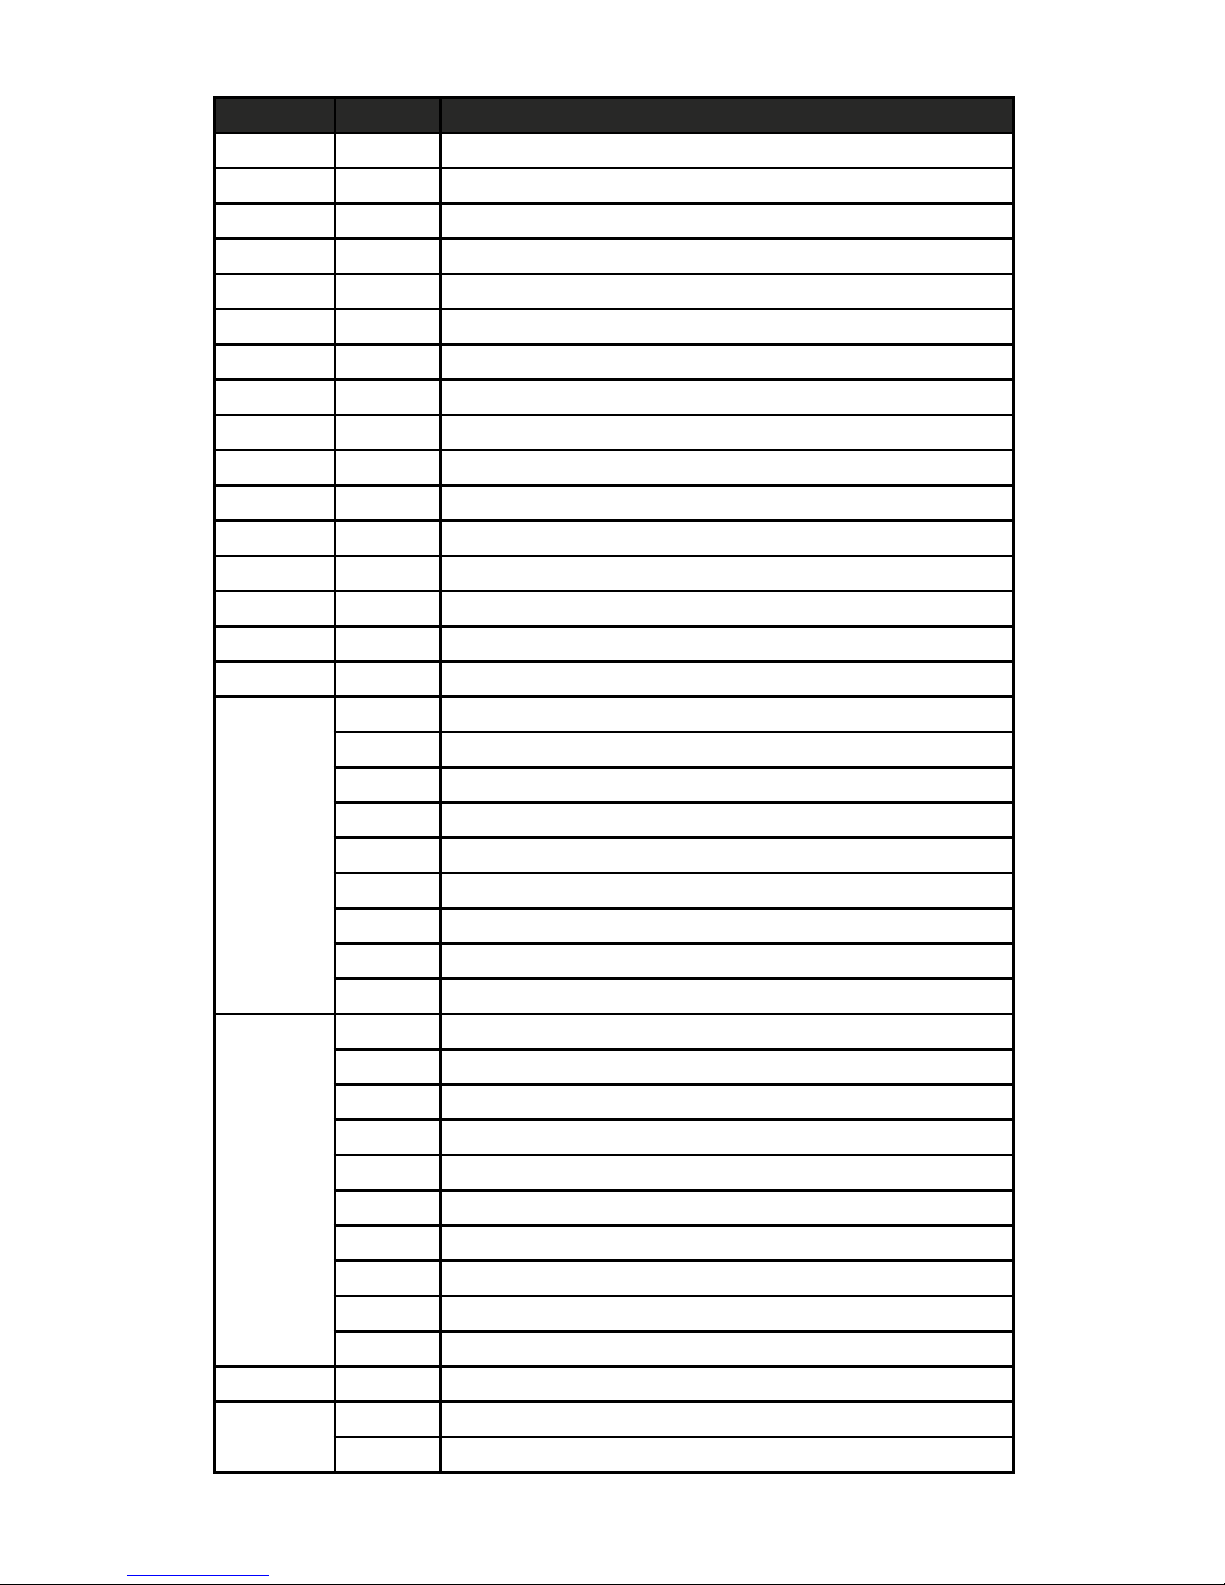
Channel Value Description
CH28 000-255 Red 6
CH29 000-255 Green 6
CH30 000-255 Blue 6
CH31 000-255 White 6
CH32 000-255 Red 7
CH33 000-255 Green 7
CH34 000-255 Blue 7
CH35 000-255 White 7
CH36 000-255 Red 8
CH37 000-255 Green 8
CH38 000-255 Blue 8
CH39 000-255 White 8
CH40 000-255 Red 9
CH41 000-255 Green 9
CH42 000-255 Blue 9
CH43 000-255 White 9
CH44
000-007 Empty
008-037 LED Run 1
038-067 LED Run 2
068-097 LED Run 3
098-127 LED Run 4
128-157 LED Run 5
158-187 LED Run 6
188-217 LED Run 7
218-255 LED Run 8
CH45
000-007 Empty
008-037 LED Auto Play 1
038-067 LED Auto Play 2
068-097 LED Auto Play 3
098-127 LED Auto Play 4
128-157 LED Auto Play 5
158-187 LED Auto Play 6
188-217 LED Auto Play 7
218-247 LED Auto Play 8
248-255 LED Sound Control MODE
CH46 000-255 LED Auto Play Speed (Slow to Fast)
CH47
000-007 Empty
008-033 X/Y auto run 1
Page 13
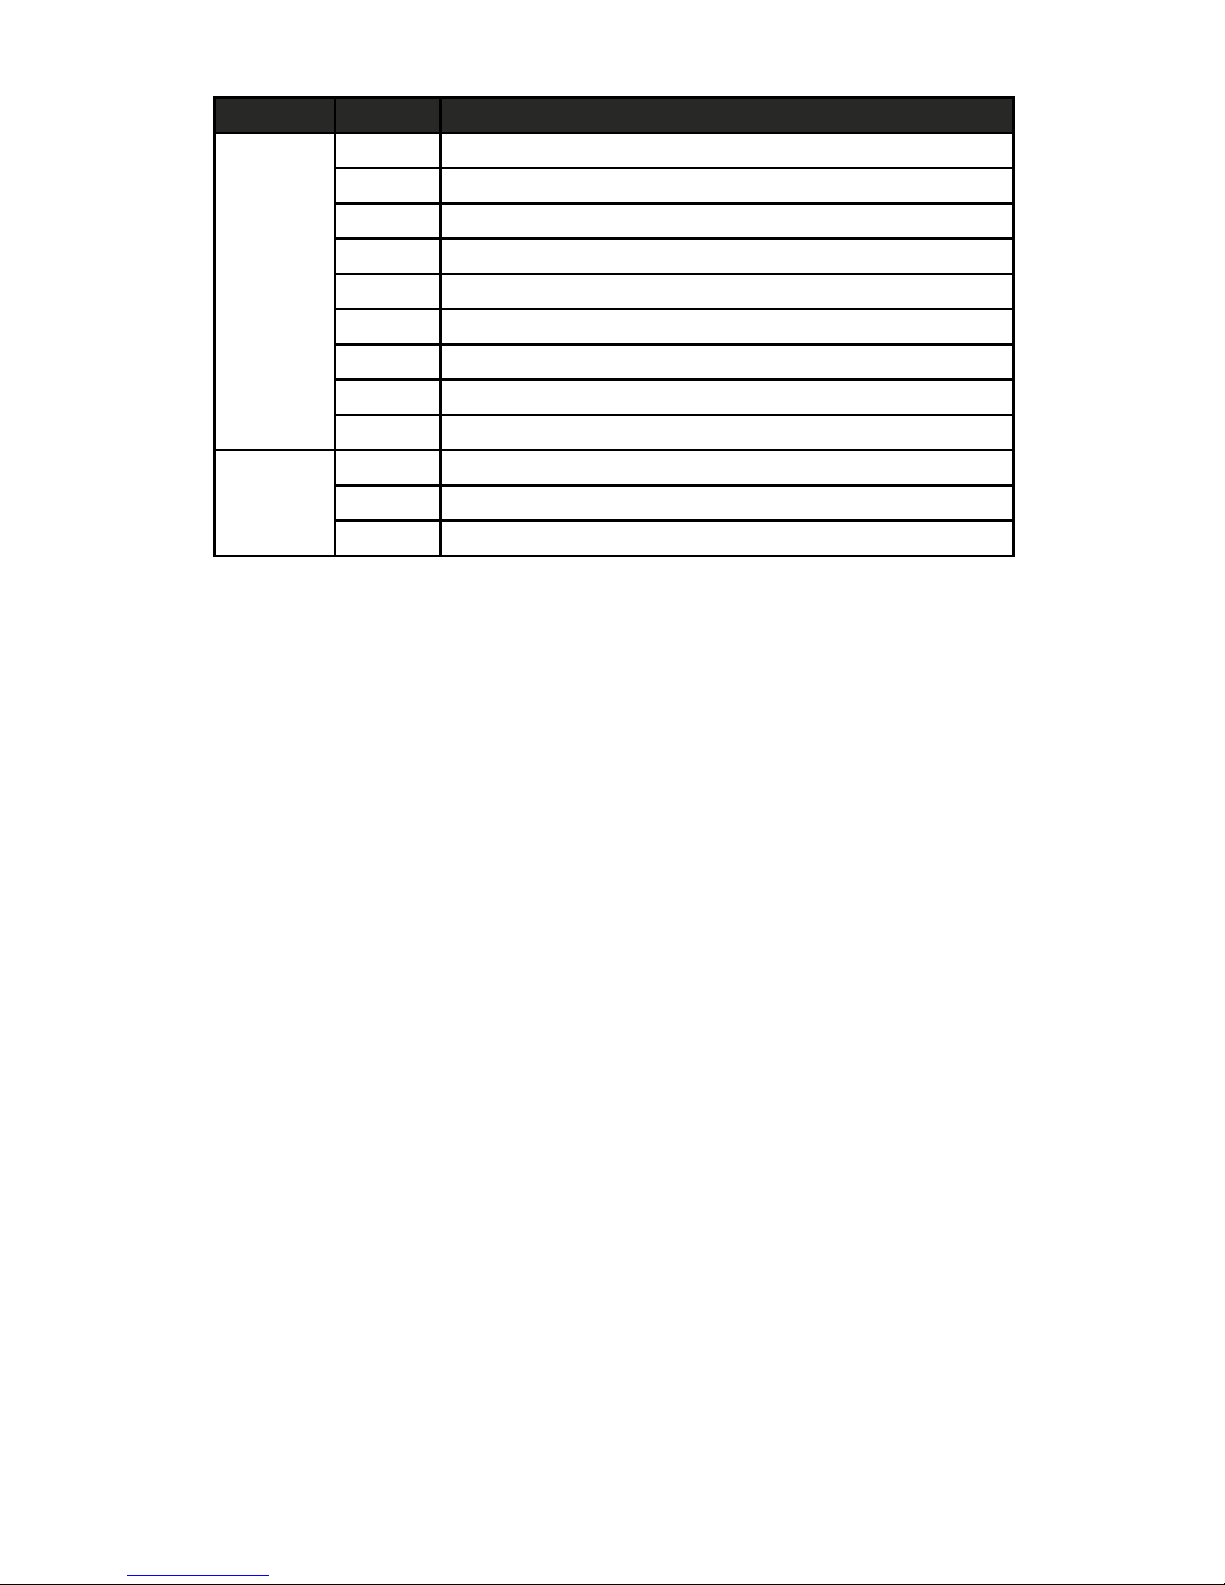
Channel Value Description
CH47
034-059 X/Y auto run 2
060-085 X/Y auto run 3
086-111 X/Y auto run 4
112-137 X/Y auto run 5
138-163 X/Y auto run 6
164-189 X/Y auto run 7
190-215 X/Y auto run 8
216-240 X/Y auto run 9
241-255 X/Y Sound Control
CH48
000-199 Empty
200-209 Reset Motor
210-255 Empty
13
Page 14
14
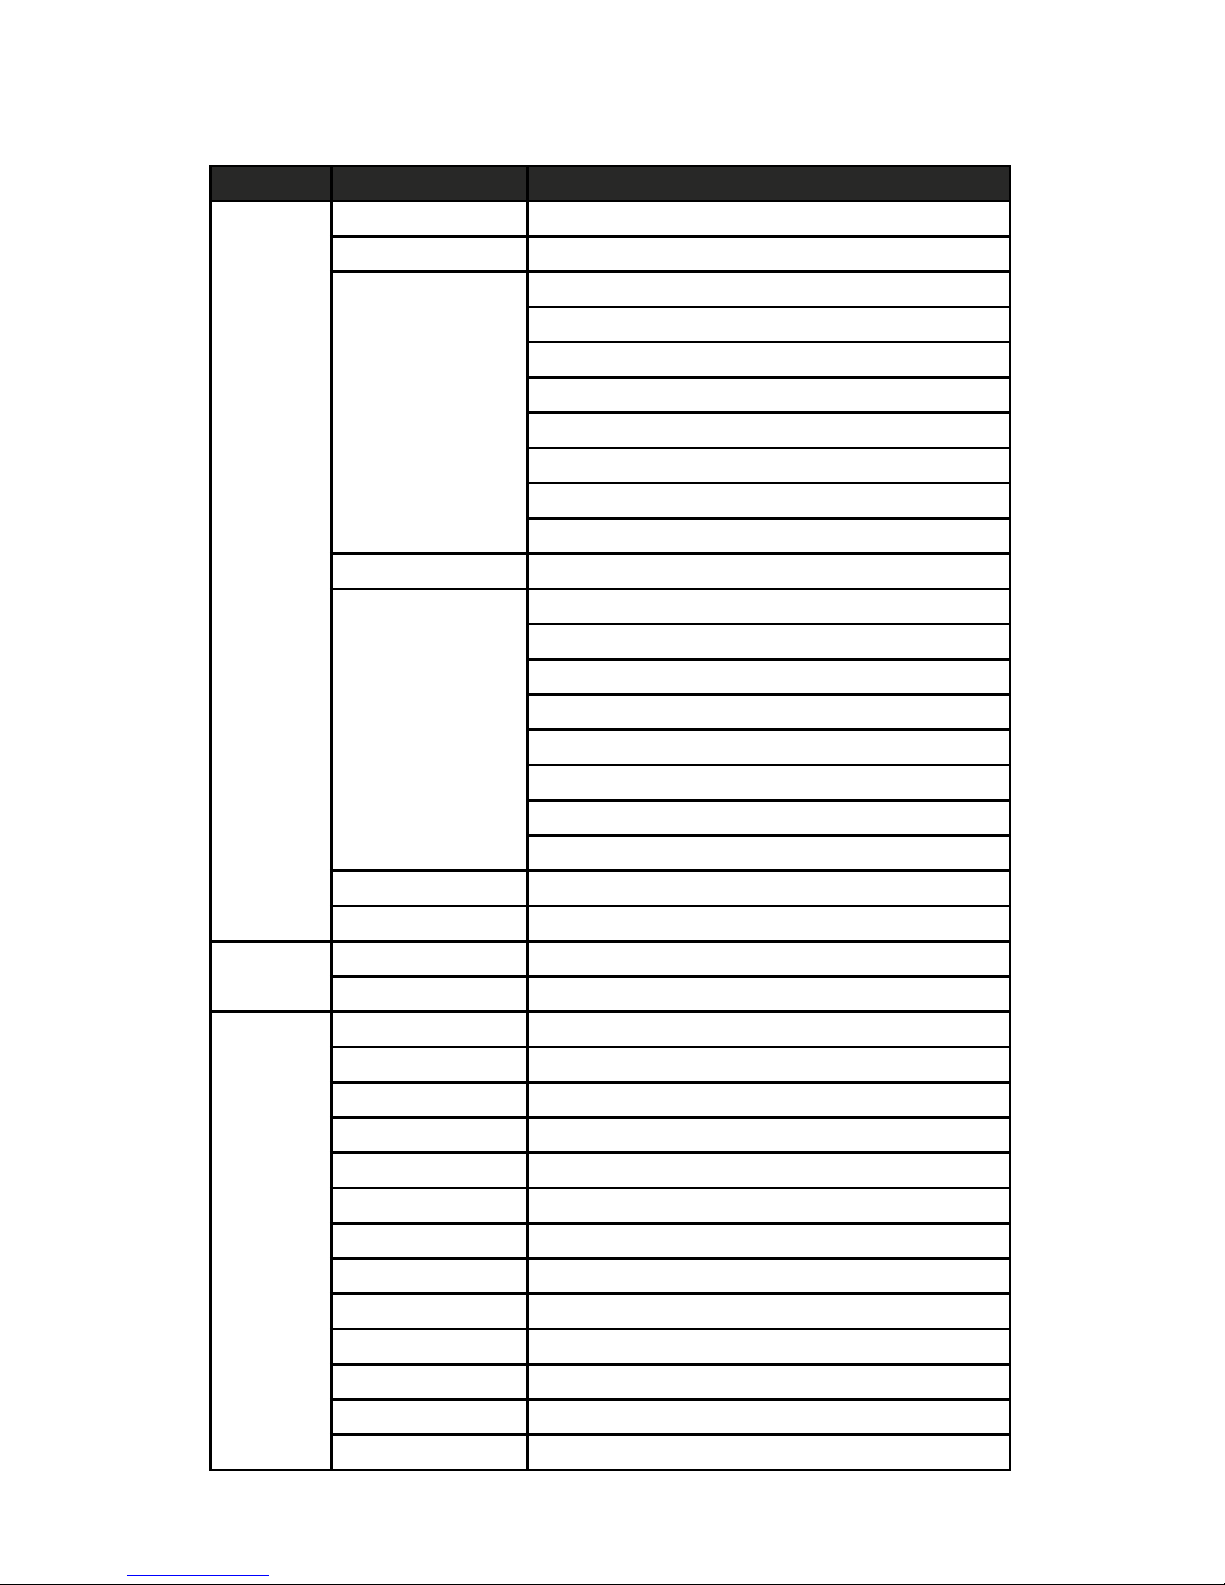
Menu Overview
Number Name Value
Run Mode
DMX 13 CH
DMX 48 CH
Auto Perform Mode 1
Perform Mode 2
Perform Mode 3
Perform Mode 4
Perform Mode 5
Perform Mode 6
Perform Mode 7
Perform Mode 8
Sound Control
Master Auto Run Perform Mode 1
Perform Mode 2
Perform Mode 3
Perform Mode 4
Perform Mode 5
Perform Mode 6
Perform Mode 7
Perform Mode 8
Master Sound Control
Slave Run
Language
Setting
Chinese
English
Advanced
Setting
Pan Reverse
Tilt Reverse
Display Reverse
Reset Motor
Factory Reset
Home Position Password Code =018
PAN =000
TILT =000
Red =000
Green =000
Blue =000
White =000
Mic Sensitivity =000
Page 15
15
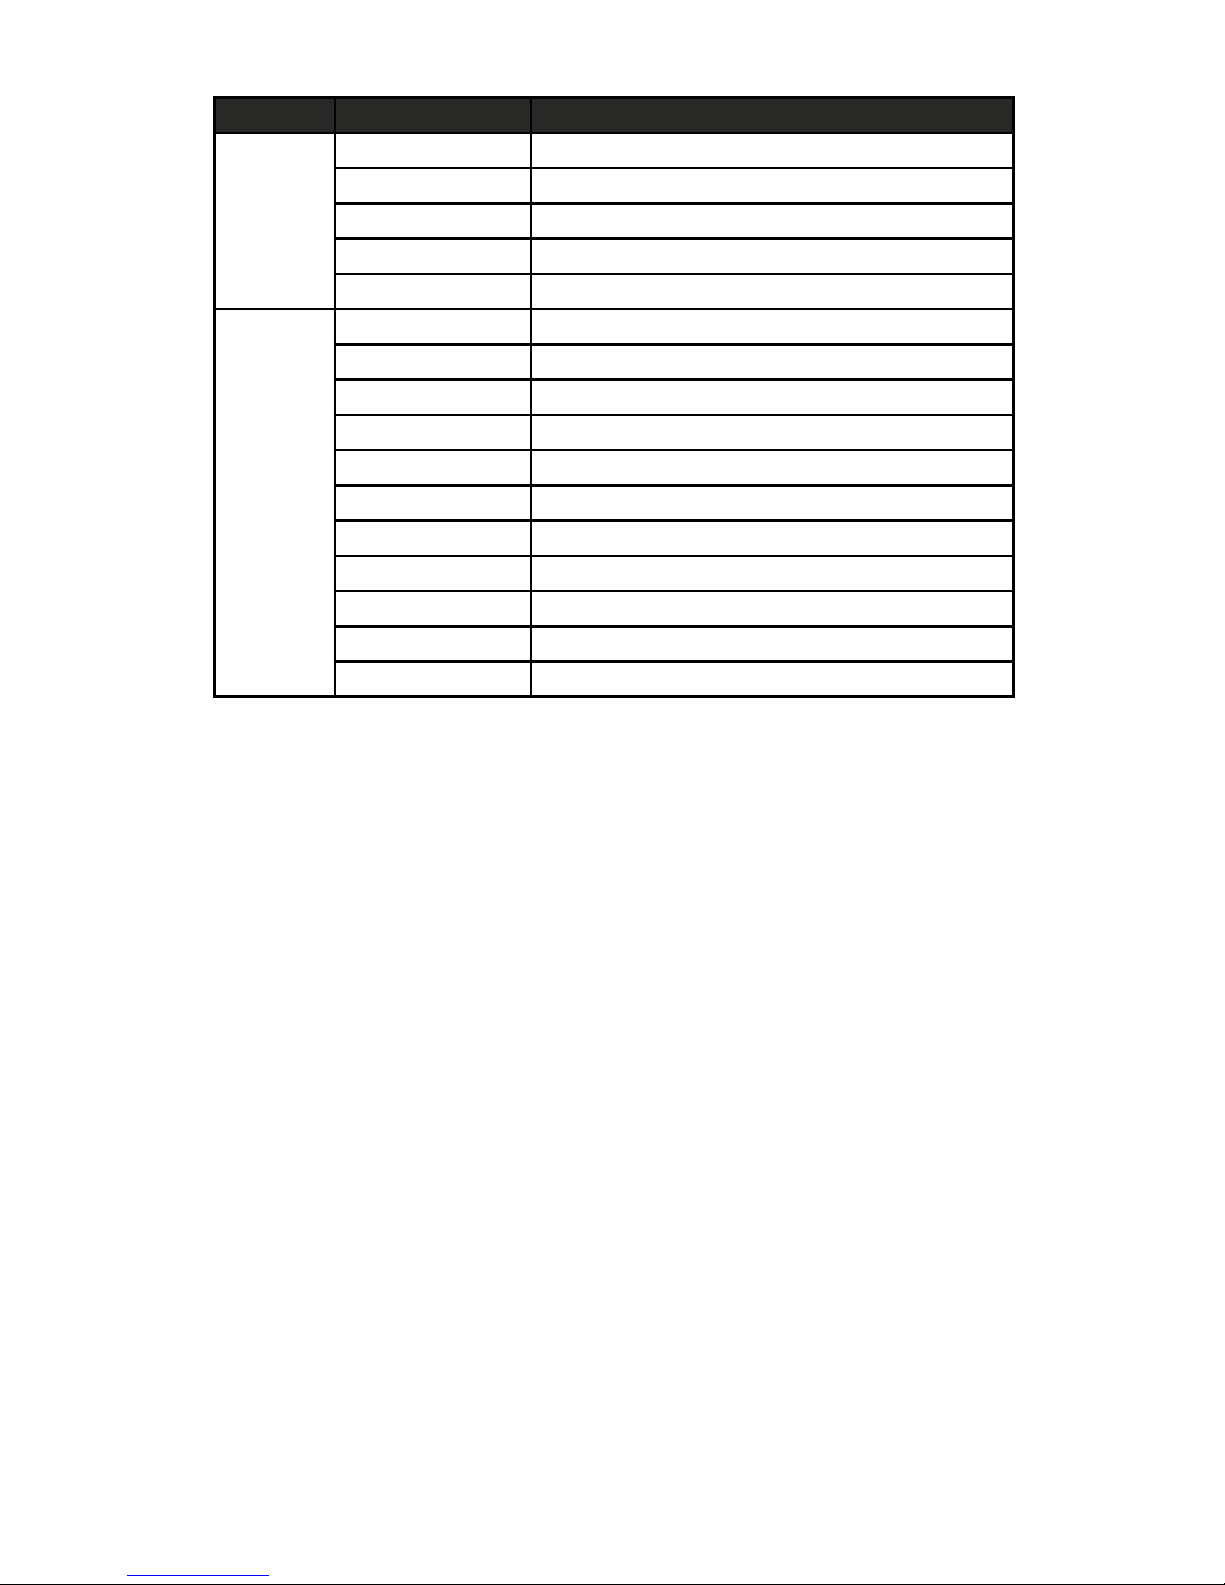
Number Name Value
System
State
On Time
Accumulative Time
Current Run Mode
Temperature
Software Version
Manual
Control
PAN PAN =000
PAN-FINE PAN-Fine =000
TILT TILT =000
TILT-FINE TILT-Fine =000
Move Speed Move Speed =000
Dimmer Dimmer =000
Strobe Strobe =000
Red =000
Green =000
Blue =000
White =000
Page 16
MUSIC STORE professional GmbH • Istanbulstr. 22-26 • 51103 Köln
Tel: +49 221 8884-0 • Fax: +49 221 8884-2500
Subject to change without notice • Technische Änderungen vorbehalten
MATRIX Wash
 Loading...