

Bedienungsanleitung
User Manual
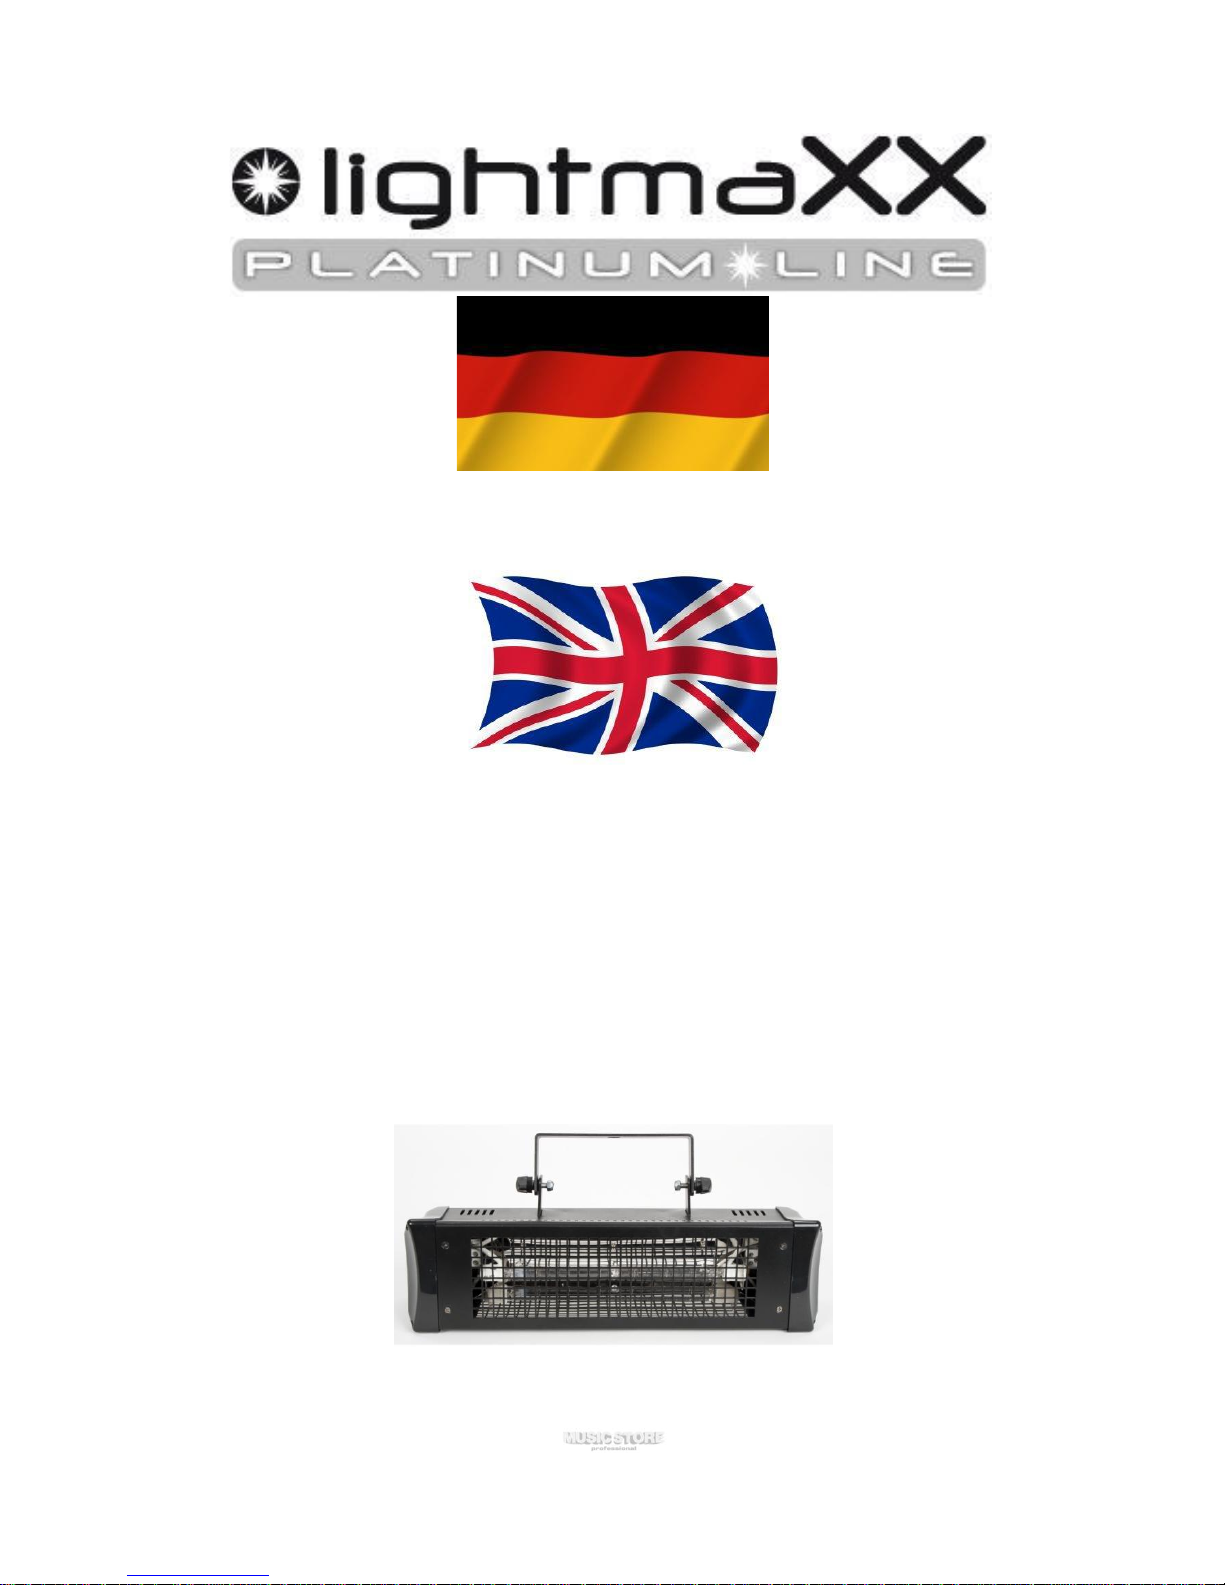
LIGHTMAXX
Pro Strobe 750 MKIII DMX
LIG0007869-000

Bedienungsanleitung
Zu Ihrer eigenen Sicherheit! Lesen Sie diese Bedienungsanleitung vor der ersten
Inbetriebnahme sorgfältig durch.
Wichtig:
Der Hersteller übernimmt keine Gewährleistung für Schäden aus unsachgemäßem
Gebrauch oder durch bauliche Veränderungen am Produkt.
- Vermeiden Sie den Kontakt des Stromkabels mit anderen Kabeln.
- Entfernen Sie nicht den Warnhinweisvermerk auf dem Produkt.
- Öffnen Sie das Gerät nicht und nehmen Sie keine Modifikationen vor.
- Betreiben Sie das Produkt nicht an einem Dimmer-Pack
- Schalten Sie das Produkt nicht in kurzen Intervallen an und aus. Dies reduziert
die Haltbarkeit!
- Das Produkt ist zur „Indoor“-Verwendung konzipiert.
- Nicht in der nähe von brennbaren Materialien, Flüssigkeiten oder Gasen
benutzen.
- Ziehen Sie den Netzstecker bevor Sie das Gerät warten. Ziehen Sie das
Netzkabel stets am Steck und nicht am Kabel.
- Die Netzspannung muss zwischen 220V-240V betragen.
- Bei Beschädigungen am Produkt ziehen Sie umgehend den Netzstecker.
Lassen Sie das Gerät fachgerecht überprüfen bevor Sie es erneut in Betrieb
nehmen.
- Benutzen Sie das Produkt nicht umgehend nach großen Temperatursprüngen
(z.B. nach dem Transport).
- Benutzen Sie ausschließlich Austauschsicherungen des selben Typs und der
selben Stärke.
- Führen Sie Reparaturen am Gerät niemals selber durch.
Unsachgemäßer Betrieb:
Unsachgemäßer Betrieb kann zu Beschädigungen am Gerät führen und führt zum Verlust
der Garantie.
Im speziellen kann der unsachgemäße Gebrauch u.a. zu Kurzschlüssen, Bränden,
Elektroschocks und Lampenfehlern führen.
Setzten Sie sich und andere Personen nicht dieser Gefahr aus und vermeiden Sie den
unsachgemäßen Gebrauch!
Technische Spezifikationen:
- DMX Kanäle: 2
- Spannung: AC230V~50Hz
- Sicherung: 15A
- Leistungsaufnahme: 800W
- Maße: 400 x 85 x 150 mm
- Gewicht: 2,1 Kg

Betriebsmodi:
Die Lightmaxx Pro Strobe 750 MKIII DMX hat 3 verschiedene Betriebsmodi.
1: Manueller Modus
Um den manuellen Modus zu aktiveren setzten Sie alle Dip-Schalter auf die „Off“-Position.
Stellen Sie die Blitzrate und die Helligkeit direkt am Produkt ein. Das Strobe startet sobald
Sie das Produkt an die Spannungsversorgung angeschlossen haben.
2: Musiksteuerungsmodus
Um den Musiksteuerungsmodus zu aktiveren setzten Sie alle Dip-Schalter auf die „Off“Position und den Dip-Schalter 9 auf „On“. Die Helligkeit stellen Sie direkt auf der Rückseite
des Gerätes ein. Das Strobe startet nun im Musiksteuerungsmodus sobald Sie das Produkt
an die Spannungsversorgung angeschlossen haben.
3: DMX-Modus:
Um den DMX-Modus zu aktiveren setzten Sie alle Dip-Schalter auf die „Off“-Position und den
Dip-Schalter 10 auf „On“. Stellen Sie nun die von Ihnen gewünschte Adresse über die DipSchalter 1-9 ein. Das Strobe startet nun im DMX-Modus sobald Sie das Produkt an die
Spannungsversorgung angeschlossen haben.
DMX Belegung:
Kanal
Funktion
1
Strobe (Geschwindigkeit)
2
Dimmer (0%-100%)
Wartung:
Ziehen Sie stets den Netzstecker bevor Sie das Produkt reinigen oder warten.
Beschädigungen am Produkt durch falsche Wartung stellen keinen Garantiefall dar. Halten
Sie das Produkt sauber. Benutzen Sie keine Flüssigkeiten und Alkohol zum reinigen. Stellen
Sie Sicher, dass das Produkt stets trocken ist wenn Sie es in Betrieb nehmen.

User Manual
FOR YOUR OWN SAFETY, PLEASE READ THIS USER MANUAL CAREFULLY BEFORE
YOUR INITIAL START-UP!
IMPORTANT:
The manufacturer will not accept liability for any resulting damages caused by the non-
observance of this manual or any unauthorised modification to the equipment.
• Never let the power-cable come into contact with other cables. Handle the power-cable and all
mains voltage connections with particular caution!
• Never remove warning or informative labels from the equipment.
• Do not open the equipment and do not modify the equipment.
• Do not connect this equipment to a dimmer-pack.
• Do not switch the equipment on and off in short intervals, as this will reduce the system’s life.
• Only use the equipment indoors.
• Do not expose to flammable sources, liquids or gases.
• Always disconnect the power from the mains when equipment is not in use or before cleaning!
Only handle the power-cable by the plug. Never pull out the plug by pulling the power-cable.
• Make sure that the available voltage is between 220v/240v.
• Make sure that the power-cable is never crimped or damaged. Check the equipment and the
power-cable periodically.
• If the equipment is dropped or damaged, disconnect the mains power supply immediately. Have
a qualified engineer inspect the equipment before operating again.
• If the equipment has been exposed to drastic temperature fluctuation (e.g. after transportation),
do not switch it on immediately. The arising condensation might damage the equipment. Leave
the equipment switched off until it has reached room temperature.
• If your product fails to function correctly, discontinue use immediately. Pack the unit securely
(preferably in the original packing material), and return it to your dealer for service.
• Only use fuses of same type and rating.
• Repairs, servicing and power connection must only be carried out by a qualified technician.
THIS UNIT CONTAINS NO USER SERVICEABLE PARTS.
OPERATING DETERMINATIONS
If this equipment is operated in any other way, than those described in this manual, the product
may suffer damage and the warranty becomes void.
Incorrect operation may lead to danger e.g.: short-circuit, burns, electric shocks, lamp failure etc.
Do not endanger your own safety and the safety of others!
Incorrect installation or use can cause serious damage to people and property.

Technical Specifications:
DMX channels: 2CH
Voltage: AC 230V - 50Hz
Fuse: 15 Amp
Power Consumption: 750W
Dimensions: 400 x 85 x 150 mm
Weight: 2,1 Kg
Operations:
There are 3 operating modes to choose from:
1, Manual 2, Sound Active 3, DMX
Manual Mode
To run the Strobe in Manual mode, set all dip switches to the “OFF” position.
In manual mode the unit will function as a normal strobe light, Rate (speed) and intensity
(brightness) are set directly on the unit. Note that these settings are made by using the controls
on the rear of the unit. Once the settings are made they can only be changed by physically
adjusting the controls on the unit. Be aware of this if you plan on installing your strobe in a
permanent installation.
Flash speed is controlled via the SPEED control
Flash dimming is controlled via the DIMMER control.
Sound active Mode
To run the Firecracker Strobe in Sound active mode, set dip switch 9 to the “ON” position. The
Dimming will still be controlled by the DIMMER control on the back of the unit. Note that these
settings are made using the controls on the rear of the unit. Once the settings are made they can
only be changed by physically adjusting the controls on the unit. Be aware of this if you plan on
installing your strobe in a permanent installation.
Flash Dimming is controlled via the DIMMER control.
Flash Speed is controlled by the Music
DMX Mode
To run the Strobe into DMX mode, set dip switch 10 to the “ON” position. You can now set the
required DMX address using dip switches 1 to 9. The start address for this fixture is 1. Please
refer to the chart below for DMX functions.
DMX Chart
This unit obtains 2 DMX channels and can match to use with any international standard DMX512
controller.
CH1: STROBE (speed) CH2: DIMMER (0-100%)

Maintenance:
Always disconnect the electric mains power supply before cleaning or servicing. Damages
caused by non-observance are not subject to warranty.
The DMX Strobe requires almost no maintenance. However, you should keep the unit clean.
Wipe the cover with a damp cloth.
Do not immerse in liquid.
Do not use alcohol or solvents
Make sure the equipment is fully dry before re-connecting to the mains.
 Loading...