

Light-For-Me Video Light 3XML User Manual

light-for-me
Video Light 3XML
User’s manual
Please read the Video Light 3XML user’s manual carefully before the first use and keep it
for future reference.
Scuba diving is treated as an extreme sport and requires proper training and certification.
Using scuba equipment, Video Light 3XML included, by an untrained and inexperienced
person without proper certification may cause health damage and even risk of death.
light-for-me Video Light 3XML:
-
up to 3600 lumens
-
120 degrees
-
6300 K
-
made from anodised aluminium
-
built-in Li-Ion protected battery pack
-
burn time: 60min
-
simple charging
-
dedicated Li-Ion charger included
-
clamp with ball included
Switching on/off
To switch the light on, twist the body to the head right (clockwise direction)
until the light goes on. To switch the light off, twist the body left (anticlockwise direction) to the first moment when the light goes off and stop.
Should you continue to twist the body off the head, you may flood the light
and that may cause irreversible damage to the product.
Make yourself familiar with switching the light on/off before entering the
water. Do not leave the light switched on on the surface for more than 5
seconds.
Do not point the light directly into your or anyone else’s eyes.
Charging
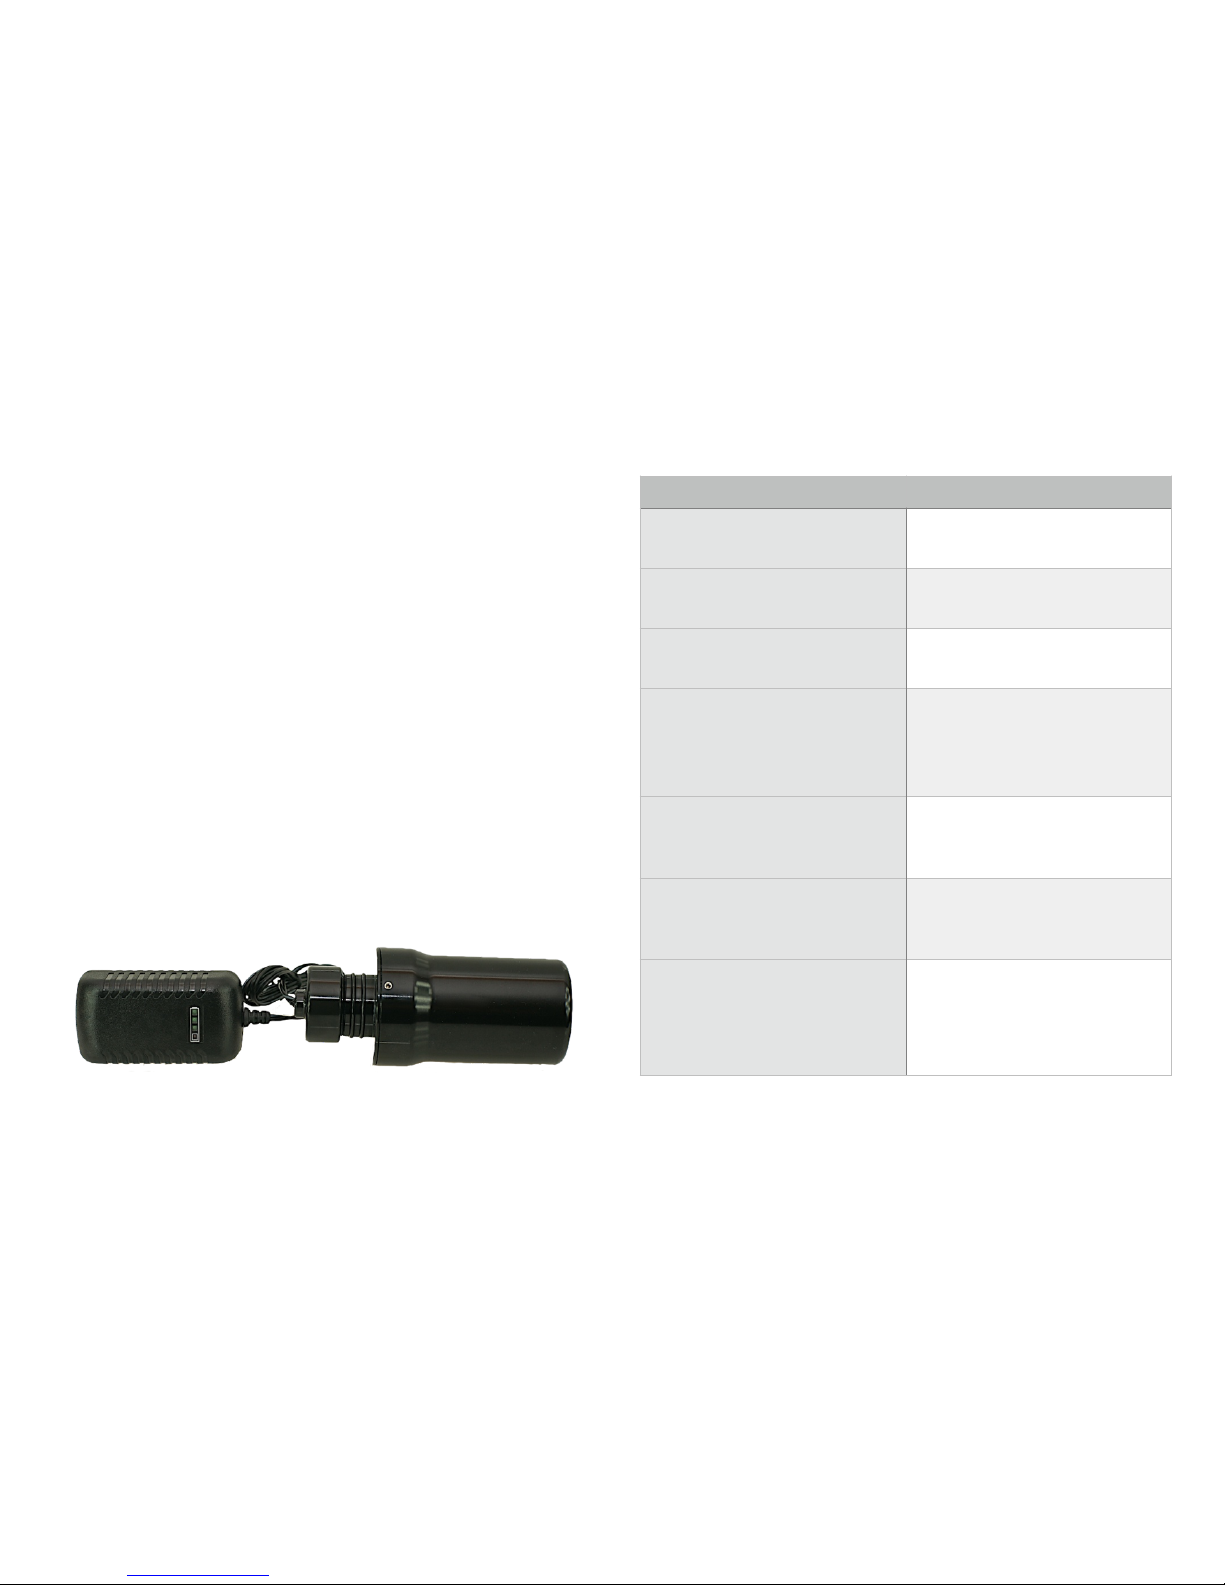
To charge Video Light 3XML untwist the body from the head.
Twist the body of the light to the charging port (round plug with spring - see
photo below). Do not twist the charging port and cable as this may cause
damage to the charger cable and its connection with the charging port.
Then plug the charger to the mains.
Depending on the charger type:
* The red POWER diode will appear on the charger and then it will do a
self-test - three green diodes start flashing one by one. After that the
charger will start charging process indicating at the same time the charge
level of the battery pack. Each solid green diode indicates 33% of the
battery pack charged.
* The red POWER / CHARGING diode will light on the charger. After the
charging process has finished, the green diode goes on.
After the charging process has finished, unplug the charger from the mains
and disconnect it from the Video Light body (untwist the body - do not twist
the charging port and cable). Do not keep the light on charge after the
charging processed has finished.
Video Light 3XML Maintenance
Before each dive check the overall condition of the Video Light 3XML.
Check orings that seal the Video Light Body to the head. Torn, cut or
damaged orings should be replaced with new ones as they may cause
flooding of the light.
www.light-for-me.com
The orings sealing the body to the head should be lightly smeared with
technical petroleum jelly (vaseline) or other nonaggressive grease which
makes it easier to operate the light underwater and makes it watertight.
Remove any dust or grain from the orings before twisting the body to the
head.
While slowly twisting the body to the head make sure the sealing orings
are correctly placed in their position and are not twisted or sticking out.
Orings should sit firmly in their grooves and should not be too loose as
they may not work properly underwater.
When needed, clean with a tissue the unanodised ring on the body and the
golden ring around the spring in the light head - these surfaces might get
dirty with grease (normal result of usage) which might block or limit the
connection between the body (battery pack) and light head.
Storage
Rinse the video light in lukewarm fresh water - make sure the body is
twisted to the head while doing it. Dry it thoroughly and check its overall
condition.
Store the light with battery pack charged.
Check the orings’ condition, clean and grease if needed.
Store the light in a dry place, away from moist.
Make sure the light does not go on accidentally during transport or storage.
The charger shown above is one of the two types available with the Video Light 3XML.
Troubleshooting
Manual Version 1.2
www.light-for-me.com
Problem
Solution
Video Light 3XML does not switch on.
Charge the video light according to the
instructions provided. Clean the connection
surfaces with a tissue.
One /some of the LEDs is not working.
Video Light needs to be serviced. The LED
is damaged and/or burnt. Contact the
manufacturer / seller for further instructions.
One/some of the LEDs seem to be
darker than the rest.
Video Light needs to be serviced. The LED
is burnt. Contact the manufacturer / seller
for further instructions.
The light spot of the video light seems
to be different / irregular. The light
power seems to be lower.
Video Light needs to be serviced. The LED
is probably damaged due to too high
temperature inside the head (from
switching the light on the surface for too
long time). Contact the manufacturer /
seller for further instructions.
Video Light was open underwater / body
untwisted too far from the head. There is
water in the head. The front glass is
fogged from the inside.
The set needs to be serviced, it has
flooded. Contact the manufacturer / seller
for further instructions.
Sealing orings are damaged, torn or cut.
Orings need replacing. High risk of flooding
the video light if it is immersed in water with
its orings damaged. Contact the
manufacturer / seller for further instructions.
Charger does not work properly.
Nothing happens when it is plugged to
the mains. The power led does not come
on. The green less flash.
Clean the connection surfaces on the Video
Light body and charger round plug. Check
charger’s cord. If the issue continues
contact the manufacturer / seller for further
instructions.
 Loading...