

Page 1

IMPORTANT
DO NOT TOUCH MIRRORED SURFACE OF THE REFLECTOR UPON BULB CHANGE.
This will result in contamination to the highly re ective surface. It is advisable to wear safety glasses and gloves when replacing
the bulb. A clean cloth and alcohol may be used to remove any nger prints or external residue from the bulb surface. The
XGT housing must only be washed with soapy water, do not use solvents or solvent based cleaning agents as they may cause
damage. The light is designed to be run with the clear covers at all times to prevent damage to the front lens. XGT lights can
be mounted and used in any orientation!
INSTALLATION
It is important that the light be mounted on a at surface that supports the base fully and is isolated from excessive vibration. It
is equally important to ensure that there is adequate clearance once in position between the rear of the housing and any vehicle
structure to allow freedom of movement in the event of impact.
Carefully tighten the mounting bolt to 50 ft/lbs. Be particularly careful if using a spanner or wrench with greater than
normal leverage.
It is a good idea to have your existing electrical wiring relay with the terminals facing down. This helps protect the relay from
water spray damage. If the cable supplied as standard is not long enough, you must use the correct diameter cable to extend
the wiring harness. Ensure polarity by connecting RED to (+) positive and BLACK to (-) earth. If you are unsure PLEASE contact
a quali ed electrician.
In a safe location, ideally on a at long straight stretch of road loosen the adjustment on both axis and aim the lights as desired.
Lightforce Wiring Harness is available as an optional accessory.
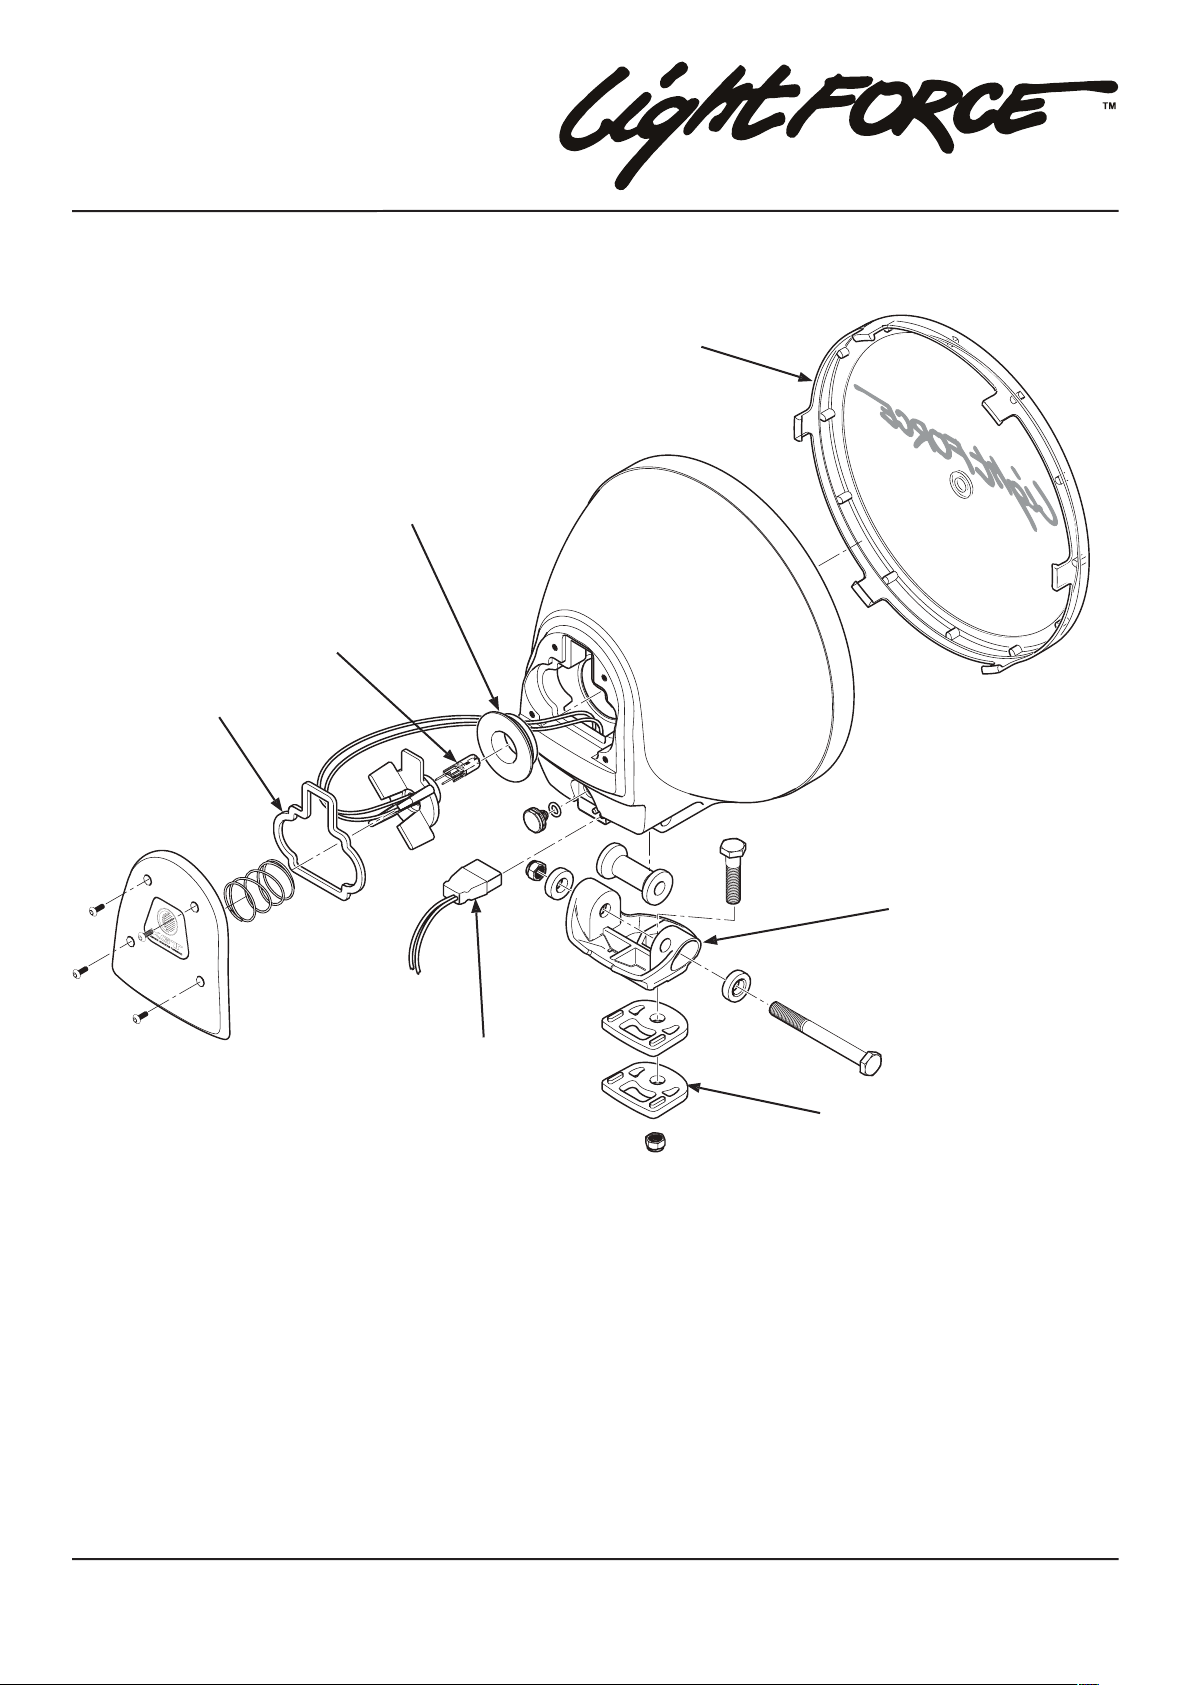
BULB REPLACEMENT
Note
Note
4.
When tting the bulb grasp the bulb by the glass while using the protective wrapping or tissue to prevent the bulb from
glass base is touching the bulb holder. Make sure the bulb lament is directly in line with the centre line of the bulb
the blue bulb seat with the power wires inserted between the “X” of the bulb holder.
Be careful when reseating the gasket that it is positioned correctly and the four screws evenly tensioned to ensure that
the housing remains sealed.
240 XGT INSTALLATION INSTRUCTIONS
PERFORMANCE LIGHTING
Australia: Tel: 08 8440 0888 | Fax: 08 8346 0504 • Int’l: Tel: +618 8440 0888 | Fax: +618 8346 0504
All logos and images are subject to relevant trademark and copyright protection LIGHTFORCE Pty Ltd | © Oct 2006 • Data and speci cations contained maybe subject to change without notice.
accessories, bulbs, batteries or voltage or operation of the product beyond its technical and or environmental speci cation.
NOVEMBER 2006
Page 2
Australia: Tel: 08 8440 0888 | Fax: 08 8346 0504 • Int’l: Tel: +618 8440 0888 | Fax: +618 8346 0504
All logos and images are subject to relevant trademark and copyright protection LIGHTFORCE Pty Ltd | © Oct 2006 • Data and speci cations contained maybe subject to change without notice.
accessories, bulbs, batteries or voltage or operation of the product beyond its technical and or environmental speci cation.
PERFORMANCE LIGHTING
 Loading...