

Page 1
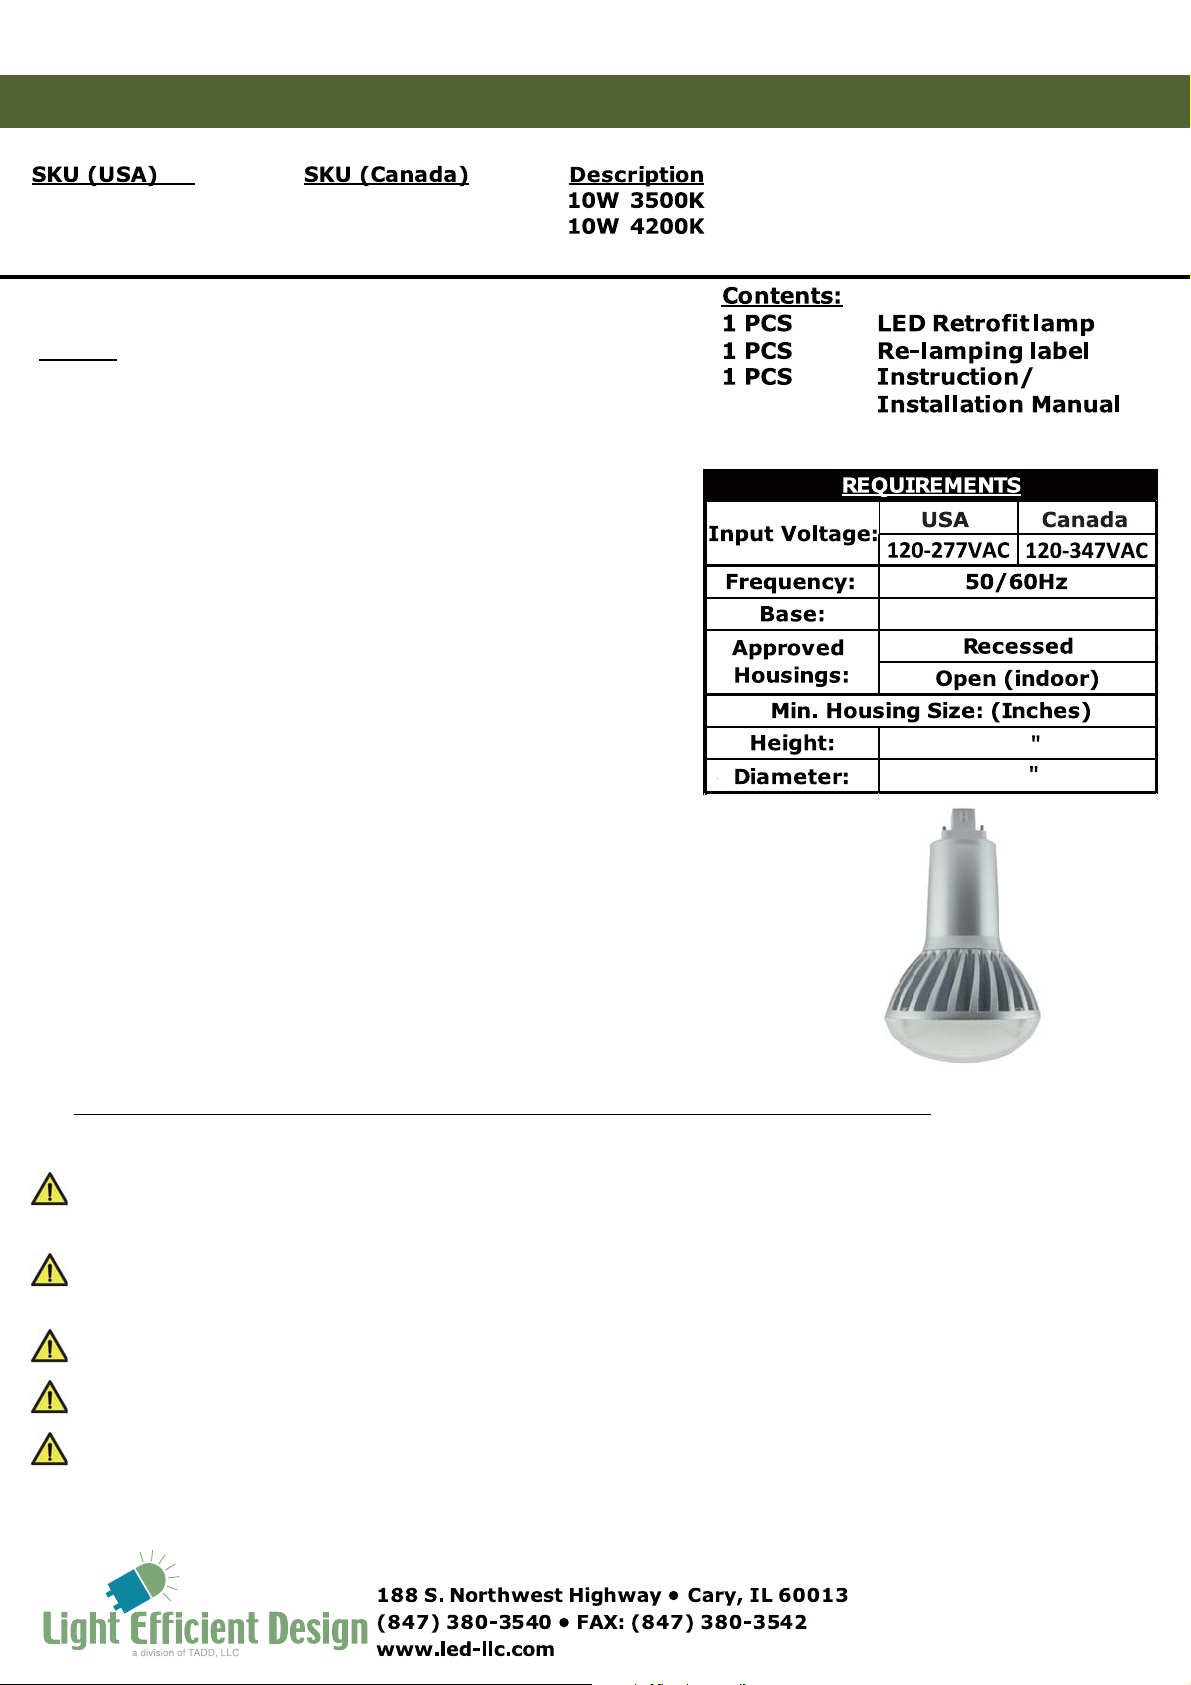
LED-7308 PL Retrofit Instruction/Installation Manual
LED-7308-35A
LED-7308-42A
Notes:
1.Bef ore beginning installation of LED f or PL lamp, please
read the com plete instructions listed below. Keep this
document for future reference
2.To avoid possible electric shock, power supply must be
turned off at fuse box or circuit breaker before installing or
se rvicing.
3.Dropping or impacting lamp during installation may
cause damage and may void warranty.
4.Risk of Fire: High voltage wiring c
must have a temperature rated minimum of 194eF.
5.Bef ore installation of any LED f or PL model into existing
CFL PL f ixture, check your local electrical code. This code
sets wiring standards for your area and should caref ully
studied bef ore starting installation
6.Protect the lamp from dust and dirt, clean with sof t damp
cloth only, do not use chemical cleaners.
7.When installing
recessed f ixtures, electronic ballast must be bypassed
when present.
8.LED-7308 Can be operated in either horizontal or vertical
or ientation (base down only).
9.
Not for use within enclosed fixtures.
10.The recessed luminaire can not use with through-branch wiring.
LED PL retrofit lamps within fluorescent
LED-7308-35C
LED-7308-42C
onnecting the f ixture
G24q-1, 2, or 3
7.0
4.5
IMPORTANT SAFETY INSTRUCTIONS FOR LED RETROFIT CONVERSION:
FOR USE ONLY WITH HID LUMINAIRES IN ACCORDANCE WITH THE INSTRUCTIONS PROVIDED
WITH THIS RETROFIT KIT.
WARNING - RISK OF FIRE OR ELECTRICAL SHOCK. LED retr of it k it installation requires
knowledge of luminaires electrical systems. If not qualified, do not attempt installation.
Contact a qualified electrician.
WARNING - RISK OF FIRE OR ELECTRICAL SHOCK. Install this kit only in the luminaires
that have the construction features and dimensions shown in the photographs and/or drawings
and where the input rating of the retrofit kit does not exceed the input rating of the luminaire.
WARNING - Do not make or alter any open holes in an enclosure of wiring or electrical
components during kit installation.
WARNING - To prevent wiring damage or abrasion, do
housing or other sharp surf ace.
WARNING - Suitable f or DRY LOCATIONS. Not for use with electronic ballast. NOT SUITABLE FOR
USE IN ENCLOSED LUMINAIRES.
THIS DEVICE IS NOT INTENDED FOR USE WITH EMERGENCY EXITS.
not expose wiring to sharp edges of
Page 2
LED-7308 PL Retrofit Instruction/Installation Manual
LED-7308-35A
LED-7308-42A
LED-7308-35C
LED-7308-42C
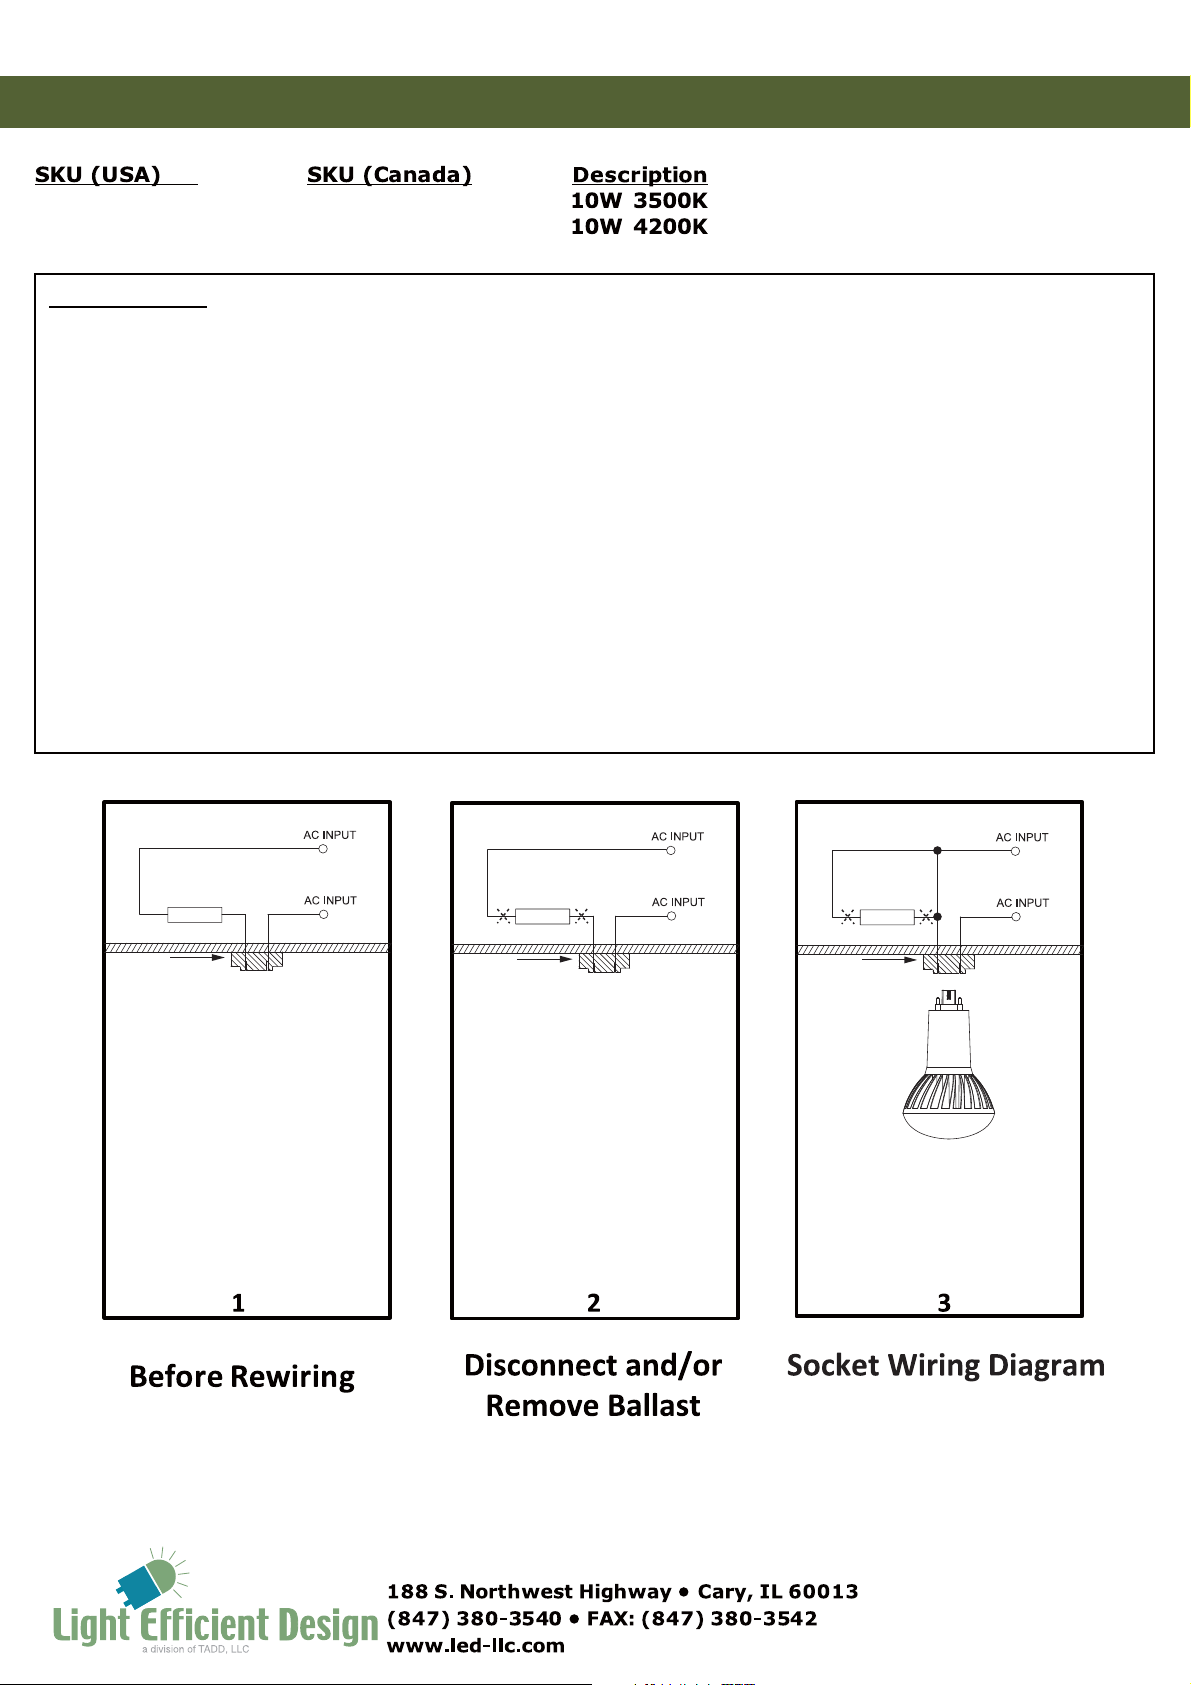
Installation
Note: When retrofitting Electronic Ballast (typically 4 pin) fixture, ballast must
be bypassed or removed. With magnetic ballast retrofits lamp will work with or
without ballast but perform better when operating on Bline-voltage without
ballast.
Step 1: Disconnect Electrical Power to fixture.
Step 2: Remove the ballast where applicable.
Step 3: Connect the two common wires from the power source directly to the
corresponding leads to the socket.
Step 4: Push the retrofit lamp onto the female socket of the existing
luminaire. DO NOT over-torque socket, will cause damage to lamp!
The female socket should has suitable mounting mean which can
support the LED lamps.
Step 5: Apply the silver adhesive label to the inside of the luminaire where it
will be visible during re-lamping.
Step 6: Turn on electrical power to the fixture.
Ballast
4 Pin
Socket
Ballast
4 Pin
Socket
Ballast
4 Pin
Socket
 Loading...