

Page 1
MDT1001
Page 2

Thanks for choosing our product.
This User Manual is designed to guide you through the functions and features
of the device. And we reserve the right to change spec. without prior notice as
continuous product improvement.To ensure your proper use of the device,
please read through the Manual carefully. And the description in this Manual
is based on default setting.Important safety and warning guidance to make
sure normal function of the device:
Warning
To reduce the risk of fire or electric shock, do not expose this device in rain
or moisture.
-Please do not try to dissemble the device by yourself
-Please do not place the device near water, fire, dusty, high temperature
and humid environment
-Please do not drop, or collide and shake the device with force, esp.
touch panel.
-Please do not clean the device by alcohol, or other chemical detergents,
clean the surface only with soft cloth.
-Please do not charge the device in high temperature environment such as
near oven, electric warmer etc. And do not cover the device or adaptor with
quilt, or clothes while charging.
-Please use only with supplied AC adaptor.
-Please charge the device regularly should the device not to be used for long
to keep battery in good condition.
-Replace battery only with authorized personnel.
-Please handle the device with care, dropping or collision accidentally may
lead to device damage or internal data loss.
-Please do not use the device when driving or during walking.
-Please regularly duplicate your data and files saved in this device.
-You're solely responsible for any data loss or damage if due to negligence on
above or repair and battery replacement and other individual reasons.
-Please do not disconnect while the device is formatting or in data-transmitting.
-Always keep away from fire or fire source.
Other points to be noted:
-This device is with internal memory of 8G, while the programs pre-stored
plus Android system already take part of the memory. That's why when you
check File Manager from App list and you will notice less internal storage.
In order to achieve better performance or to download new programs,
please turn off or unload programs used no more to help speeding up
demand and make room for new programs.
-When CPU is working with high speed, esp. in 3D games or playing back HD
video long, the device will get hot and this is normal, while we suggest to
cool down for a while.
Page 3

Attentions
This device complies with Part 15 of the FCC Rules. Operation is
subject to the following two conditions: (1) This device may not cause
harmful interference, and (2) This device must accept any interference
received, including interference that may cause undesired operation.
Warning: Changes or modifications to this unit not expressly approved
by the party responsible for compliance could void the user's authority
to operate the equipment.
NOTE: This equipment has been tested and found to comply with the
limits for a Class B digital device, pursuant to Part 15 of the FCC Rules.
These limits are designed to provide reasonable protection against
harmful interference in a residential installation. This equipment
generates, uses and can radiate radio frequency energy and, if not
installed and used in accordance with the instructions, may cause
harmful interference to radio communications.
However, there is no guarantee that interference will not occur in a
particular installation. If this equipment does cause harmful
interference to radio or television reception, which can be determined
by turning the equipment off and on, the user is encouraged to try to
correct the interference by one or more of the following measures:
*
Reorient or relocate the receiving antenna.
*
Increase the separation between the equipment and receiver.
*
Connect the equipment into an outlet on a circuit different from that to
which the receiver is connected.
*
Consult the dealer or an experienced radio/TV technician for help.
Page 4
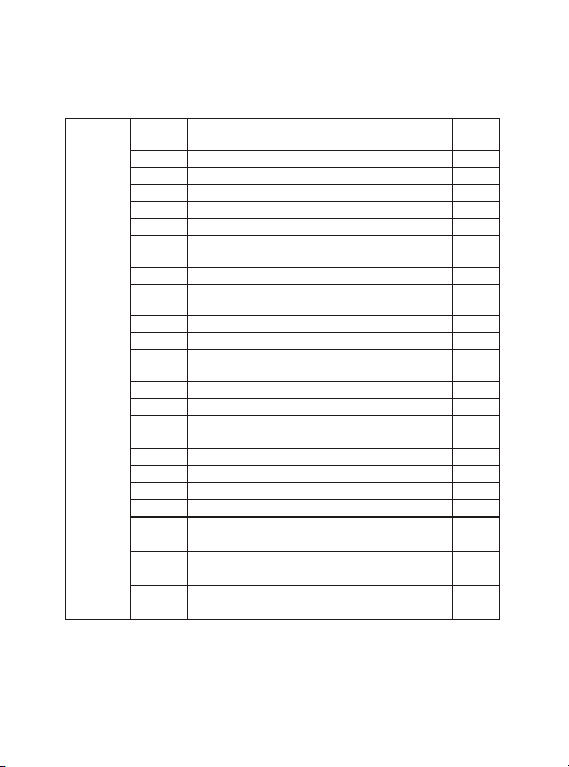
Catalog
Chapter One(overview)
Appearance
1.1
Buttons
1.2
Connections
1.3
Homepage information column
1.4
Text input
1.5
Chapter Two (DVD play mode)
2
Chapter Three (internet)
Browser
3.1
Chapter Four ( )Application
Explorer
4.1
Downloads
4.2
Chapter Five(System setting)
Wireless networks setting
5.1
Sound setting
5.2
Display setting
5.3
Date & Time setting
5.4
Chapter Six
(Rechargeable battery use)
Chapter Seven (Specification)
Troubleshooting (DVD)
1
2
2
3
3
4
6
6
7
7
7
8
8
8
10
11
Page 5
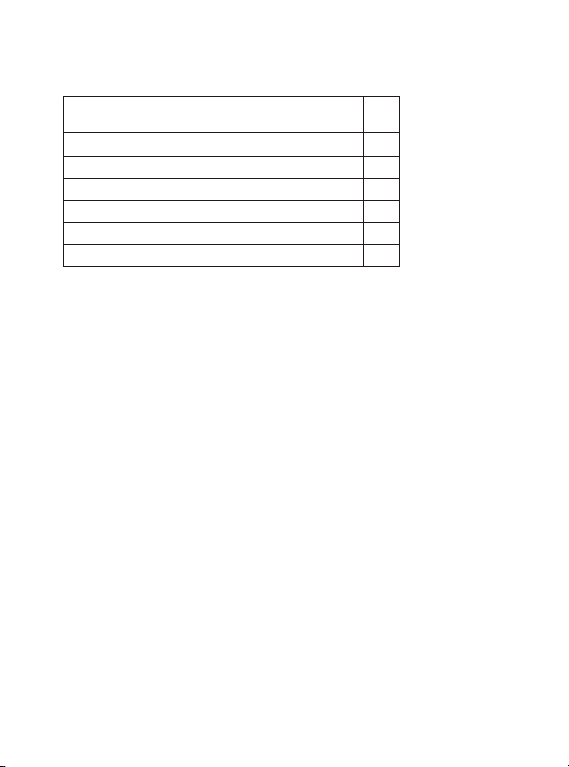
Package
DVD player with tablet combo
DC power car adaptor
Earphone
USB cable
User manual
AC power wall adaptor
1
1
1
1
1
1
Main Features
*10.1" digital panel of higher resolution
*Built-in rechargeable Lithium-ion battery.
*Built-in two speakers.
*Support playback DVD/VCD/CD/MP3
*Support Android 6.0, Quad core,
Arm Cortex-A7 @1.3GHz, wifi: 802.11b/g/n
*Built-in internal memory of 16g
*Support HDMI(Tablet mode), Wireless connection
(Tablet mode)
*Touch control functions.
*Stand on back plate
Page 6

Chapter One Overview
1.1 Appearance
MIC
EARPHONE
RESET
USB
HDMI
Micro SD
Power
Return
Open loader
Volume+
Volume-
1
Page 7

1.2 Buttons
Volume
Press / to adjust volume.
Return button
Press to Return or Exit DVD mode
Power button
Power on
Long press 2~3 seconds, screen will light up and pictures will show up until
the interface page.
Power Off
Long press ,it will show Power off , Reboot , Airplane mode button,choose
Power off to shut off the unit.
Reboot
Long press ,it will show Power off , Reboot , Airplane mode button,choose
Reboot ,to reboot the unit.
Airplane mode
Long press ,it will show Power off , Reboot , Airplane mode button,choose
Airplane mode, to set the unit in airplane mode .
Sleep mode (only in tablet mode)
In boot mode, when tapping ,the system will go into standby mode with screen
turns black, which can save power.
Tap again to go back and light up screen for further operation.
Open loader
Press ,user can open the loader and take in or out the disc.
Lock and unlock the screen
LOCK
You can setup sleep time in the Settings, choose Display.
The system will enter into sleep mode automatically and lock the screen to
standby mode, if without operating exceeding preset time.
UNLOCK
Pull down and drag to unlock the screen and enter application interface.
1.3 Connections
Earphone jack: To connect external earphone
Micro USB jack: For both power supply input and connecting with PC (for the
latter, require an additional OTG cable which is not included in this device.)
HDMI jack: To show video to another TV with HDMI to achieve high
resolution video quality. (This requires a separate HDMI cable, which is not
included in this device.)
Micro SD slot : to insert a Micro SD per instruction.
RESET: To restart the system if abnormal situation happen and the device can't
be turned down. Use a thin object (like the end of a paper clip) to press RESET,
located in the middle of the right side, the device will be reset and power turns off.
Press 2~3 seconds to restart.
MIC: To record if turned on recording function.
2
Page 8

1.4 Home page information Column
WIFI
Battery power
Time
Back Volume -
Screen shot
Recent search
Host interface
Volume +
1.5 Text Input
When use the tablet, you can use the virtual keyboard to enter text, number,
symbols directly by touching screen. After selecting the Android input method,
the default keyboard show as below:
?123
Press to input numbers and letters and change letters in capital or small type
by pressing
3
Page 9

Chapter two: DVD play mode
Touch the icon in the application list to enter DVD play mode.
Press open button to load in a DVD disc, it will play.Touch screen, below
buttons will be show at the bottom.
Previous key Play Pause Next key Repeat Arrows bottons
Exit DVD mode Fast backward Fast forward Stop key A-B Repeat
Move the icon column further to the left, you will find 5 more icons as follows:
DVD menu play Subtitle key Multi Angle
Dvd title play Audio key
For Arrow buttons, touch this button, a little arrow control board will be displayed
on the screen. You can use it to select any item in DVD menu and play, below
diagram for ref. Only.
4
Page 10

When playing DVD, touch screen, disc play info. Will show on screen as follows
(this feature varies per discs):
Touch ‘TITLE” or “CHAPTER”, a number select board will show, you can input
number to select title or chapter to play. Below diagram for ref. Only.
5
Page 11

Chapter three: Internet
3.1 Browser
Require network support before using a web browser, if there are network
supporting problems, please contact your network operator or the service provider.
Tablet's web browser can connect to the Internet. via WIFI to satisfy your business
and individual network needs.
Touch (Setting) to set up the WIFI to connect the internet.
Touch (Browser) in the application list to enter the browser pages; the default
homepage is the Recently viewed one.
Browser supports the following features.
Enter the URL-touch the input area to get the soft keyboard, then text
the URL.
Bookmark searchclick this to add into the bookmark
Touch this to read the favorite website that collected
Touch this to search the internet
Touch this to add new browser
Touch this to close the browser
Chapter four: Application
4.1 Explorer
Touch (File Manager) in the application list, files can be copied and saved into
device internal memory, to and from TF card or USB (in case of USB, need to
connect otg cable, which is not included for the device.).
6
Page 12

4.2 Downloads
Click in the application list, you can view the downloaded or downloading files.
Click file to stop while downloading or delete downloaded files.
Chapter five: System setting
Click to enter System setting interface.
5.1 wireless and networks setting
This setting module includes: the wireless and network Settings The wireless
local area network Settings.
Turn on wireless LAN switch, the system will scan available wireless network
automatically and display the wireless local area network in the list.
Among them, if the local area networks have the sign behind it, it represents
the network has been encryption, it needs to enter the password to connection.
The sign represents the networks do not need password and can be
connected directly.
You can choose the network from the list you want and click it to connect directly,
also you can click the advanced,then click connected to network; you can also
select add wireless local area network to add by hand.
Network notice: When wifi turns on, it will search if there is any open networks.
5.2 Sound setting
In Sound setting, you can choose Volume and setup volume for Media,
Notifications and Alarm.
And you can also change default sound for Notification, turn on/off sound for touch
and screen lock under this setting.
5.3 Display setting
This setting contains: Wallpaper, Brightness, Sleep time, Font size etc.
Wallpaper setting
You can setup wall paper and dynamic wallpaper.
Wallpaper can be chosen from gallery.
7
Page 13

Sleep setting
If the device is not operating for the setup period in this setting, the device will go to
Sleep mode and save power.
Font size
You can setup font size per your needs. There're Small, Normal, Large and Extra
large for your option.
5.4 Date & Time setting
In this interface, you can setup system time.
Time setting
You can use automatic time from the network.
Choose time zone, and then set a specific date and time and display format.
Chapter six:Rechargeable battery use
This device utilizes long-life Lithium-ion battery for portable power supply.
The battery has no memory effect and thus can be recharged safely regardless
Whether it's fully or partially discharged. It's enough to recharge no longer than
5hour each time. Fully recharged battery can last up to 2.5hour for dvd play and
up to 4hour for wifi surfing (when system brightness and volume set at medium).
When press (power button), there will be charging status shown on the screen
while the device is charging in shutdown state.
Note:
*As soon as low power indicated on screen while operating, please recharge the
battery immediately to avoid inconvenience of sudden shutdown.
*Please regularly charge battery should the device not use for long to keep battery
in good condition.
*Using and Maintaining rechargeable battery
The normal working temperature is: 0 ~ 40
Always unplug AC adaptor/DC adaptor from the device when not in use.
It'll get warm and hot when continue to play, it's normal, while avoid long time
playing unattended.
*Avoid colliding with other objects, and place away from possible heat source
and humidity environment.
8
Page 14

Removal Of Waste Battery
Main PCB
Batte
ry
Before to discard EOL unit, please remove the waste battery by below steps:
a. Pull out the screws on the bottom cover by the screwdriver to unpack the
unit.
b. Pull out the screws on the Main PCB board by the screwdriver to unpack
the PCB board and then the battery can be seen.
c. Remove the battery socket from the board.
Battery
9
Page 15

Chapter seven:Specification
Dimensions
Net Weight
LCD
OS
Processor
Memory
WI-FI
Disc surport
Connections
Battery
Service time
Operating temperature
lf at any time in the future you should need to dispose of this product please
note that waste electrical products should not be disposed of with household
waste. Please recycle where facilities exist. Check with your Local Authority
or retailer for recycling advice. (Waste Electrical and Electronic equipment
Directive)
Owing to continuous improvement, no prior notice will be given regarding changes on
above feature and spec.
10.2"x8.3"x1.6"(26*21*3.94 cm)
2.41lb (1.09kg)
10.1 " 1024 × 600
Android 6.0
1.3G Hz Quad-Core
1GB DDR RAM,16GB internal
802.11b/g/n
DVD/VCD/CD/MP3
Micro-USB, Micro-SD (up to
32GB), Earphone Jack, HDMI
3.7V 4000mAh Li-ion
up to 2.5 h with DVD
up to 4.h with wifi
Between 0 and 40
10
Page 16

Troubleshooting (DVD)
PROBLEM SOLUTION
No sound or
distorted sound
Can't advance
through a movie
The icon
appears on
screen
Picture is
distorted
No forward or
reverse scan
Display shows"No disk" after
inserting DVD
Make sure the machine is connected properly.
Make sure all cables are securely inserted into
the appropriate jacks.
You can't advance through the opening credits
and warning information that appears at the
beginning of movies because the disc is
programmed to prohibit that action.
The feature or action cannot be completed at
this time because:
1. The disc's software restricts it.
2. The disc's software doesn't support the
feature (e.g., angles)
3. The feature is not available at the moment.
4. You've requested a title or chapter number
that is out of range.
The disc might be damaged. Try another disc;
It is normal for some distortion to appear during
forward or reverse scan.
Some discs have sections that prohibit rapid
scanning or chapter skip;
If you try to skip through the warning information
and credits at the beginning of a movie, you
won't be able to. This part of the movie is often
programmed to prohibit skipping through it.
1. Check to see if you may have inserted a
blank disc.
2. Remove disk and check to ensure that disc
is clean and not scratched.
3. Check to see if you may have inserted a disc
that has not yet been finalized.
4. Check to see if you may have inserted the
disc correctly;please remove and try to insert
disc correctly.
5. Try to play the original DVD disk. please note
that some DVD players cannot recognize
improperly burned disks.
6. Use a lens cleaning disk or gently wipe the
laser pickup lens with dry microfiber cloth.
11
 Loading...