


®
Copy
VISIT THE LIFETIME WEB SITE:
WWW.LIFETIME.COM
Snow Load Kit For 11’ Sheds
Kit #1034594
9/12/2008
DO NOT CONTACT THE STORE!!!
CALL OUR CUSTOMER SERVICE DEPARTMENT at 1 (800) 225-3865
HOURS: 7:00 a.m. to 5:00 p.m. Monday through Friday (Mountain Standard Time)
**For customers outside the U.S. or Canada, please contact the store for assistance.**
INSTRUCTION #1046979 B
**U.S. and Canada customers ONLY**
IF ASSISTANCE IS NEEDED,
Call, or visit our Website for Saturday hours.
Before Beginning Assembly
Copy
A. Identify and inventory all parts using the checklist boxes on the Parts List. Keep the hardware bags
and their contents separate. If any parts are missing, call our Customer Service Department.
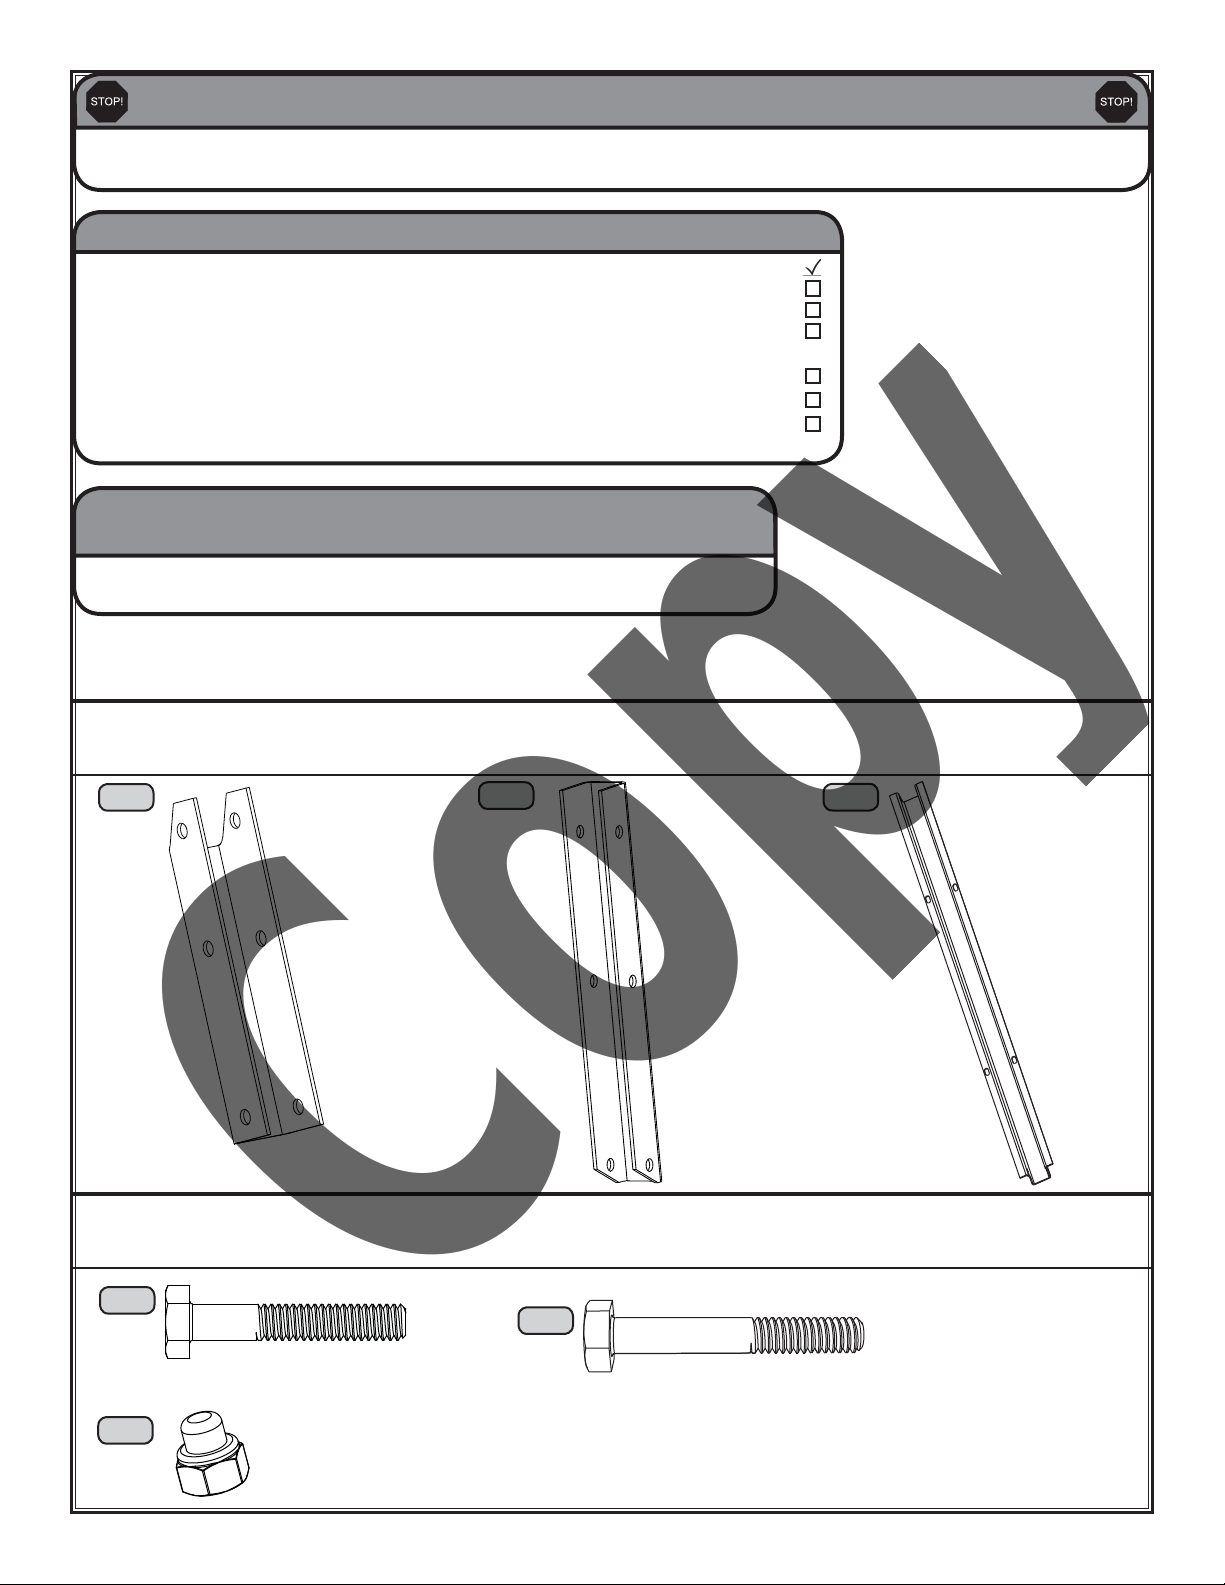
PARTS LIST
ID Part # Description Qty
A 1034590 Truss Bracket A 2
B 1034591 Truss Bracket B 2
C 1046981 Long Truss Support 2
Hardware Bag [1039532]
HA 300072 1/4”-20 x 1 1/2” Hex Bolt 6
HB BN00300 1/4”-20 Cap Nut 10
HC 1006750 1/4”-20 x 1 3/4” Hex Bolt 4
Tools and Materials Required for Assembly
(Not Included)
1. Electric Drill
2. 5/16” Drill Bit
Note: One kit contains enough parts to reinforce both sides of one Shed Truss Assembly.
A
3. 7/16” Wrench (x2)
Kit Parts
(Not actual size)
B
C
Kit Hardware
(Actual size)
HA
HC
HB
2

1.1: Slide Truss Bracket B (B) into Truss Bracket A (A) and align the holes as shown. Secure with two (2) 1/4”-20
x 1 1/2” Hex Bolts (HA) and two (2) Cap Nuts (HB).
1.2: Repeat Step 1.1 for each Truss Bracket Assembly.
Top
A
Top
HB
HA
HB
HA
B
Bottom
Bottom
Angled end of Truss Bracket B (B) faces down.
1.3: Loosely attach a Truss Bracket Assembly to a Truss Channel using one (1) Hex Bolt (HA) and
one (1) Cap Nut (HB) through the hole at the position shown.
HA
Truss Channel
HB
Truss Channel
Truss Channel
3

1.4: Loosely attach the Long Truss Support (C) to the Truss Channel using one (1) Hex Bolt (HC) and one
(1) Cap Nut (HB).
Truss Channel
HB
HC
1.5: Rotate the Long Truss Support (C) upward until it meets the Truss Bracket Assembly and Truss Brace.
C
Truss Channel
C
Truss Brace
4

1.6: Mark the location of the hole on each side of the Truss Brace. Drill a hole at each spot, with a 5/16” Drill Bit.
Truss Brace
Mark the location of the hole
on each side of the Truss
Brace.
1.7: Loosely secure the Long Truss Support (A) and the Truss Bracket Assembly to the Truss Brace.
HB
Truss Brace
HC
C
1.8: Repeat Steps 1.3 to 1.7 for the other side of the Truss.
1.9: Tighten all hardware.
1.10: Repeat Steps 1.3 to 1.9 for all Trusses.
When finished, all Trusses will look like this.
5
 Loading...