

1
INFRARED ZONE HEATING SYSTEM
OWNER’S MANUAL
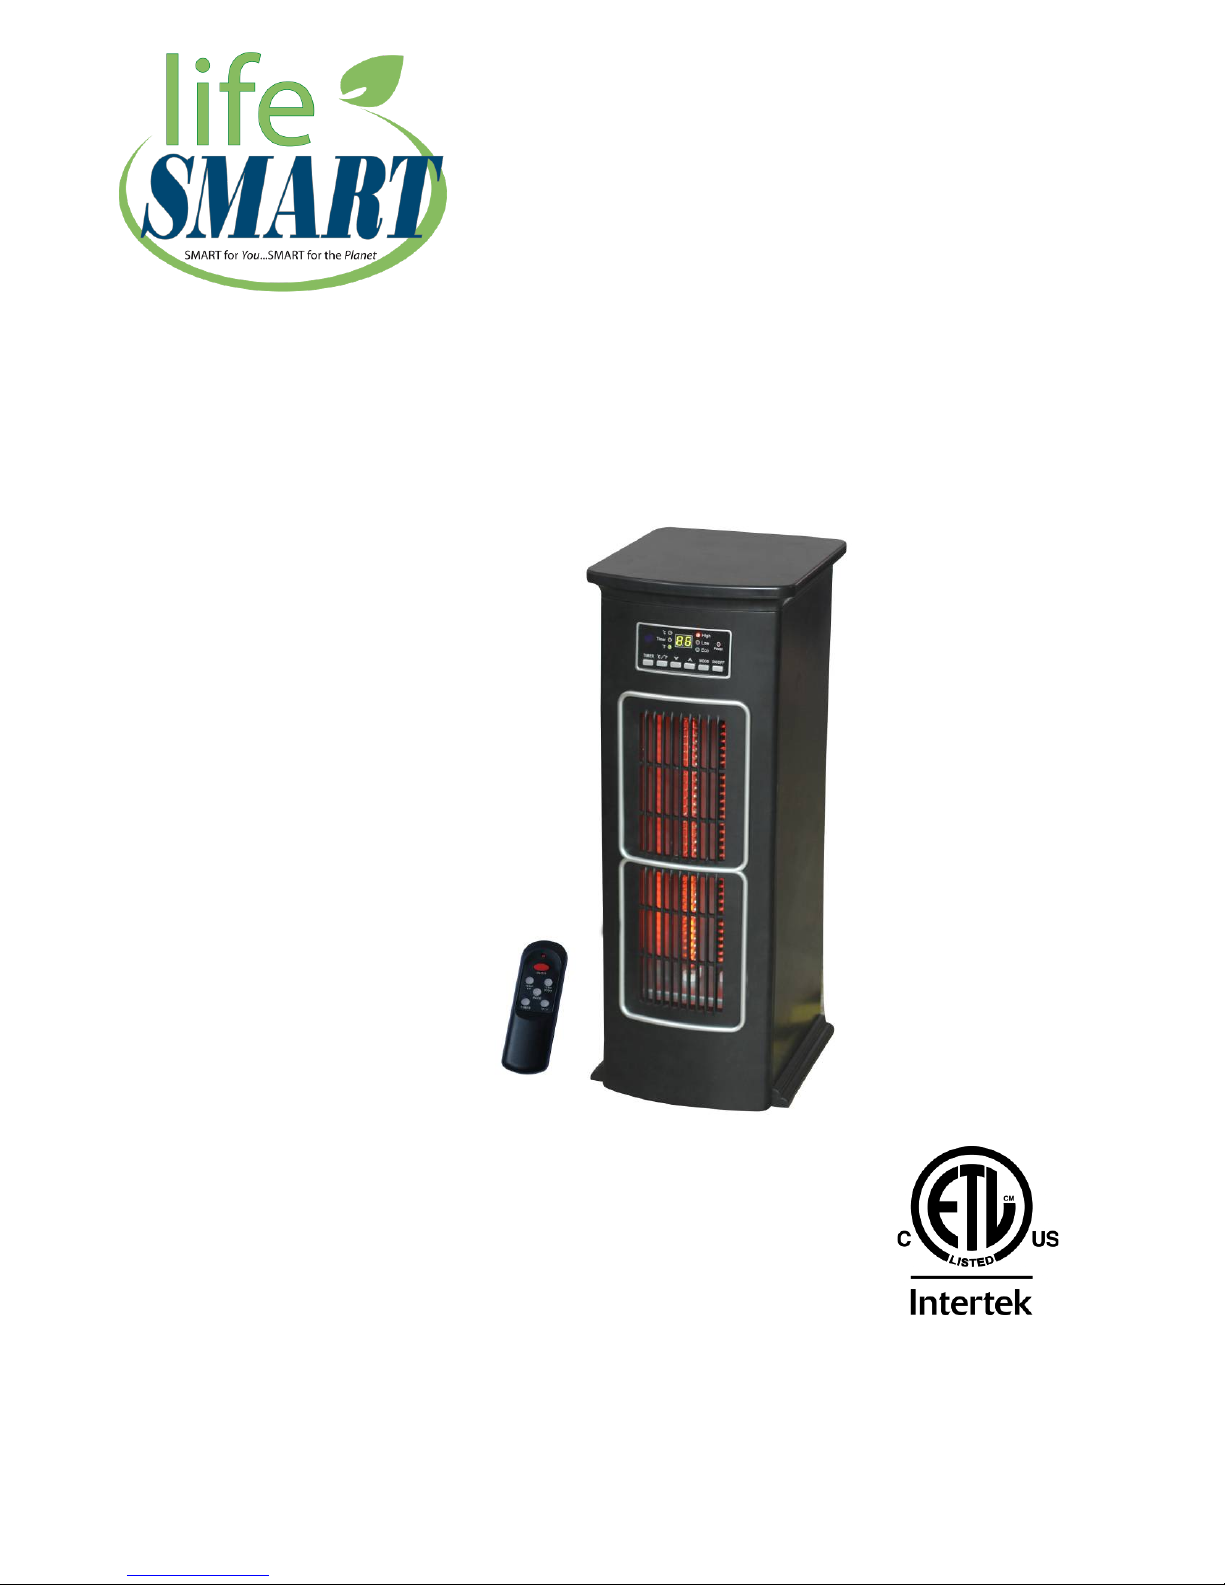
Model No. LS1003HH13
WARNING: READ THIS ENTIRE OWNER’S MANUAL CAREFULLY BEFORE
USE.

2
Thank you for choosing a LIFESMART Infrared Zone Heating System. This owner’s manual will
provide you with valuable information necessary for the proper care and maintenance of your new
product. Please take a few moments to thoroughly read the instructions and familiarize yourself
with all the operational aspects of your new heater.
PLEASE SAVE THESE INSTRUCTIONS

3
Customer Service and Support
To Obtain Warranty Support or Advice, Please Complete These Easy Steps:
Contact LIFESMART PRODUCTS Technical Support
Phone: 1-866-484-2066 or 1-214-614-2509
E-mail: Warranty@lifesmartproducts.com
Visit us: www.lifesmartproducts.com
You will need to provide the unit's model number, serial number (located on the
heater’s front panel, rear panel, or on the box), date of purchase, retailer of
purchase, a daytime phone number, and possibly a copy of your receipt.
Be Patient, Clear, and Concise.
Describe the issue and symptoms you have for, and about the product. A certified
LIFESMART Technical Support agent will give you an evaluation of your issue
and your resolution options. If the answer is not available at that time, you will be
referred to the appropriate channels, or given a call/e-mail back within 72 hours
with an answer or resolution.
If after speaking with LIFESMART Technical Support, it is determined by one of
our agents that your unit may need to be sent in to us to be evaluated/repaired,
our representative will provide you with a reference number and provide you with
details on how to send in your unit for repair.

4
IMPORTANT)SAFE TY )IN S TR U C T IO N S)
READ)AND)UNDERSTAND)ALL)INSTRUCTIONS,)SAFETY)WARNINGS,)
AND)FAQ’s)BEFORE)USING)THE)HEATER)
WARNING!
!)POTENTIAL)FOR)ELECTRICAL)HAZARD)IF)NOT)ADHERED)TO!)
When using electrical appliances, basic precautions should always be followed to reduce
the risk of fire, electric shock, and injury to persons, including the following:
1. This heater must be plugged into a 120V, 15 amp (or more) circuit of its own. Nothing
else can be plugged into the same circuit. If unsure if your home meets this
specification, consult a certified electrician prior to use. Risk of fire, overheat,
malfunction, property damage, injury, or even death may result if not adhered
to!
2. Connect to a properly grounded, 3-prong outlet only. Do not connect the heater to
extension cords, surge protectors, timers, direct breakers, or an outlet with other
appliances connected to the same outlet. Risk of fire, overheat, malfunction,
property damage, injury, or even death may result if not adhered to!
3. This heater is hot when in use. To avoid burns, do not let bare skin touch hot
surfaces. Use handles (certain models) or wheels to move this heater.
4. Keep combustible materials, such as furniture, pillows, bedding, papers, clothes, and
curtains at least 3 feet (0.9m) from the front of the heater and keep them away from
the sides and rear of the heater.
5. Extreme caution is necessary when any heater is used by or near children, invalids,
pets, or when the heater is left operating unattended.
6. Always unplug the heater when not in use.
7. Do not operate any heater with a damaged cord or plug or after the heater
malfunctions, has been dropped, or damaged in any manner. Contact the
manufacturer for resolution options.
8. Do not use outdoors. Exposure(to(outdoor(elements(such(as(rain,(snow,(sun,(wind(or
extreme(temperatures(may(cause(the(heater(to(become(a(safety(hazard.
9. This heater is not intended for use in bathrooms, laundry areas and similar indoor
locations, nor any locations that use GFCI outlets.

5
10. Never place heater where it may fall into a bathtub or other water receptacles.
11. Do not run cord under carpet. Do not cover cord with throw rugs, runners, or similar
coverings. Arrange cord away from traffic area and where it will not be tripped over.
12. The heater must be plugged into a wall outlet that is a DEDICATED CIRCUIT, with a
minimum 15 amp rating on that individual circuit.
13. To disconnect the heater: FIRST, turn the power button to the “off” position, then
remove plug from the wall outlet.
14. Do not allow foreign objects to enter or block any ventilation or exhaust opening as
this may cause an electric shock or fire, or damage the heater.
15. Allow at least 3 feet of unobstructed space to the front and rear of the heater to allow
for maximum heat, air, and ventilation flow.
16. A heater has hot and arcing or sparking parts inside. Do not use it in areas where
gasoline, paint, or flammable liquids are used or stored, nor use flammable solvents to
clean the heater. Also, make sure to keep heater dry at all times.
17. Use this heater only as described in this manual. Any other use not recommended by
the manufacturer may cause fire, electric shock, or injury to persons.
18. Do not use abrasive solvents to clean the heater as it may cause damage to the finish
or casing.
PLEASE REVIEW FREQUENTLY ASKED QUESTIONS ON THE NEXT
FEW PAGES PRIOR TO USING YOUR HEATER.

6
FREQUENTLY ASKED QUESTIONS (FAQ’S)
My heater emits a “strange” odor when I first open the box/when I turn the heater on for the first
time. Why is this happening?
This is normal. This heater is treated with a special heat safe/resistant coating. This odor will
sometimes be present when the box is opened, and may be compared to a heaters version of “new
car smell.” Also, similar to all hearth appliances (woodstoves, etc.), the coating, exposed to heat,
will produce this particular odor during the first few hours of operation. This will dissipate after the
break-in period. If you are sensitive to odors, you may want to pre-burn the unit in a garage
with the door open until the initial odor dissipates.
If my heater runs on approximately1500 Watts, how many BTU’s is that? Is that a lot of heat?
At 1500 Watts, your heater will use approximately 5100 BTUs. 5100 BTUs, compared to your home
furnace, is a very small amount of heat (this heater is intended to be used as supplemental heat in
areas most needed). It may take several minutes, to several hours to heat your area, depending on
various factors (see Heater Placement).
Can my heater really operate on less money per day? What are my operating costs?
Yes. If the heater is used as it is intended (as supplement/assist heat), it should cycle on and off,
allowing for it to heat a total of approximately 8 out of the 24 hours of the day. Using the national
average of approximately 10¢ per kWh (look at your bill for exact cost per kWh--will vary per state),
your average heating cost (add a few cents just for having it plugged in) should be less per day
compared to your main furnace. The costs will increase if it is used as the single source of heat, or
if heat somehow escapes the room being heated, since the “on” cycle will run longer.
The Formula: To determine the cost of this or ANY 1500 watt appliance, multiply 1.5 X your cost
per Kilowatt Hour to determine approximately how much it costs you to run the heater. You can find
the cost per KWH prices for your state at: http://www.eia.doe.gov/fuelelectric.html
Can the heating elements be replaced?
If after speaking to a Lifesmart Technical Support Agent, it is determined that heating elements
have failed. Heating elements may be replaced by obtaining them from the Manufacturer. All parts
may be purchased through LIFESMART PRODUCTS if your product is out of warranty. Note: If you
feel that the elements are definitely faulty right out of the box, contact the LIFESMART PRODUCTS
Technical Support department first (for troubleshooting and verification).A representative can then
direct you on to the next step.
Once I plug the unit in and turn it on, how long will it take to heat my room?
The heating process in the heater begins immediately upon powering on, and setting the desired
temperature above the ambient temperature. A noticeable change in the l room’s ambient
temperature will vary. Remember that with any type of heating process, there are many variables:
Location of heater (in the home), floor plan and size of the room, how well the room is insulated,
how many doors/windows, how much bare concrete (acts as a heat sink with any type of heating),
the opening and closing of an exterior door, long hallways, high ceilings, etc. Customers with
smaller rooms experience quick heat changes. Rooms with larger and open floor plans can expect
up to 24 hours to completely heat up.
 Loading...