

Lifeline Bravo User Manual
LIFELINE AMPLIFICATION SYSTEMS
User Guide
41 Means Drive, Suite A
Platteville, WI 53818
fax: 608.348.7918
www.lifelineamp.com
800 236 4327

INTRODUCTION
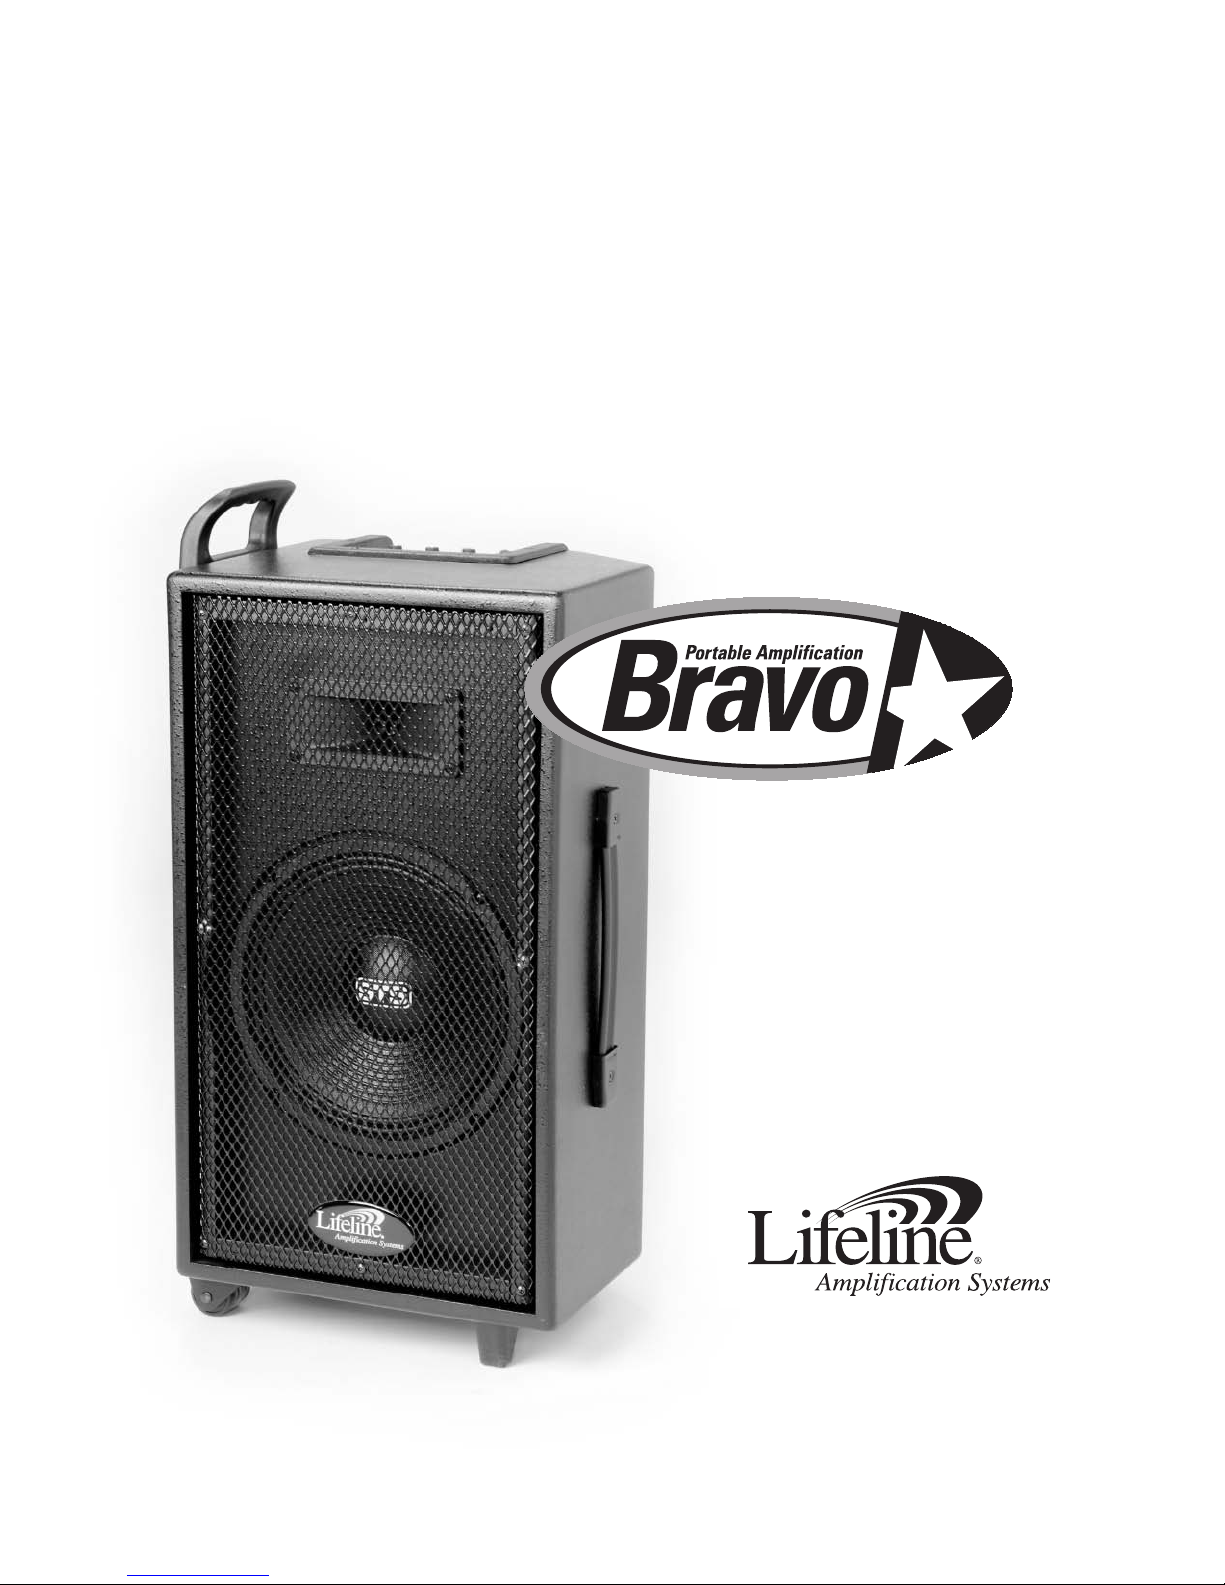
Enjoy Your Bravo Portable
Amplification System
2
visit our web site:
www.lifelineamp.com,
your online resource
for price lists, service
orders, and accessories.
If you have questions
at any time about your
Bravo System, please
call us toll-free at:
1-800-236-4327
he Bravo portable amplification system
T
is the ideal amplification system for larger
spaces. The
quality sound, portability, and ease of use are
requirements for the audio system. The
has many features and benefits unique to the
portable amplification systems market. You will
see the benefits and hear the clarity that comes
from this uniquely designed system from the
moment you turn it on.
This Users Guide has been designed to provide
you with product features, troubleshooting tips,
and important things to remember and understand
about your
Amplification Systems is to design high quality
amplification systems with superior sound
quality that are easy for the customer to operate.
If you have any questions concerning your
Bravo system, please feel free to call us toll
free at: 1-800-236-4327.
Bravo has many applications where
Bravo
Bravo system. Our goal at Lifeline
EQUIPMENT
ONE TRANSMITTER SYSTEM:
• 1 Powered Speaker/Amplifier
• 1 Wireless Transmitter with either headset,
collar, or handheld wireless microphone
• 1 LB-1 9 Volt Battery (inside wireless
transmitter)
er
• 1 LC-3 Char
WH-1 Char
• 1
collar models only)
• 1 Wireless Carrying Case
OPTIONAL WAYS TO ORDER THE BRAVO:
• Microphone options include headset, collar,
or handheld wireless microphones
ou can order the Bravo with one or two
• Y
eless micr
wir
g
ing Ca
g
ophones
or headset and
le (f
b
WARRANTY
The powered speaker and transmitter have a five
year warranty against manufacturer’s defects.
All other items (batteries, cables, microphones)
have a one year warranty.
Lifeline Amplification Systems will repair
and/or replace, at our option, any unit that does
not function properly within the warranty time
period. Units under warranty needing repair
should be returned to Lifeline Amplification
Systems freight prepaid. It’s very important the
customer calls Lifeline Amplification Systems
at 1-800-236-4327 for a return authorization
number for prompt service. All units under
warranty will be returned (freight prepaid) to
the customer. Product misuse, neglect, or abuse
is not covered under warranty. PLEASE KEEP
THE BRAVO SHIPPING CARTON IN CASE
YOU NEED TO SEND IT BACK TO LIFELINE
AMPLIFICATION SYSTEMS FOR
WARRANTY REPAIR.
REPAIR
Most problems can be solved with the troubleshooting guide in the back of this user guide.
e having problems after looking at
ou ar
If y
the troubleshooting guide, call us toll free at
1-800-236-4327 and we will be happy to help you.
CLEANING
We suggest your system be cleaned a minimum
of every two years. Please contact Lifeline
tion Systems f
ica
Amplif
shipping instr
uctions.
or a price quote and
41 MEANS DRIVE, SUITE A z PLATTEVILLE, WISCONSIN 53818

BELTPACK TRANSMITTER
Beltpack Transmitter
1. MICROPHONE JACK
Detac
hable microphone cable plugs in here.
2. ON/OFF AND STANDBY SWITCH
The switch on the transmitter has three positions:
“on,” “off” and “stand by.”
When “on,” the talker’s voice is amplified
and broadcast throughout the room. An initial
“pop” sound may be heard when turned to the
“on” position.
The standby mode is used when the talker
wishes to speak to a single individual or small
group privately. As a general rule, use the standby
switch when the system will be used within a 15
minute time period. If not in use for more than
15 minutes, the transmitter should be turned off
to conserve battery life.
3. POWER INDICATOR LIGHT
The light on top of the transmitter will shine red
when the transmitter is in the stand by mode. It
will shine green to indicate that the system is on.
If the light is not lit, then either the power is not
on or the battery is low.
4. BELT CLIP
This handy clip can be used to fasten the
transmitter to a belt, waistband or pocket.
(Found on back side of transmitter.)
5. BATTERY COMPARTMENT
The AT-1 transmitter uses one 9-volt Nickel
Metal Hydride rechargeable battery. DO NOT
THER RECHARGEABLE
ANY O
USE
TTERY in the AT-1 transmitter, or it will not
A
B
perform properly. Average battery life is
hours per charge.
6. CHARGING JACK
This charging jack is used to charge the battery
without having to take the battery out of the
transmitter. A charging cable has been provided
with your
7. GAIN CONTROL
Used to raise or lower the sensitivity of the
micr
with y
Bravo.
ophone. Small screwdriver is provided
our system.
9-VOLT
six
Beltpack T
1
7
ransmitter (belt pouch pr
3
4
2
3
6
5
ovided)
800.236.4327 z 608.348.7918 FAX z WWW.LIFELINEAMP.COM

HANDHELD TRANSMITTER
Handheld Transmitter
1. MICROPHONE ELEMENT
T
he Bravo handheld wireless uses a high quality
4
microphone. The metal casing protects the
microphone however, be careful not to drop the
microphone, as this could cause damage to the
microphone element.
2. POWER SWITCH
This switch needs to be in the PWR position for
the microphone to operate. The power light indicator
(#3) will glow when the power switch is turned on
and a charged battery is inserted properly. A slight
click may be heard when turning power on and off.
3. POWER SWITCH LIGHT
This light will glow when the power switch is
in the PWR (on) position and a charged battery
is inserted properly.
4. LOW BATTERY
The low battery light will glow when you have
less than 1 hour of battery life left in the system.
5. MUTE SWITCH
The mute switch enables the microphone to be on
or off without hearing a click in the system. The
system will be working when the Mute switch is
on and the microphone power switch is on and the
Bravo powered speaker is on. When the Mute
switch is in the “mute” position (down), the
microphone is still draining the battery and all
circuitry is active except the microphone is off.
6. BATTERY COMPARTMENT
Turning the compartment cover “counter
w the battery compartment
e
unscr
will
kwise”
loc
c
cover. The rechargeable battery should be connected
to the battery terminals making a good connection.
e to pull the ba
Be sur
removing (do not pull the battery at an angle as
it will loosen the battery terminals). You may use
either an alkaline 9 volt battery or 9.6 volt nickel
metal hydride rechargeable battery (part number
om Lif
LB-1 fr
ice list f
pr
NiMH Rechargeable battery is included with
this system.
or or
ttery towards you when
eline Amplification Systems- see
ormation). A 9.6-volt
ing inf
der
7. INTERNAL GAIN CONTROL
T
his is pre-set from the factory for recommended
settings. Only change this as a last option for
adjusting gain (use controls on the Bravo
amplifier/speaker first). Turning this control
to the right increases volume. The internal gain
control is found above the 9-volt battery terminal
(this can be found by unscrewing the battery
compartment cover.)
1
2
3
4
5
7
6
41 MEANS DRIVE, SUITE A z PLATTEVILLE, WISCONSIN 53818
 Loading...