

Lievers HAL E, HAL ER, HAL H, HAL B Honda Operation Manual
OPERATION MANUAL AND PART LIST
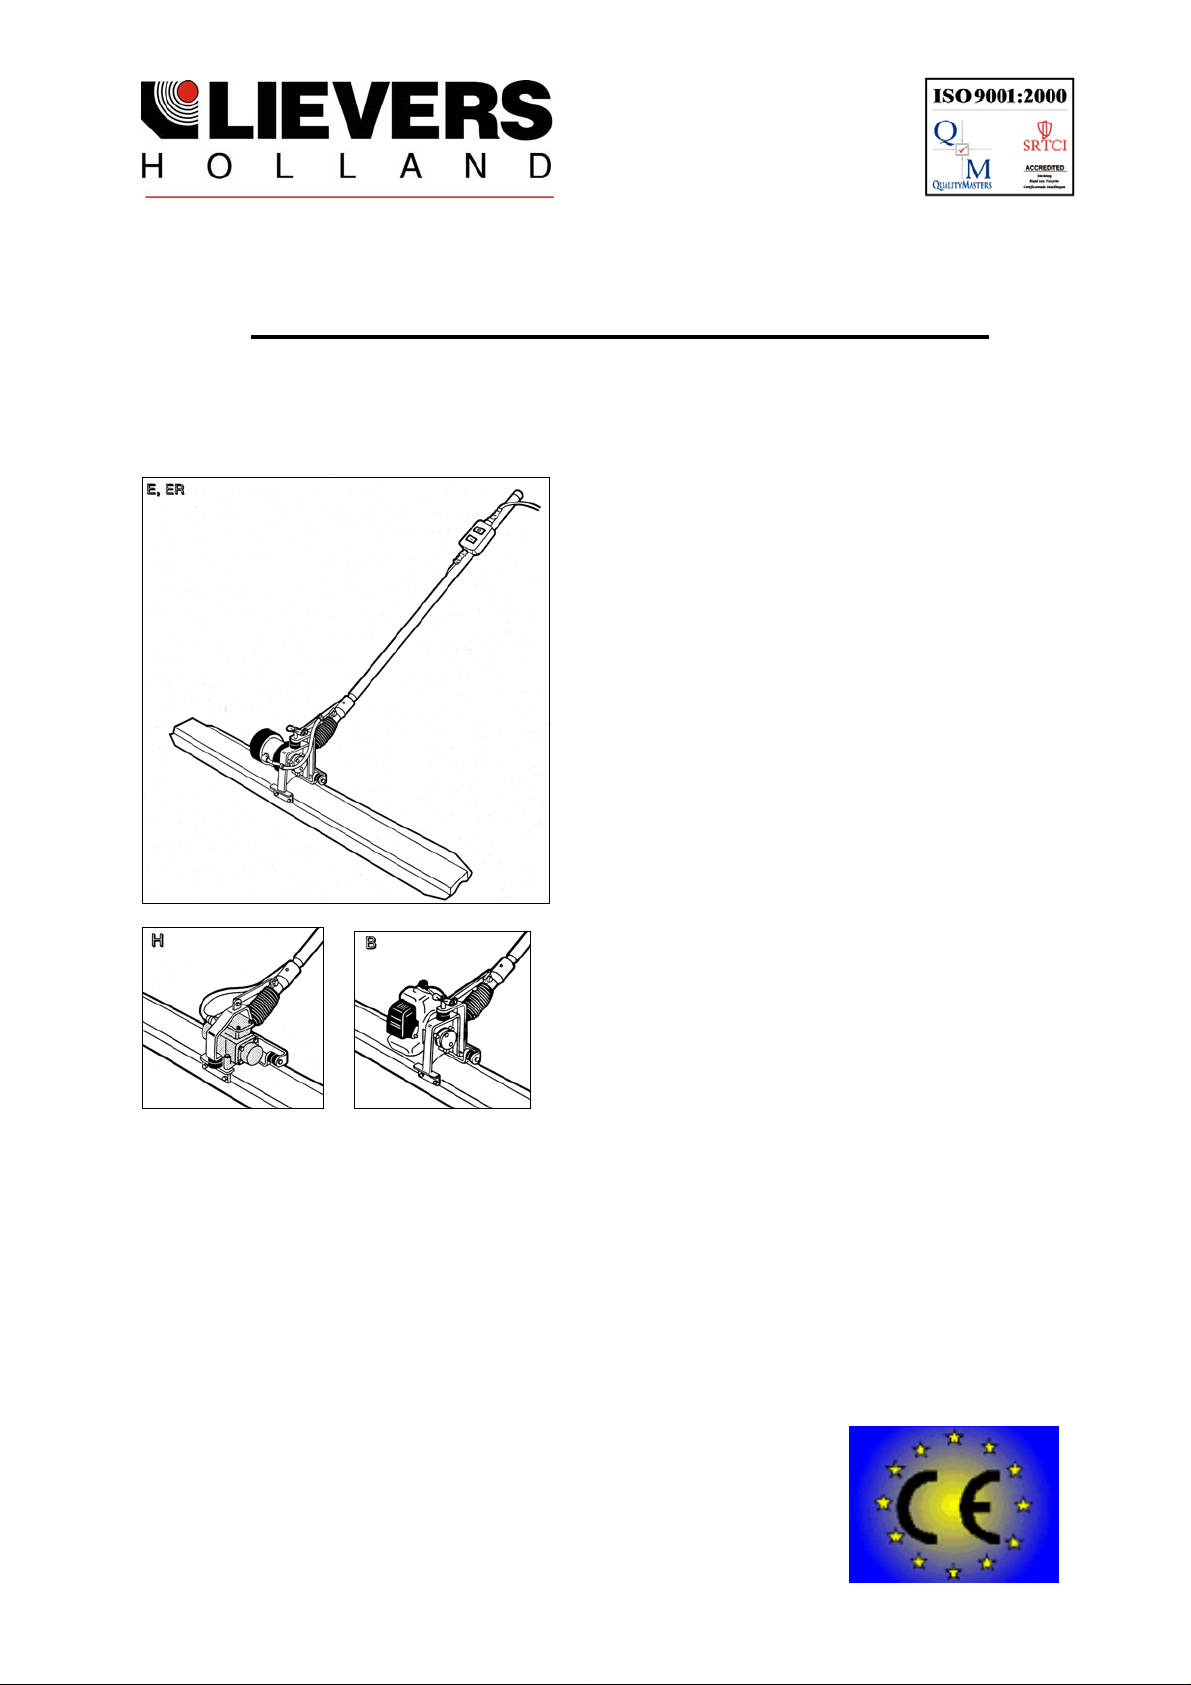
BULLFLOAT HAL > 01/06
Lievers B.V. Holland
Postbus 103
3640 AC Mijdrecht
tel: +31 (0)297-231900
fax: +31 (0)297-231909
e-mail:
www.lieversholland.nl
info@lieversholland.nl
© Copyright 02-01-2006, Lievers B.V. Holland
1
HAL Operation manual
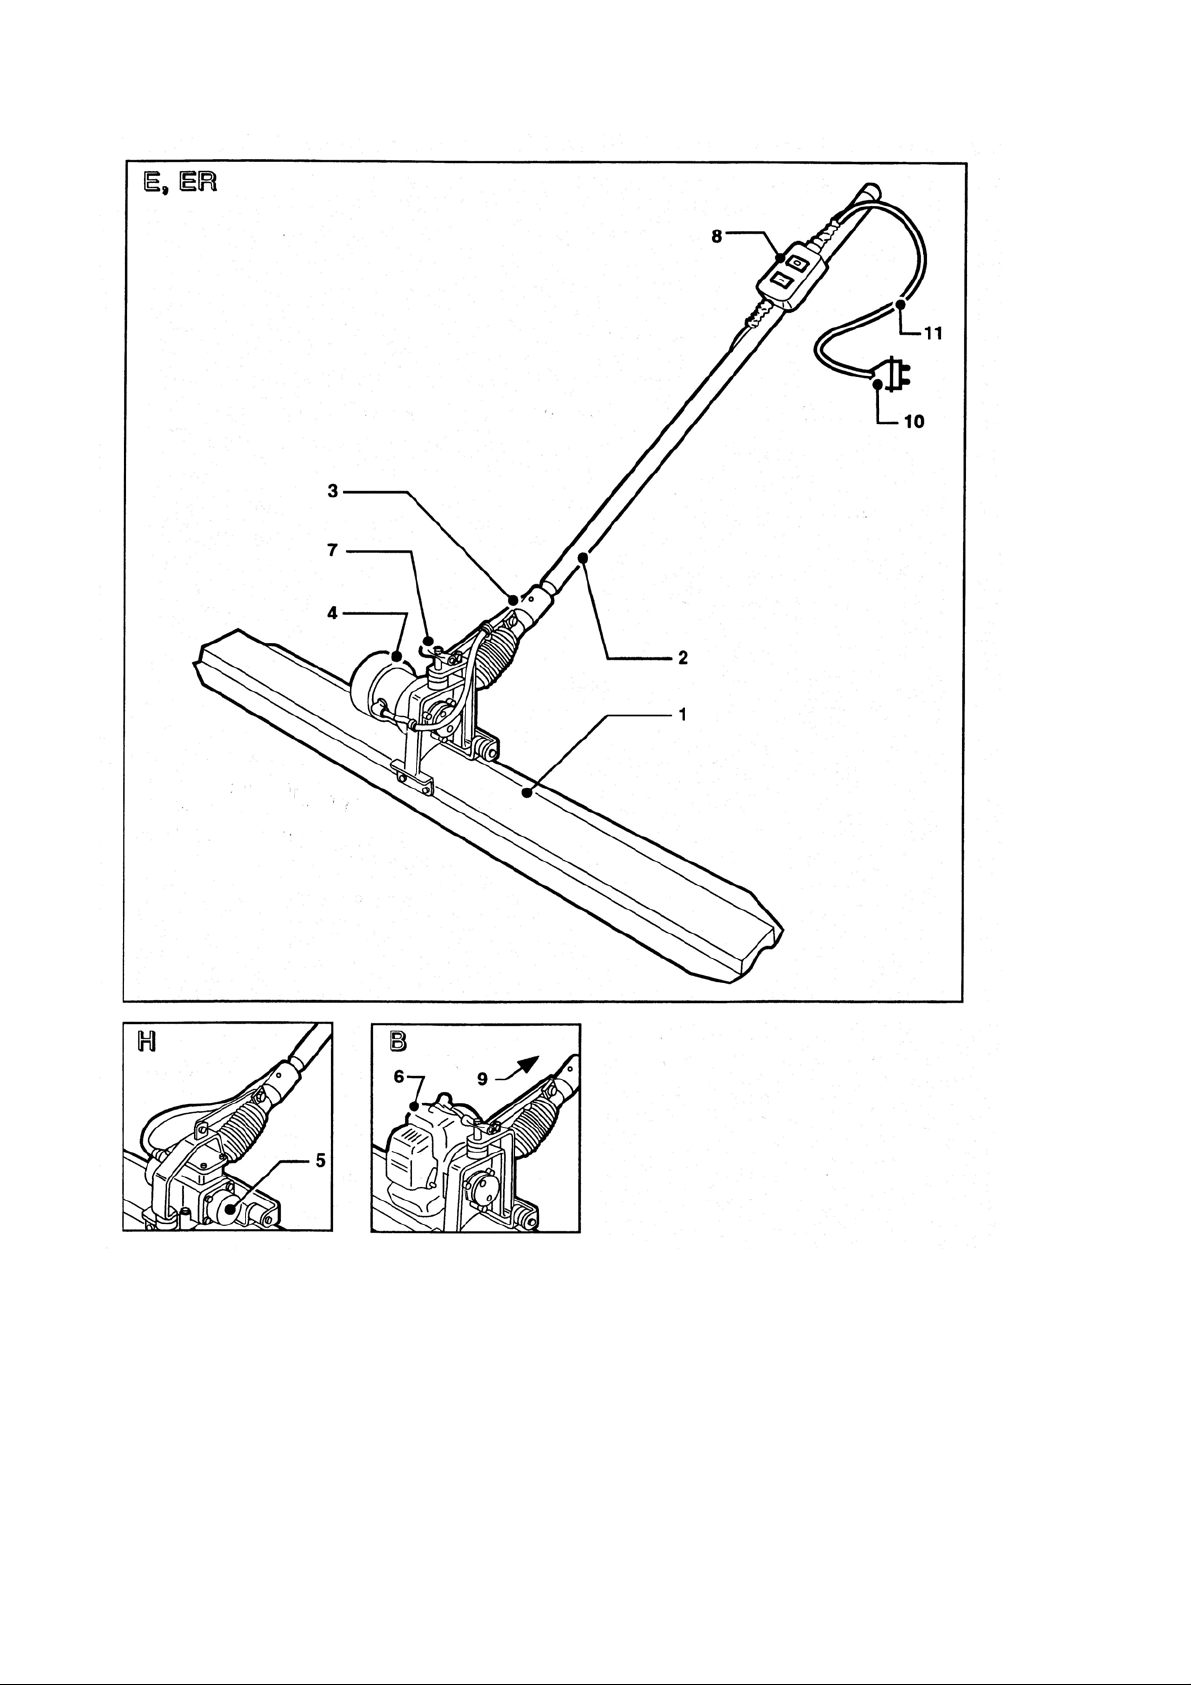
Figure 1 View of the most important components
1. Aluminium profile 7. Grip
2. Operating handle 8. On/Off-switch
3. Pitch control 9. Gasthrottle
4. Drive unit 230V/50 Hz 10. Plug
5. Drive unit 42V/200 Hz 11. Cable
6. Petrol engine
2

HAL Operation manual
GENERAL SAFETY-ASPECTS
All Lievers equipment have been tested in accordance with the strict international safety standards.
This section contains general advice and apply to several machines mentioned in this paragraph.
- Ensure that you are qualified (familiar with the contents of this manual), to operate and carry out
light maintenance-work to the machine when you are operating the machine for the first time.
- Wear safety shoes with extra protection (steel caps and anti-slip soles)
- Wear a safety helmet,safety glasses, working gloves, which do not conduct electricity and
protective clothing.
- Ensure, that all symbols on the machine, can always be clearly read.
- Do not leave any tools or parts lying around on the work floor, as this can cause accidents.
- Watch where you are going, the ground can be slippery.
- Take care that you do not injure yourself on objects, such as scaffolding and
reinforcement materials, which can be found directly or indirectly in the working area.
- Be careful when lifting and carrying the Bullfloat. Do not bend forwards when picking up the
apparatus, but bend your knees. Ensure that the working area is within your reach, sothat you do
not have to bend forward.
- When cleaning the machine, ensure that no water or cleaning detergents get into the
motorhousing.
- When the machine is not being used for longer periods of time, then it must be stored in a dry and
clean area.
- Do not only pay attention to your own safety, but also to that of your colleagues.
Regular maintenance of the machine promotes safe operation.
The following safety-aspects specifically apply to those Lievers products which are
equipped with an electrical drive unit.
- Place the wires between the electrical source and the work place in such a way, that they cannot
be damaged and your colleagues cannot trip over them.
- Do not use the machine in an explosion endangered area.
- Check that the electrical source complies with the local valid regulations. Use earthed extension
leads, when it is necessary to use extension leads.
- Use an electrical source which is provided with an earth leakage switch or attach a safety
transformer between the electrical mains and the machine.
- Ensure that the wall socket and possible connections between the extension leads are protected
against dampness.
- Do not pull the plug out of the wall socket or extension lead by its lead.
- Regularly check the connections of the supply-cable to the switch.
3
HAL Operation manual
- Check the feeder cable’s outercasing and if in use extension lead’s outercasing before you connect
the machine to the electrical mains. The outercasing may not be damaged. Replace the cable if
you cannot read the marks on the outercasing anymore.
- Check the machine’s cable-connections before you connect the machine to the electrical mains.
The cables must be properly connected.
- Switch off the machine, when the electrical power cuts off. This prevents the machine from starting
suddenly when the electrical power comes on again.
- Disconnect the electrical supply to the machine, before you start to clean or maintain the machine.
- Ensure that the ventilation slots of the machine are free from dirt and moisture.
The following safety-aspects specifically apply to those Lievers products which
are equipped with a petrol-engine.
- Do not use the Bullfloat with petrol-engine indoors or in poorly ventilated places, such as pits etc.
- Make sure that there is sufficient ventilation in spaces which are surrounded by walls. Never inhale
exhaust gasses, they can damage your health and that of your colleagues.
- To avoid getting an electric shock, do not touch the high-tension cable or spark plug cap while the
engine is running.
- Check for fuel leaks before running the machine.
- Do wear working-gloves, safety glasses and protecting clothing during refueling.
- Make sure that there is sufficient ventilation during refueling.
- Refueling of fuel is only allowed after the engine has been cooled off sufficiently.
- Refueling of fuel , while the engine is hot, might lead to a very dangerous situation.
It is strictly forbidden to refuel :
* in the direct vicinity of open fire or other flammable materials,
* while smoking cigarettes etc.
* in explosion endangered spaces.
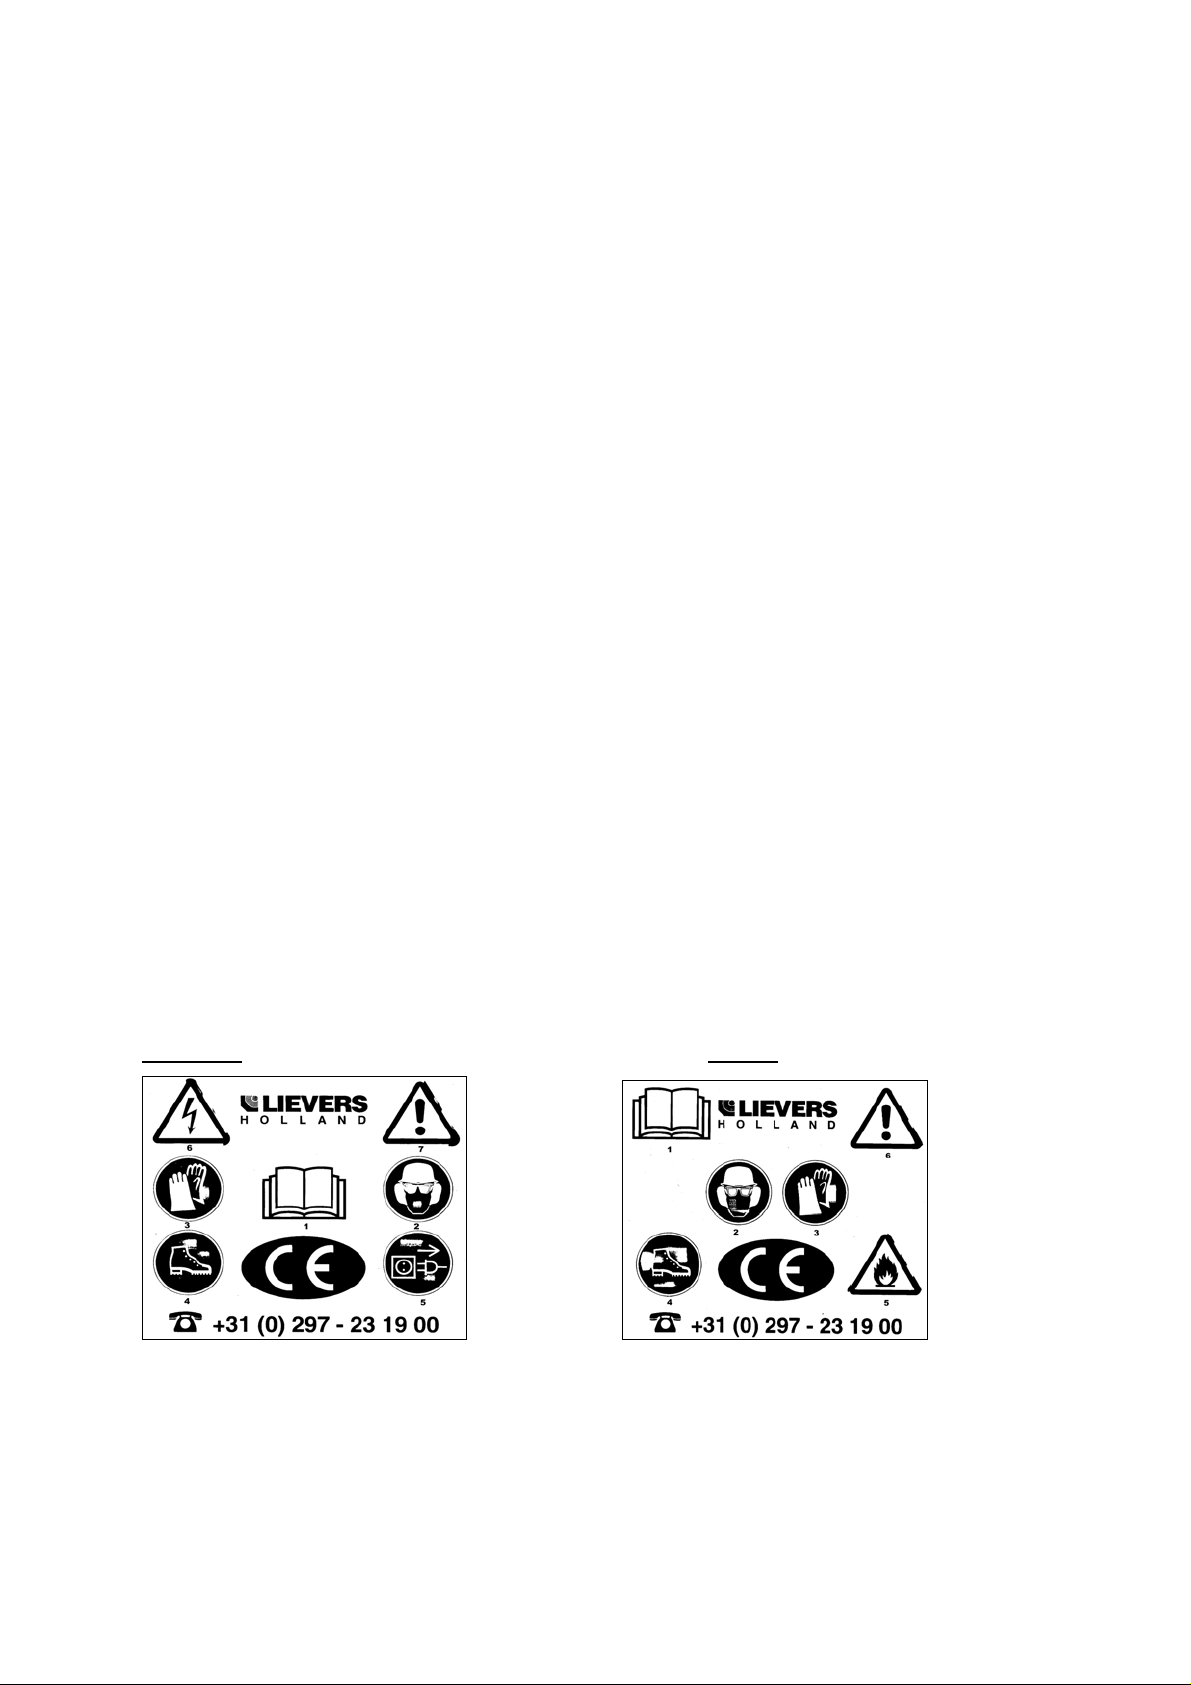
Explanation of the used safety symbols
HAL E/ER HAL B
1 Please read the instructionbook
2 Safety glasses, safety helmet and ear protection compulsory.
3 Working gloves compulsory. (vibration Isolating work Glove with GELFÔM)
4 Safety shoes with extra protection compulsory.
5 Before opening the motorhousing remove the plug from the mains/ Inflammable material
6 Dangerous electrical voltage/ Careful, DANGER!
7 Careful, DANGER!!
TIP: If the safety aspects are not clear to you, then please contact the manufacturer for
further information: Lievers Holland. Telephone: + 31 297 231900; Telefax: + 31 297 231909
4
HAL Operation manual
TECHNICAL DATA HAL E, ER, H en B (Honda)
Voltage
Capacity
Revolutions
Centr. force
Mass
Fuel
Insulation
Sound press.
level ISO6081
** Value of
accelaration
Comfort.exposure
Execution
HAL E, ER
(230V/50-60Hz)
*(115V/50-60Hz)
230V/1-fase/50-60Hz
350 Watt
8.500 rpm
1800 Newton
2.0m 15 Kg
-------------
IP54, splash proof
Double insulated
76dB(A)
at operator’s place
2,46m/s²
8,3hr Max 33hr a day
Portable
HAL H
(42V/200Hz)
42V/3-fase/200Hz
200 Watt
6.000 rpm
1500 Newton
2.0m 15 Kg
-------------
IP54, splash proof
65dB(A)
2,7m/s²
7hr Max 26hr a day
Portable
* On request
** The weighted effective value of accelaration,determined according to ISO 5349
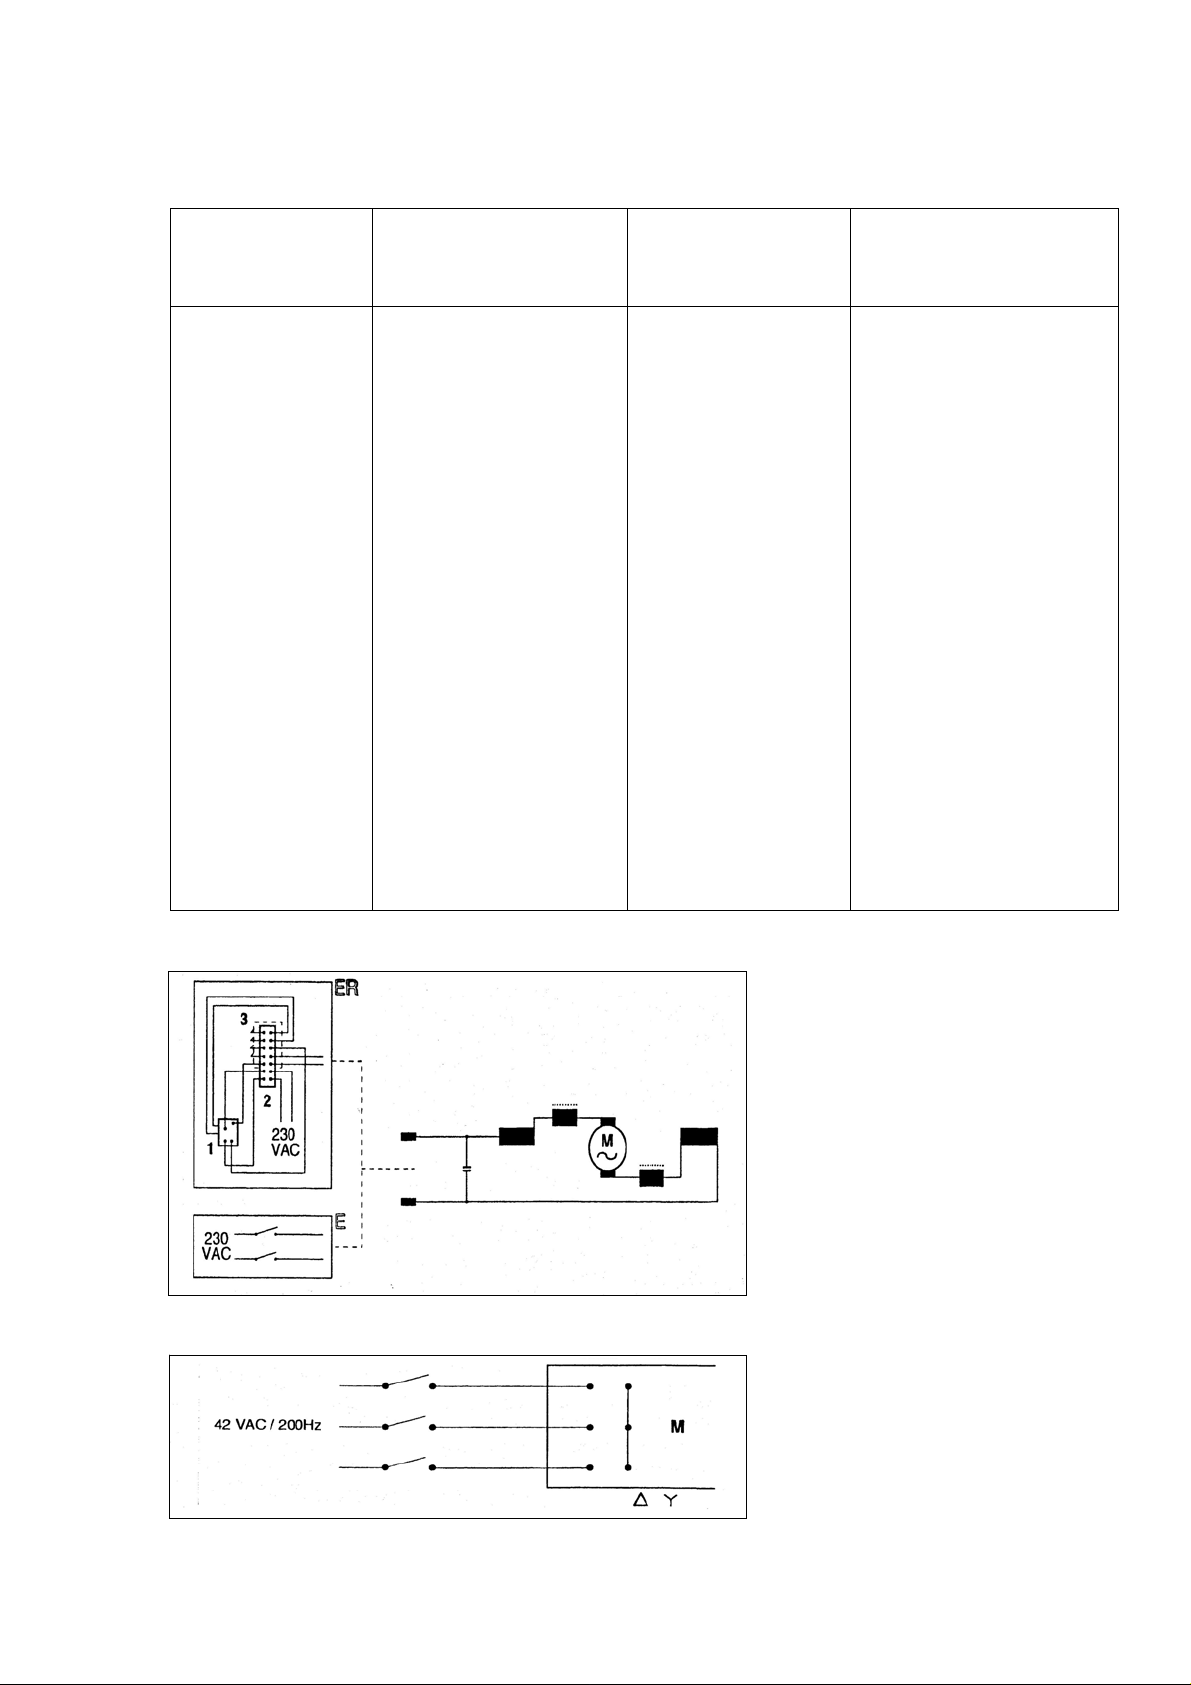
Electrical diagram types E en
ER
Electrical diagram types H
5
HAL B Honda
(4-stroke petrol engine)
-------------
0,81Kw (1,1 Hp)
9.000 rpm
1800 Newton
2.0m 15 Kg
unleaded petrol (95)
------------
80dB(A)
3,89m/s²
3,3hr Max 13,2hr a day
Portable
HAL Operation manual
OPERATION INSTRUCTIONS
This chapter describes the use of the complete range of HAL200 bullfloats.
TIP:For the location and description of the bullfloat’s parts, which are mentioned in the
text, we refer to the illustration figure 1 on the backside of the cover.
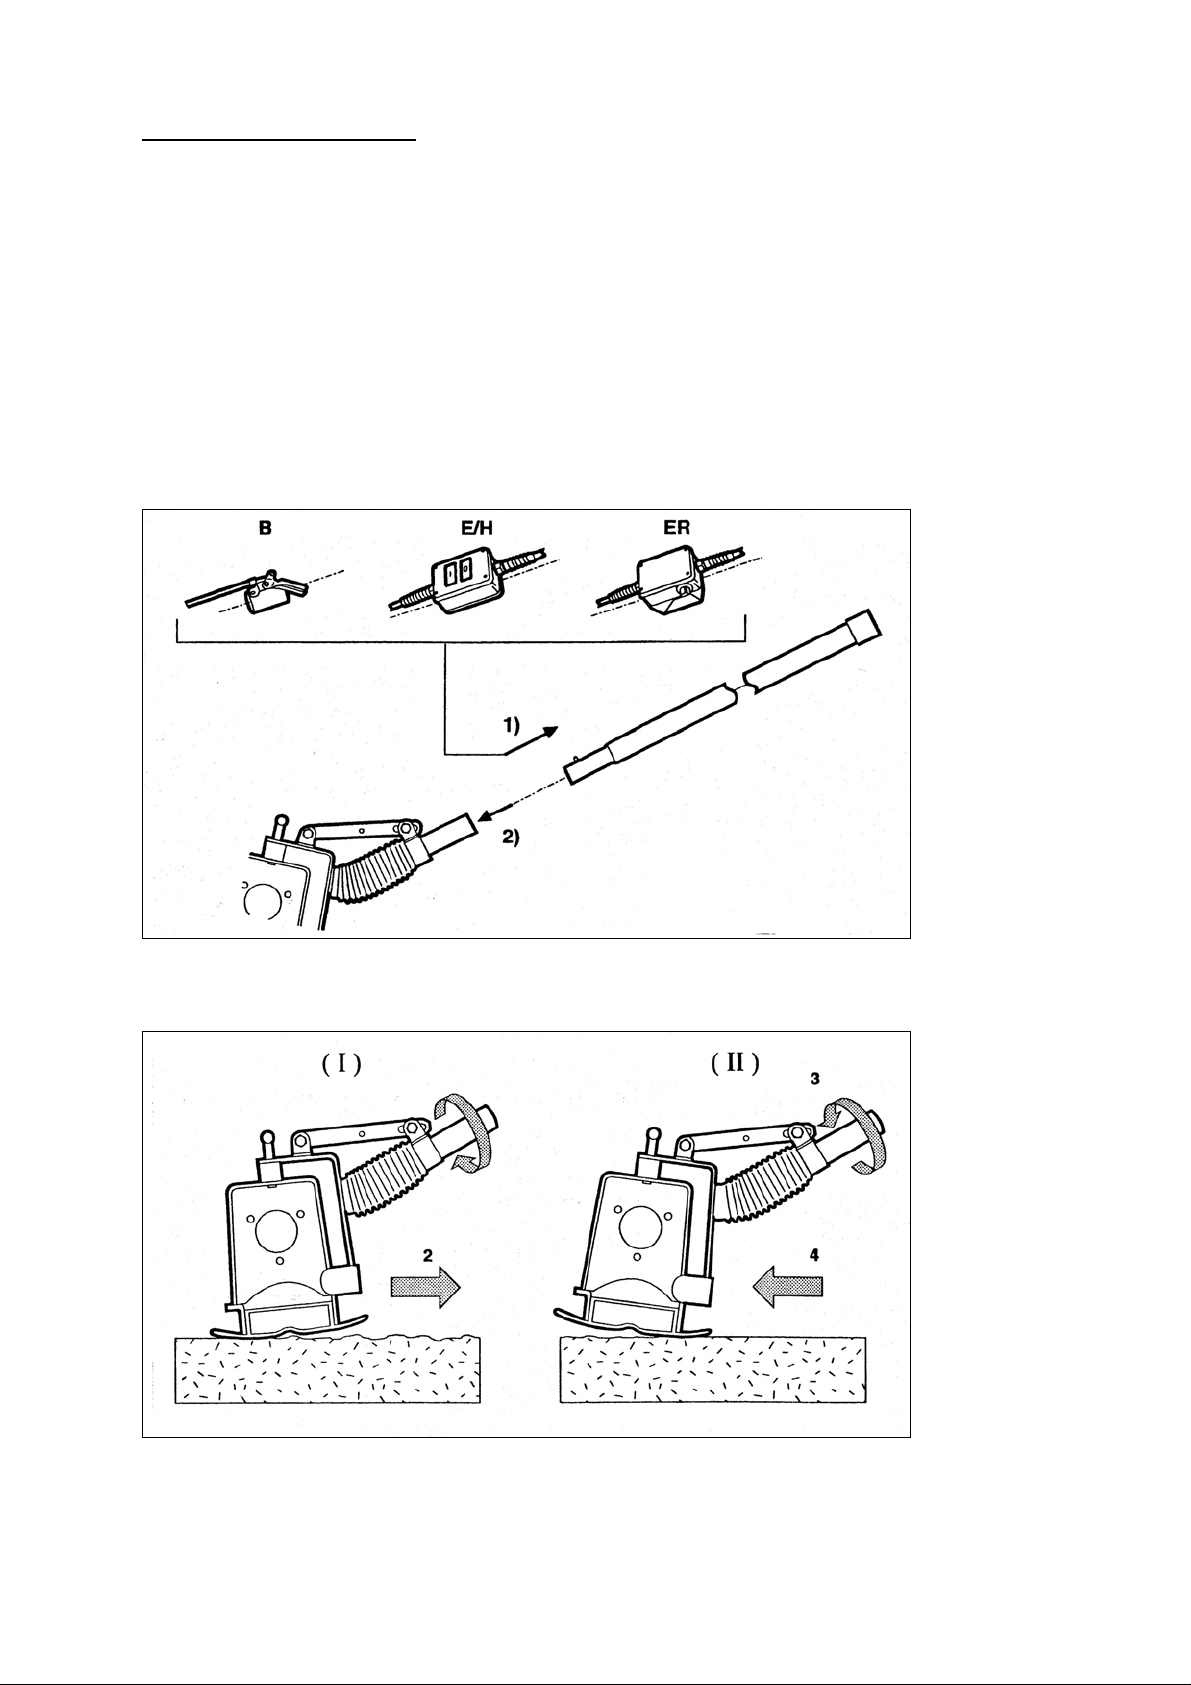
HOW TO ASSEMBLE THE HAL 200 BULLFLOAT.
When delivered the bullfloat is not ready for use.You only have to carry out the following
procedures.
1 Connect the switch ( an ON/OFF-switch, an electronic speed regulator, or a gasthrottle),
to the operating handle by means of the bracket and the butterfly nut.Now lock the bracket
by tightning the butterfly nut.
2 Stick the operating handle into the shaft of the motorunit-frame.Make sure that the operating
handle is locked in the proper way.
Figure 2 Assembly of the controls.
HOW TO ADJUST THE TROWEL BLADE ANGLE.
Adjusting the blade pitch
Use position (1) when smoothening normal freshly poured concrete.
6
HAL Operation manual
This section describes how to operate and use the bullfloat.In the text are numbers in brackets.
These numbers are position numbers and they correspond to the numbers in the parts list of
the corresponding figures.
CAREFUL: Read the safety aspects and instructions before you switch on the apparatus.
CAREFUL: Prevent the bullfloat of sinking into the concrete.After the motor has been switched
on, immediately move the bullfloat backwards.
TIP: Before the bullfloat is brought into action, first compact the freshly poured concrete
floor with a poker-vibrator while at the same time adjust the height of the floor by
means of a laser device.
TIP: Pour concrete lanes of approx. 3 m. wide and approx. 15 m. long.You can finish this
surface in one pass without any problem.
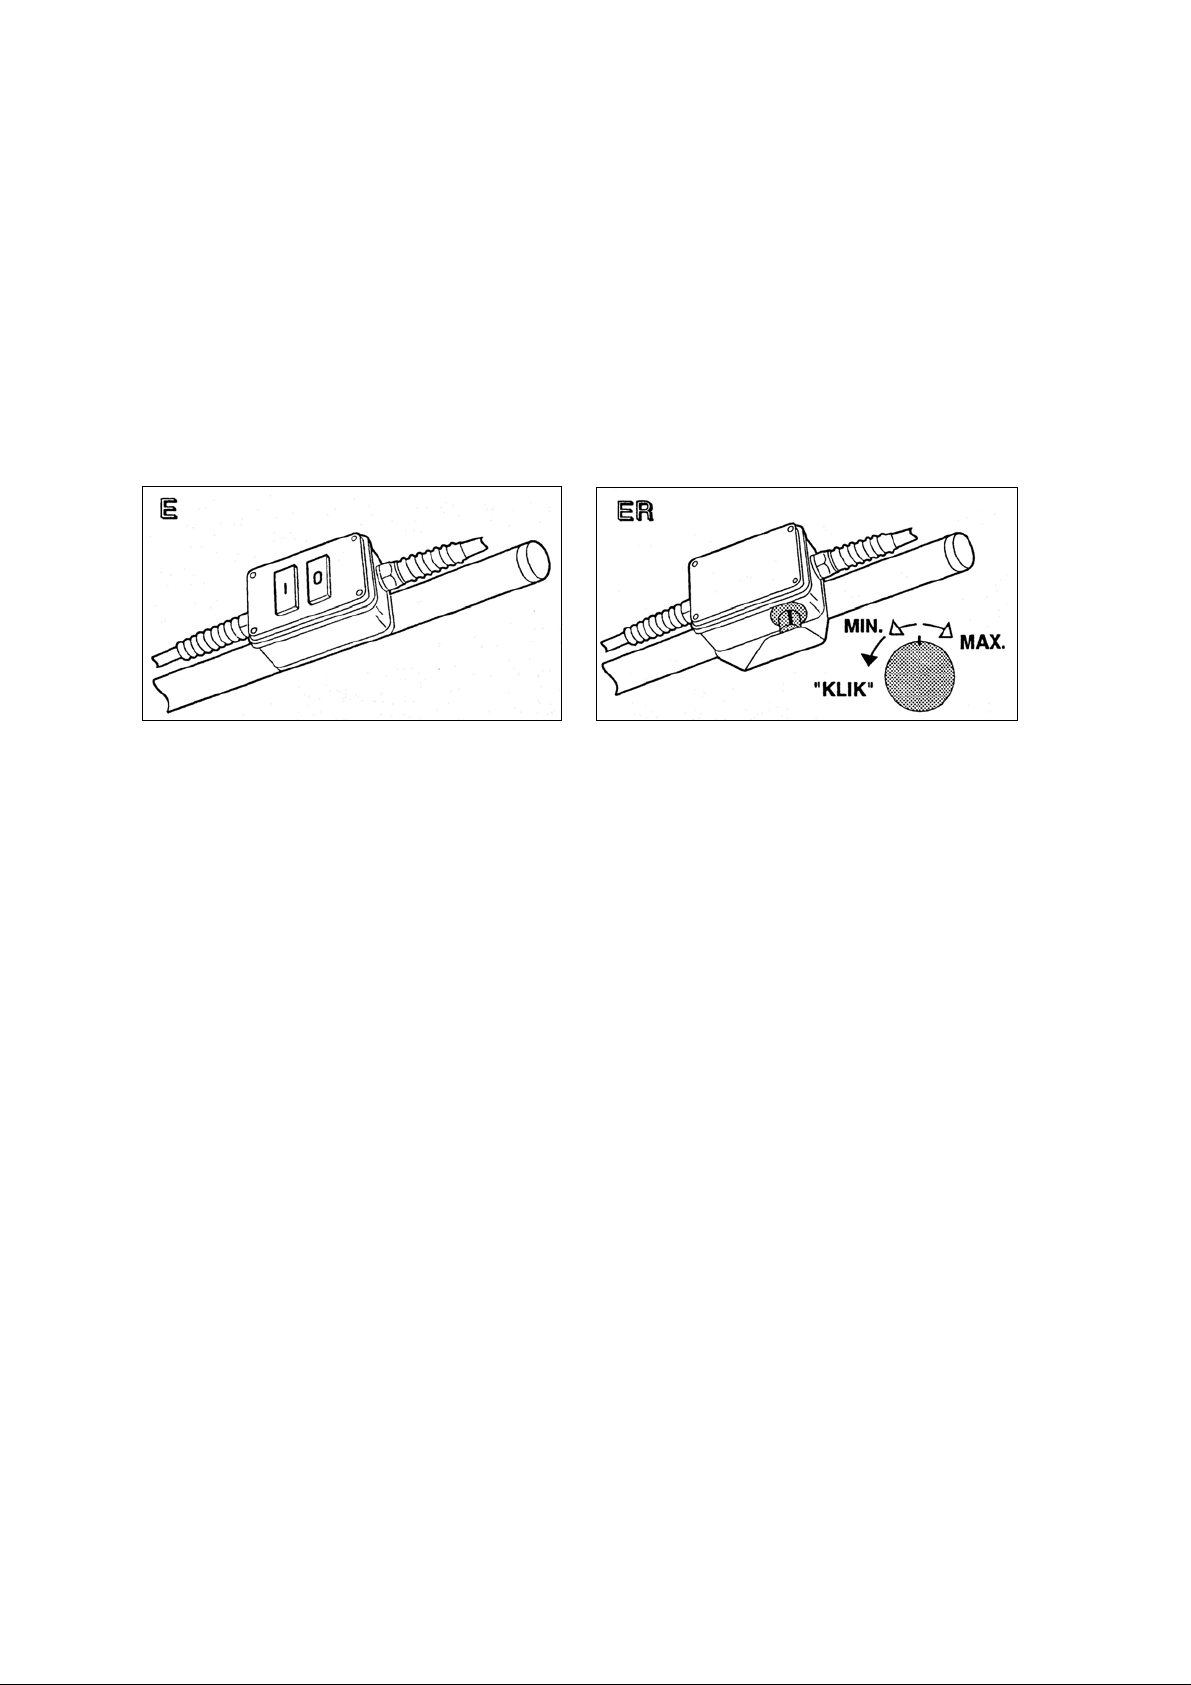
Type of switches.
OPERATION OF THE BULLFLOAT , TYPE HAL200/E
1 Check that the bullfloat is properly assembled and make sure that the switch is in the
OFF position.
2 Place the bullfloat in the direct vicinity of where you are going to smoothen the surface of
the concrete.
3 Push the plug of the vibrating -unit’s feeder cable into the wall socket.
4 Place the bullfloat on the surface of the freshly poured concrete-floor.
5 Put the switch in the ON position.
6 Adjust the trowel blade angle.
7 Now start to smoothen the surface of the concrete-floor by moving the bullfloat backwards in
a slow but steady motion.
8 After having finished one lane of concrete, switch off the bullfloat immediately.
TIP: If the processed concrete-surface is not smooth or level enough, repeat the procedures
5,6,7 and 8 .
9 Pull the feeder cable’s plug of the bullfloat out of the wall socket.
10 After use, place the bullfloat on a dry and stable surface.
7
 Loading...