

LIBRA A13 Operation Manual

76133-000 6/01 BKLT6136-00-EE-ST
©all rights reserved

1
your hearing instrument page 1
identifi cation page 2
batteries page 3
insertion and removal page 6
switches page 8
volume levels page 9
feedback & multimemory settings page 10
learning to hear well page 11
realistic expectations page 12
the communication process page 13
handling and wearing page 14
adjusting to a noisy world page 15
start in quiet, familiar places page 16
focusing on specifi c sounds page 17
hearing the television and radio page 18
using the telephone page 19
enjoy, but don’t overdo it page 20
how family and friends can help page 22
speak clearly and normally page 23
minimize distractions page 24
time for added consideration page 25
let others know what you need page 26
hearing instrument care page 28
putting it in the right place page 29
daily cleaning and care page 30
avoiding moisture page 31
service and repair page 32
troubleshooting guide page 33
working together page 35
FDA information page 36
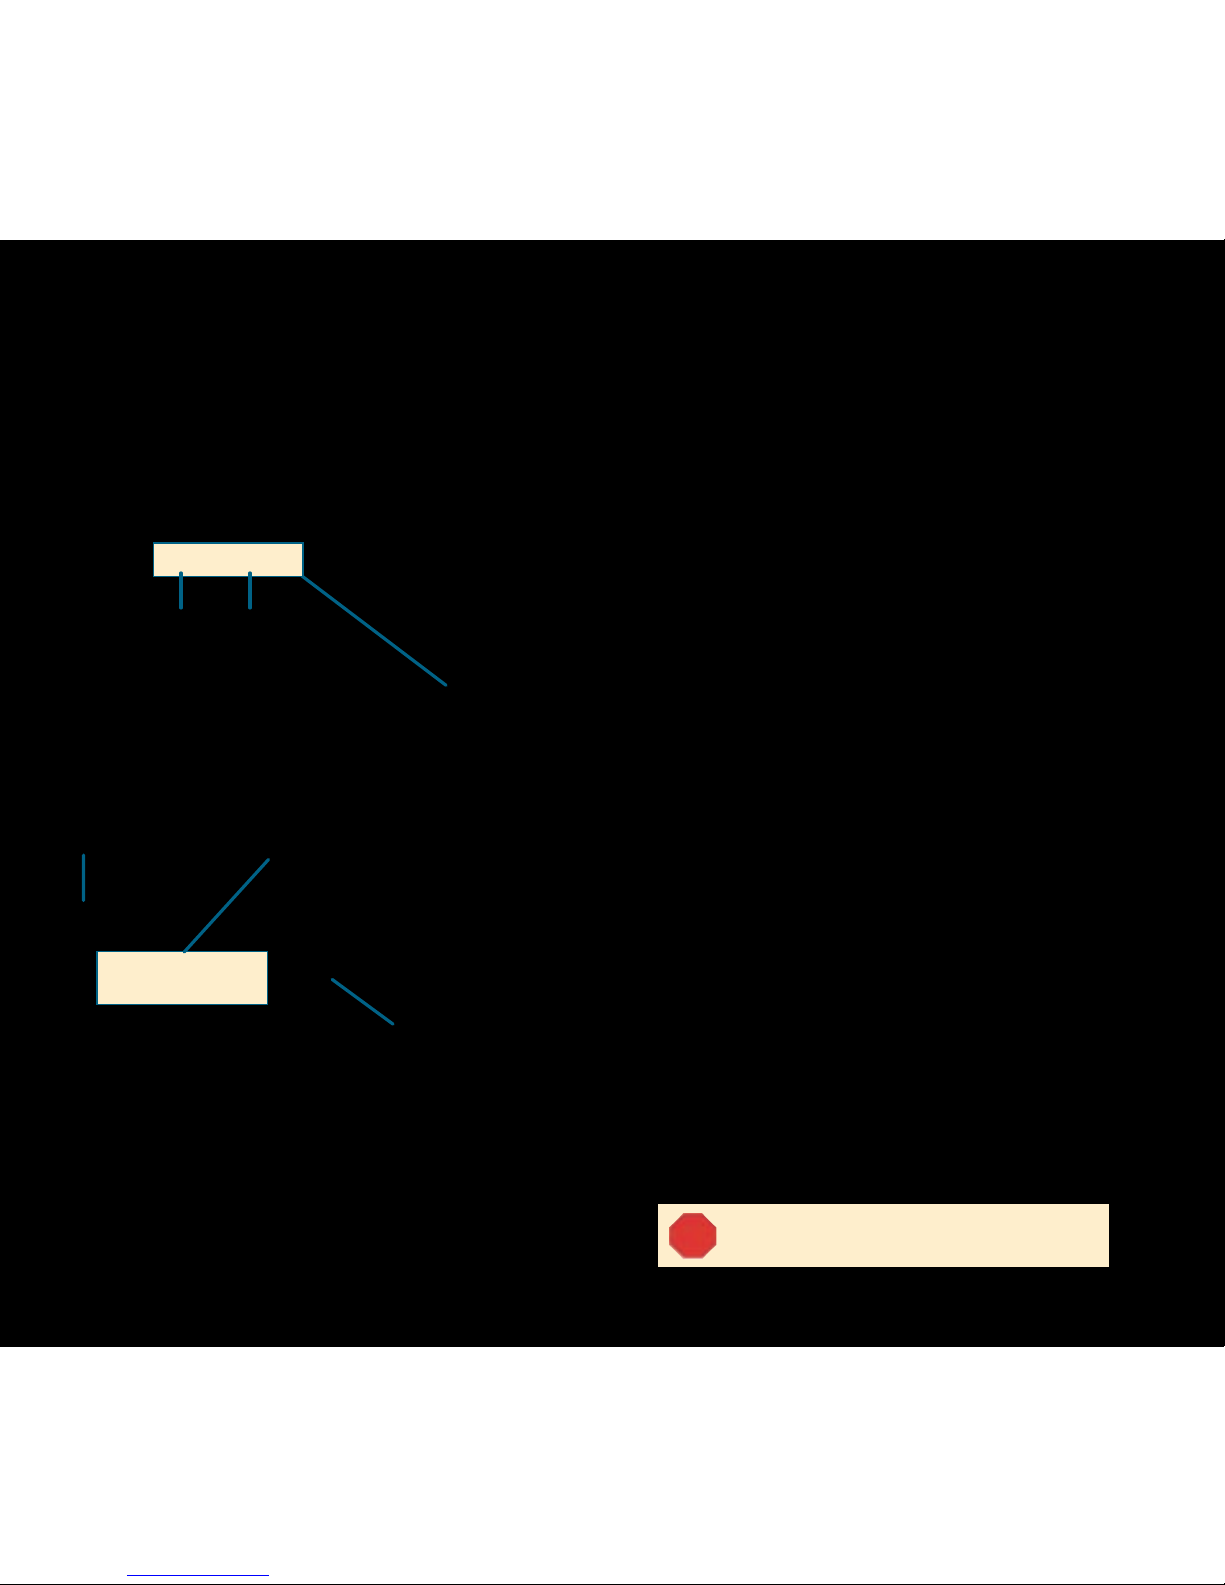
earhook
microphone sound inlet
volume control
multimemory switch
(optional)
microphone - telecoil on/off switch
battery compartment
Your Libra A13 Digital Behind-The-Ear
(BTE) may be programmed to match
your particular hearing requirements.
The programmable features of the Libra
BTE include frequency response, compression characteristics, and volume
control reserve gain. These parameters
have been set by your hearing professional or the manufacturer, and
are not adjustable by the wearer.
The A13 is connected by the earhook
to the customized earmold that fi ts
comfortably in your ear. This mold was
crafted directly from the ear impression
taken by your hearing professional.
table of contents your hearing instrument
2 3
identification batteries
earhook
Each instrument can be identifi ed by its
serial number, located inside the battery
compartment.
We are confi dent that your listening enjoyment will be enhanced by the attention
given to the performance and appearance
of your Libra BTE.
Your BTE uses a size
13 battery as its power
source. Be sure you
use the correct size
and type cell for
your instrument.
Because of their
size, it’s a good
idea to change and
replace the battery above
a table or desk to reduce the risk of
dropping or damage.
To insert or replace the battery, open the
battery compartment by placing your
fi ngernail under the edge of the
swing-out door and gently
pulling outward.
DO NOT open the battery door too far
or damage is likely to occur.
(manufacturer’s name)
(model name)
year
made
serial
number
00-000000
battery
door
45
batteries batteries
Remove the
existing battery
by pushing it
out the top of
the door.
Place the new
battery in the
compartment with
the plus (+) sign
facing up.
Close the battery compartment by swinging
the door until it snaps securely. NEVER
FORCE THE DOOR SHUT. This could result
in serious damage. If the door will not close
securely, check that the battery is placed
properly in the compartment.
Because batteries can vary in size and
performance, your Hearing Professional
is your best source for lifespan estimates
and verifi cation that you are using the
proper size and type if problems persist.
WARNING
HEARING INSTRUMENT BATTERIES
ARE DANGEROUS IF SWALLOWED
Upon removal from your instru ment, dispose of spent cells
immediately in the proper waste
or recycling receptacle.
To help prevent the accidental ingestion of
batteries, keep them out of the reach of
children.
Always check your medication before
ingesting - batteries have been mistaken
for tablets.
Never put batteries in your mouth for any
reason, as they can easily be unintentionally swallowed.

76
Before placing
the Libra BTE
earmold into your
ear, be sure the
battery is inserted
properly and the
battery door is closed
securely. If your instrument has a M-T-O
switch, be sure it is set to “O” (off).
To insert, hold the earmold on the outer
side near the tubing
with your thumb
and forefi nger.
Gently insert the
canal tip of the
earmold into the
ear canal. Then
softly press the
earmold into place
with your fi ngertip.
insertion and removal insertion and removal
Carefully place
the instrument
behind your ear
with the earhook
and earmold
tubing wrapped
over the top.
To remove, take
the instrument
out from behind
your ear and
gently pull the
earmold out-
ward. Pulling
down on the
ear lobe may help
loosen the ear-
mold as it is
removed.

89
switches
volume levels
Your Libra BTE uses a
three-position switch
confi guration, labeled
“M-T-O.” The “M” or
microphone position is
used for standard operation
and to turn the instrument
“on.” The “T” or telecoil
setting is for use with
the telephone. The “O” off
position turns the instrument “off.”
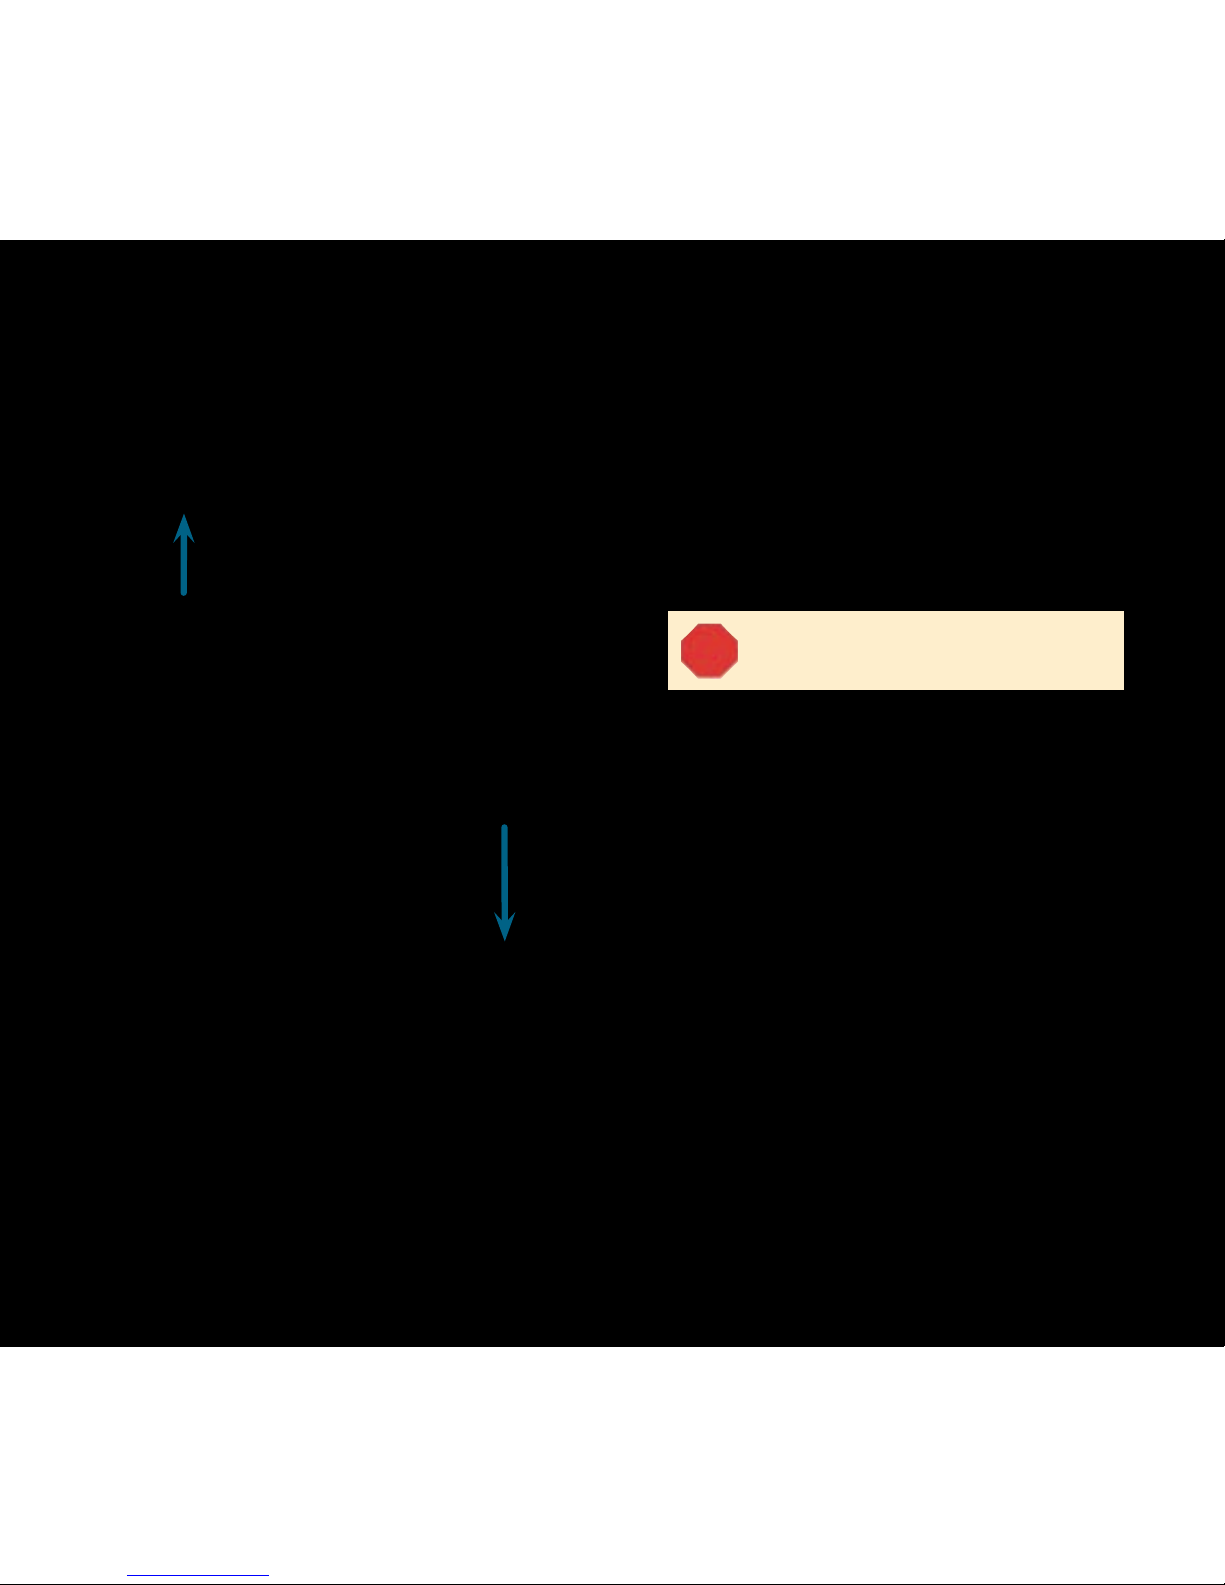
The volume control enables
you to adjust the amount of
amplifi cation provided by the
instrument. You may wish to
change levels as you encounter
different listening situations.
To change the sound level, use your
fi ngertip to rotate the vertical volume
control. The numbers on the control provide an orientation for the proper volume
setting. When the control is set at “4,“ the
volume is at the maximum level.
To make sounds louder rotate the control
upward. To make sounds softer, rotate the
control downward.
Consult your Hearing Profes-
sional if you have ques-
tions regarding the use
of the switches and
volume control
on your Libra
BTE.
 Loading...