

Liberty Presidential Owner's Use And Care Manual

Owner Use and Care Manual
Rev: 5.17.12 Page 1
LIBERTY SAFE AND SECURITY PRODUCTS’ LIMITED LIFETIME WARRANTY
Limited Lifetime Warranty: Liberty Safe and Security Products, Inc. (Liberty) is proud of the
workmanship of the product you have just purchased. Liberty warrants that each new safe will be free
from defects in material and workmanship for the lifetime of the original purchaser. If there is a defect in
either materials or workmanship during your lifetime, we will repair or replace your safe at no cost to
purchaser. Liberty will also repair or replace at no cost to the warranted party, any warranted safe that is
damaged during a fire, break-in or break-in attempt during the lifetime of the original purchaser if the
homeowner’s insurance policy will not cover the damage. The lifetime warranty does not include the
lock or painted surface.
Lock and Painted Surface Warranty: Locks and painted surfaces are warranted to be free from
defects in workmanship and materials for a period of five years from the date of purchase.
Electrical Items Warranty: Light fixtures, transformers, cords, and light switches are warranted to be
free from defects in workmanship and materials for a period of 1 year from the date of purchase.
* * *
Liberty’s obligation under the Limited Lifetime Warranty is limited to the repair (including labor)
or replacement of any product that proves to be defective or damaged during a fire, break-in or
break-in attempt, with a product of like size and type. Claims shall be made under this warranty
by calling 800-247-5625 or writing to Liberty Safe and Security Products, 1199 West Utah Avenue,
Payson, Utah 84651. Any claims made for fire, break-in or break-in attempts must be
accompanied by a copy of your homeowners insurance statement of coverage, and a report
made by the police. A claim must be made within six months of the break-in.
Liberty takes seriously its obligation to stand behind its product with this warranty as long as the
safe is properly installed and cared for as instructed in the Owner’s Use and Care Manual. The
warranty does not apply to safes or parts that have been misused, neglected or subjected to
unusual or extreme conditions and/or environments, or to unreasonable wear and tear.
Changing or modifying the safe in ways that affect its intended use will void this warranty.
As a special service to you, the limited lifetime warranty can be transferred to subsequent
purchasers or owners with the prior written consent from Liberty. Simply contact our Customer
service team with your request. Liberty reserves the right to deny a request or transfer for any
reason.
Limitation of Remedies: In no case shall Liberty be liable for any special, incidental, or consequential
damages based upon breach of warranty, breach of contract, negligence, strict tort, or any other legal
theory. Such damages include, but are not limited to, loss of profits, loss of savings or revenue, loss of
the contents of the safe or vault door, loss of use of the safe or vault door, or any associated equipment,
cost of capital, cost of any substitute equipment, facilities or services, downtime, the claims of third
parties including customers, and injury to property.
Warranty Registration Card: The attached registration card showing the serial number of the product
and original purchaser information must be mailed to Liberty within thirty (30) days of purchase to
validate this warranty. Online registration must also be completed within (30) days of purchase. Failure
to register the product shall void any warranty.
No Other Warranties: This agreement is understood to be the complete and exclusive agreement
between the parties, superseding all prior agreements, oral or written, and all other communications
between the parties relating to the subject matter of this agreement. No employee of Liberty or any other
party is authorized to make any warranty in addition to those made in this agreement.
THIS WARRANTY PERTAINS ONLY TO THE LIBERTY SAFE ITSELF, AND DOES NOT EXTEND TO
THE CONTENTS OF THE SAFE. FOR OPTIMAL SECURITY AND PROTECTION, SAFES SHOULD
BE BOLTED TO THE FLOOR. PLEASE REFER TO YOUR USE & CARE MANUAL FOR DETAILS
ON ANCHORING YOUR SAFE TO THE FLOOR.
Disclaimer of Warranty:
THE ABOVE WARRANTY IS IN LIEU OF ALL OTHER WARRANTIES EXPRESSED OR IMPLIED,
INCLUDING WARRANTIES OF MERCHANTABILITY AND FITNESS FOR A PARTICULAR
PURPOSE, WHICH EXTENDS BEYOND THE WARRANTY SPECIFIED ABOVE, AND IN NO EVENT
SHALL THIS WARRANTY BE DEEMED TO COVER INCIDENTAL OR CONSEQUENTIAL DAMAGES
OF ANY KIND.
Venue and Choice of Law: Any claims arising from this limited warranty shall be resolved in the State
of Utah and Utah law will apply to any dispute.
Owner Use and Care Manual
Rev: 5.17.12 Page 2
Congratulations on your purchase of your new high quality security safe designed and built by
America’s #1 gun safe company—Liberty Safe! To insure proper set up and installation, PLEASE
READ THIS USE AND CARE MANUAL before opening your safe.
SAFETY PRECAUTIONS
The safe door is heavy. Do not open the door with the safe on an uneven or unstable floor.
Hanging on an open door may cause the safe to tip forward when not lag-bolted to the floor,
resulting in serious injury or death to yourself or others. If you have or have occasion to
have small children in your home, please make sure you never leave your safe unsecured. It
is possible for small children to climb inside your safe and become locked in. This could
result in serious injury or death.
PACKAGING MATERIALS
After opening the safe, remove the plastic protectors or foam in the corners of the door. The fire
seal is covered with a thin protective film. Please remove film before using the safe. (Note: Do NOT
remove any part of the black rigid fire seal)
INSPECT YOUR SAFE
Inspect your safe for shipping damage as soon as you receive it. If you find any damage, please
contact the delivery company (or carrier) immediately. Any damage not noted upon delivery must
be reported within fifteen (15) days or there will be no recourse.
SERIAL NUMBER & MASTER COMBINATION (See opening instructions before proceeding)
PLEASE NOTE: If your safe has been installed with an S&G Electronic Lock, use the
Electronic Lock Opening Instructions on page 6 before proceeding.
Your safe’s serial number is located in two (2) locations on the safe. One is located on the top of
the safe, back right side. The second is located inside the opening edge of the door. Compare the
serial number in this manual with the serial number on the safe. All serial numbers should match. If
they do not, contact your local dealer or Liberty Safe immediately. You will need your safe serial
number when contacting customer service about your safe.
PLEASE NOTE: Record your safe’s serial number and combination and store in a
secure location OTHER THAN YOUR SAFE. (For storage suggestions see lost combination sec.)
MANUAL LOCK—OPENING INSTRUCTIONS (FIRST TIME)
The combination lock on your safe has been set randomly at the factory. Most safes come
standard with a key-locking dial. To unlock the dial, insert the dial key and turn the key a half a turn
clockwise. Turn the dial to the right (clockwise). The dial should stop at about “87”. Turn safe
handle and open door. With door open, you can now verify your combination.
PLEASE NOTE: If the dial does not stop at “87” and continues to spin freely, the lock
has been activated and you will need to open the combination (see paragraph on page 5
named LOCK—OPENING INSTRUCTIONS) with the door closed.
place serial number
and combination here

Owner Use and Care Manual
Rev: 5.17.12 Page 3
TABLE OF CONTENTS
Warranty……………………………………………………………..…….….…1
Safety Precautions…………………………………….……………… . …………...….2
Serial Number and Combination………………………….……….…………...………2
Product Diagram.…………………………………….....….……….……………………3
Manual Lock—Opening Instructions………………………….…….……..…….……..7
Titan PivotBolt Electronic Lock—Opening Instructions..………..…….……......……8
Titan Direct-Drive Electronic Lock – Opening Instructions…………….………...…..9
All Electronic Locks—Changing Combinations.………..……………………….……10
All Electronic Locks—Add or Delete Codes………….…….………..….….…….…..10
Titan PivotBolt Electronic Lock—Battery Replacement……………..……….….….10
Titan Direct-Drive Electronic Lock—Battery Replacement………..……………..….11
Moving Your Safe…………………………………..….…………………...……………11
Removing the Safe from Pallet……..…………………………………….......….…….11
Placement of Your Safe………………………………………………….…….....….....11
Anchoring Your Safe………………..…………….……………………….…........……12
Door Adjustors…………………………………………………………….…….............13
Loading Your Safe……………………….........………………………….………..…...13
Cleaning and Maintaining Your Safe…………......…………………….………….….14
Lost Combination and Keys………………………..…………………….………….....14
Online Combination Storage………………………......………………….……………14
Troubleshooting Guide…………………………………..………………….…………..15
Frequently Asked Questions………………………….…....……………….…..……...18
Warranty Claims and Repairs…….…………………..……..……………….….……...18
Available Accessories…………………………………………..……………….……….19
Owner Use and Care Manual
Rev: 5.17.12 Page 4
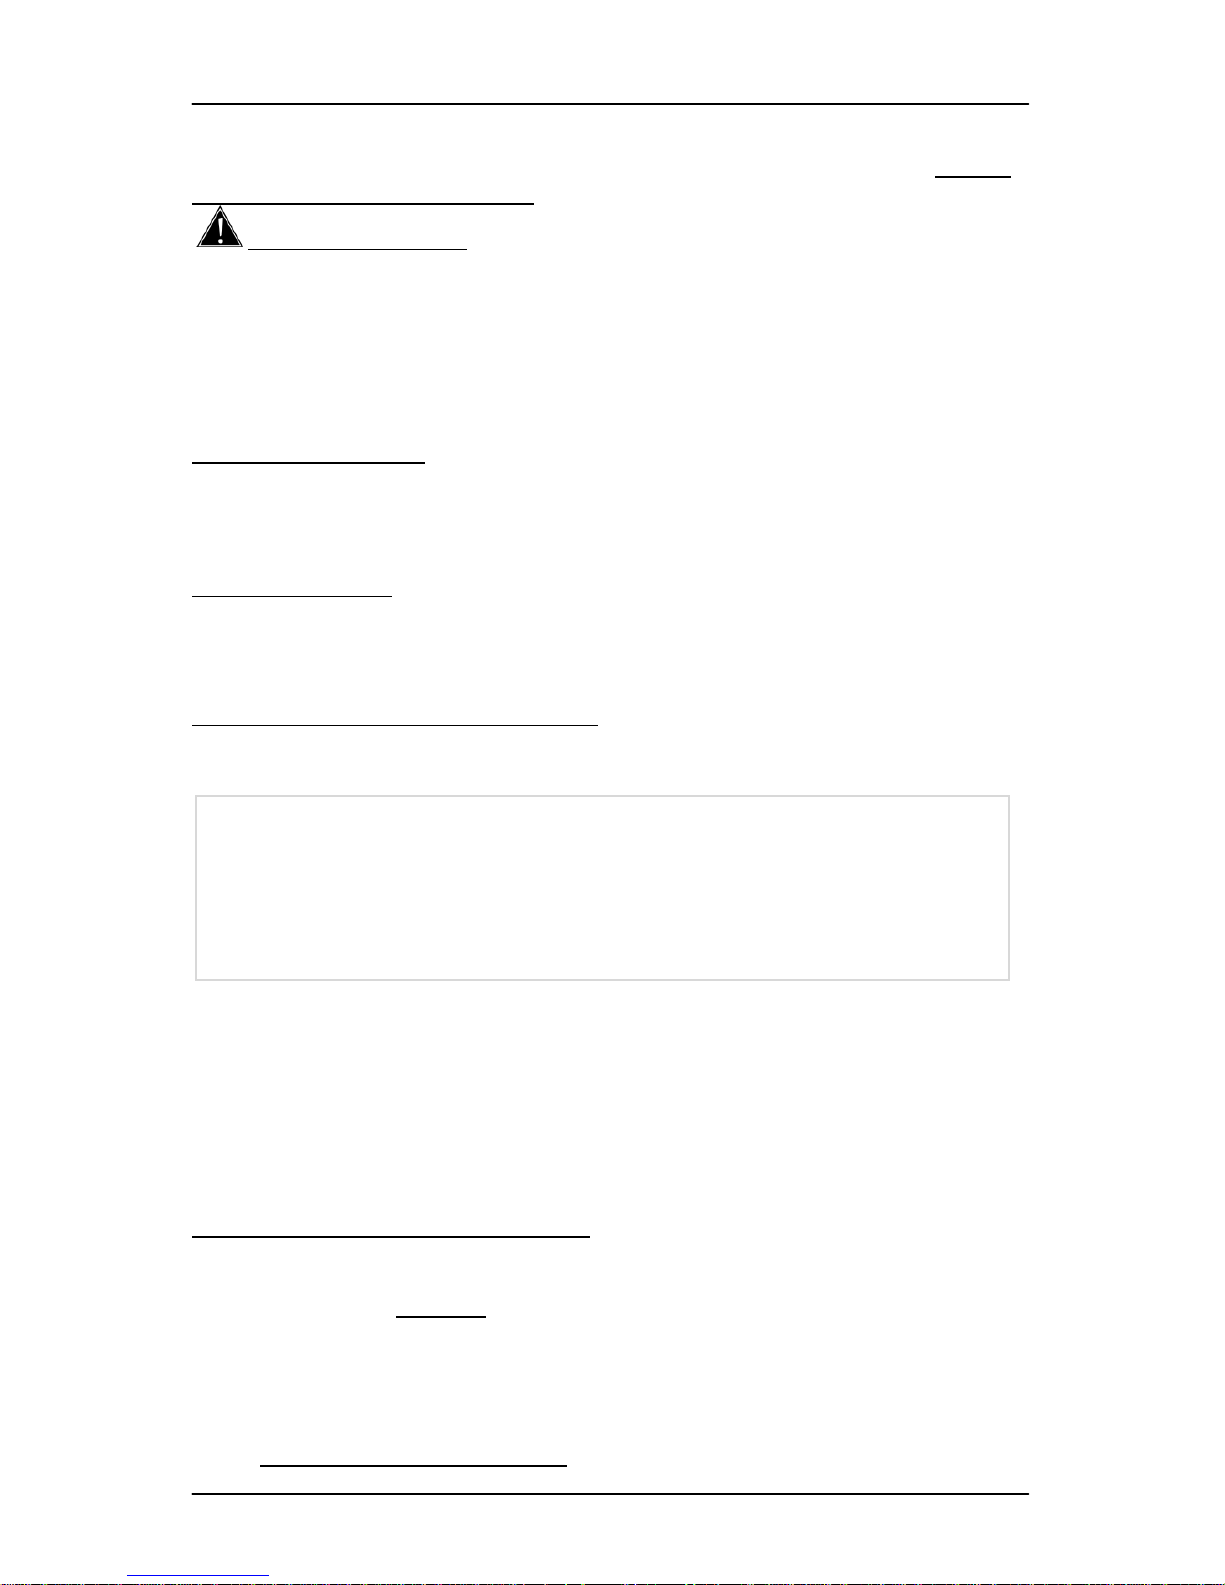
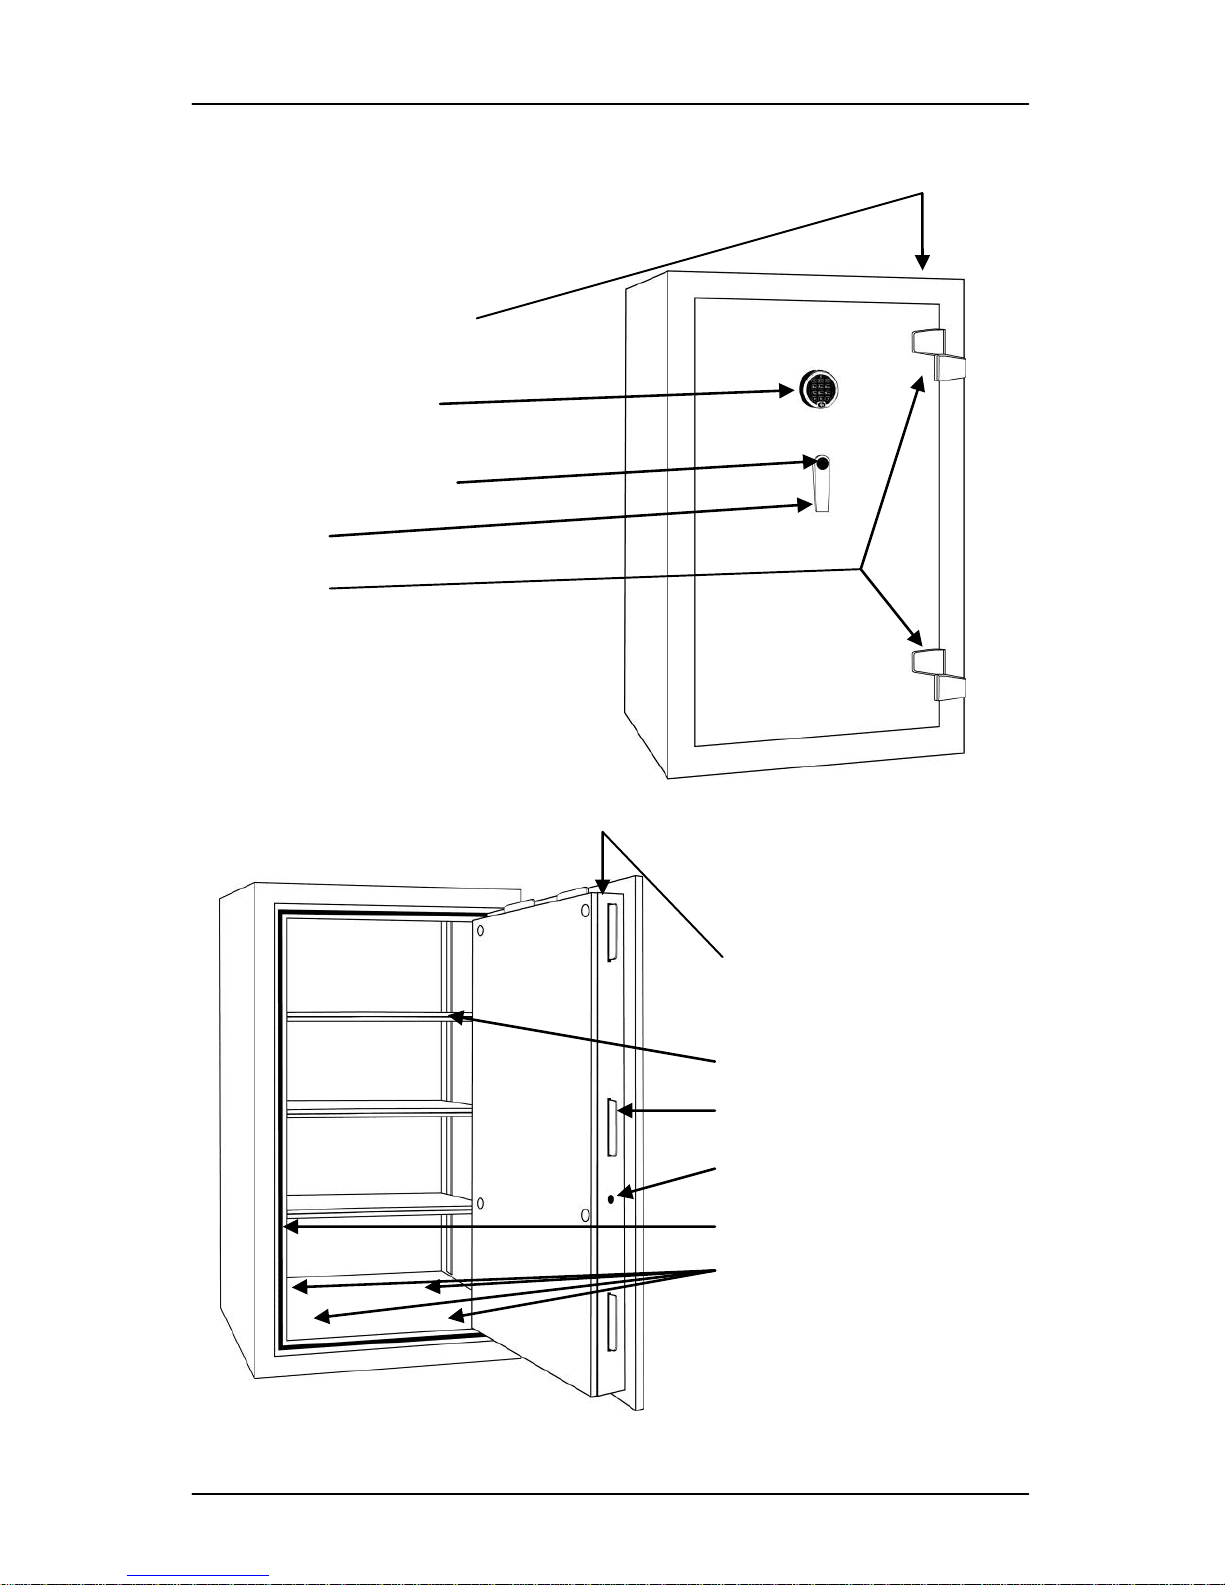
1. serial number (top
back right corner of
safe)
2. brand name logo
3. combination dial &
keylock
4. handle spoke
5. handle hub screw
cover
6. open-side, door
7. hinge-side, door
8. pinstripe
9. model name
10. electrical access
(back of safe, bottom
right)
Large Safe Outside
Owner Use and Care Manual
Rev: 5.17.12 Page 5
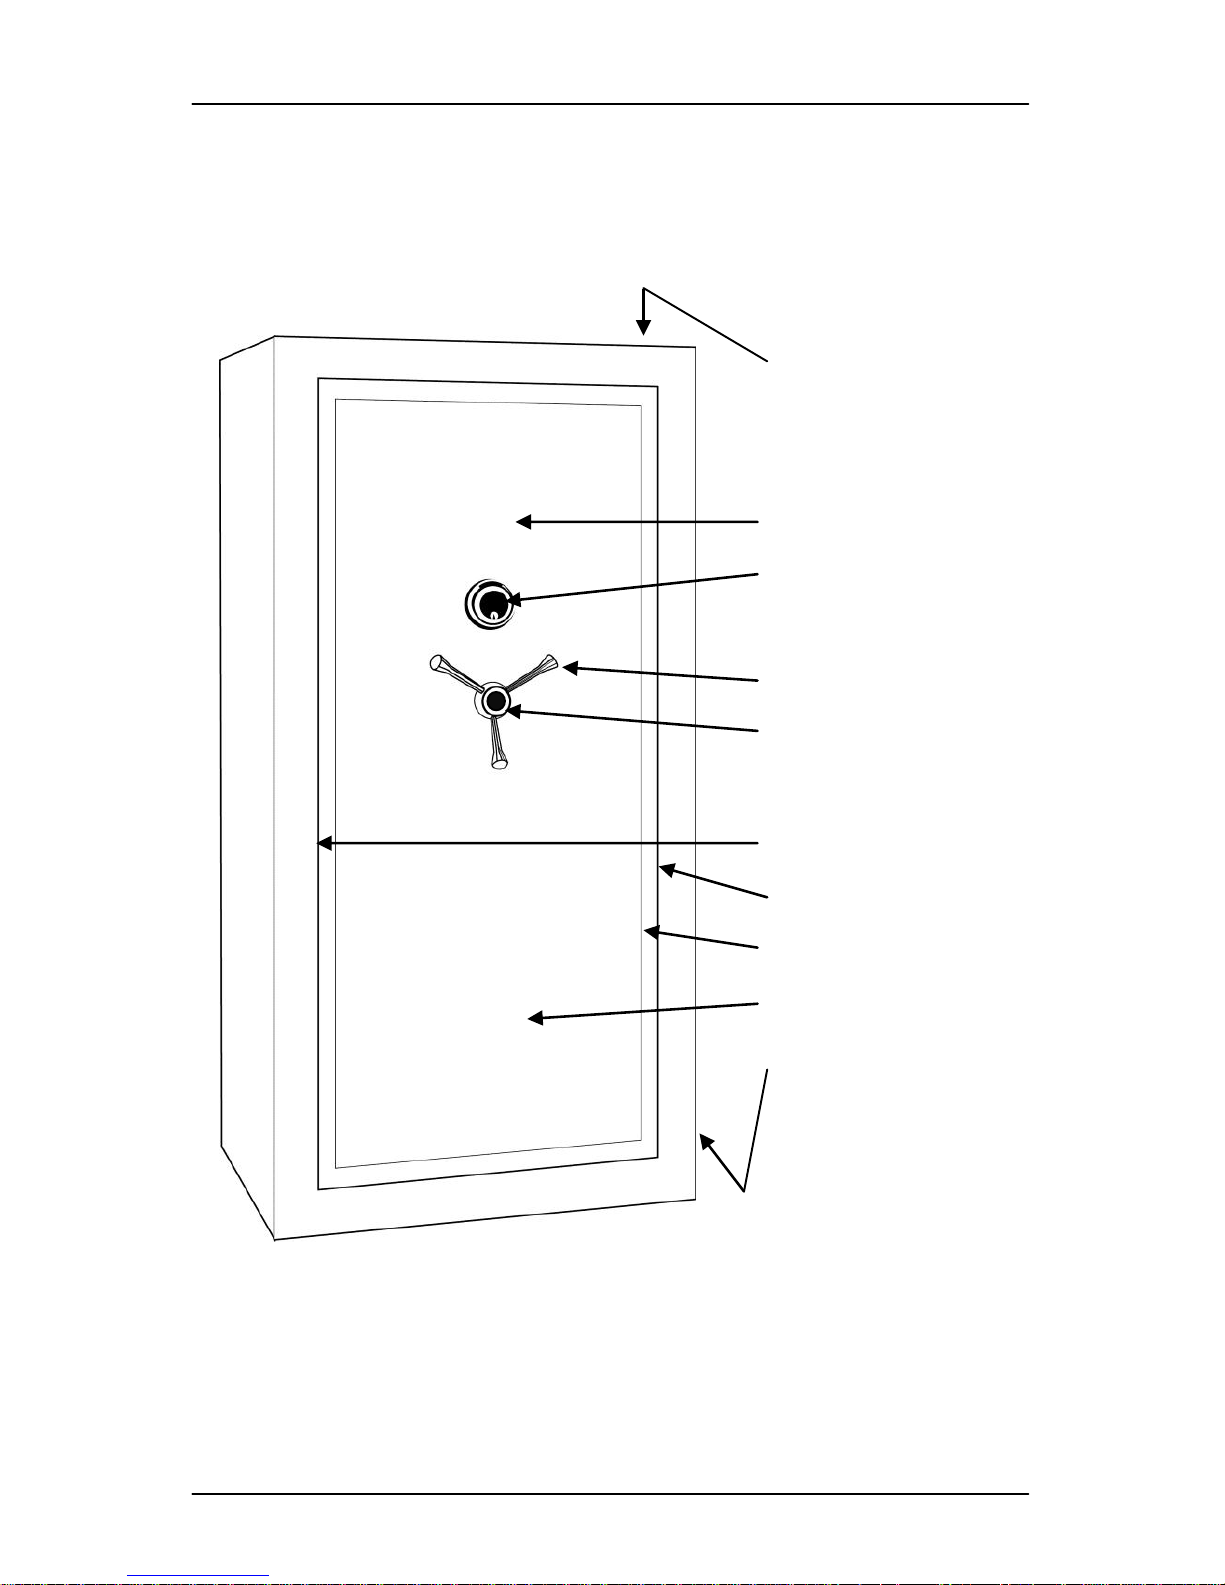
1. lighting – select
models (inside
wall near jamb)
2. labels – fire,
security, serial
number
3. top shelf
4. door adjuster
(inside door
jamb)
5. flex rack cover
6. flex gun racks
(right side rack
under flex cover )
7. chrome locking
bolts
8. center divider
9. side shelves
10. electrical outlet &
light power plug –
select models
11. light sensor
switch – select
models (lower
right wall)
12. detent rod –
select models
(bottom of door)
13. Palusol® fire
door seal
14. mounting bolts (under
carpet or floorboard)
Large Safe Inside
Owner Use and Care Manual
Rev: 5.17.12 Page 6
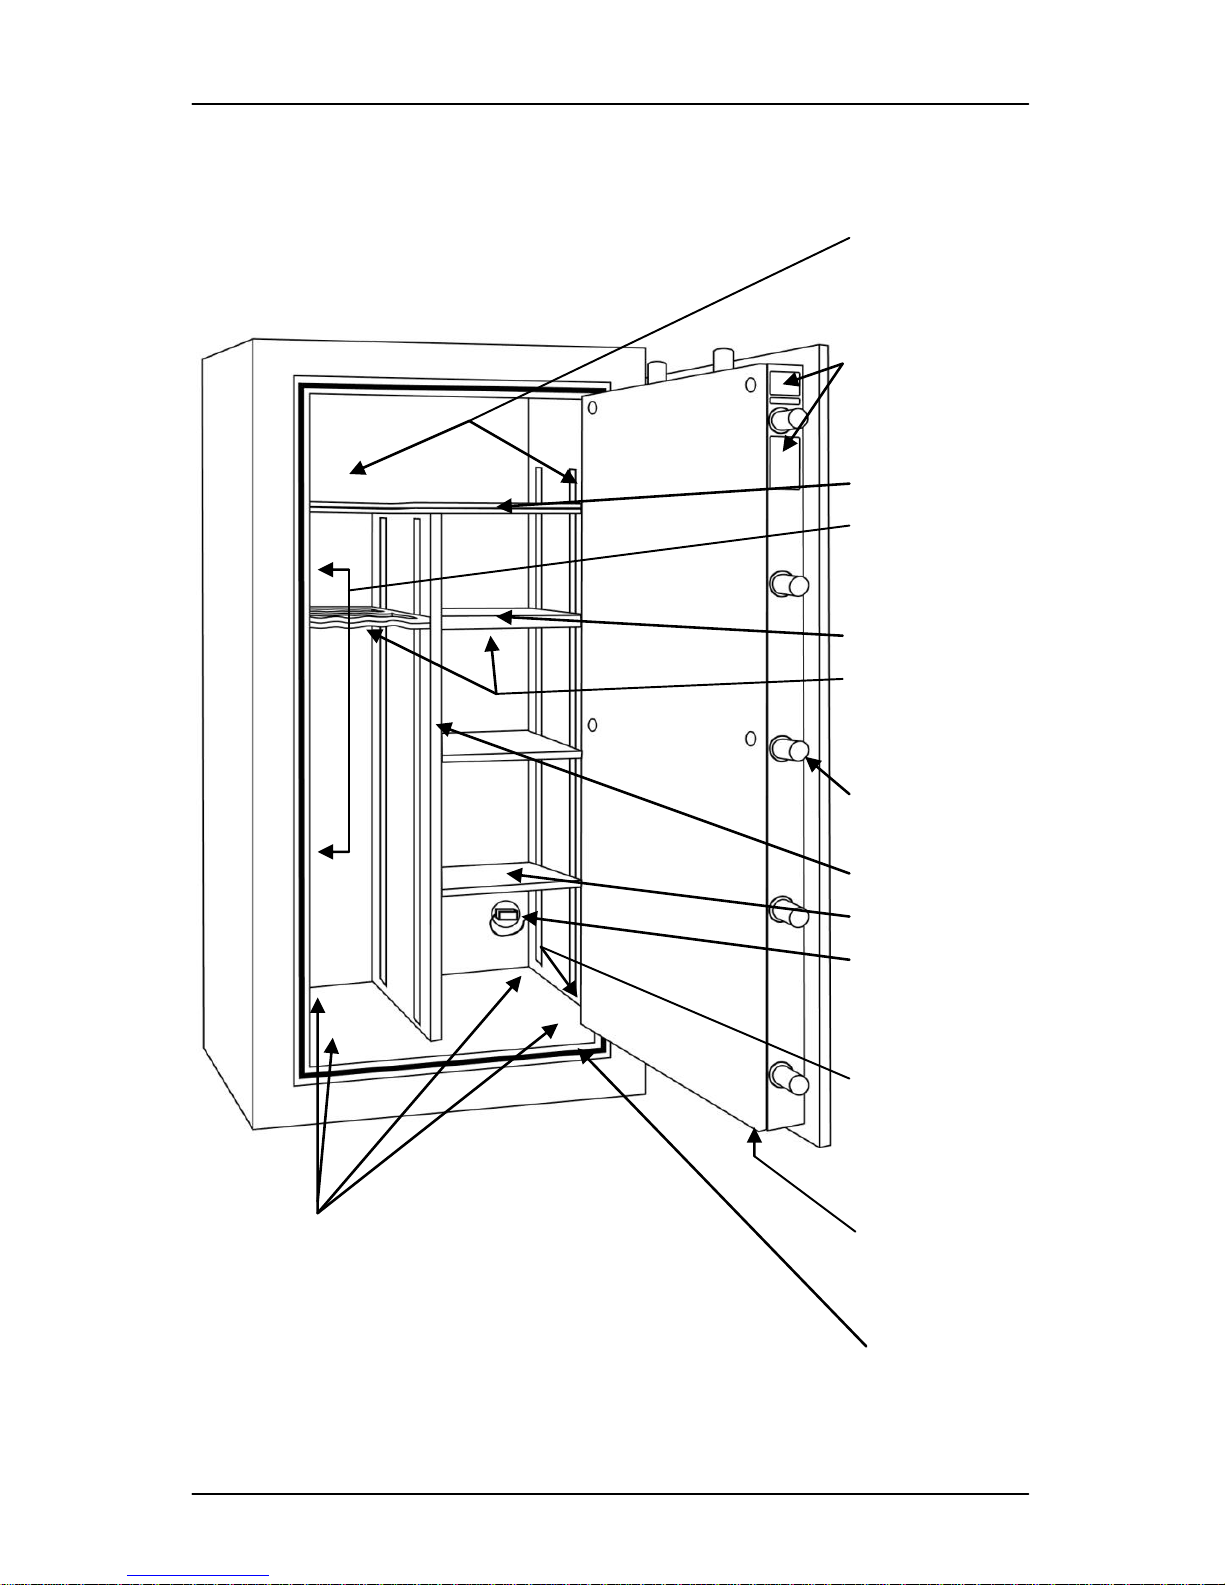
Small Safe
1. serial number (top of
safe, back right corner)
2. S&G 6120 model
electronic lock
3. handle screw cover
4. handle
5. hinges
1. serial number, fire, and UL
labels (top edge inside
door)
2. executive shelf
3. locking bar
4. lock-out bolt hole
5. Palusol® fire seal
6. mounting bolts (under
carpet)
Owner Use and Care Manual
Rev: 5.17.12 Page 7
EXTENDING BOLTS BEFORE VERIFYING COMBINATION
It is preferred to verify your safe combination with the door open. If there are problems, it is easier
to service the lock or mechanism with the door open. Before verifying your combination, you will
need to extend the door bolts while the door is open. Keep door open. You can now verify your
combination.
VERIFYING THE COMBINATION
The combination lock on your safe has been set randomly at the factory. After completely dialing
the combination provided with your safe, turn the safe handle and open door. With the door open it
is recommended that you verify the combination opens a few times before using the safe. It is also
strongly recommended to do this after moving the safe.
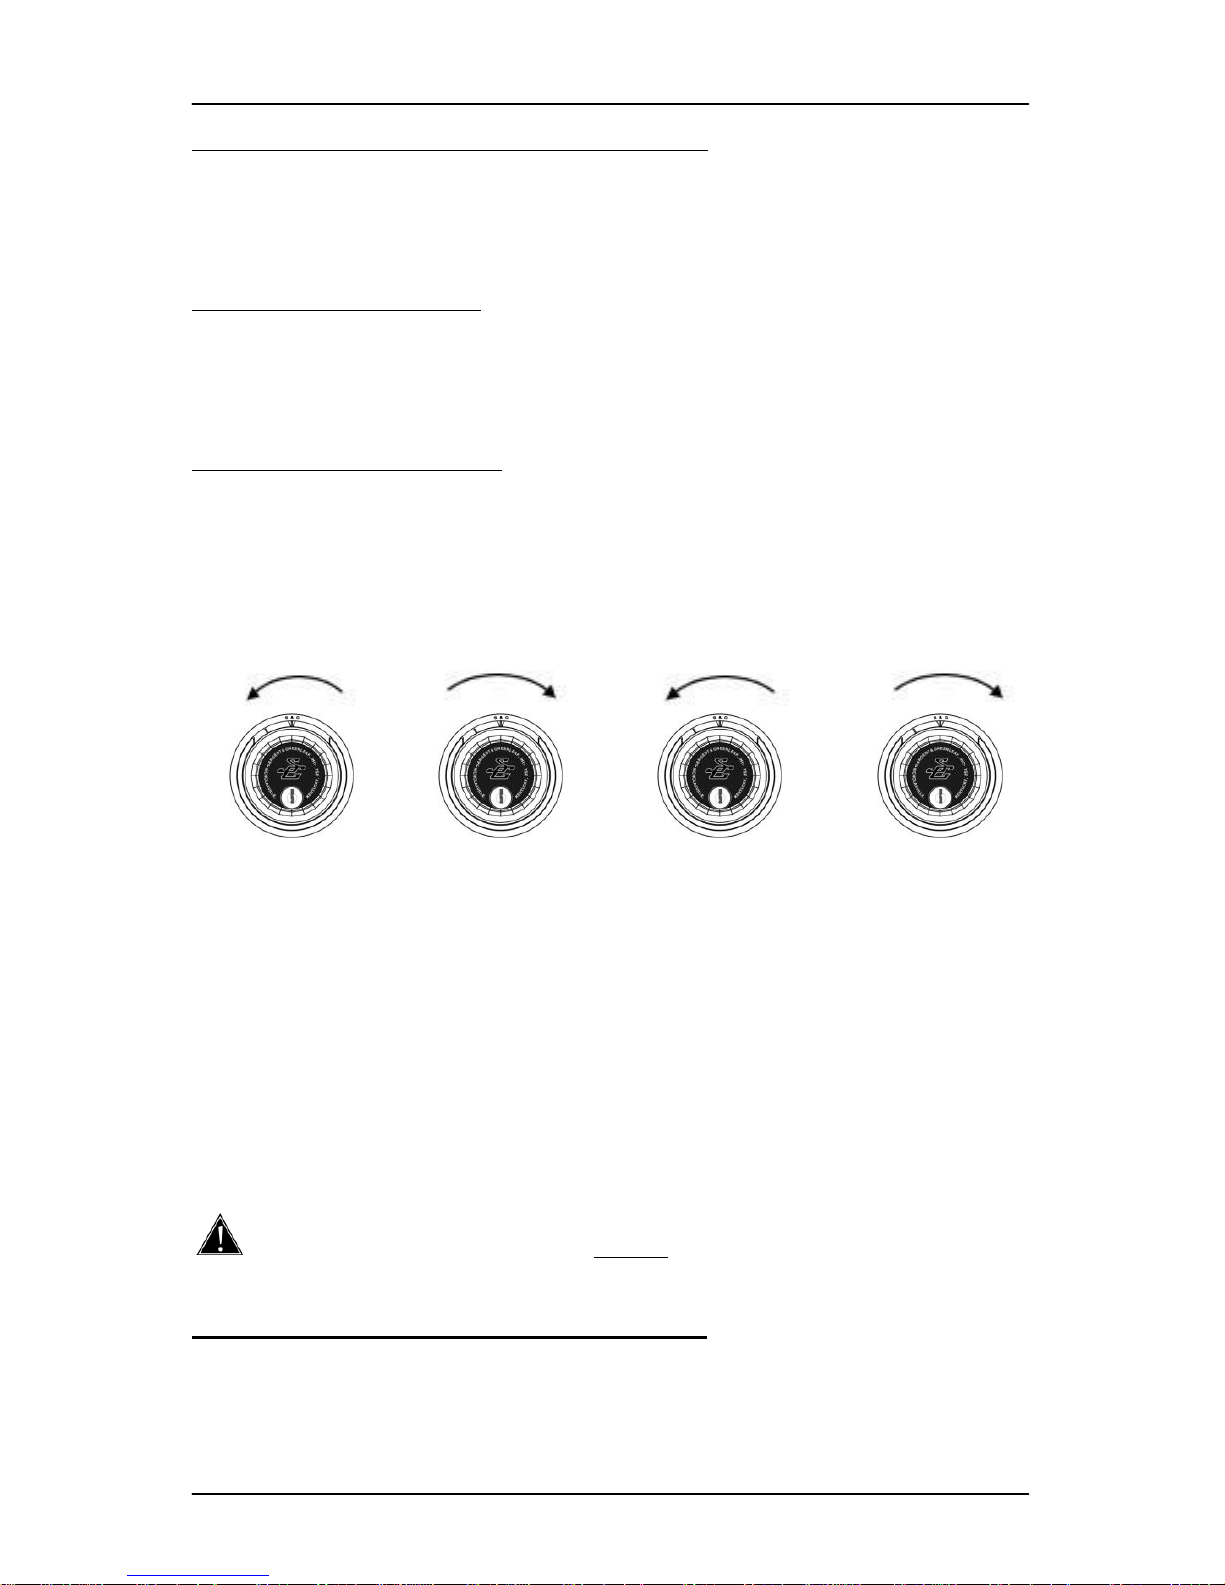
LOCK—OPENING INSTRUCTIONS
The lock requires accurate alignment with the index mark (located at twelve noon on the dial ring).
Always turn the dial slowly and steadily when entering your combination to avoid dialing past your
numbers. Never spin the dial rapidly back and forth as this may cause damage to the lock. If
you go past any number – even if by only a half a number – the entire combination must be redialed. To verify your combination, follow the four steps below. Copy your combination numbers
from page 1 to the spaces below.
Step 1
Turn the dial
counterclockwise
(LEFT) at least 4
times stopping on the
1
st
number at the
index mark.
1
st
#__________
Step 2
Turn the dial
clockwise (RIGHT)
passing the 2nd
number twice. Stop on
it the 3rd time.
2
nd
#__________
Step 3
Turn the dial
counterclockwise
(LEFT) passing the
3rd number once.
Stop on it the 2nd
time.
3
rd
#__________
Step 4
Turn the dial clockwise
(RIGHT) until the dial
stops (about 87). You
will feel some
resistance at about 95.
Keep turning until the
dial completely stops
at about 87.
Step 5 – If combination is entered correctly, you will be able to easily turn the safe handle and
open the safe.
IF COMBINATION DOES NOT WORK, DO NOT CLOSE DOOR! Try Again. Refer to the
TROUBLE SHOOTING GUIDE in the back of this manual for more help.
USING THE KEY-LOCK (DAY-LOCK) FEATURE
PLEASE NOTE: The Key-lock will lock the safe. However, to obtain the
highest level of security it is recommended to lock the safe using the combination
and key-lock together.
Owner Use and Care Manual
Rev: 5.17.12 Page 8
USING THE KEY-LOCK (DAY-LOCK) FEATURE (CONTINUED)
Before using the key-lock feature you will need to close the door and rotate the handle until the
bolts extend into their locked position.
Step 1.Rotate the dial counterclockwise to the number 0.
Step 2.Insert the key and turn it 180 degrees counterclockwise until it stops (the jagged edge of the
key should be facing up).
Step 3.Remove the key and verify the safe is locked by trying to turn the handle.
NOTE: If the safe is NOT locked, try rotating the dial counterclockwise to the number 4 and then
back clockwise to 0, then repeat steps 2-3.
CHANGING COMBINATIONS ON MANUAL LOCKS
It is inadvisable for anyone other than a CERTIFIED LOCKSMITH to change the combination on a
manual lock. Changing the combination by anyone other than a certified technician will void the
lock portion of your warranty. Call your dealer or Customer Service Representative at Liberty Safe
(800) 247-5625, press 0, for help locating an approved locksmith. As part of our continuing service,
a record of your combination by serial number is kept on file at Liberty Safe. If you lose your
combination it can be restored to you for a $25.00 research fee provided you have informed Liberty
of any combination changes and you have also met the documentation requirements. See the Lost
Combination and Key section of this manual for more details and information about storing your
combination.
Electronic Locks
Your safe may have one of the following two model electronic locks. Be sure to choose the correct
model instructions before attempting to use your electronic safe lock.
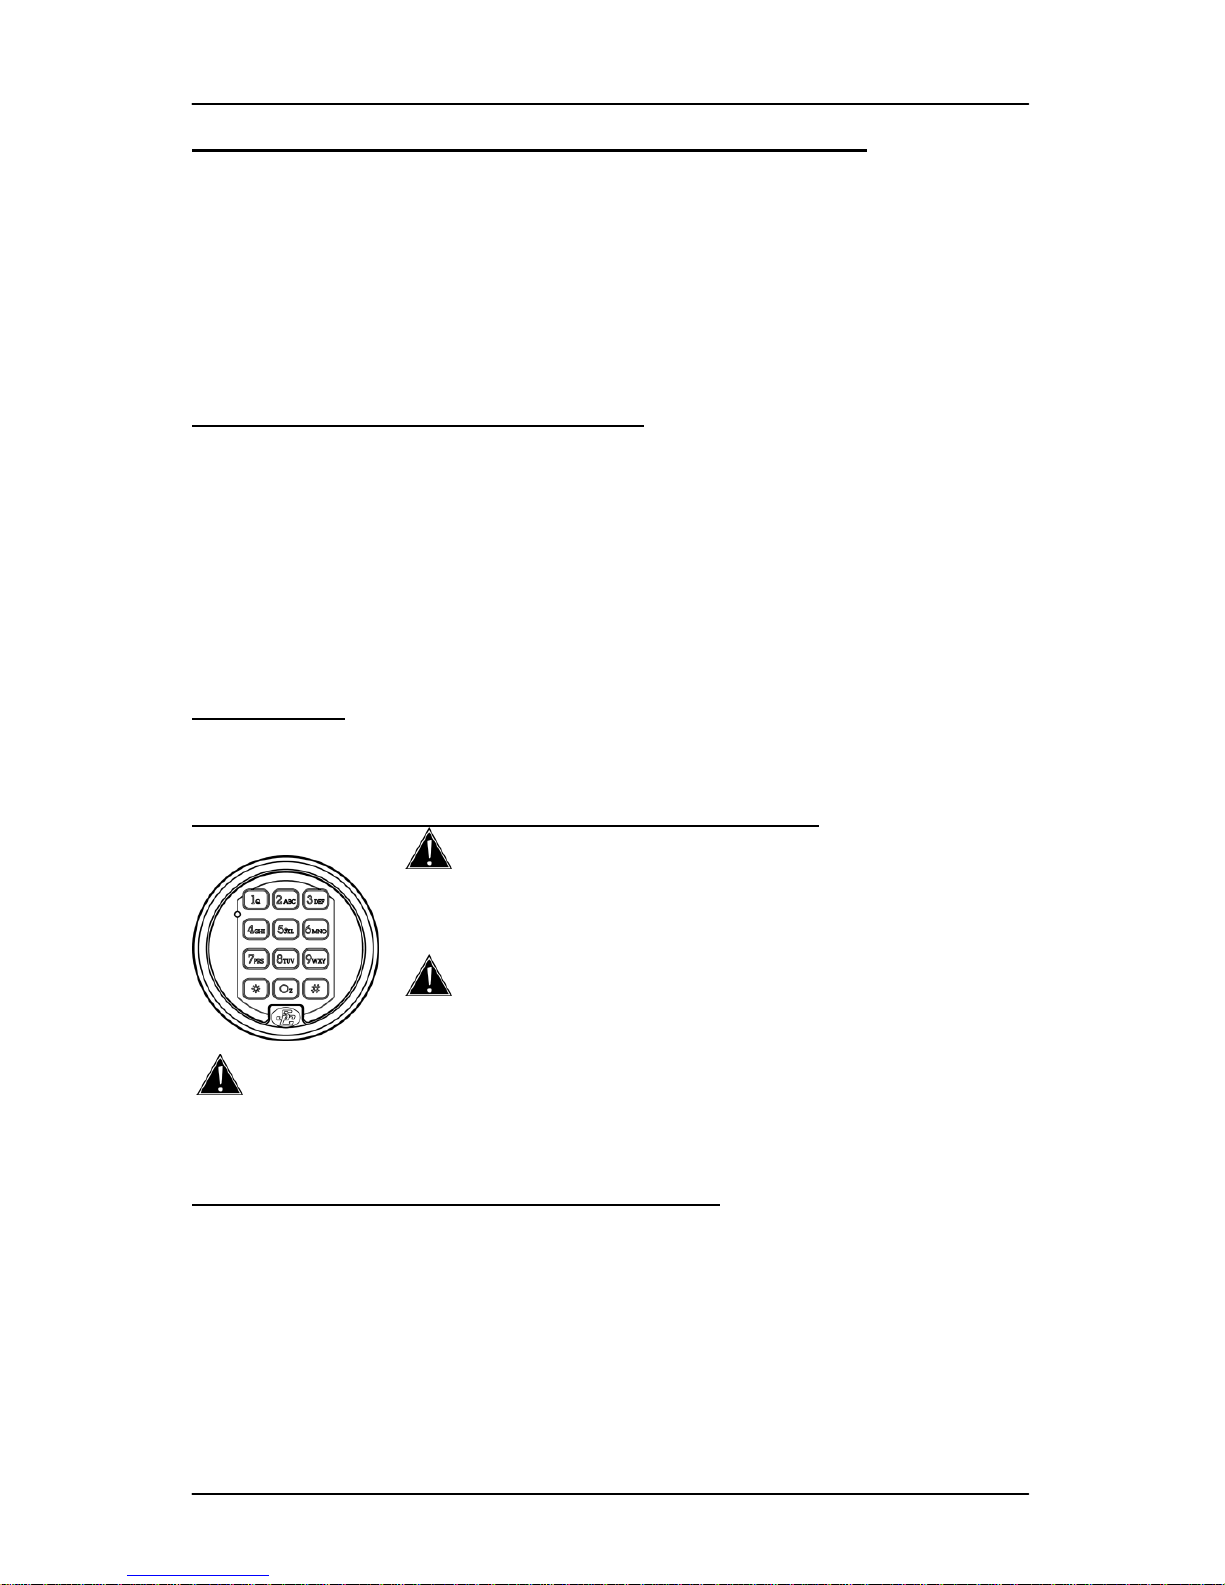
TITAN PIVOTBOLT ELECTRONIC LOCKS—OPENING INSTRUCTIONS
WARNING! All Electronic locks are set at the factory to
123456 #. For security purposes, you should change this
combination to your own, new combination number. (See
instructions below)
Before entering your electronic lock combination, center the handle
between left and right stop points. If the handle or locking mechanism
is putting pressure on the lock, it may not open.
Before entering your electronic lock combination, remove any static charge you may have
by touching your finger to the body of the safe. Discharging static electricity into the lock can
damage it and prevent proper operation.
Opening your PIVOTBOLT electronic lock for the first time
Enter the factory set 6 digit master combination (1,2,3,4,5,6 ) followed by the pound (#) sign.
When each number is pressed, the lock will chirp and the red LED on the keypad will momentarily
light up. After pressing the # sign, you should hear the lock retract inside the door, indicating the
lock has opened and it is okay to turn the handle and open the safe door. You have 6 seconds to
turn the handle. If you wait longer than 6 seconds, the lock will re-lock and you will need to enter
the code again. If you experience any problems opening your safe, refer to the Trouble Shooting
section in this manual. If you pause more than 10 seconds between each number the lock will
assume you do not wish to continue and will reset itself. If you press an incorrect button when
entering the code, press the star ( ) button and start again with the first number in the code.
 Loading...