

LG Motorsports Mono Ball Control Arm User Manual
LG MonoBall Control Arms
“THE MOST POWERFUL HEADERS ON THE PLANET”
Brought to you by LG Motorsports
972-429-1963
Thank you for purchasing the LG Motorsports complete mono ball control arm kit!.
Parts Inventory:
1. Front upper bearing insert (4)
2. Rear upper bearing insert (4)
3. Front lower bearing insert (4)
4. Rear lower bearing insert (4)
5. External C Clips, one for each size (16)
6. Lower control arm spacer, long (12)
7. Lower control arm spacer, short (4)
8. Cross shaft, front upper (4)
9. Cross shaft, rear upper (4)* ZR1/Z06 only
10. Spacer, rear upper (8)* C5/C6 base only
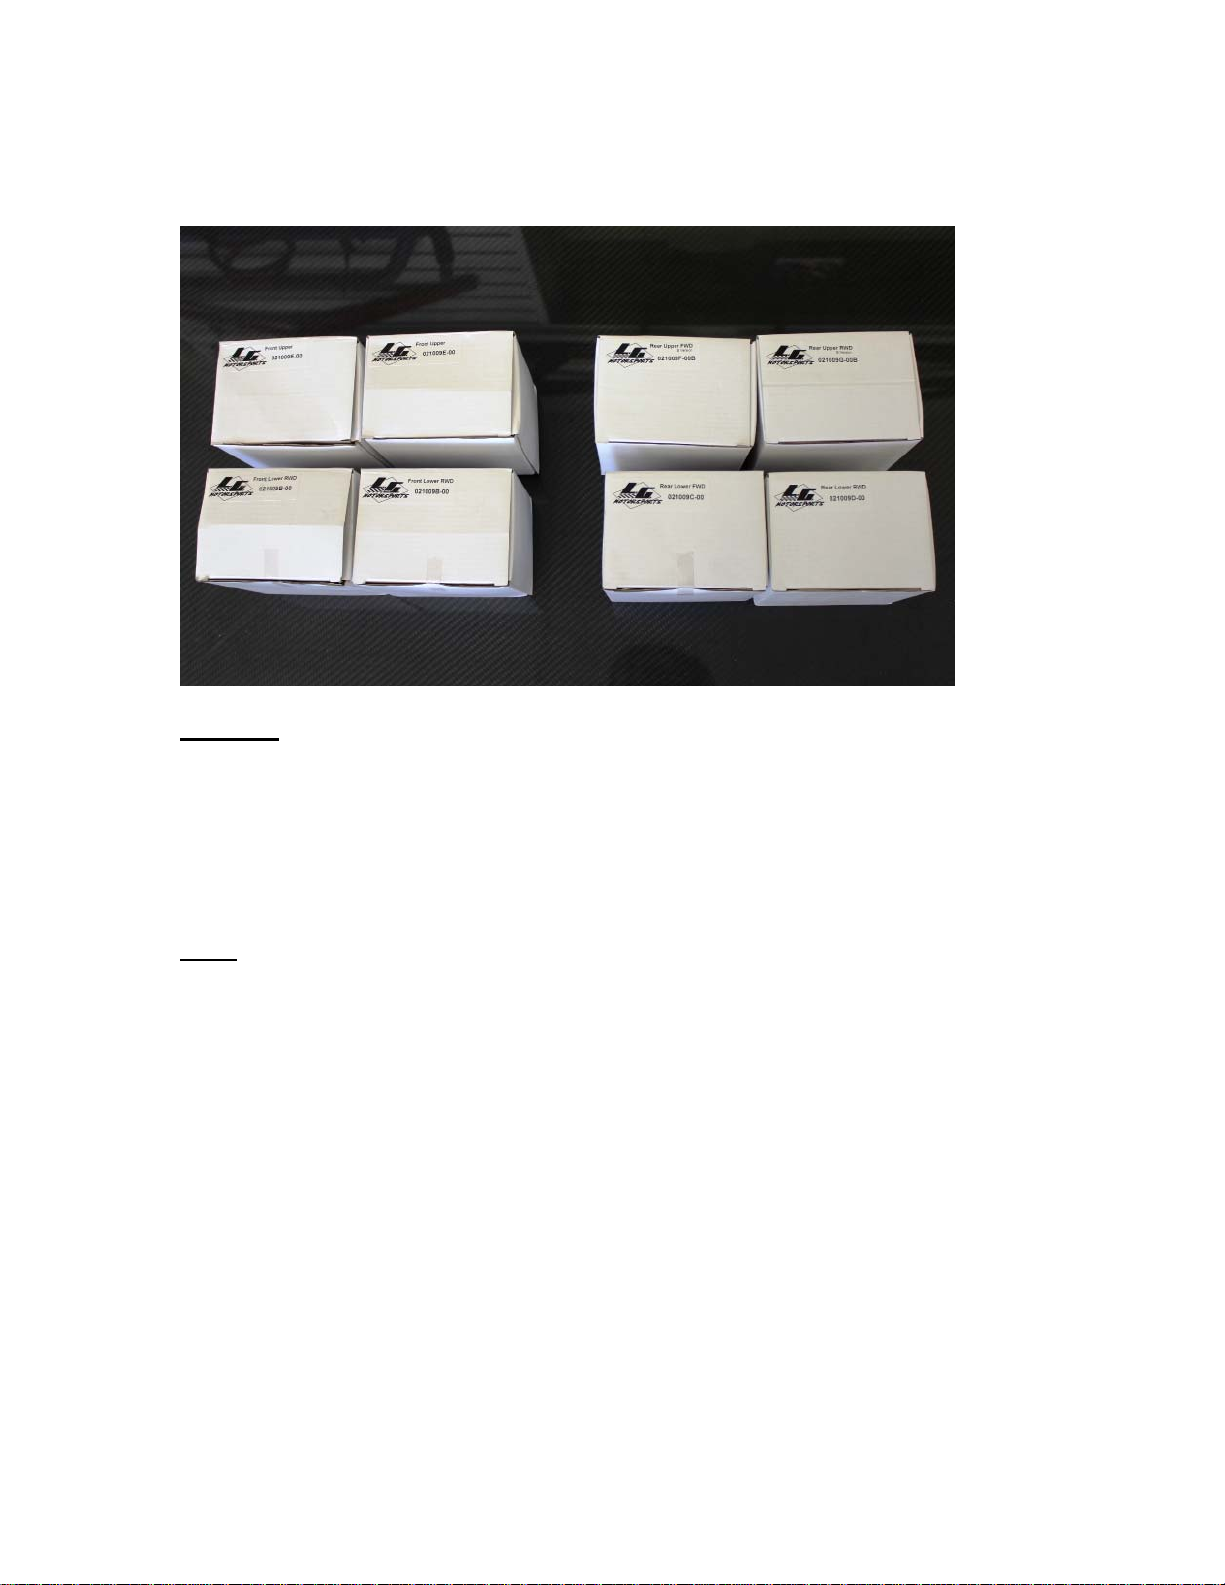
Your package will arrive to you, with the bearings and internal C-clips already installed
and boxed as follows. Each box will contain one control arm set.
Optional:
1. Completely assembled arms with bearings installed
Instructions:
Prep:
Before starting this project you will need to make sure you have a few tools to do
this job. You are going to need assorted hand tools to remove the control arms from your
car. A vice or press will be needed to remove the factory control arm bushings from the
arms. You will need a shop torch to heat the arms for install of the new bearing inserts,
and a fridge or ice bag to cool the inserts before installing.
First step will be to raise the car, and support with jack stands or on a lift.
Remove the wheels and control arms from the car. If your car has factory leaf springs,
please see your owner’s manual for proper safe removal of these units. If you have
questions about the suspension removal please see your factory service manual.
Before you start to take your arms apart, take a moment to place your bearings in
the freezer to start them cooling. This will help the insert into the control arm.
Once the arms are removed you will need to remove the factory bushings. Front
upper arms are easy enough to do by holding the cross link in a vice and twisting the arm

(rear Z06/ZR1 arms can be done the same way). The lower arms will need to be pressed
out. After the bushings are pressed out, you will notice a rubber residue on the control
arm which will need to be cleaned before moving forward.
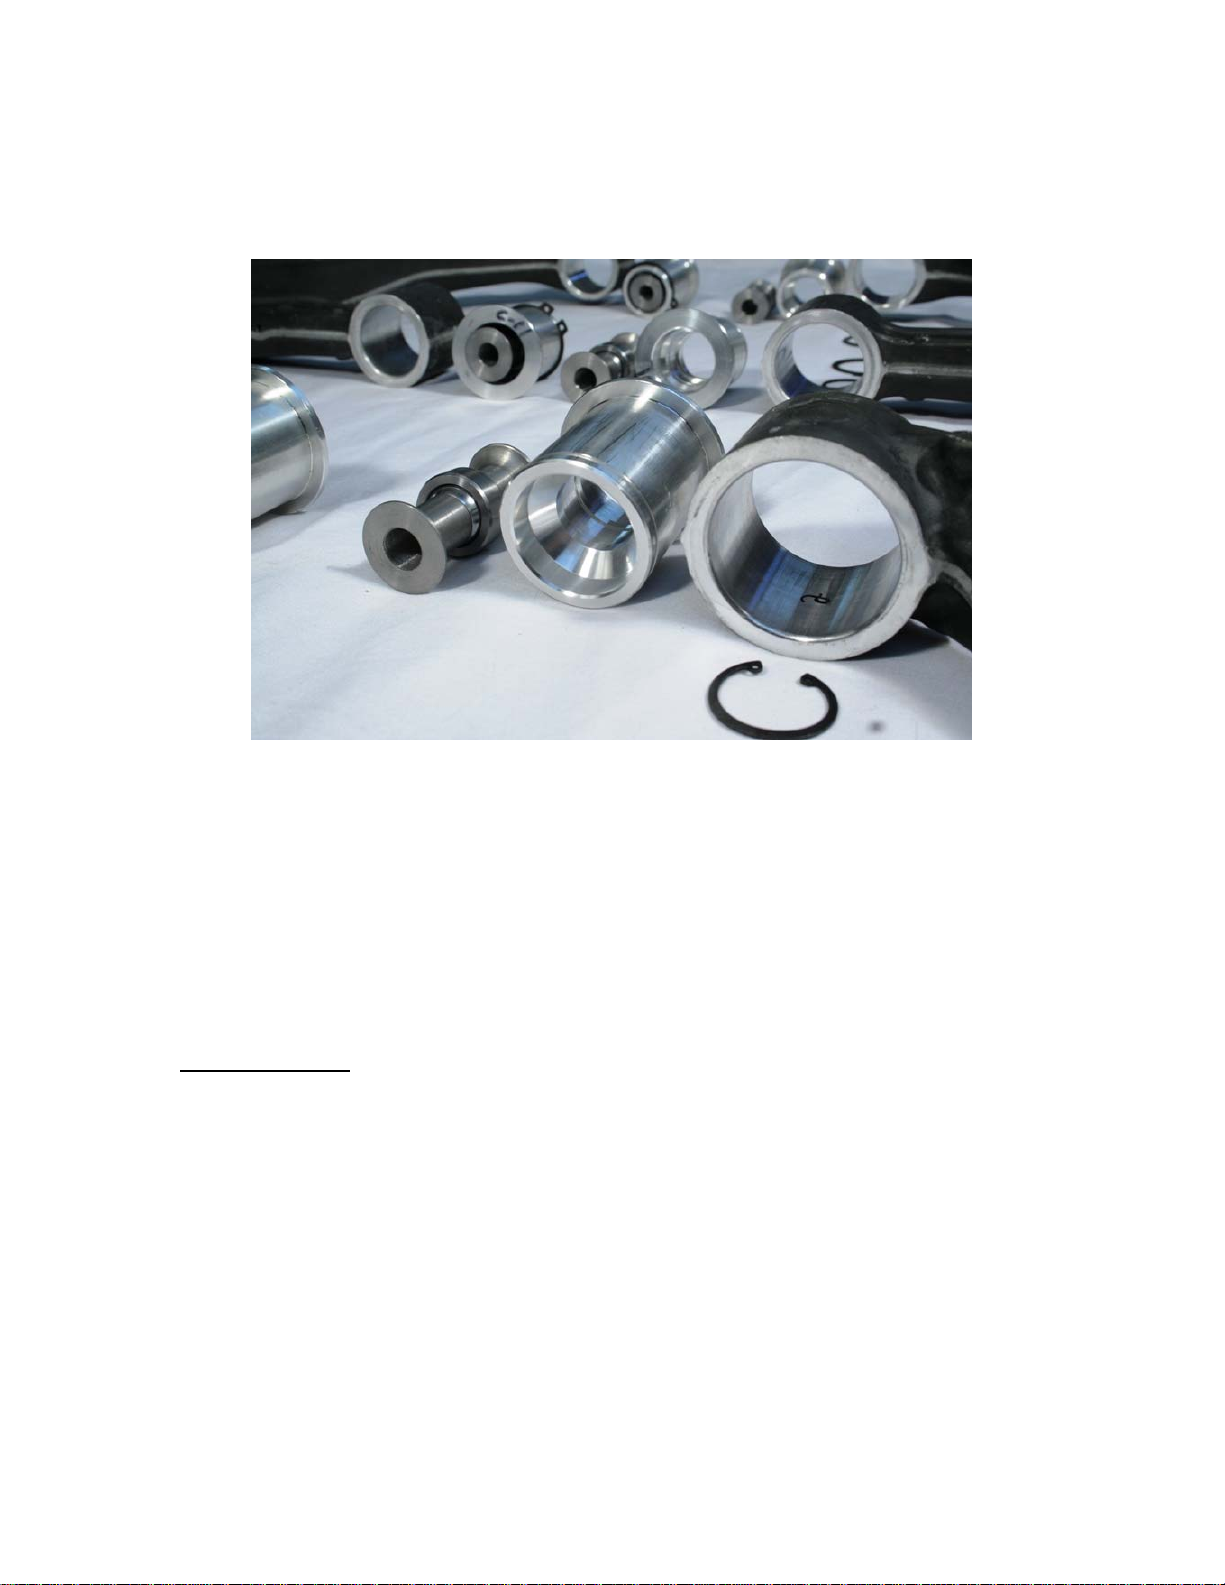
Figure 1: Bushing removed before cleaning
After all arms are free of their stock bushings you will need to clean the bores. This can
be done simply with some brake clean, or acetone and Scotch Bright pads or SOS pads
and water. Once the arms are clean they should look like Figure 2. You do not want to
remove aluminum, just the debris left from the bushings.
Figure 2: Cleaned control arm
Once you have all arms cleaned and ready for assembly you will need to hold the arm in
a vice to start the install. You will need to heat the end of the arm with a torch to expand
 Loading...