

LG Motorsports Diff and Trans Cooler User Manual
LG Motorsports Diff/Trans
Cooler install
“THE MOST POWERFUL HEADERS ON THE PLANET”
Brought to you by LG Motorsports
972-429-1963
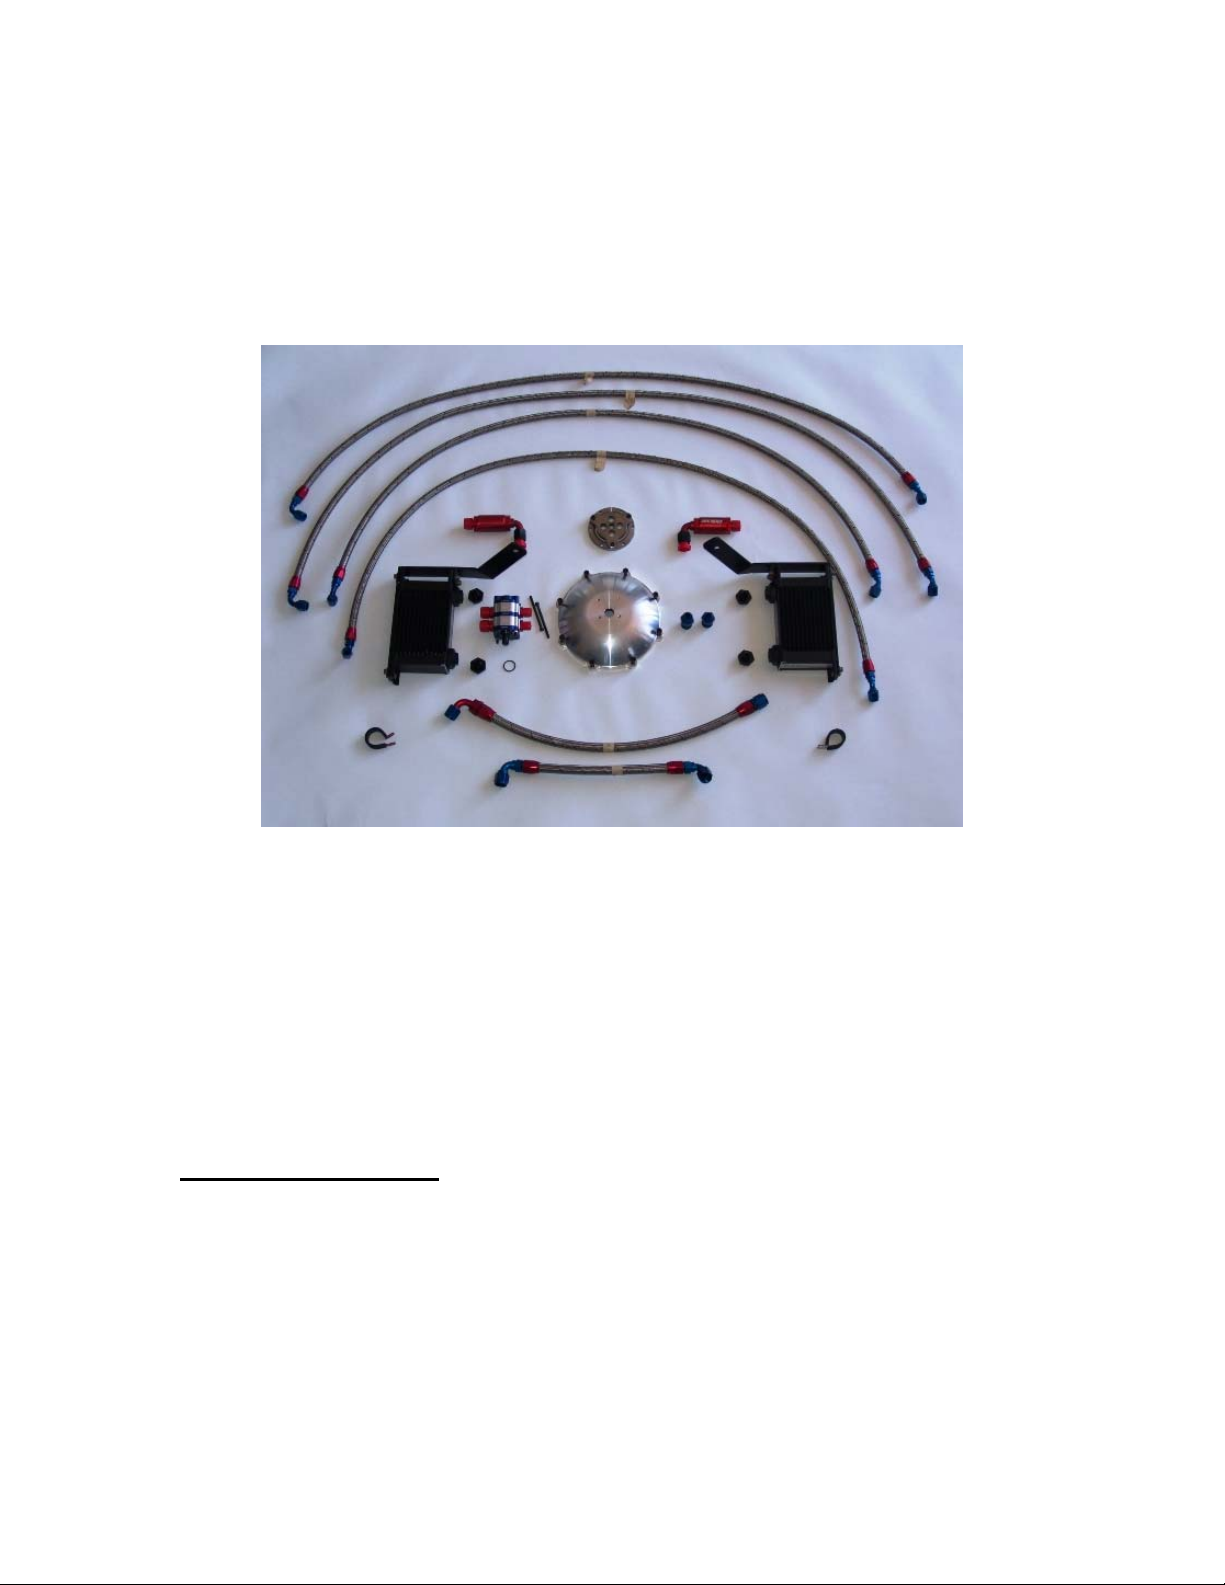
Parts Inventory (fab kit):
1. Billet diff cover
2. Pump assembly with fittings, bolts, and o-ring
3. (2) ½” NPT to -8 male fittings
4. (2) M18 o-ring to -8 male fittings
5. (2) Peterson 90 degree -8 filters
6. (8) Cover screws M6x1.0 25mm long
7. Pinion nut, modified
8. Drive flange
9. (3) Drive flange screws 10-32 x ½” drilled for safety wire

Complete Kit (includes all items above plus)
1. (2) Setrab M113 coolers
2. (4) Setrab to -8 cooler fittings
3. (2) Cooler brackets
4. Diff out to pump line approx 12” long (90-45 fittings)
5. Diff pump out to cooler line 53” long (90-45 fittings)
6. Diff cooler out to Diff 62” long (90-45 fittings)
7. Trans out to pump 20” long (90-straight fittings)
8. Trans pump out to cooler 54” long (90-45 fittings)
9. Trans cooler out to Trans 56” long (90-45 fittings)
Optional:
1. Trans fill fitting with temp sensor bung
Instructions:
Prep:
Some of the install of this kit my require special tools. Most DYI owners should
have the needed tools for install. If you have any questions, or do not feel comfortable
about install, please contact LG for a local shop near you. You will need to raise the car
and support with jack stands or lift enough to be able to access your diff and
transmission.
Install:
Once your car is supported you will need to drain the transmission and differential
of their fluids and remove both the drain and fill plugs on both units. Once the fluid has
been drained, please remove the rear diff cover and set to the side. The cover, drain/fill
plugs, nor the stock bolts will be re-used.
Start by inserting the fittings into the trans and diff in their respective locations
where the fill and drains are located. The ½” to -8 fittings will be installed into the trans,
and the M18 fittings will go into the diff. You will need Teflon tape or similar for the
trans fittings, the diff fittings install dry, just make sure th e crush washer/o-ring is on the
fitting when they go in. You can also hand tighten the filters onto these fittings as the
filters will help keep debris from entering the pump. These can be taken apart for
inspection from time to time as well.
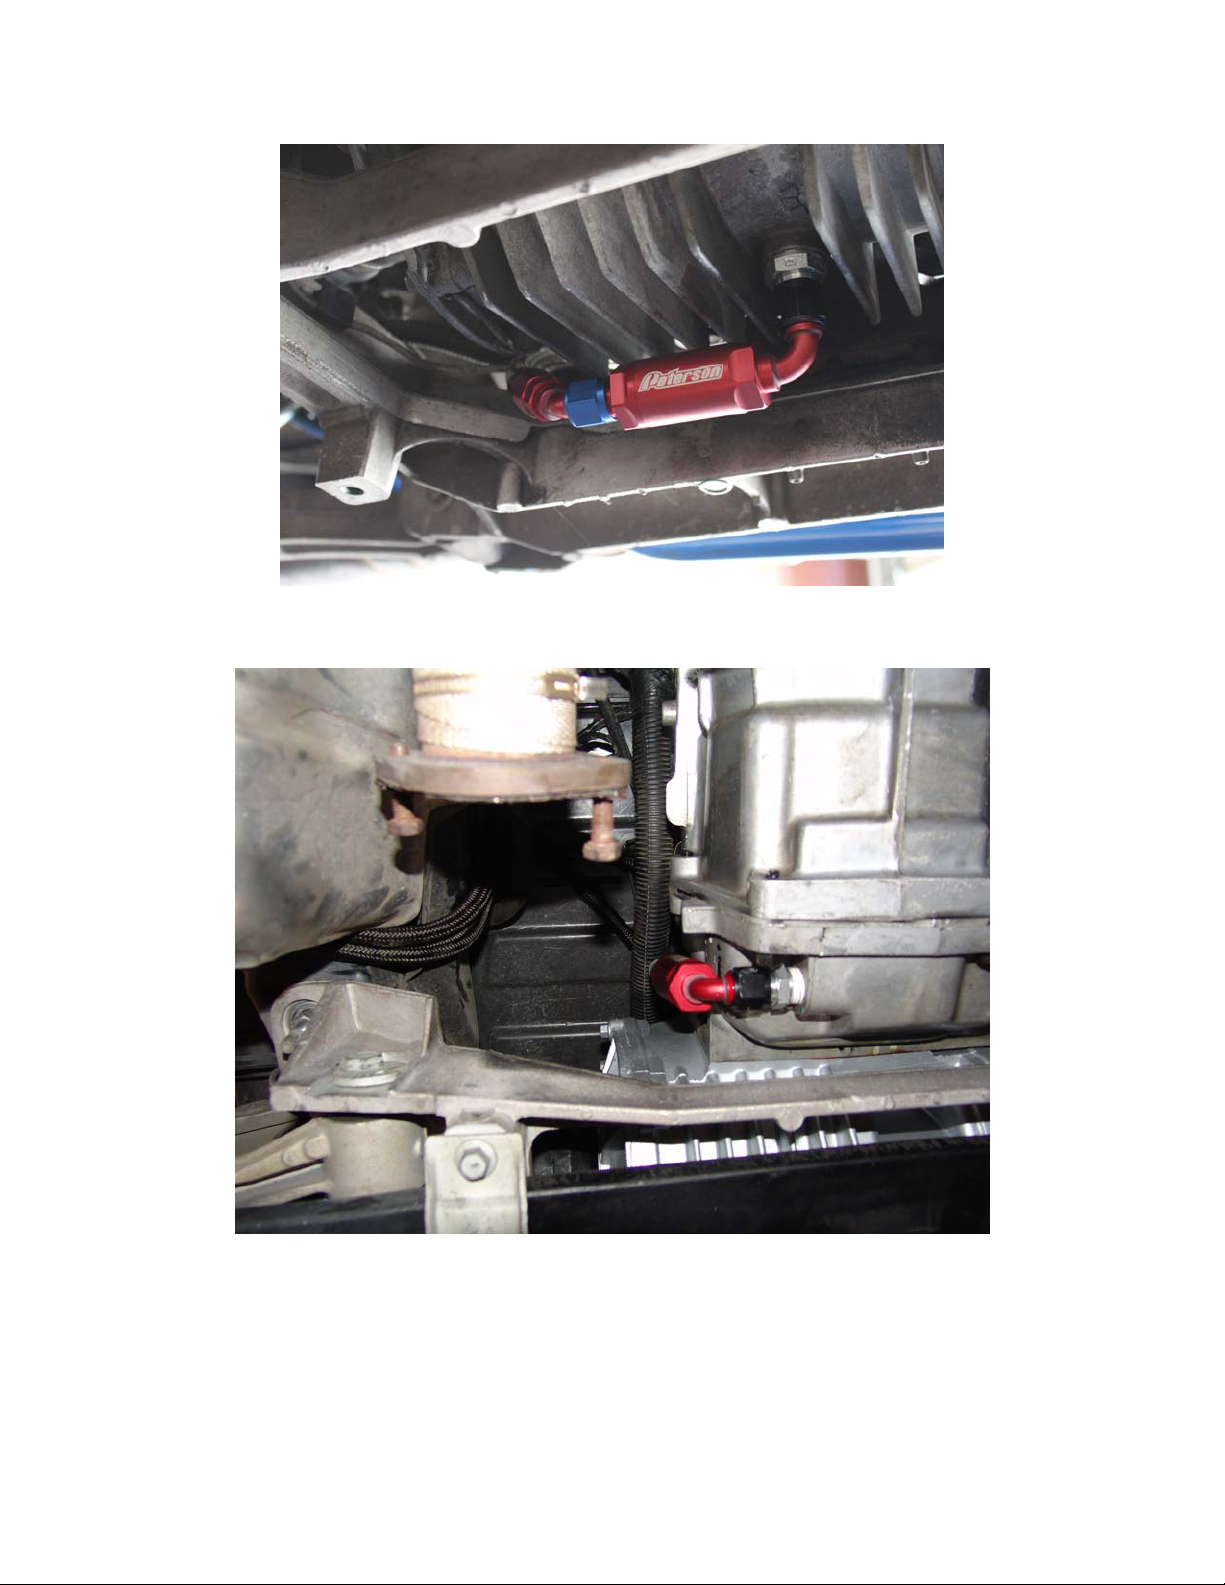
Figure 1: Diff fitting attached with filter.
Figure 2: Trans fitting attached with filter
Next will be the install of the drive assembly. If you have access to the pinion nut
removal tool from GM, please follow the instructions in the manual on how to remove
and replace the pinion nut on your diff with the supplied unit. If this tool is not
 Loading...