

LG Electronics USA PF80AJE User Manual

24
Using the PROJECTOR
* The initial settings are completed when you select the settings above.
Focus and Position of the Screen Image
When an image appears on the screen, check if it is in focus and ts the screen
properly.
To adjust the focus of the image, rotate the focus ring.
Focus Ring
Using the PROJECTOR
25
Additional Options
Adjusting Aspect Ratio
Press the SETTINGS button on the
y
remote control. Select PICTURE →
Aspect Ratio to change the aspect
ratio.
You can also use the Q.MENU or
y
RATIO button.
Menu Description
16:9 Resizes images to t the
screen width.
Just
Scan
Set By
Program
4:3 Resizes images to the
Zoom Resizes the image to t the
Cinema
Zoom 1
Displays video images in
the original size without
removing parts of the edge
of the image.
In HDMI/Component (over
y
720p) mode, Just Scan
is available.
Changes the aspect ratio to
4:3 or 16:9 depending on
the input video signal.
previous standard 4:3.
screen width. The top and
bottom parts of the image
may be cut off.
Choose Cinema Zoom when
you want to enlarge the
picture in correct proportion.
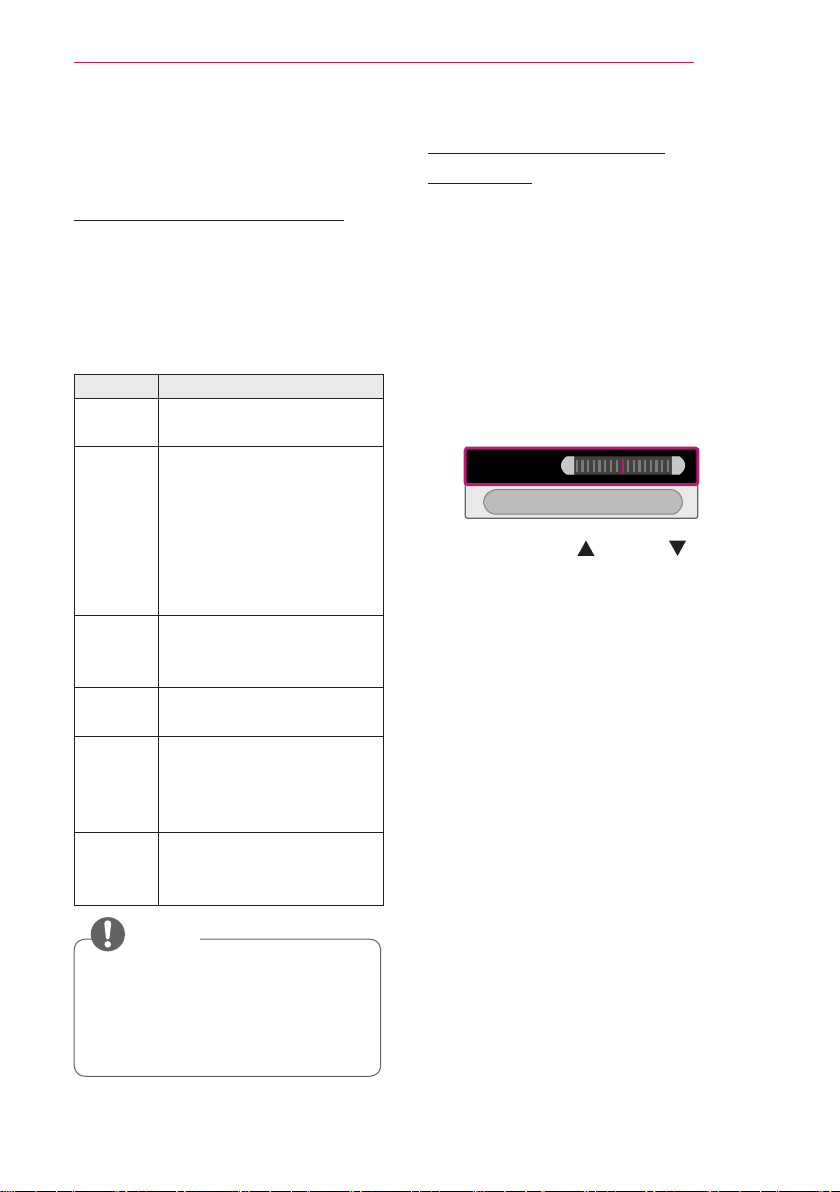
Using the Keystone
Function
To prevent the screen image from
becoming trapezoidal, Keystone adjusts
the top and bottom width of the image
if the projector is not set up at a right
angle to the screen.
Because the Keystone function may
cause inferior screen image quality, use
this function only when it is not possible
to set up the projector at an optimal
angle.
• Keystone 0 < >
- +
Close
1 Press the Key's or Key's
button to adjust the picture.
Keystone can be adjusted
y
from -40 to 40.
2 Press the OK button when done.
NOTE
Available picture size may differ
y
depending on the input signal.
The screen aspect ratios on HDMI-
y
PC input are available in 4:3 and
16:9 only.

26
Using the PROJECTOR
Changing input device
To select an external input
Selects external input.
Press the INPUT button on the
y
remote control to display the input
selection screen.
- Connected inputs are displayed first.
However, AV is always activated.
Select an input signal using the
y
remote control's INPUT button to
connect the projector to the desired
input. You can use the
to switch between all the input modes.
INPUT LIST
Select an input device to view.
AV Component HDMI1 HDMI2
AV
No Signal
Projector Speaker
or button
Change Device Name SIMPLINK Setting
Selecting an Input Label
Displays which devices are connected to
which input ports.
1 Press the INPUT button on the
remote control to display the input
selection screen.
2 Press the red button.
3 Press the or button to go to
the desired input and press the OK
button.
4 User the , , , or button to
select a device name.
To use SIMPLINK
SIMPLINK is a feature that enables
you to control and manage various
multimedia devices conveniently using
the projector remote control only via the
SIMPLINK menu.
1 Connect the projector's HDMI IN
terminal with SIMPLINK device's
HDMI output terminal using HDMI
cable. For home theater units with
SIMPLINK function, connect HDMI
terminals as above and use an
optical cable to connect Optical
Digital Audio Out from the projector
to Optical Digital Audio In of the
SIMPLINK device.
2 Press the SIMPLINK button on the
remote control.
The SIMPLINK menu window
appears.
3 Select SIMPLINK Setting on
SIMPLINK menu window. SIMPLINK
Setting window appears.
4 SIMPLINK Setting to On in
SIMPLINK setup window.
5 Close SIMPLINK Setting window.
6 Press the SIMPLINK button on the
remote control.
Select the device you want to control
in the SIMPLINK menu window.

Using the PROJECTOR
27
NOTE
This function only works on devices
y
with the SIMPLINK logo (
Verify that the external device has
a SIMPLINK logo.
To use the SIMPLINK function, you
y
need to use a high-speed HDMI®
cable (with CEC, or Consumer
Electronics Control, feature added).
High-speed HDMI® cables have
the No. 13 pin connected for
information exchange between
devices.
Turn on or select the media of a
y
device with home theatre features
to see the speaker switch to
External Speaker.
Connect with an Optical cable
y
(sold separately) to use External
Speaker.
Switching to external input causes
y
devices operating with SIMPLINK
to stop.
Use of a third-party device with
y
HDMI-CEC features may cause
malfunctions.
Explanation on SIMPLINK features
Menu Description
).
Direct Play Plays the multimedia
device on the projector
instantly.
Select
multimedia
device.
Disc
playback
Power off
all devices
Sync
Power on
Speaker Selects speaker either
Selects the desired
device via the SIMPLINK
menu to control it from
the projector screen
instantly.
Manages the multimedia
device with the projector
remote control.
If the Auto Power
function is set to On in
the SIMPLINK settings,
turning the projector off
will turn the power off on
all SIMPLINK-connected
devices.
If the Auto Power
function is set to On in
the SIMPLINK settings,
turning on a SIMPLINK
device will turn the
projector on.
on the home theatre unit
or the projector.
28
Using the PROJECTOR
Using the Quick Menu
You can customize frequently used menus.
1 Press the Q.MENU button.
2 Press the or button to select a
menu and press OK.
Menu Description
Aspect
Ratio
Picture
Mode
Sound
Mode
Sleep
Timer
Energy
Saving
AV Mode Sets the mode.
USB
Device
3 Press the , , , or button to
scroll through the following menus.
Resizes the picture.
Changes the picture mode.
Sets the sound mode.
Sets the projector to be
turned off at the specied
time.
Adjusts the brightness.
Mode
Off You can watch
using the
settings in the
video/audio
menu.
Cinema Change to
optimal video/
audio settings
for movies.
Game Change to
optimal video/
audio settings
for games.
Allows you to remove a
connected USB device in a
safe manner.
 Loading...