

LG Electronics USA 50PY2DRUA, 60PY2DRUA Users Manual
Owner’s Manual 41
Operation
SETUP
VIDEO
AUDIO
TIME
OPTION
LOCK
Previous
Audio Language
EZ SoundRite
EZ Sound
Balance
Treble
Bass
Front Surround G
TV Speaker
BBE
Off
3D EchoSound System
SRS TruSurround XT
MENU
1. Press the MENU button and then use
D / E
button to select the AUDIO menu.
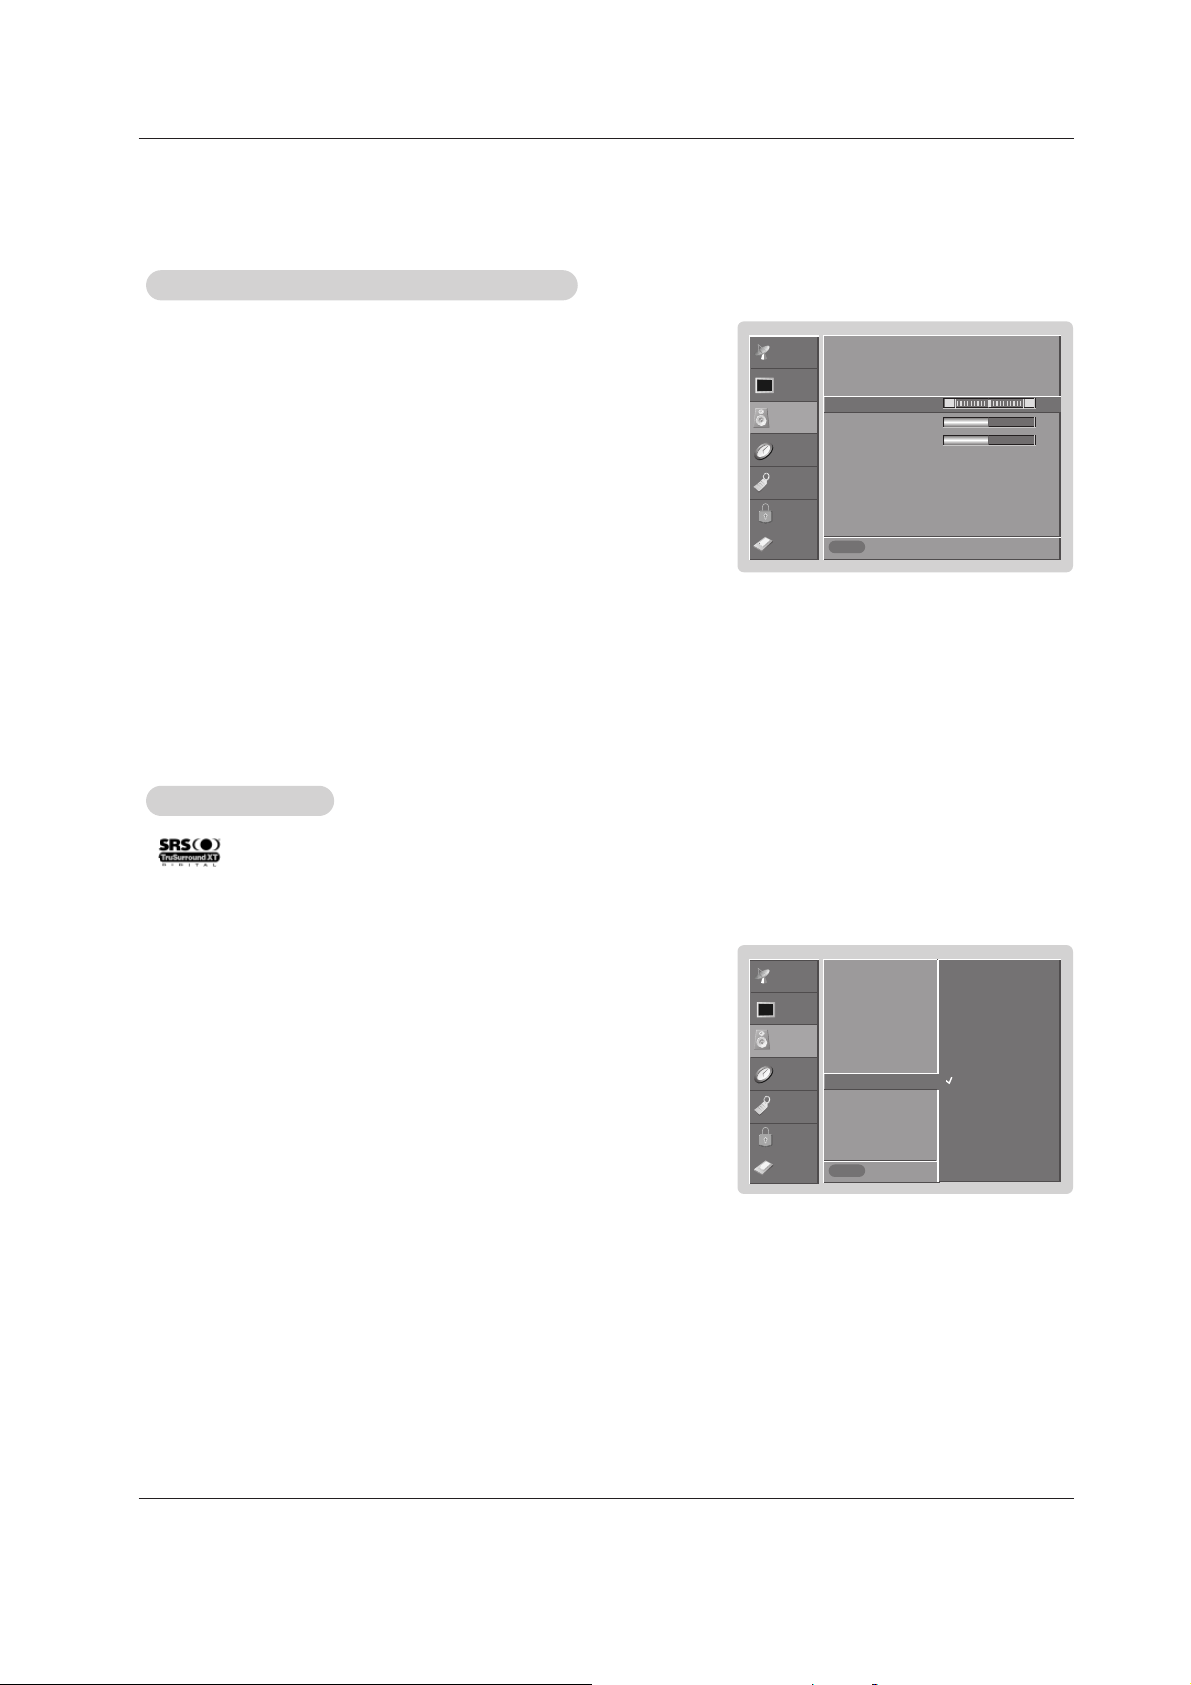
2. Press the
G button and then use
D / E
button to select Front Surround.
3. Press the G button and then use
D / E
button to select Off, 3D EchoSound
System
or SRS (Sound Retrieval System) TruSurround XT..
• 3D EchoSound System
Creates a stunning simulated stereo effects from any mono sound and a realistic three-dimensional sound with a very wide and deep sound stage into
stereo sound.
• SRS TruSurround XT
Takes advantage of any multi-channel format without needing to add extra
speakers or equipment. Dialog clarity, bass enrichment, and the addition of
stereo audio enhancement that produces an immersive sound experience from
standard stereo material.
4. Press EXIT button to return to TV viewing or press MENU button to return to the
previous menu.
Front Surround
Front Surround
- is a trademark of SRS Labs, Inc.
- TruSurround XT technology is incorporated under license from SRS Labs, Inc.
- Manufactured under license from Dolby Laboratories. “Dolby” and the double-D symbol are trademarks of Dolby Laboratories.
CABLE
1.
Press the MENU button and then use
D / E
button to select the AUDIO menu.
2. Press the G button and then use
D / E
button to select the desired sound option
(
Balance, Treble, or Bass).
3. Press the G button and then use F / G button to make appropriate adjustments.
4. Press EXIT button to return to TV viewing or press MENU button to return to the
previous menu.
Manual Sound Control (
Manual Sound Control (Custom
option)
option)
SETUP
VIDEO
AUDIO
TIME
OPTION
LOCK
Previous
Audio Language
EZ SoundRite
EZ Sound
Balance 0 G
Treble 50
Bass 50
Front Surround
TV Speaker
BBE
MENU
L R
- Adjust the sound to suit your taste and room situations.
CABLE

42 Plasma TV
Operation
1. Use the SAP button to select your desired MTS mode in analog signal. Each time you press the SAP button, Mono,
Stereo, or SAP appear in turn.
• If other languages available on the digital signal, select them with the SAP button.
2. Press EXIT button to save and return to TV viewing.
Stereo/SAP
Stereo/SAP
Broadcasts Setup
Broadcasts Setup
- This TV can receive MTS stereo programs and any SAP (Secondary Audio Program) that accompanies the stereo program; if
the station transmits an additional sound signal as well as the original one.
- When having selected Stereo or SAP button on the remote control, this TV can only receive the signal in case that the TV station transmits the proper signals.
- Mono sound is automatically received if the broadcast is only in Mono; even though Stereo or SAP has been selected.
- Select Mono if you want to listen to the mono sound in remote fringe areas during stereo/SAP broadcasting.
- Stereo or SAP can be received in Analog channel.
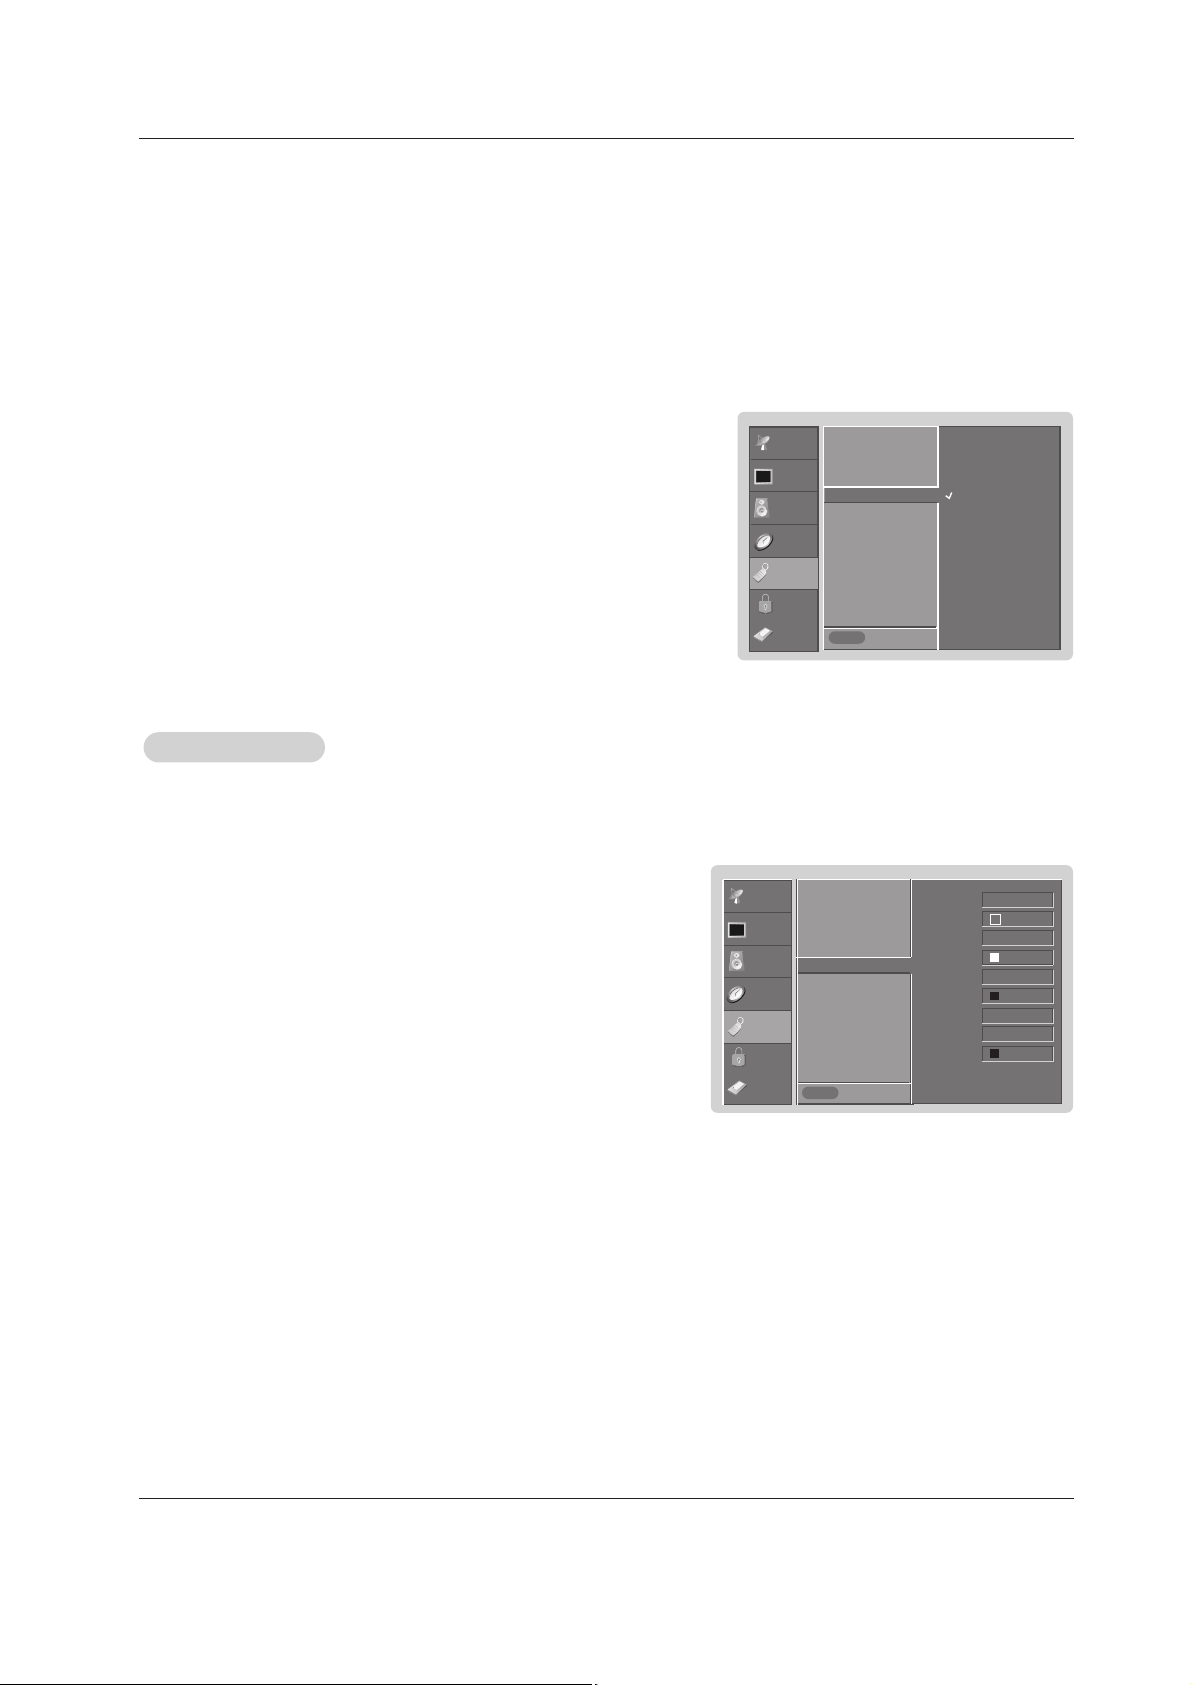
BBE
BBE
- BBE High Definition Sound restores clarity and presence for better speech intelligibility
and musical realism.
Manufactured under license from BBE Sound, Inc.
SETUP
VIDEO
AUDIO
TIME
OPTION
LOCK
Audio Language
EZ SoundRite
EZ Sound
Balance
Treble
Bass
Front Surround
TV Speaker G
BBE
Off
On
Prev.
MENU
CABLE
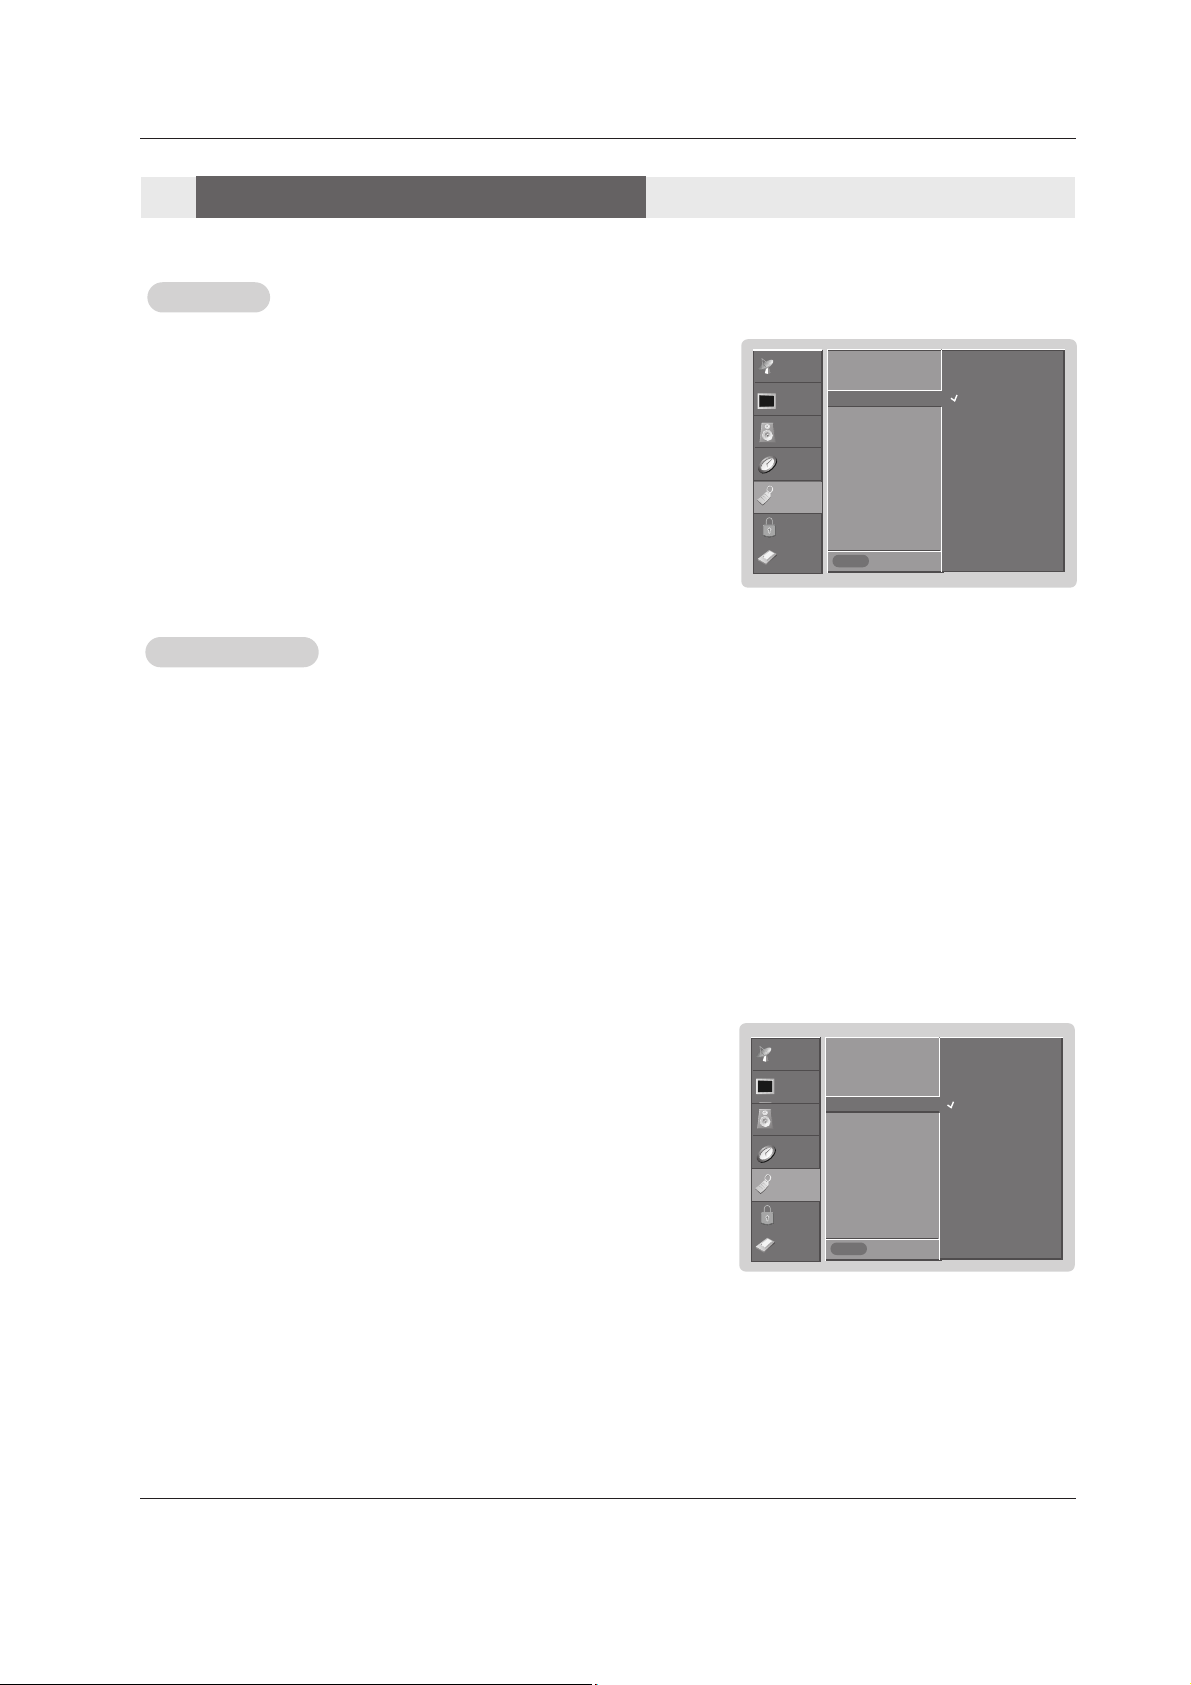
1. Press the MENU button and then use
D / E
button to select the AUDIO menu.
2. Press the
G button and then use
D / E
button to select TV Speaker.
3. Press the G button and then use
D / E
button to select On or Off.
4. Press EXIT button to return to TV viewing or press MENU button to return to the
previous menu.
TV Speakers On/Of
TV Speakers On/Of
f Setup
f Setup
- Turn TV speakers off if using external audio equipment. Feature turns the TV
Speakers option On or Off.
1. Press the MENU button and then use
D / E
button to select the AUDIO menu.
2. Press the G button and then use
D / E
button to select BBE.
3. Press the
G button and then use
D / E
button to select On or Off.
4. Press EXIT button to return to TV viewing or press ENTER button to return to the
previous menu.
SETUP
VIDEO
AUDIO
TIME
OPTION
LOCK
Audio Language
EZ SoundRite
EZ Sound
Balance
Treble
Bass
Front Surround
TV Speaker
BBE
G
Off
On
Previous
MENU
CABLE
Audio Menu Options
Audio Menu Options

Owner’s Manual 43
Operation
SETUP
VIDEO
AUDIO
TIME
OPTION
LOCK
Previous
Auto Clock G
Manual Clock
Off Timer
On Timer
Sleep Timer
Auto Off
Off
On
Time Zone Eastern
Daylight Auto
Saving
MENU
SETUP
VIDEO
AUDIO
TIME
OPTION
LOCK
Previous
Auto Clock
Manual Clock
Off Timer
On Timer G
Sleep Timer
Auto Off
Off
On
Time 6 : 30 AM
Ch. TV 2-0
Vol 17
MENU
SETUP
VIDEO
AUDIO
TIME
OPTION
LOCK
Previous
Auto Clock
Manual Clock G
Off Timer
On Timer
Sleep Timer
Auto Off
Year - - - -
Date - - / - -
Time - - : - - - -
MENU
- Timer function operates only if current time has been set.
- Off-Timer function overrides On-Timer function if they are set both set to the same time.
- The TV must be in standby mode for the On-Timer to work.
- If you do not press any button within 2 hours after the TV turns on with the On Timer function, the TV will automatically revert to
standby mode.
On/Of
On/Off f TT
imer Setup
imer Setup
1. Press the MENU button and then use
D / E
button to select the TIME menu.
2. Press the
G button and then use
D / E
button to select Off Timer or On Timer.
3. Press the G button and then use
D / E
button to select On.
• To cancel
On/Off timer function, select Off.
4. Press the G button and then use
D / E
button to set the hour.
5. Press the G button and then use
D / E
button to set the minutes.
6. For only On timer function
Press the
G button and then use
D / E
button to select the channel at turn-on.
Press the
G button and then use
D / E
button to set the sound level at turn-on.
7. Press EXIT button to return to TV viewing or press MENU button to return to the
previous menu.
Auto Clock Setup
Auto Clock Setup
- The time is set automatically from a digital channel signal.
- The digital channel signal includes information for the current time provided by the broadcasting station.
- Set the clock manually, if the current time is set incorrectly by the auto clock function.
- When you set up TV guide on screen system, Auto Clock menu is not selected.
1. Press the MENU button and then use
D / E
button to select the TIME menu.
2. Press the G button and then use
D / E
button to select Auto Clock.
3. Press the
G button and then use
D / E
button to select On.
4. Press the G button and then use
D / E
button to select your viewing area time
zone:
Eastern, Central, Mountain, Pacific, Alaska, or Hawaii.
5. Press EXIT button to return to TV viewing or press MENU button to return to
the previous menu.
Manual Clock Setup
Manual Clock Setup
- If current time setting is wrong, reset the clock manually.
- When you set up TV guide on screen system, Manual Clock menu is not
worked.
1. Press the MENU button and then use
D / E
button to select the TIME menu.
2. Press the
G button and then use
D / E
button to select Manual Clock.
3. Press the G button and then use F / G button to select either the year, date, or
time option. Once selected, use the
D / E
button to set the year, date, and time
options.
4. Press EXIT button to return to TV viewing or press MENU button to return to
the previous menu.
CABLE
CABLE
CABLE
TTime Menu Options
ime Menu Options

44 Plasma TV
Operation
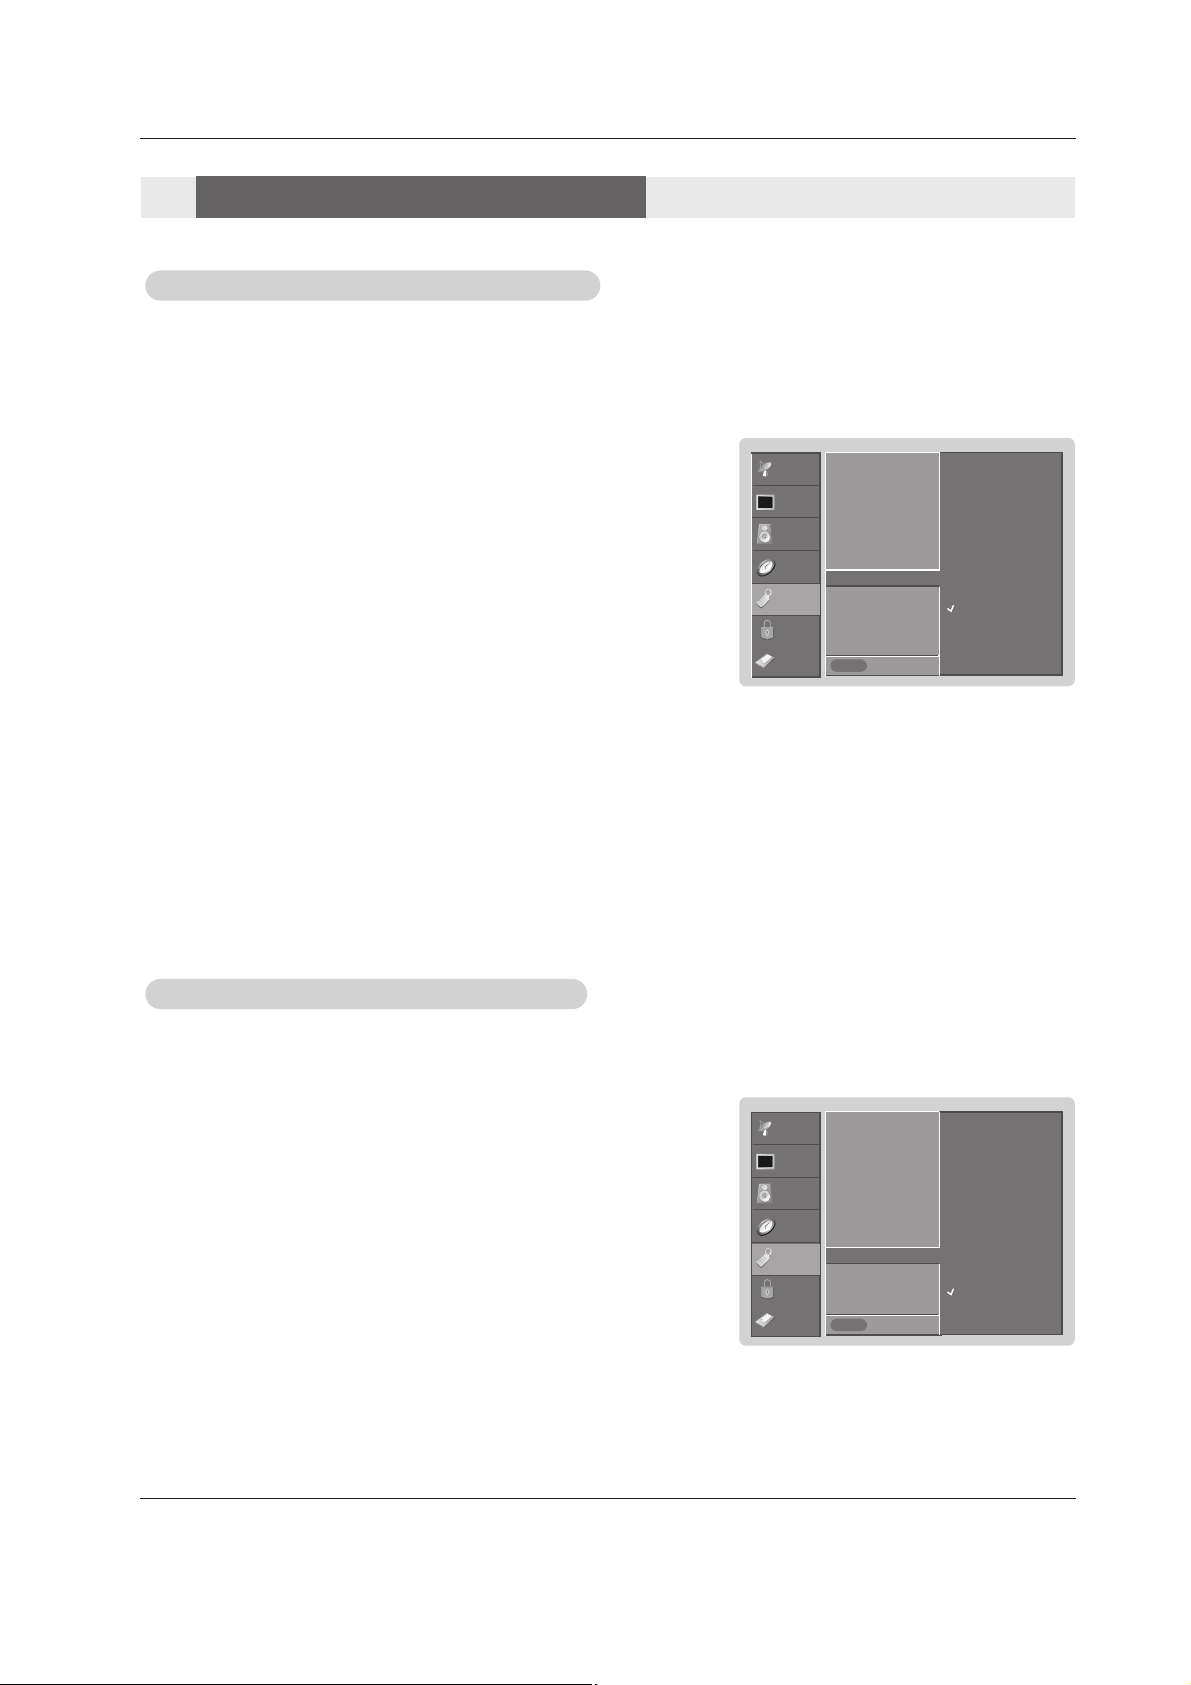
Auto Of
Auto Offf
- If set to on and there is no input signal, the TV turns off automatically after 10
minutes.
1. Press the MENU button and then use
D / E
button to select the TIME menu.
2. Press the
G button and then use
D / E
button to select Auto Off.
3. Press the G button and then use
D / E
button to select On or Off.
4. Press EXIT button to return to TV viewing or press MENU button to return to the
previous menu.
Sleep
Sleep TT
imer
imer
- The Sleep Timer turns the TV off at the preset time. Note that this setting is cleared when the TV is turned off.
- You can also set up the Sleep Timer in the TIME menu.
1. Press the TIMER button repeatedly to select the number of minutes. First the
Off option appears on the screen,
followed by the following sleep timer options: 10, 20, 30, 60, 90, 120, 180, and 240 minutes.
2. When the number of minutes you want is displayed on the screen, press the ENTER button. The timer begins to
count down from the number of minutes selected.
3. To check the remaining minutes before the TV turns off, press the TIMER button once.
4. To cancel the Sleep Timer, press the TIMER button repeatedly to select
Off.
SETUP
VIDEO
AUDIO
TIME
OPTION
LOCK
Previous
Auto Clock
Manual Clock
Off Timer
On Timer
Sleep Timer
Auto Off G
Off
On
MENU
CABLE
TTime Menu Options
ime Menu Options

Owner’s Manual 45
Operation
Cinema 3:2 Mode Setup
- Set up the TV for the best picture appearance for viewing movies.
1. Press the MENU button and then use
D / E
button to select the OPTION menu.
2. Press the
G button and then use
D / E
button to select Cinema 3:2 Mode.
3. Press the
G button and then use
D / E
button to select On or Off.
4. Press EXIT button to return to TV viewing or press MENU button to return to the previous menu.
SETUP
VIDEO
AUDIO
TIME
OPTION
LOCK
Previous
MENU
CABLE
Advanced G
Aspect Ratio
Caption
Caption / Text
Caption Option
Language
ISM Method
Front Display
Auto Demo
TimeShift Mode
Cinema 3:2 Mode G
Low Power
LG Logo
Off
On
Low Power
Low Power
- Low power reduces the plasma display power consumption.
1. Press the MENU button and then use
D / E
button to select the OPTION menu.
2. Press the
G button and then use
D / E
button to select Low power.
3. Press the G button and then use
D / E
button to select On or Off.
• When you select On, the screen darkens.
4. Press EXIT button to return to TV viewing or press MENU button to return to the previous menu.
SETUP
VIDEO
AUDIO
TIME
OPTION
LOCK
Previous
MENU
CABLE
Advanced G
Aspect Ratio
Caption
Caption / Text
Caption Option
Language
ISM Method
Front Display
Auto Demo
Auto Buffering
Cinema 3:2 Mode
Low Power G
LG Logo
Off
On
Option Menu Options
Option Menu Options
TimeShift Mode Setup
- Refer to the p.?

46 Plasma TV
Operation
LG Logo
LG Logo
- This function is only applied TU-60PY22 model.
1. Press the MENU button and then use
D / E
button to select the OPTION menu.
2. Press the G button and then use
D / E
button to select LG Logo.
3. Press the G button and then use
D / E
button to select On or Off.
• When you select On, the Logo is lighting.
4. Press EXIT button to return to TV viewing or press MENU button to return to the previous menu.
SETUP
VIDEO
AUDIO
TIME
OPTION
LOCK
Previous
MENU
CABLE
Advanced G
Aspect Ratio
Caption
Caption / Text
Caption Option
Language
ISM Method
Front Display
Auto Demo
Auto Buffering
Cinema 3:2 Mode
Low Power
LG Logo G
Off
On
Option Menu Options
Option Menu Options

Owner’s Manual 47
Operation
Aspect Ratio Control
Aspect Ratio Control
- Lets you choose the way an analog picture with a 4:3 aspect ratio is displayed on your TV with a 16:9 ratio picture format.
When you receive an analog picture with a 4:3 aspect ratio on your 16:9 TV, you need to specify how the picture is to be displayed.
- If you are viewing a picture with a 16:9 aspect ratio, you can’t use the Horizon aspect ratio option.
- Horizon aspect ratio is not available for Component 1-2 (720p/1080i)/RGB-DTV (720p/1080i)/HDMI1/DVI-DTV
(720p/1080i)/DTV(720p/1080i) input source.
- RGB-PC/DVI-PC input source use 4:3 or 16:9 aspect ratio.
- Note: If a fixed image is displayed on the screen for a long time, that fixed image may become imprinted on the screen and
remain visible.
•
Set By Program
Selects the proper picture proportion to match the source’s image. (4:3 → 4:3, 16:9 → 16:9)
• 4:3
Choose 4:3 when you want to view a picture with an original 4:3 aspect ratio, with black bars appearing at both
the left and right sides.
• 16:9
Choose 16:9 when you want to adjust the picture horizontally, in a linear proportion to fill the entire screen.
• Horizon
Choose Horizon when you want to adjust the picture in a non-linear proportion, that is, more enlarged at both
sides, to create a spectacular view.
• Zoom 1
Choose Zoom 1 when you want to view the picture without any alteration. However, the top and bottom portions
of the picture will be cropped.
• Zoom 2
Choose Zoom 2 when you want the picture to be altered, both vertically extended and cropped. The picture taking a halfway trade off between alteration and screen coverage.
• Cinema Zoom
Choose Cinema Zoom when you want to enlarge the picture in correct proportion. Note: When enlarging or
reducing the picture, the image may become distorted.
You can adjust the enlarge proportion of Cinema Zoom using
D / E
button. The adjustment range is 1~16.
1. Press the RATIO button repeatedly to select the desired picture format.
You can also adjust
Aspect Ratio in the OPTION menu.
48 Plasma TV
Operation
Caption/T
Caption/T
ext
ext
Analog Broadcasting System Captions
- Select a caption mode for displaying captioning information if provided on a program.
- Analog caption displays information at any position on the screen usually the program's dialog.
- Text displays information, usually at the bottom position and is used for a data service, generally not program related.
- Caption/Text, if provided by the broadcaster, would be available for both digital and analog channels on the Antenna/Cable.
- This TV is programmed to remember the caption/text mode it was last set to, when you turn the power off.
SETUP
VIDEO
AUDIO
TIME
OPTION
LOCK
Previous
Advanced
Aspect Ratio
Caption
Caption / Text G
Caption Option
Language
ISM Method
Front Display
Auto Demo
MENU
CC 1
CC 2
CC 3
CC 4
Text 1
Text 2
Text 3
Text 4
1. Press the MENU button and then use
D / E
button to select the OPTION menu.
2. Press the
G button and then use
D / E
button to select Caption/Text.
3. Press the G button and then use
D / E
button to select caption: CC1, CC2, CC3,
CC4, Text1, Text2, Text3, or Text4.
• CAPTION
The term for the words that scroll across the bottom of the TV screen; usually
the audio portion of the program provided for the hearing impaired.
• TEXT
The term for the words that appear in a large black frame and almost cover
the entire screen; usually messages provided by the broadcaster.
4. Press EXIT button to return to TV viewing or press MENU button to return to the
previous menu.
CABLE
1. Use the CC button repeatedly to select Caption CC1, CC2, CC3, CC4, Text1, Text2, Text3, or Text4.
• EZ Mute shows the selected captions option (if available on program) when the TV sound is muted
.2. Press EXIT button to save and return to TV viewing.
• You can also use the OPTION menu to select Caption/Text.
Caption
Caption
1. Press the MENU button and then use
D / E
button to select the OPTION menu.
2. Press the G button and then use
D / E
button to select Caption.
3. Press the
G button and then use
D / E
button to select On or Off.
4. Press EXIT button to return to TV viewing or press MENU button to return to the
previous menu.
SETUP
VIDEO
AUDIO
TIME
OPTION
LOCK
Previous
Advanced
Aspect Ratio
Caption G
Caption / Text
Caption Option
Language
ISM Method
Front Display
Auto Demo
MENU
Off
On
CABLE
Option Menu Options
Option Menu Options
Owner’s Manual 49
Operation
SETUP
VIDEO
AUDIO
TIME
OPTION
LOCK
Previous
Advanced
Aspect Ratio
Caption
Caption / Text
Caption Option G
Language
ISM Method
Front Display
Auto Demo
Style Custom
Size A Standard
Font Font 0
Text Color White
Text Opacity Solid
Bg Color Black
Bg Opacity Solid
Edge Type None
Edge Color Black
MENU
Caption Option
Caption Option
- Customize the DTV/CADTV captions that appear on your screen.
1. Press the MENU button and then use
D / E
button to select the OPTION
menu.
2. Press the G button and then use
D / E
button to select Caption Option.
3. Press the
G button and then use F / G button to select Custom.
4. Use
D / E
button to customize the Style, Font, etc., to your preference. A preview icon is provided at the bottom of the screen, use it to see the caption language.
• Size: Set the size the words will appear in.
• Font: Select a typeface for the words.
• Text Color: Choose a color for the text.
• Text Opacity: Specify the opacity for the text color.
• Bg (Background) Color: Select a background color.
• Bg (Background) Opacity: Select the opacity for the background color.
• Edge Type: Select an edge type.
• Edge Color: Select a color for the edges.
5. Press EXIT button to return to TV viewing or press MENU button to return
to the previous menu.
CABLE
SETUP
VIDEO
AUDIO
TIME
OPTION
LOCK
Previous
Advanced
Aspect Ratio
Caption
Caption / Text G
Caption Option
Language
ISM Method
Front Display
Auto Demo
MENU
English
Spanish
French
Digital Broadcasting System Captions
- Choose the language you want the DTV/CADTV Captions to appear in.
- Languages can be chosen for digital sources only if they are included on the program.
1. Press the MENU button and then use
D / E
button to select the OPTION menu.
2. Press the
G button and then use
D / E
button to select Caption/Text.
3. Press the G button and then use
D / E
button to select available caption lan-
guages:
English, Spanish, or French.
4. Press EXIT button to return to TV viewing or press MENU button to return to the
previous menu.
CABLE
50 Plasma TV
Operation
- A frozen still picture from a PC/video game displayed on the screen for prolonged periods will result in an ghost
image remaining; even when you change the image. Avoid allowing any fixed image to remain on the TV's screen
for a long period of time.
1. Press the MENU button and then use
D / E
button to select the OPTION menu.
2. Press the G button and then use
D / E
button to select ISM Method.
3. Press the G button and then use
D / E
button to select either Normal, White
wash
, Orbiter or Inversion .
• Normal
If image sticking is never a problem, ISM is not necessary - set to Normal.
• White wash
White Wash removes permanent images from the screen.
Note: An excessive permanent image may be impossible to clear entirely with
White Wash. To return to normal viewing, press the any button.
• Orbiter
Orbiter may help prevent ghost images. However, it is best not to allow any
fixed image to remain on the screen. To avoid a permanent image on the
screen, the image will move once per minute: Right → Right → Downside →
Downside → Left → Left → Upside → Upside.
• Inversion
Inversion will automatically invert the plasma display panel color every 30 minutes.
4. Press EXIT button to return to TV viewing or press MENU button to return to
the previous menu.
ISM (Image Sticking Minimization) Method
ISM (Image Sticking Minimization) Method
SETUP
VIDEO
AUDIO
TIME
OPTION
LOCK
Previous
Advanced
Aspect Ratio
Caption
Caption / Text
Caption Option
Language
ISM Method G
Front Display
Auto Demo
MENU
Normal
White Wash
Orbiter
Inversion
CABLE
Front LED (Light Emitting Diode) Display
Front LED (Light Emitting Diode) Display
SETUP
VIDEO
AUDIO
TIME
OPTION
LOCK
Previous
Advanced
Aspect Ratio
Caption
Caption / Text
Caption Option
Language
ISM Method
Front Display G
Auto Demo
MENU
Off
Dark
Normal
Bright
CABLE
1. Press the MENU button and then use
D / E
button to select the SETUP menu.
2. Press the
G button and then use
D / E
button to select Front Display.
3. Press the
G button and then use
D / E
button to select Off, Dark, Normal, and
Bright.
4. Press EXIT button to return to TV viewing or press MENU button to return to the
previous menu.
- Illuminates brightly when the set is turned on. The LED displays current TV sta-
tus.
Option Menu Options
Option Menu Options

Owner’s Manual 51
Operation
Auto Demo
Auto Demo
- Displays the slide show to explain the main features of this TV.
1. Press the MENU button and then use
D / E
button to select the OPTION menu.
2. Press the G button and then use
D / E
button to select Auto Demo.
3. Press EXIT button to stop Auto Demo.
SETUP
VIDEO
AUDIO
TIME
OPTION
LOCK
Previous
Advanced
Aspect Ratio
Caption
Caption / Text
Caption Option
Language
ISM Method
Front Display
Auto Demo G
MENU
CABLE
Selection ( Gor ) leads you
to the demo.

52 Plasma TV
Operation
Parental Control can be used to block specific channels, ratings and other viewing sources.
The Parental Control Function (V-Chip) is used to block program viewing based on the ratings sent by the broadcasting station.
The default setting is to allow all programs to be viewed. Viewing can be blocked by the type of program and by the categories
chosen to be blocked. It is also possible to block all program viewing for a time period. To use this function, the following must be
done :
1. Set ratings and categories to be blocked.
2. Specify a password
3. Enablethe lock
V-Chip rating and categories
Rating guidelines are provided by broadcasting stations. Most television programs and television movies can be blocked by TV
Rating and/or Individual Categories. Movies that have been shown at the theaters or direct-to-video movies use the Movie Rating
System (MPAA) only.
Ratings for Movies previously shown in theaters:
Movie Ratings :
• Blocking Off (Permits all programs)
• G (General audience)
• PG (Parental guidance suggested)
• PG-13 (Parents strongly cautioned)
• R (Restricted)
• NC-17 (No one 17 and under admitted)
• X (Adult only)
If you set PG-13 : G and PG movies will be available , PG-13, R, NC-17 and X will be blocked.
Ratings for Television programs including made-for-TV movies :
• TV-G (General audience)
• TV-PG (Parental guidance suggested)
• TV-14 (Parents strongly cautioned)
• TV-MA (Mature audience only)
• TV-Y (All children)
• TV-Y7 (Children 7 years older)
TV Rating Children:
• Age (applies to TV-Y, TV-Y7)
• Fantasy Violence (applies to TV-Y7)
TV Rating General:
• Age (applies to TV-G, TV-PG, TV-14, TV-MA)
• Dialogue - sexual dialogue (applies to TV-PG, TV-14)
• Language - adult language (applies to TV-PG, TV-14, TV-MA)
• Sex - sexual situations (applies to TV-PG, TV-14, TV-MA)
• Violence (applies to TV-PG, TV-14, TV-MA)
Input Block
• Video, Front Video (On, Off)
• Component 1, 2 (On, Off)
• RGB, HDMI1/DVI,HDMI2 (On, Off)
Lock Menu Options
Lock Menu Options
 Loading...