

LG Electronics USA 42PC3DUUE, 42PC3DVUUE User Manual
32
Operation
- There are two different ways in
order to add or delete scanned
channels. One is "Custom List"
and the other is "Favorite List" in
the channel list. Both of them are
available after EZ Scan on the
SETUP menu.
- A Custom List can be created by
toggling each channel on or off
with ENTER button. The channels in the Custom List are displayed in black color, and the
channels deleted from the
Custom List are displayed in gray
color. Once a channel is highlighted you can add or delete the
channel by referring to the small
window at the top-left corner of
the screen.You can create your
own Favorite List. Use the FAV
button on the remote control
when a channel is highlighted
and then you can add or delete
the channel to/from the Favorite
List.
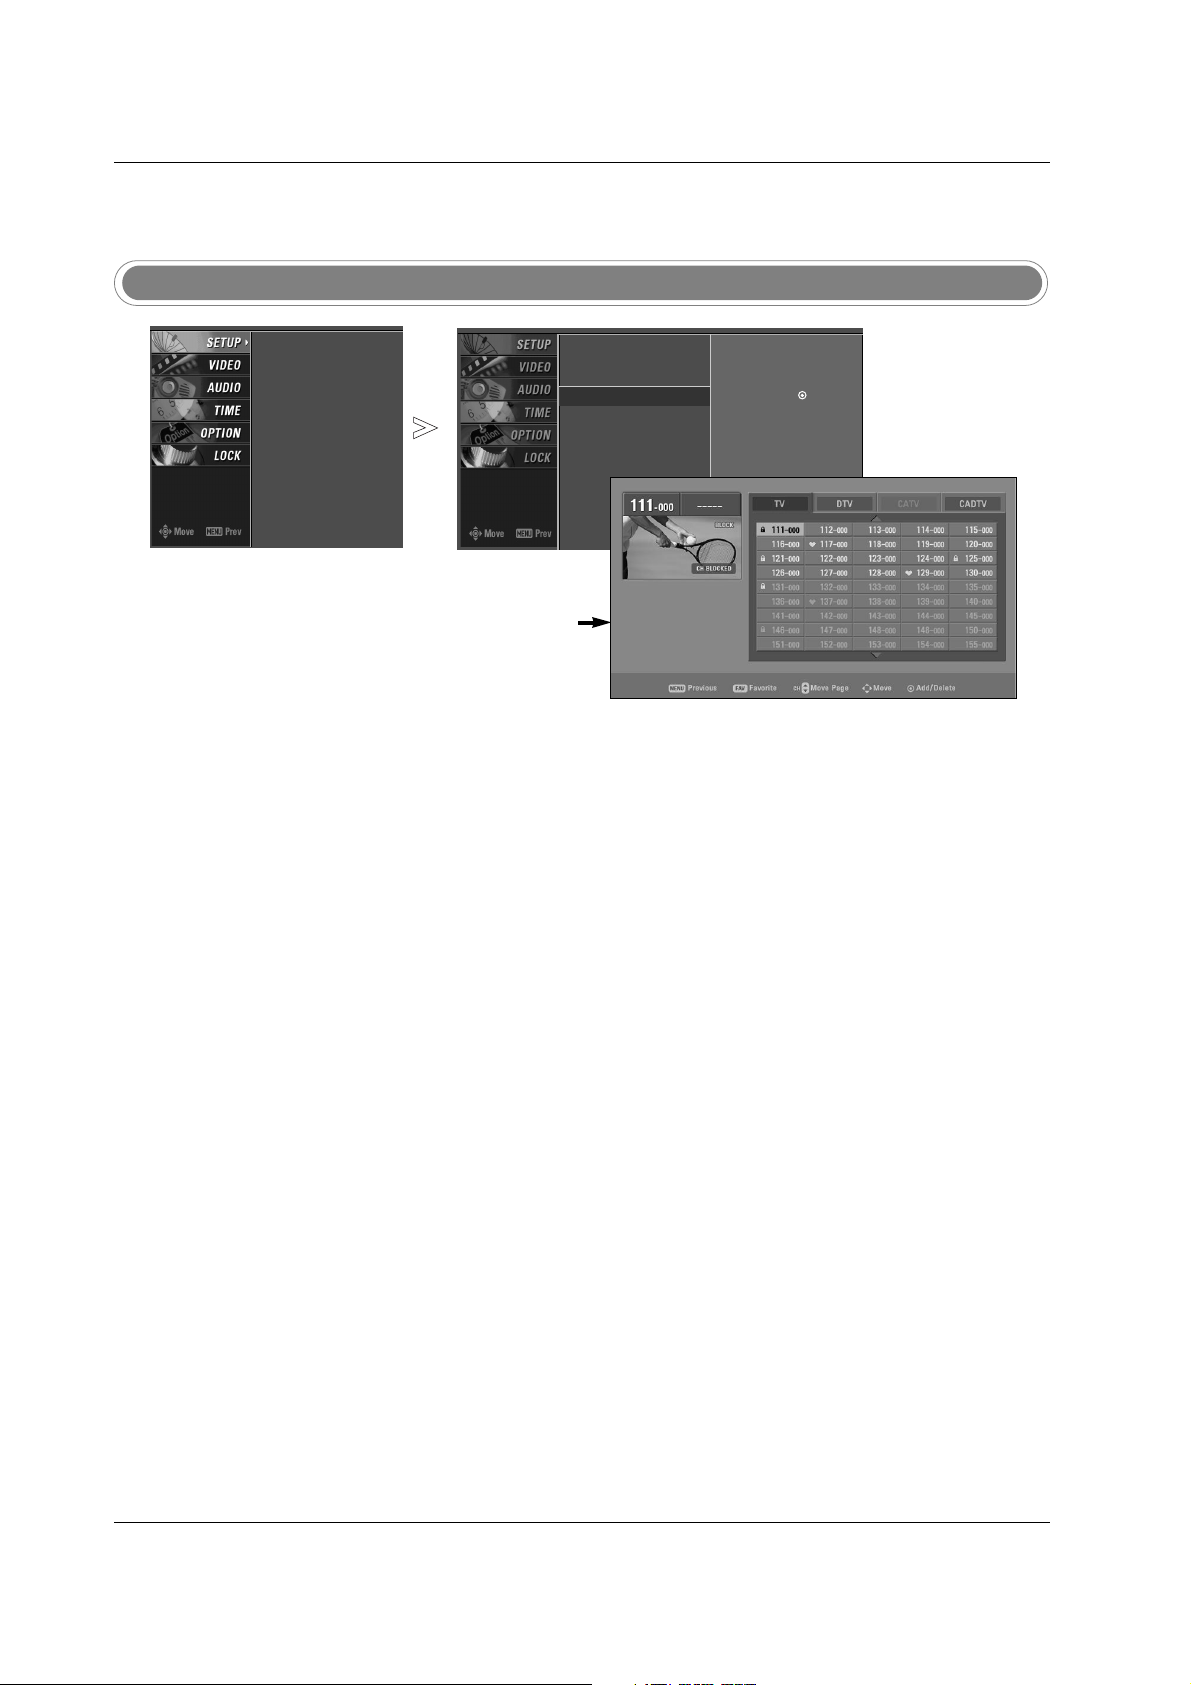
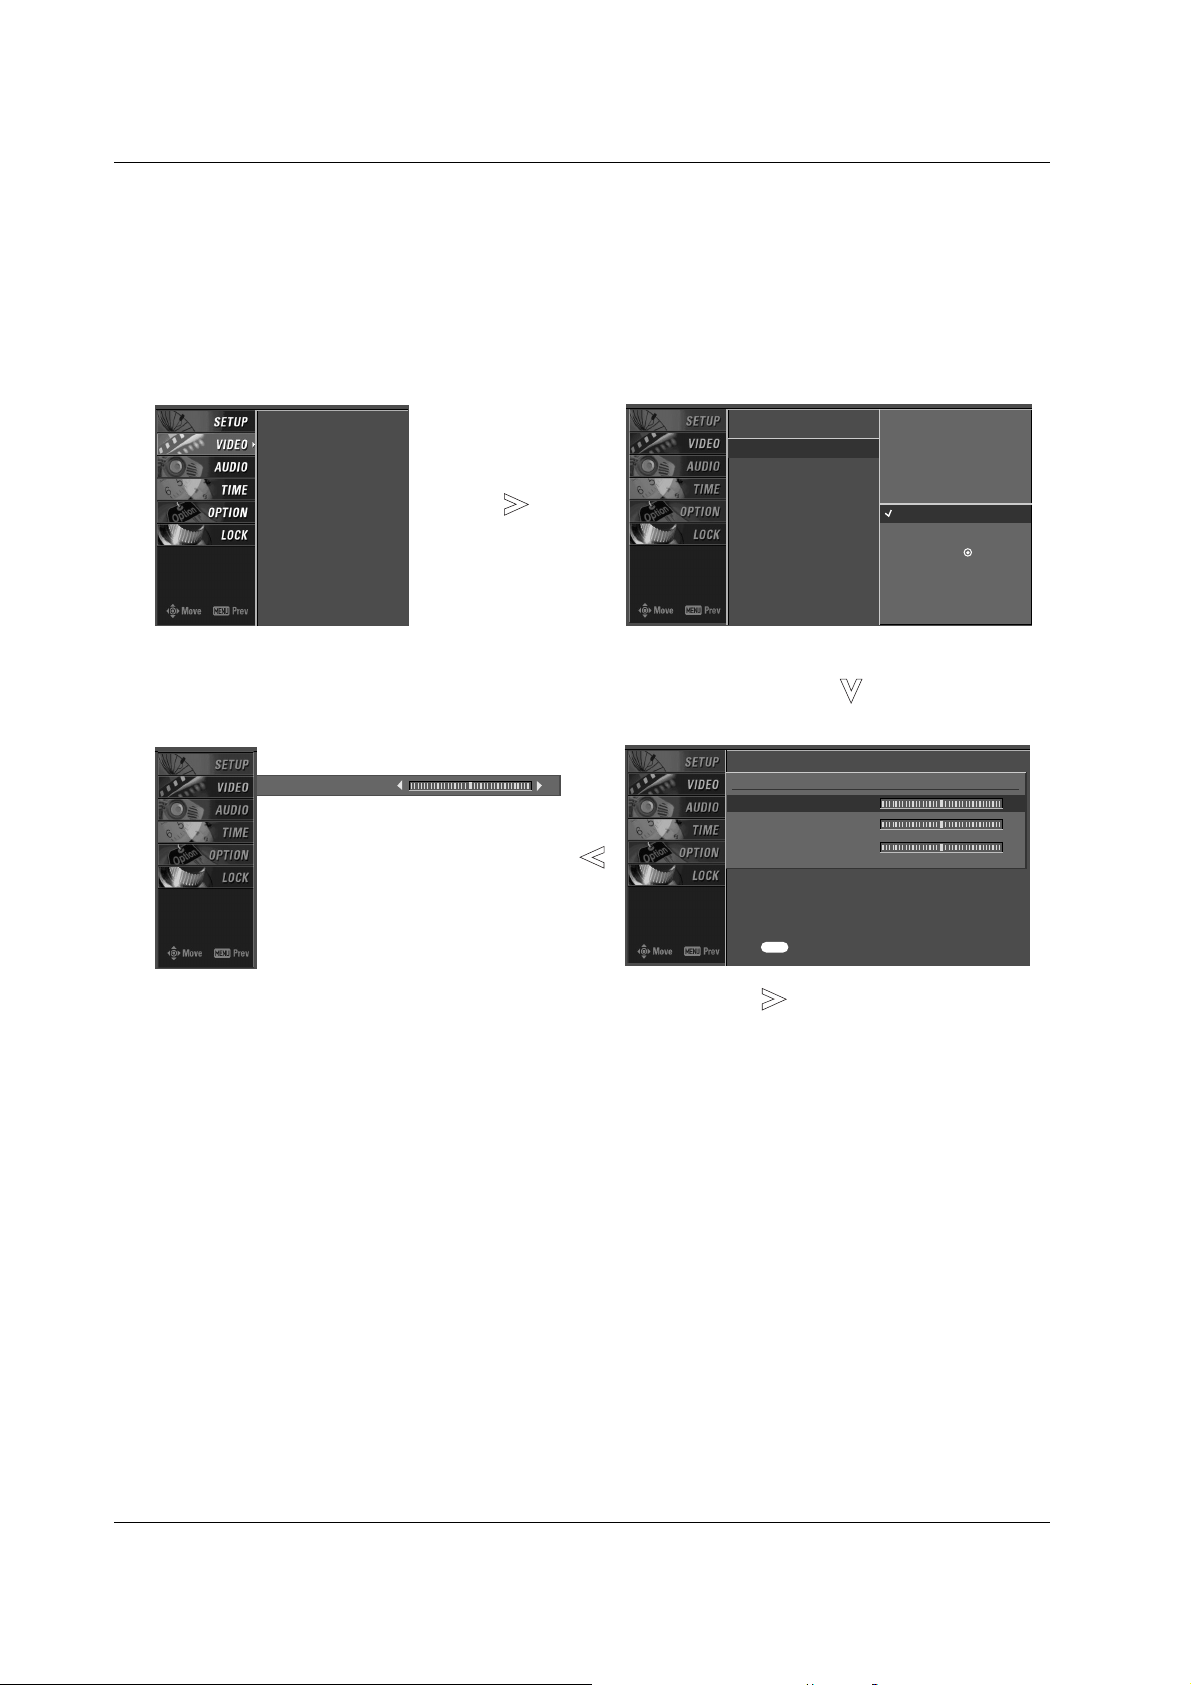
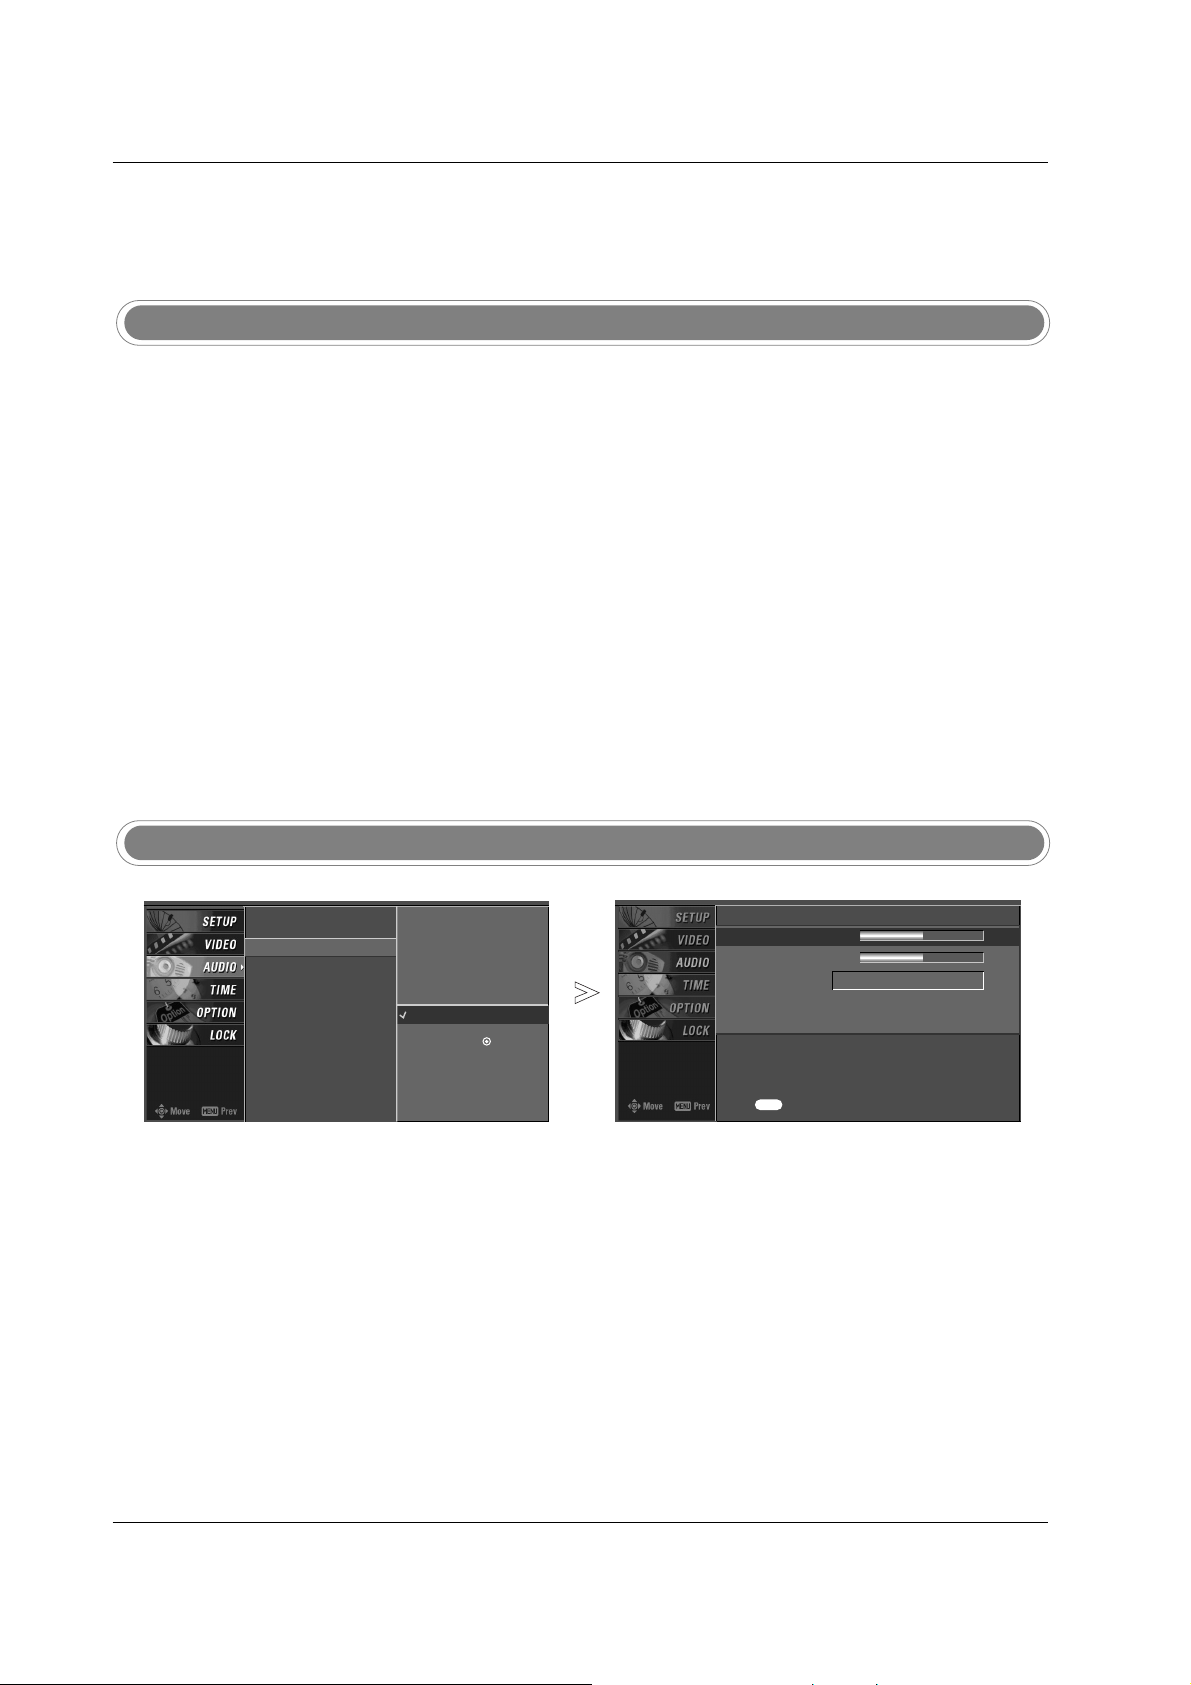
Channel Edit
Press the MENU button and then use
DD / EE
button to select the SETUP menu.
Press the GG button and then use
DD / EE
button to select Channel Edit.
Press the
GG button. You will now see a screen filled with channel num-
bers and a preview picture.
Use
DD / EE
/ FF / GG button to select a channel and then use the ENTER
button to add or delete it. Press FAV button to add the channel to the
Favorite List. The heart-mark will appear in front of that channel number.
Press EXIT button to return to TV viewing or press MENU button to
return to the previous menu.
1
2
3
4
5
* Custom List
EZ Scan
Manual Scan
Channel Edit
DTV Signal
Input Source
Input Label
Set ID
EZ Scan
Manual Scan
Channel Edit
G
DTV Signal
Input Source
Input Label
Set ID
Selection ( Gor ) leads
you to the channel edit
screen.
33
Operation
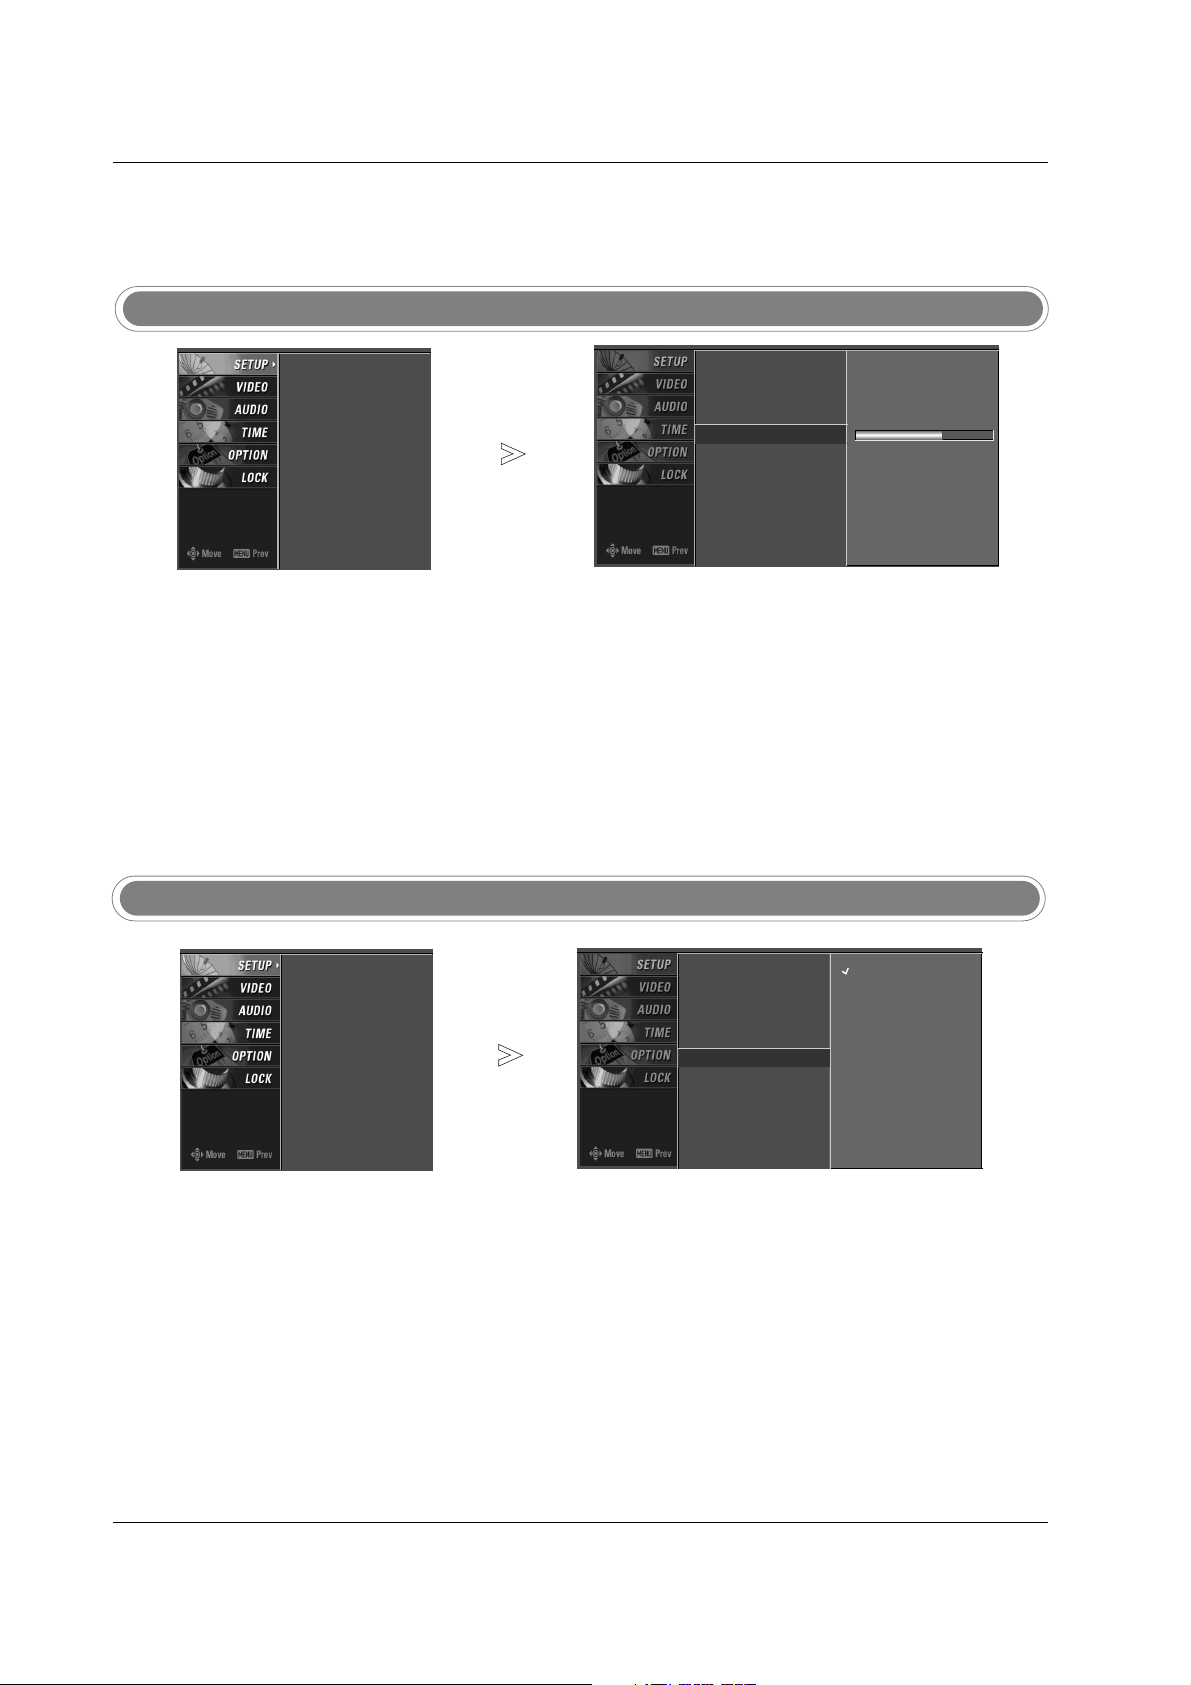
DTV Signal Strength
- Shows how strong your DTV signal is and whether you need to
adjust your antenna or digital
cable input. The higher the signal
strength, the less likely you are
to experience picture degradation.
- DTV Signals: Only when the
input signal is DTV or CADTV,
this function is available.
Press the MENU button and then use
DD / EE
button to select the SETUP menu.
Press the GG button and then use
DD / EE
button to select DTV Signal.
View the on-screen signal strength monitor to see the quality of the signal
being received.
Press EXIT button to return to TV viewing or press MENU button to
return to the previous menu.
1
2
3
4
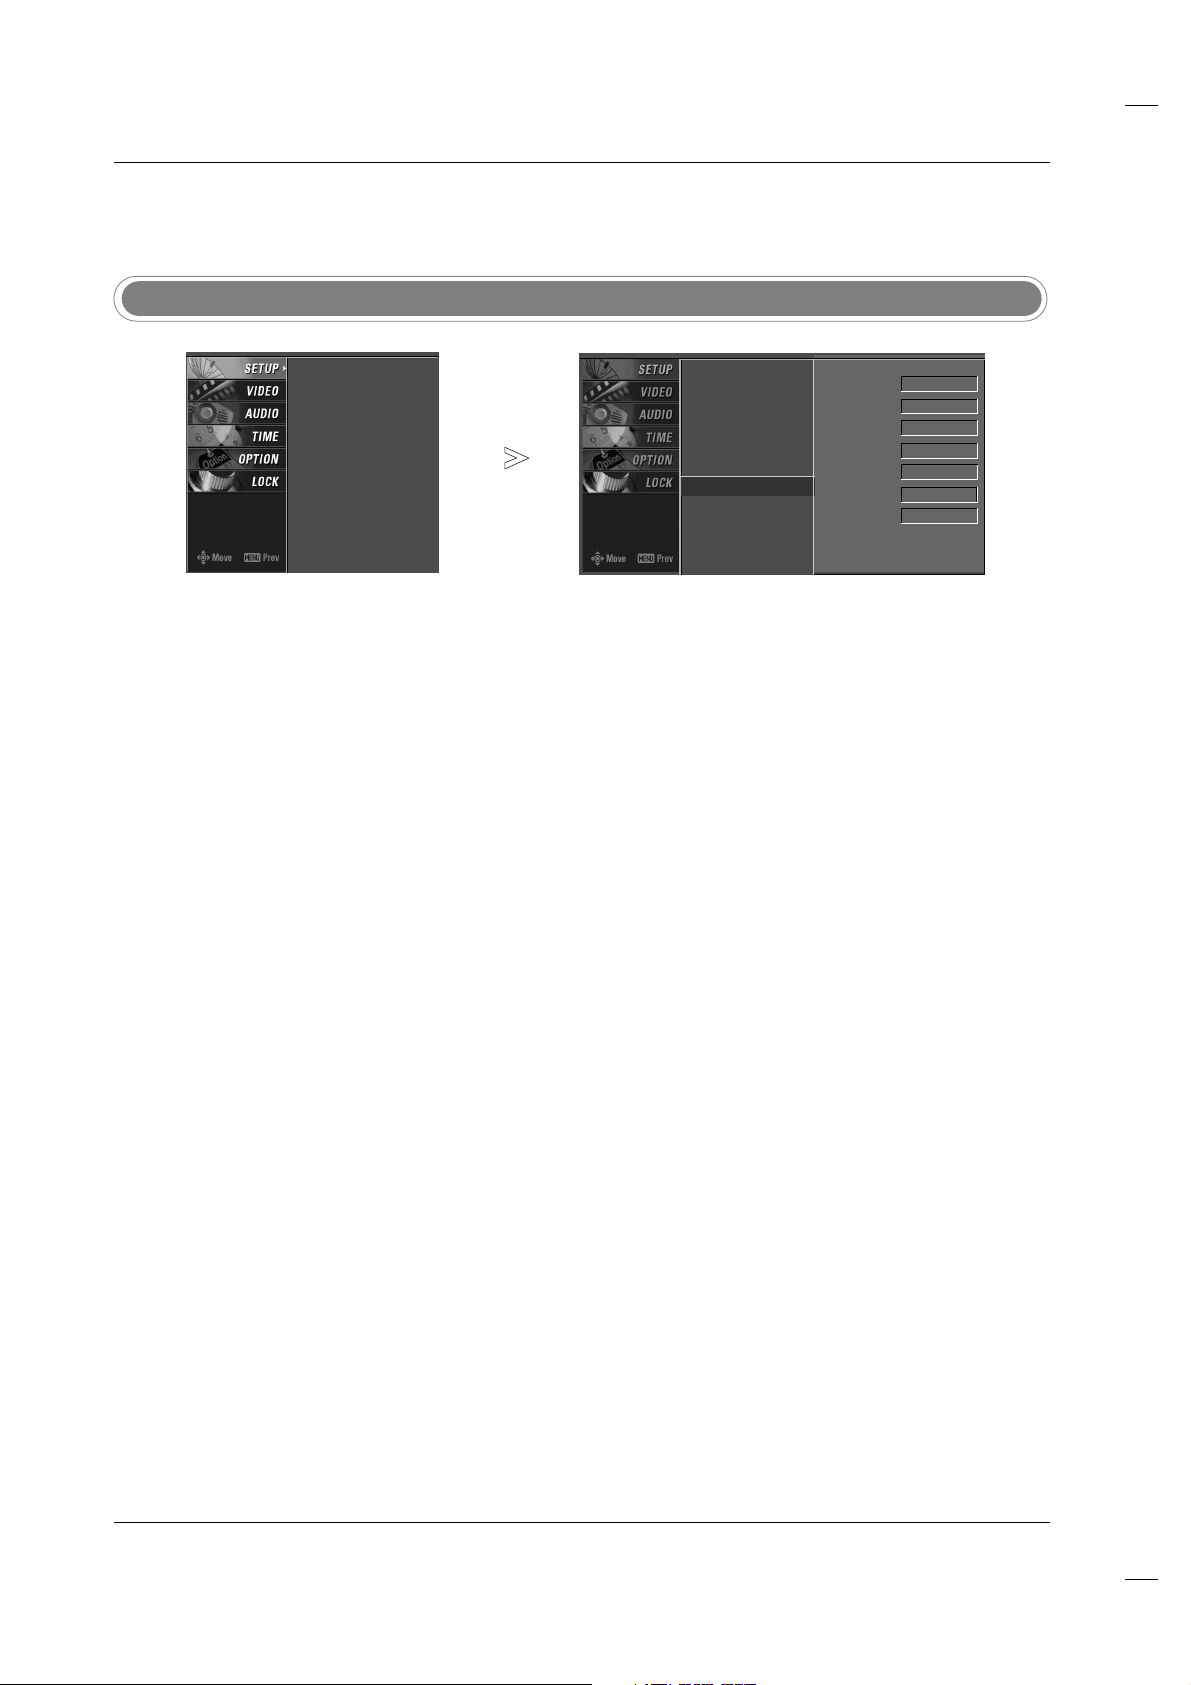
- Changes the picture source so
you can watch your TV, cable TV,
VCR, DVD, or any other devices
that are connected to your TV.
Input Source
Press the MENU button and then use
DD / EE
button to select the SETUP menu.
Press the
GG button and then use
DD / EE
button to select Input Source.
Press the
GG button and then use
DD / EE
button to select the source:
TV, AV1, AV2, Component1, Component2, RGB-PC, HDMI1/DVI, or
HDMI2.
Press EXIT button to return to TV viewing or press MENU button to
return to the previous menu.
1
2
3
4
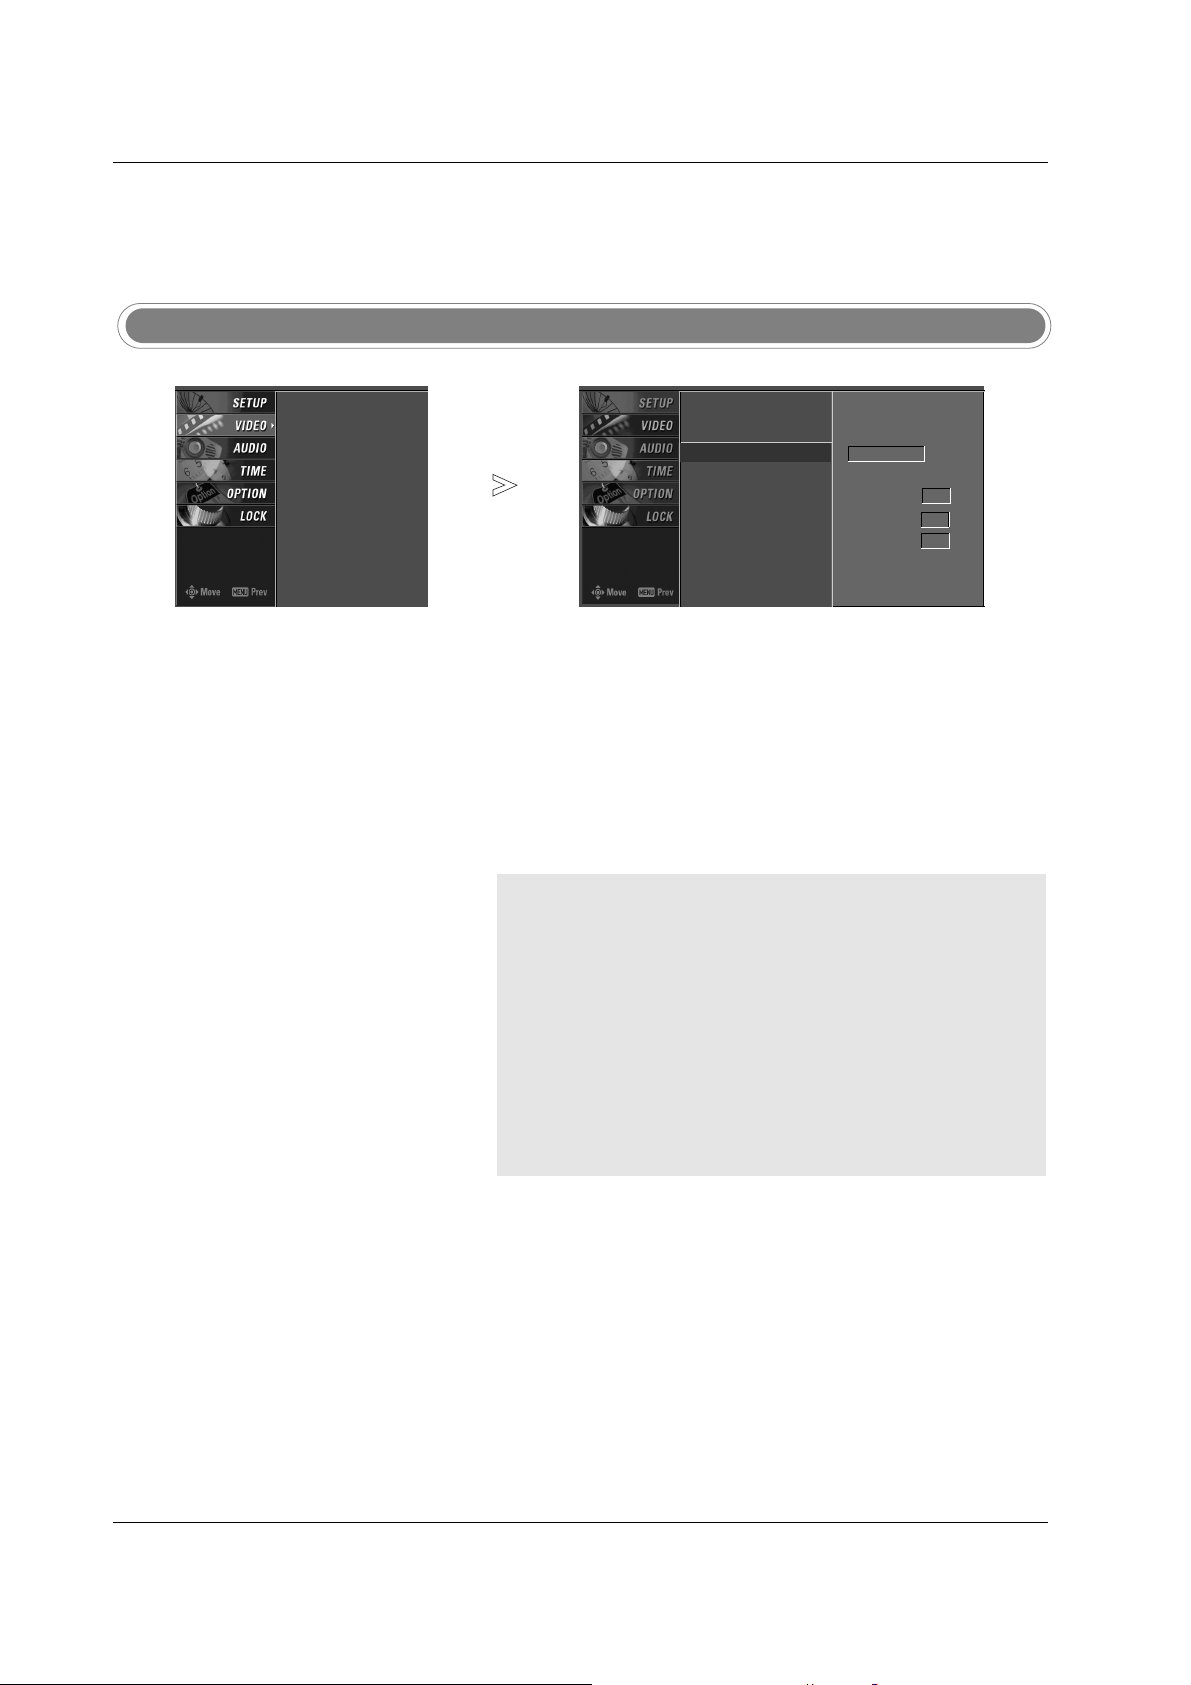
Setup Menu Options continued
Setup Menu Options continued
EZ Scan
Manual Scan
Channel Edit
DTV Signal
Input Source
Input Label
Set ID
Bad Normal Good
EZ Scan
Manual Scan
Channel Edit
DTV Signal
Input Source
Input Label
Set ID
EZ Scan
Manual Scan
Channel Edit
DTV Signal
Input Source
Input Label
Set ID
EZ Scan
Manual Scan
Channel Edit
DTV Signal
Input Source
G
Input Label
Set ID
TV
AV1
AV2
Component1
Component2
RGB-PC
HDMI1/DVI
HDMI2
34
Operation
- Sets a label to each input source
or lets you skip the input source
which is not in use when you
press INPUT button.
Input Label
Press the MENU button and then use
DD / EE
button to select the SETUP menu.
Press the GG button and then use
DD / EE
button to select Input Label.
Press the
GG button and then use
DD / EE
button to select the source: AV1-
2, Component1-2, RGB-PC, HDMI1/DVI or HDMI2.
Press the
FF / GG button to select the label.
Press EXIT button to return to TV viewing or press MENU button to
return to the previous menu.
1
2
3
4
5
EZ Scan
Manual Scan
Channel Edit
DTV Signal
Input Source
Input Label
Set ID
EZ Scan
Manual Scan
Channel Edit
DTV Signal
Input Source
Input Label
G
Set ID
AV1 Cable Box
AV2 VCR
Component1 DVD
Component2 Set Top Box
RGB-PC PC
HDMI1/DVI Game
HDMI2 Satellite
35
Operation
VVideo Menu Options
ideo Menu Options
Auto Picture Control
Auto Picture Control((EZ Picture)
- EZ Picture adjusts the TV for the best
picture appearance. Select the preset
value in the EZ Picture menu based
on the program category.
-
Daylight, Normal, Night Time set-
tings are preset for optimum picture
quality at the factory and are not
adjustable.
- In the
User 1, and User 2 modes only,
user can directly adjust the contrast,
brightness, color, sharpness, tint.
Press the EZ PIC button repeatedly to select the picture appear-
ance setup option as shown below:
Daylight, Normal, Night Time, User 1 and User 2(your own set-
tings).
• You can also use the
VIDEO menu to adjust EZ Picture.
Press the EXIT button to save and return to TV viewing .
1
2
Color Temperature Control
- Choose one of three automatic
color adjustments. Set to warm
to enhance hotter colors such as
red, or set to cool to see less
intense colors with more blue.
Press the MENU button and then use
DD / EE
button to select the VIDEO menu.
Press the
GG button and then use
DD / EE
button to select Color Temperature.
Press the
GG button and then use
DD / EE
button to select either Cool,
Medium, Warm, or User.
Press EXIT button to return to TV viewing or press MENU button to
return to the previous menu.
1
2
3
4
EZ Picture
Color Temperature
G
XD
Advanced
Video Reset
EZ Picture
Color Temperature
XD
Advanced
Video Reset
Cool
Medium
Warm
User
36
Operation
Manual Color Temperature Control
- You can also adjust the detailed set
tings(Red, Green, Blue) by selecting
the User menu.
EZ Picture
Color Temperature
XD
Advanced
Video Reset
Red 0
EE
EZ Picture
Color Temperature
XD
Advanced
Video Reset
Press to confirm.
MENU
Selection ( Gor ) leads you
to the detailed setting
screen.
Cool
Medium
Warm
User
G
User
Red 0
G
Green 0
Blue 0
Press the MENU button and then use
DD / EE
button to select the
VIDEO menu.
Press the
GG button and then use
DD / EE
button to select Color
Temperature
.
Press the
GG button and then use
DD / EE
button to select User .
Press the
GG button and then use
DD / EE
button to select Red,
Green or Blue .
Press the
GG button and then use FF / GG button to make appropri-
ate adjustments.
• The adjustment range of
Red, Green or Blue is -20~ +20.
Press EXIT button to return to TV viewing or press MENU button to return to the previous menu.
1
2
3
4
5
6
37
Operation
- XD is LG Electronic’s unique picture
improving technology to display a
real HD source through an
advanced dig-ital signal processing
algorithm.
- When selecting EZ Picture options
(Daylight, Normal and Night time),
XD is automatically change to Auto.
- When selecting EZ Picture options
(User 1 and User 2), you can
choose the Auto / Manual and when
selecting Manual, you can adjust
the XD Contrast, XD color and XD
Noise.
EZ Picture
Color Temperature
XD
Advanced
Video Reset
EZ Picture
Color Temperature
XD
G
Advanced
Video Reset
Manual
XD Contrast On
XD Color On
XD Noise On
Press the MENU button and then use
DD / EE
button to select the VIDEO
menu.
Press the
GG button and then use
DD / EE
button to select XD.
Press the
GG button and then use
DD / EE
button to select Auto or
Manual.
Press EXIT button to return to TV viewing or press MENU button to
return to the previous menu.
* Selecting the Manual
1. Press the
GG button and then use FF / GG button to select XD
Contrast, XD Color or XD Noise.
XD Contrast :Optimizing the contrast automatically according
to the
brightness of the reflection.
XD Color :Adjusting the colors of the reflection automatically
to repro-duce as closely as possible to the natural colors.
XD Noise :Removing the noise up to the point where it does
not damage the original picture.
2. Use the
DD / EE
button to make appropriate adjustments.
XD
1
2
3
4

38
Operation
Advanced-Cinema 3:2 Mode / Black Level
Advanced-Cinema 3:2 Mode / Black Level
• Cinema 3:2 Mode
- Set up the TV for the best picture
appearance for viewing movies.
When you operate Cinema (3:2 PullDown Mode or Cinema Correction
Mode),the TV will adjust 24 fps video
from movies to 30 fps video for display
(This function is only available in
Analog, AV1, AV2, Component 480i
mode.)
• Black level
- Adjusting the contrast and the brightness
of the screen using the black level of the
screen.
This feature operates only in HDMI1/DVI,
HDMI2 or AV1, AV2 mode.
EZ Picture
Color Temperature
XD
Advanced
Video Reset
EZ Picture
Color Temperature
XD
Advanced
G
Video Reset
Cinema 3:2 Mode Off
Black Level Low
Press the MENU button and then use
DD / EE
button to select the VIDEO
menu.
Press the
GG button and then use
DD / EE
button to select
Advanced .
Press the GG button and then use
DD / EE
button to select
Cinema 3:2 Mode or Black Level.
Press EXIT button to return to TV viewing or press MENU button
to return to the previous menu.
* Selecting the Cinema 3:2
Mode
Press the GG button and then
use
DD / EE
button to select
On or Off .
* Selecting the
Black Level
Press the GG button and then
use
DD / EE
button to select
Low or High.
Low
The reflection of the screen gets
darker.
High
The reflection of the screen gets
brighter.
1
2
3
4
5
39
Operation
- Use to quickly reset all the Video
menu options to their original factory preset values.
Press the MENU button and then use
DD / EE
button to select the VIDEO menu.
Press the
GG button and then use
DD / EE
button to select Video Reset.
Press the
GG button to reset the Video menu options to original values.
1
2
3
Video Reset
EZ Picture
Color Temperature
XD
Advanced
Video Reset
EZ Picture
Color Temperature
XD
Advanced
Video Reset
G
Selection ( Gor ) resets to
the factory settings (default).
40
Operation
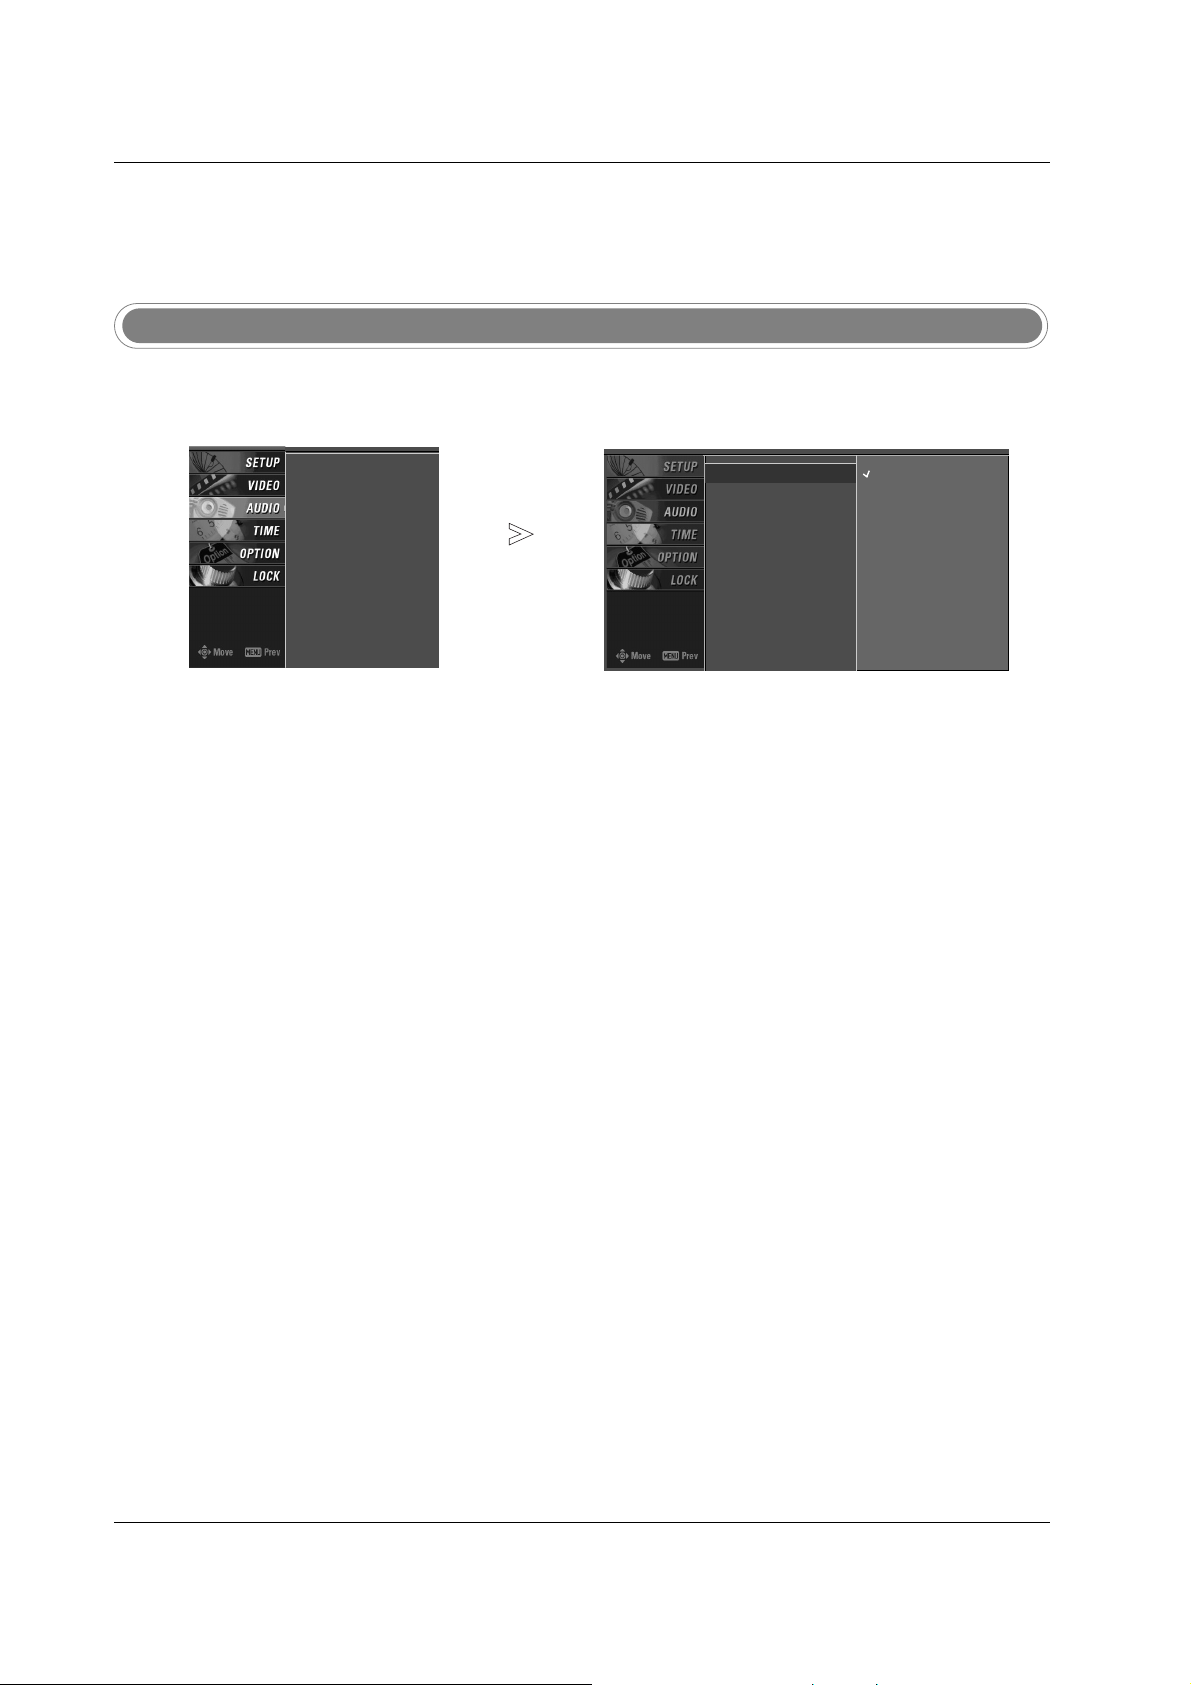
Audio Menu Options
Audio Menu Options
- Other languages may be available
if a digital signal is provided by the
broadcasting station.
Audio Language
Press the MENU button and then use
DD / EE
button to select the
AUDIO menu.
Press the
GG button and then use
DD / EE
button to select Audio Language.
Press the GG button and then use
DD / EE
button to select: English,
Spanish, or French.
Press EXIT button to return to TV viewing or press MENU button to
return to the previous menu.
1
2
3
4
Audio Language
G
EZ Sound
Balance
TV Speaker
English
Spanish
French
Audio Language
EZ Sound
Balance
TV Speaker
41
Operation
Auto Sound Control (
Auto Sound Control (EZ Sound)
Manual Sound Control (EZ Sound-User option)
- EZ Sound lets you enjoy the best
sound without any special adjustment because the TV sets the
appropriate sound options based
on the program content.
- Normal, Stadium, News, Music
and Theater are preset for good
sound quality at the factory and
are not adjustable.
- Adjust the sound in your preference and surrounded environment.
Press the EZ SOUND button repeatedly to select the appropriate
sound setup as shown below :
Normal, Stadium, News, Music, Theater and User (your own
settings) .
• You can also adjust
EZ Sound in the AUDIO menu.
Press EXIT button to save and return to TV viewing.
1
2
Press the MENU button and then use
DD / EE
button to select the
AUDIO menu.
Press the
GG button and then use
DD / EE
button to select EZ Sound.
Press the GG button and then use
DD / EE
button to select User.
Press the
GG button and then use
DD / EE
button to select the desired sound
option (
Treble, Bass or Front Surround).
Press the
GG button and then use FF / GG button to make appropriate
adjustments
.
1
2
3
4
5
User
Treble 50
G
Bass 50
Front Surround Off
Press to confirm.
MENU
Audio Language
EZ Sound
Balance
TV Speaker
BBE
Selection ( Gor ) leads you
to the detailed setting
screen.
Normal
Stadium
News
Music
Theater
User
G
42
Operation
front Surround SRS TruSurround XT
* Selecting the Front Surround
Press the
GG button and then use FF / GG button to select Off
or SRS (Sound Retrieval System) TruSurround XT .
Press EXIT button to return to TV viewing or press MENU button to
return to the previous menu.
6
SRS TruSurround XT
Takes advantage of any multi-channel format without needing to add extra speakers or equipment. Dialog clarity,
bass enrichment, and the addition of stereo audio enhancement produces an immersive sound experience from
standard stereo material.
Note: When SRS (Sound Retrieval System) TruSurround XT is
selected, Audio Balance function is disable and set to 0 .
When Off is selected, Audio Balance function is enable and reset the bal-
ance as previous.
43
Operation
- Adjust the sound in your preference and surrounded environment.
Audio Language
EZ Sound
Balance
TV Speaker
L R
Balance 0
Audio Language
EZ Sound
Balance 0
TV Speaker
L R
Press the MENU button and then use
DD / EE
button to
select the AUDIO menu.
Press the
GG button and then use
DD / EE
button to select
Balance.
Press the GG button and then use FF / GG button to make
appropriate adjustments.
Press EXIT button to return to TV viewing or press
MENU button to return to the previous menu.
Balance
Balance
1
2
3
4
TV Speakers On/Off Setup
- Turn TV speakers off if using
external audio equipment.
Feature turns the TV Speakers
option On or Off.
Press the MENU button and then use
DD / EE
button to select the
AUDIO menu.
Press the
GG button and then use
DD / EE
button to select TV Speaker.
Press the GG button and then use
DD / EE
button to select Off or On.
Press EXIT button to return to TV viewing or press MENU button to
return to the previous menu.
1
2
3
4
Audio Language
EZ Sound
Balance
TV Speaker
Audio Language
EZ Sound
Balance
TV Speaker
G
Off
On
 Loading...