How it Works
Log In / Sign Up
Buy Points
How it Works
FAQ
Contact Us
Questions and Suggestions
Users
LG
Loading...
V
V0600E
V09AH
5
V09AH SE0
V10
5
V10APQN
V10CDT-N
V10CFB-N
V10CF-N
V10CRH-N
V10 H900
V10 H960A
V12AC
V12AC SE0
V12AH
3
V12AH SE0
V12AH UE0
V12CDT-N
V12CFB-N
V134ME
V134MEA
V144XG
V144XGA
V1502KP4Z
2
V1502P1Z
2
V1502P4Z
2
V152XD
V152XDA
V154MG
V154MGA
V155MH
V155MHA
V160
2
V1600MZ
V1602P2Z
4
V1602P3Z
2
V161
V1610W1Z
V1612P1Z
V1612P2Z
4
V1612W1Z
2
V164XK
V-KC701H
2
V-KC701HAV
V-KC701HEQR
V-KC701HER
V-KC701HTQ
V-KC701HTR
V-KC701HTU
3
V-KC702H
V-KC702HTU
2
V-KC801
V-KC801H
2
V-KC801HT
3
V-KC801HTM
V-KC801HTMQ
V-KC801HTQ
3
V-KC801HTY
V-KC90
V-KC902CES
V-KC902H
3
V-KC902HE
V-KC902HT
14
V-KC902HTM
10
V-KC902HTQB
V-KC902HTQM
V-KC902HTY
V-KC902RT
V-KC902RTB
V-KC90 H
V-KC942HT
V-KC94 H
V-KC9700HT
2
V-NET
V-NET ACS
V-Net AC Smart II
V-R5901LVM
3
V-R5905LM
V-S7180B
V-S7180N
V-S7180R
V-S7180W
V-U5540NB
3
V-U5545NB
3
V-U5545NBS
V-U5565NB
V-U8070NBJ
2
V-UA145NBU
2
V-UA175NBU
V-UP142NJP
5
V-UP255NB
V-UP745NB
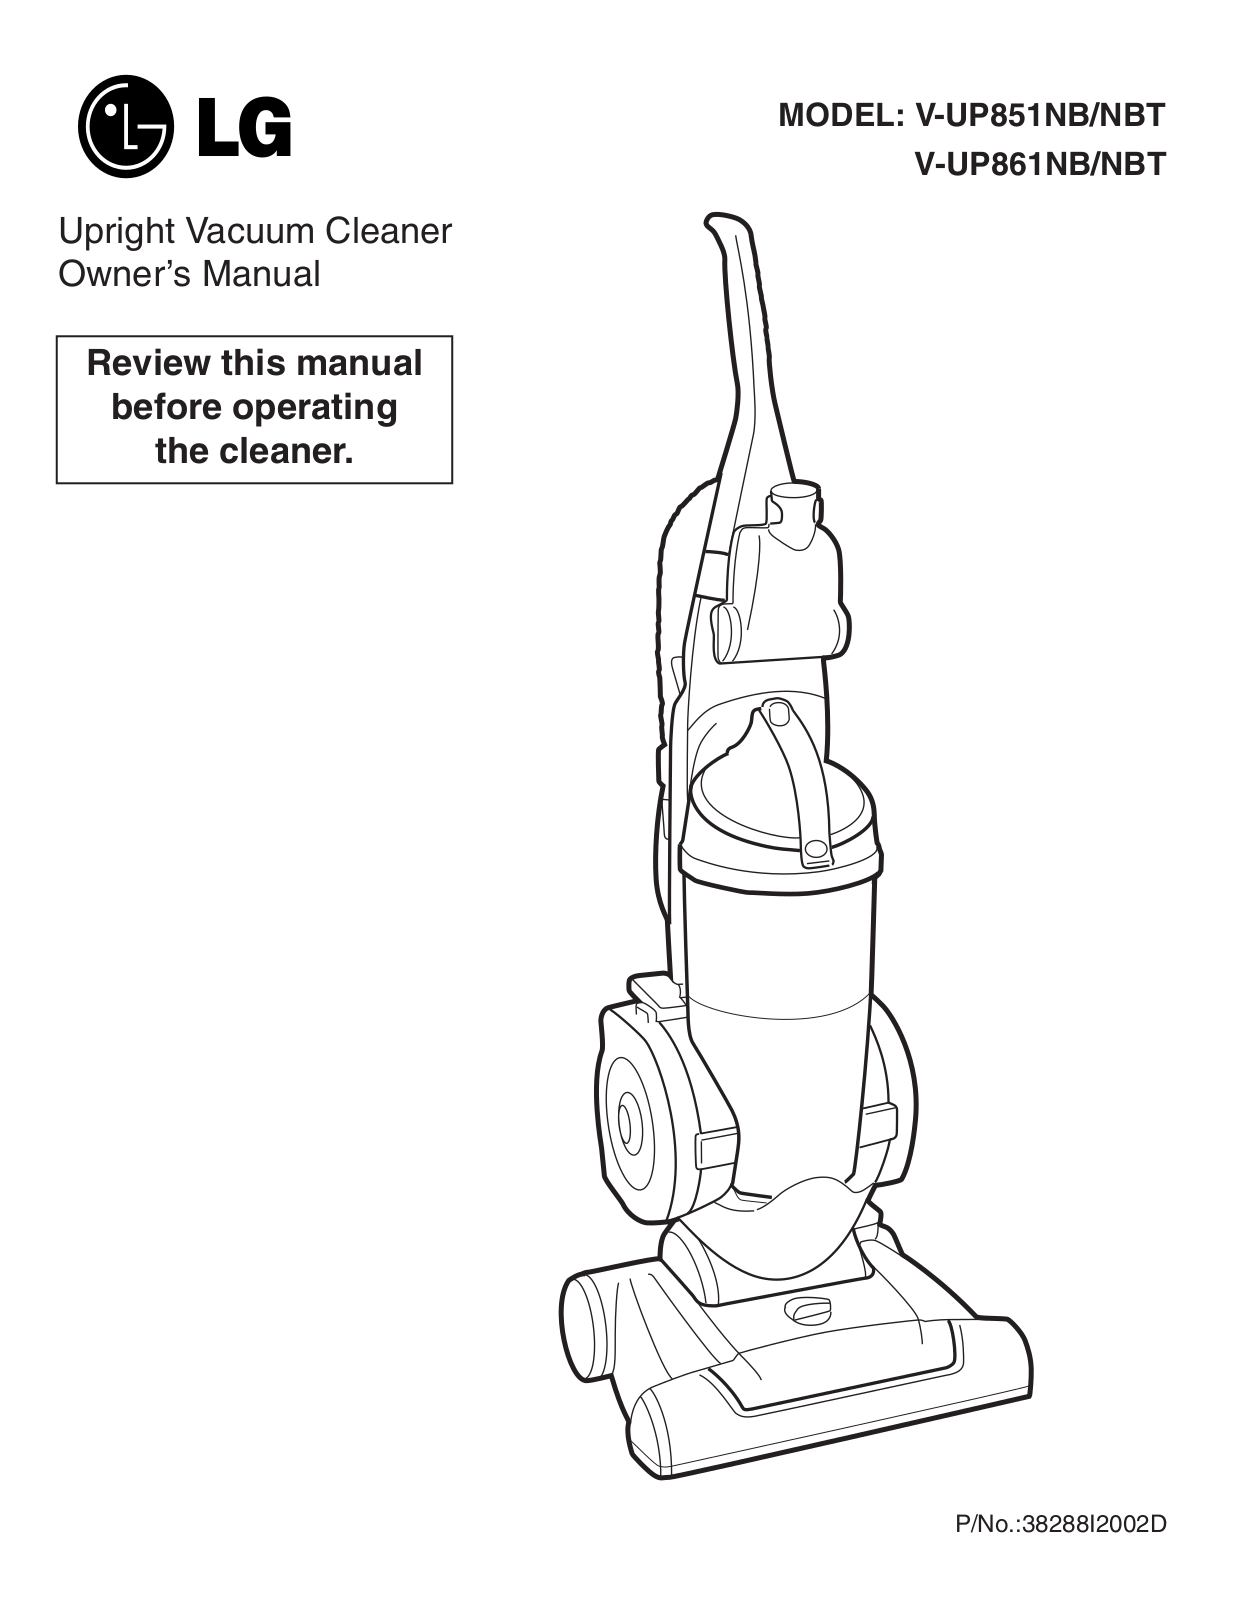
V-UP861NB
7
V-UP861NBT
V-WA166ND
3
V-WA266ND
8
V-WA363ND
4
V-WA363NDO
V-WP168NT
V-WP188NT
2
V-WP208NT
Loading...
Loading...
Nothing found
V-UP861NB
Owner's Manual
16 pgs
5.8 Mb
0
Owner’s Manual
13 pgs
7.23 Mb
0
Owner’s Manual [ar]
39 pgs
7.76 Mb
0
Service Manual
16 pgs
4.12 Mb
0
User Guide
25 pgs
670.72 Kb
0
User guide [he]
27 pgs
3.56 Mb
0
User Manual
15 pgs
2.89 Mb
0
Table of contents
Loading...
LG V-UP861NB User guide [he]
...
LG User guide [he]
Download
Specifications and Main Features
Frequently Asked Questions
User Manual
Download
Loading...
+
hidden pages
Unhide
You need points to download manuals.
1 point = 1 manual.
You can buy points or you can get point for every manual you upload.
Buy points
Upload your manuals
 Loading...