

LG VTUP843NB Owner's manual
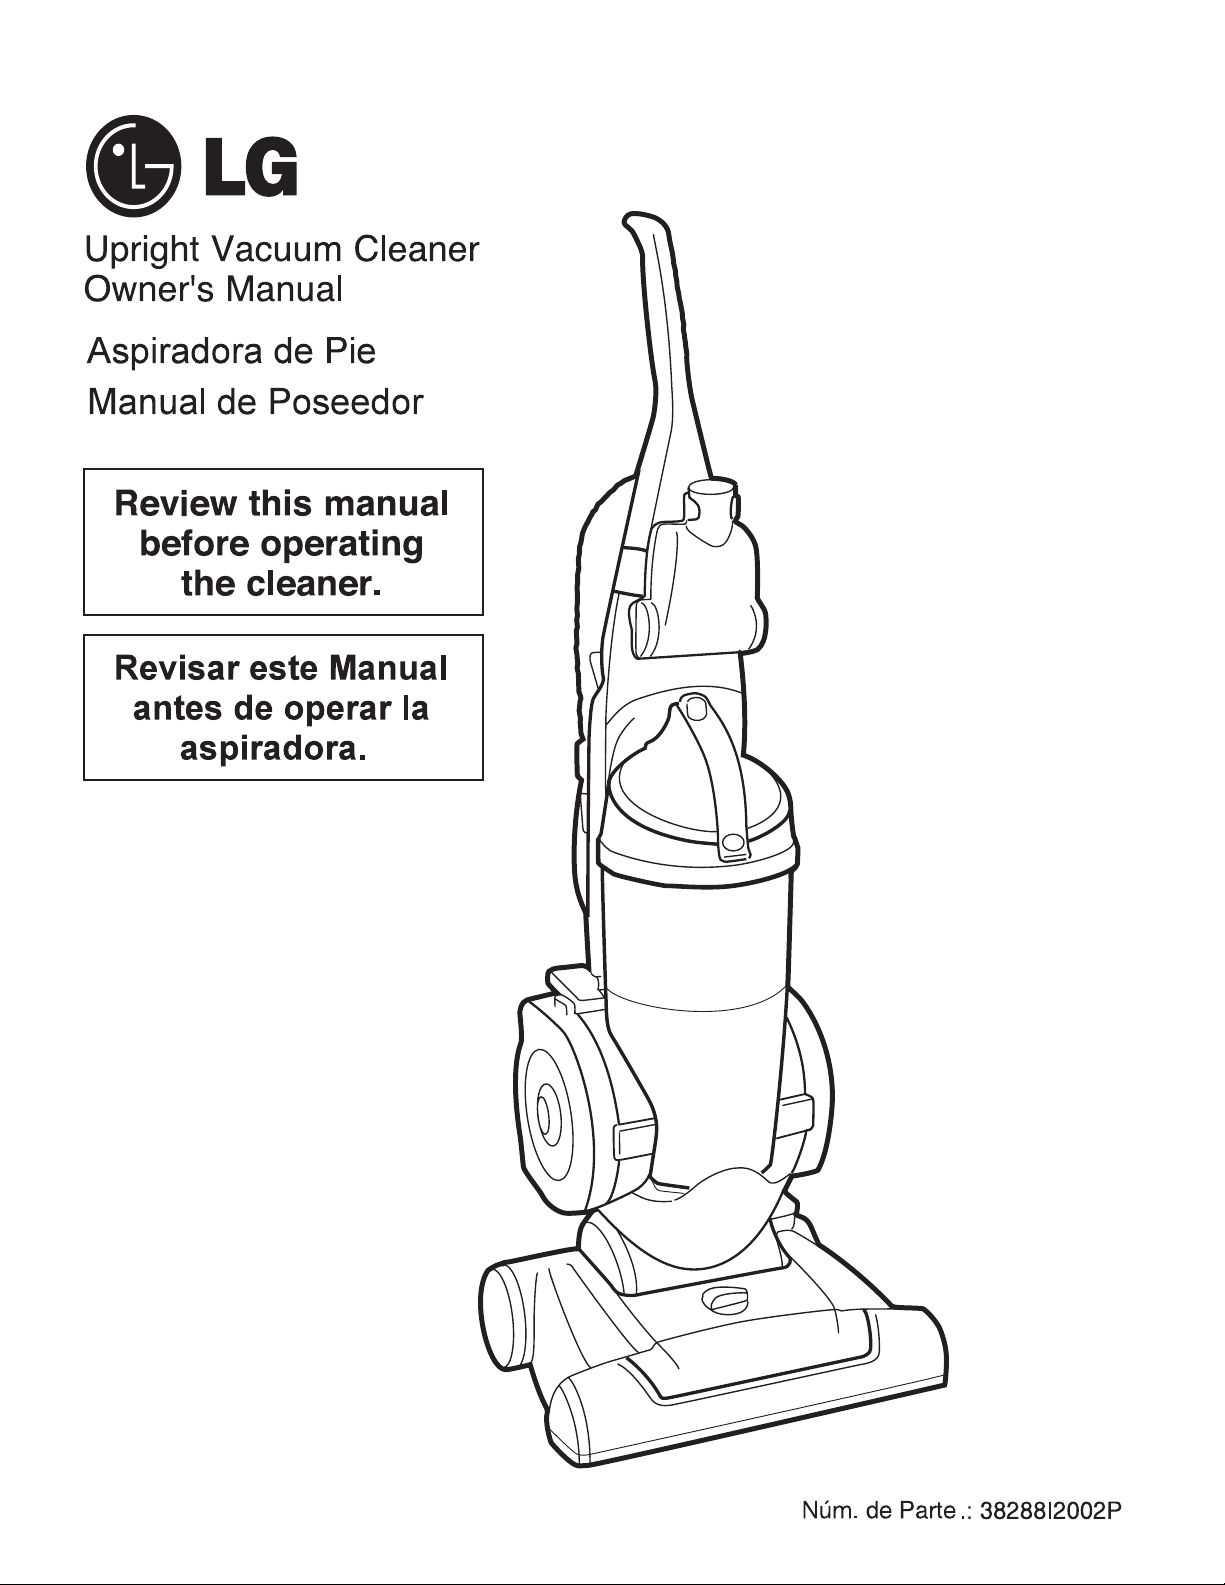
MODEL: VTUP843NB
P/No.: 38288I2002P
Important safeguards
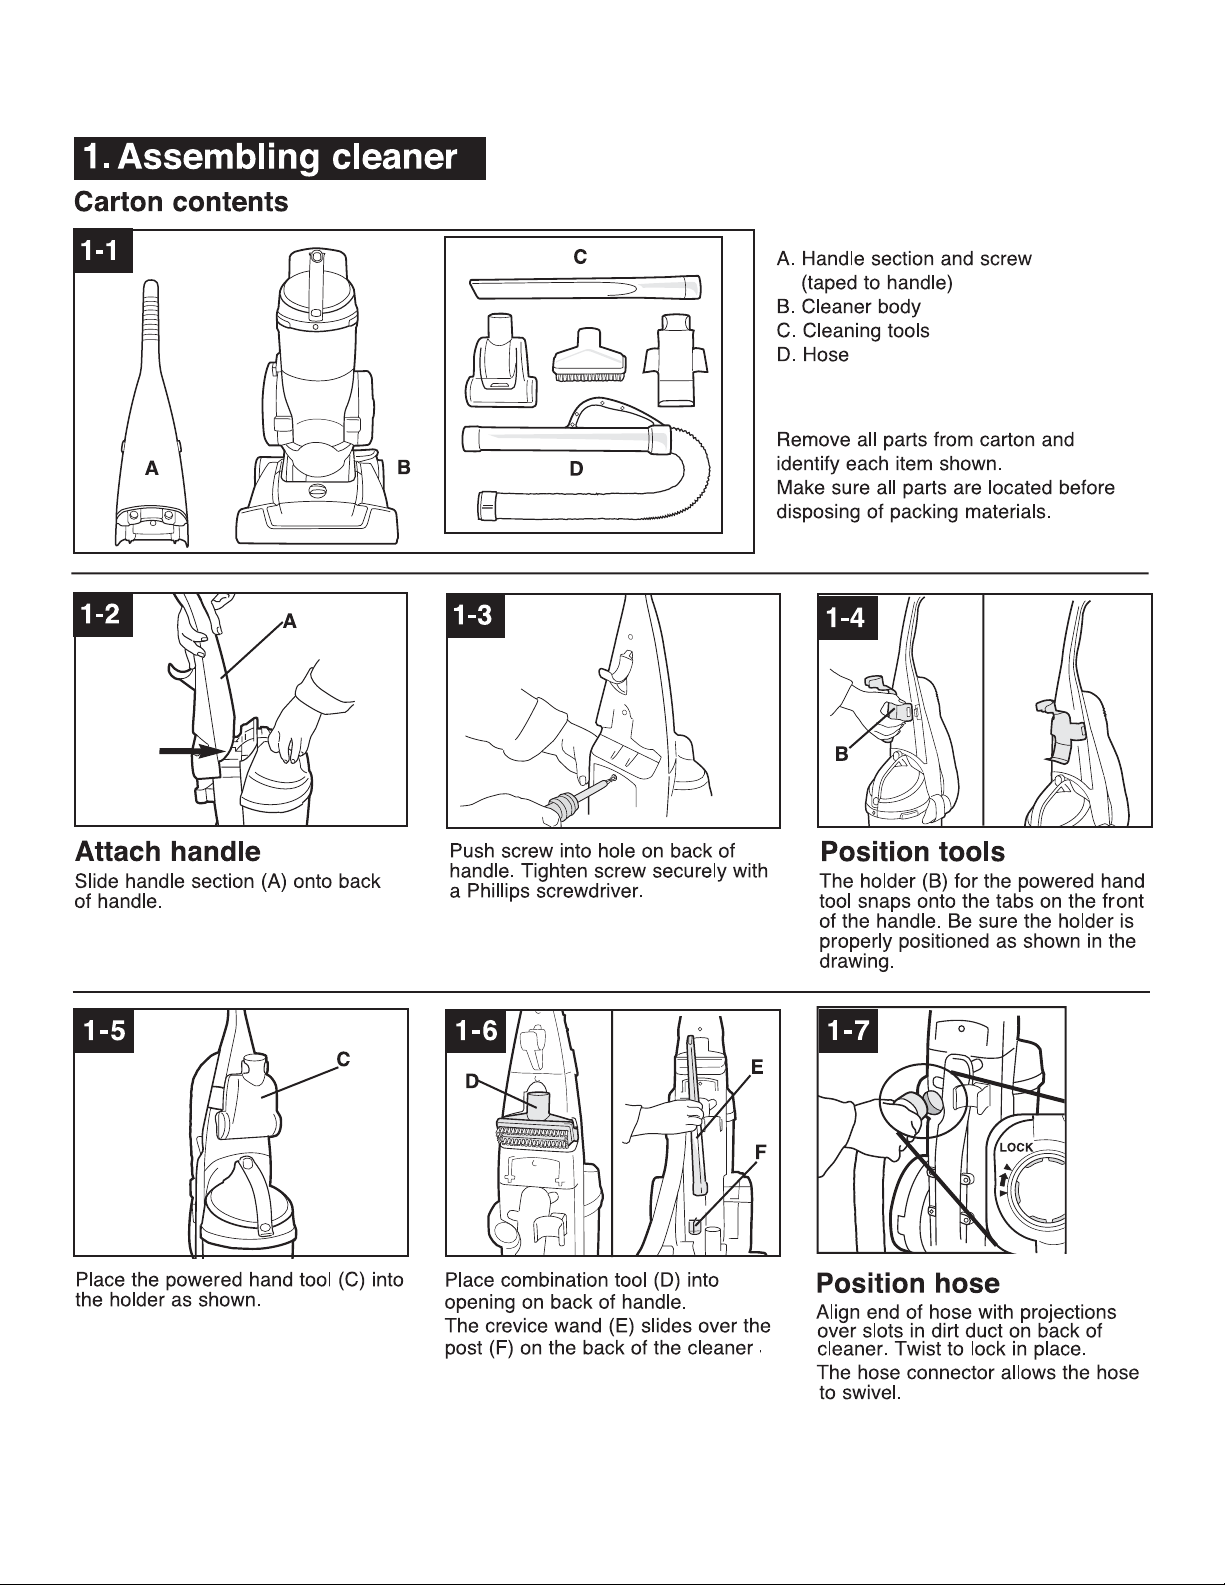
1. Assembling cleaner
2. How to use
3. Maintenance
Air flow indicator
Cleaning filters lifetime HEPA filter
How to replace
The agitator brush roll when to replace
Powered hand tool
4. If you have a problem
Normal problem
Clearing blockages
3
4
6
7
8
9
10
11
12
2
3
1-8
G
H
I
2. How to use
Cleaner description
2-1
12
11
1
2
3
4
5
6
7
8
9
19
20
Wrap hose over hook (G).
Push hose end (H) firmly onto tube
(I) as shown.
1. Handle grip
2. Powered hand tool
3. Dirt cup release button
13
14
15
16
17
18
4. Carrying handle/Dirt
cup handle
5. Air flow indicator
6. Dirt cup assembly
7. Lifetime HEPA filter
8. Body cover
9. Nozzle control knob:
turn knob to cor rect setting
for height of carpet being
cleaned.
10. Furniture nozzle: helps
prevent cleaner from marking furniture.
11. Cord reel
12. Cord rewind button:
press button to rewind cord
for storage. Hold plug until
cord is rewound.
13. Cord hook
14. Hose
15. Hose holder
16.Combination tool
17. Crevice wand
18. Hose handle
19. ON/OFF pedal
20. Handle release pedal:
step on pedal to lower handle
to operating or low positions.
Operate cleaner only at
voltage specified on data
plate on back of cleaner.
This cleaner is intended for
household use.
10
2-2
S
D
Y
R
S
O
T
E
C
M
E
L
A
B
A
T
C
A
R
T
E
R
C
O
R
D
S
B
ON-OFF pedal
Grasp end of plug (A) and pull to
desired cor d length. Plug cor d into
electrical outlet.
To turn cleaner ON, step on ON/OFF
pedal (B) once.
To turn cleaner OFF, step on pedal
again.
2-3
E
L
B
A
T
C
A
R
T
E
R
M
E
R
T
D
S
Y
S
C
S
D
Y
R
S
O
T
E
C
M
R
E
T
R
A
C
T
A
B
L
E
C
O
Cord rewind
Grasp the end of the plug and pull
to release cord from cord reel. After
desired cor d length is r eached, the
cord will lock into position.
To return cord for storage, hold plug
and press on button (C) at top of
cord reel. To prevent cord from
whipping, hold plug until cord is
rewound.
2-4
Transporting cleaner
To move your cleaner from room to
room, put handle in upright position,
tilt cleaner back on rear wheels and
push forward.
4
2-5
2-6
2-7
B
A
Carrying cleaner
The cleaner can also be moved by
using the carrying handle, located
on the top of the dirt cup.
2-8
Handle positions
The handle of your cleaner has
three positions; upright for storage
and when using cleaning tools;
operating position for general
operation on carpet and floors; low
for reaching under low fur niture.
Step on handle release pedal to
lower handle.
2-9
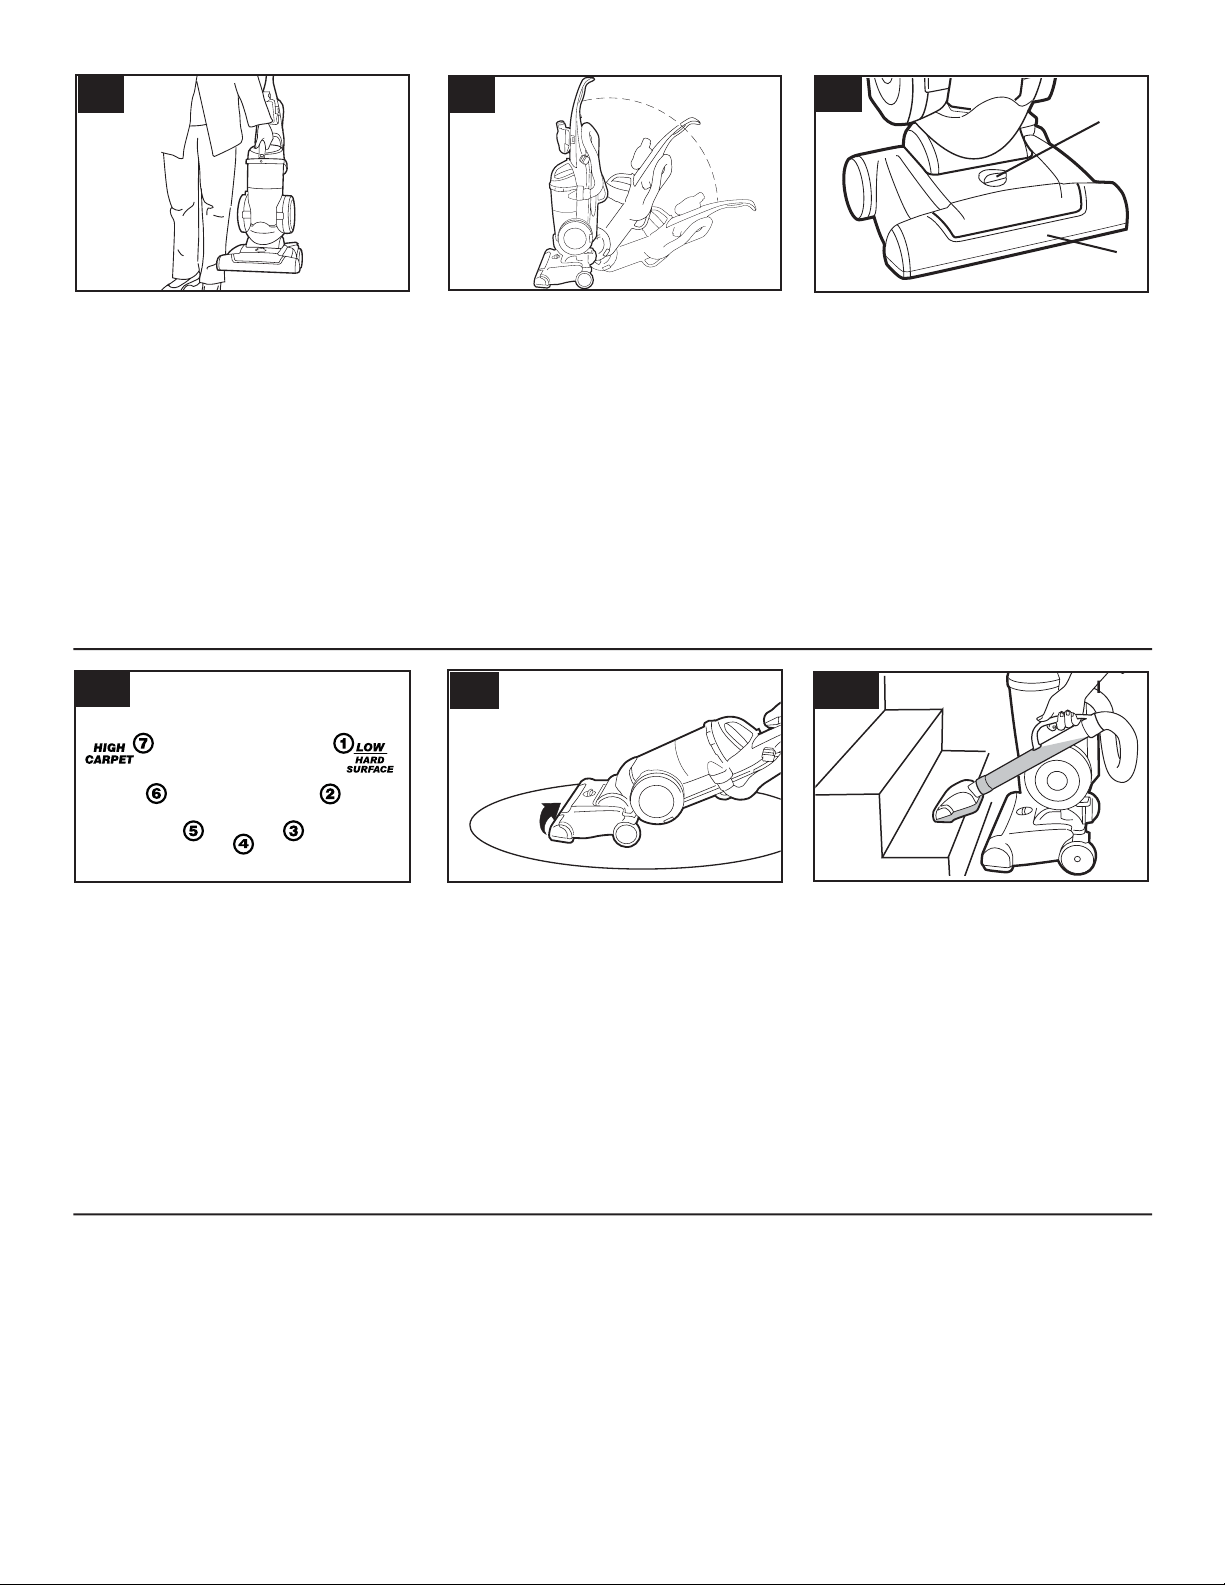
Carpet height
adjustment
The cleaning of carpet and rugs
takes place at the nozzle (A).
When it is necessary to raise and
lower the nozzle for various carpet
pile heights, place handle in upright
position and tur n the nozzle control
knob (B) to the desired setting.
The nozzle will not move into the
adjusted position until the cleaner
handle is lowered to the operating
position.
2-10
Settings
For maximum cleaning performance, the following carpet height
settings are recommended:
U Lowest setting: for all types of
carpet and har d surface flooring.
Note: If the cleaner is dif ficult to
push, turn knob to the next higher
setting.
U Higher settings: for very deep
pile carpet, where easier pushing
effort is desired, while maintaining
good cleaning performance.
CAUTION: To avoid personal
injury or unnecessary wear to
carpet, and to prevent the cleaner
from falling, always place it at
bottom of stairs.
Cleaning lightweight
flexible rugs
Stand on one end of rug and move
cleaner toward other end or edge.
Before reaching edge, push down
on handle. This will lift up the nozzle
(front of cleaner) as shown and will
prevent rug from clinging to cleaner .
Continue to lift up nozzle so that
when you have reached the edge, it
is completely of f the rug. Move
cleaner back to star t again, lower
nozzle, and use only forward
strokes.
Stair cleaning
Use the hose and power hand tool
for stair cleaning. Clean from bottom
to top.
When using cleaning tools, the
agitator will continue to rotate.
5
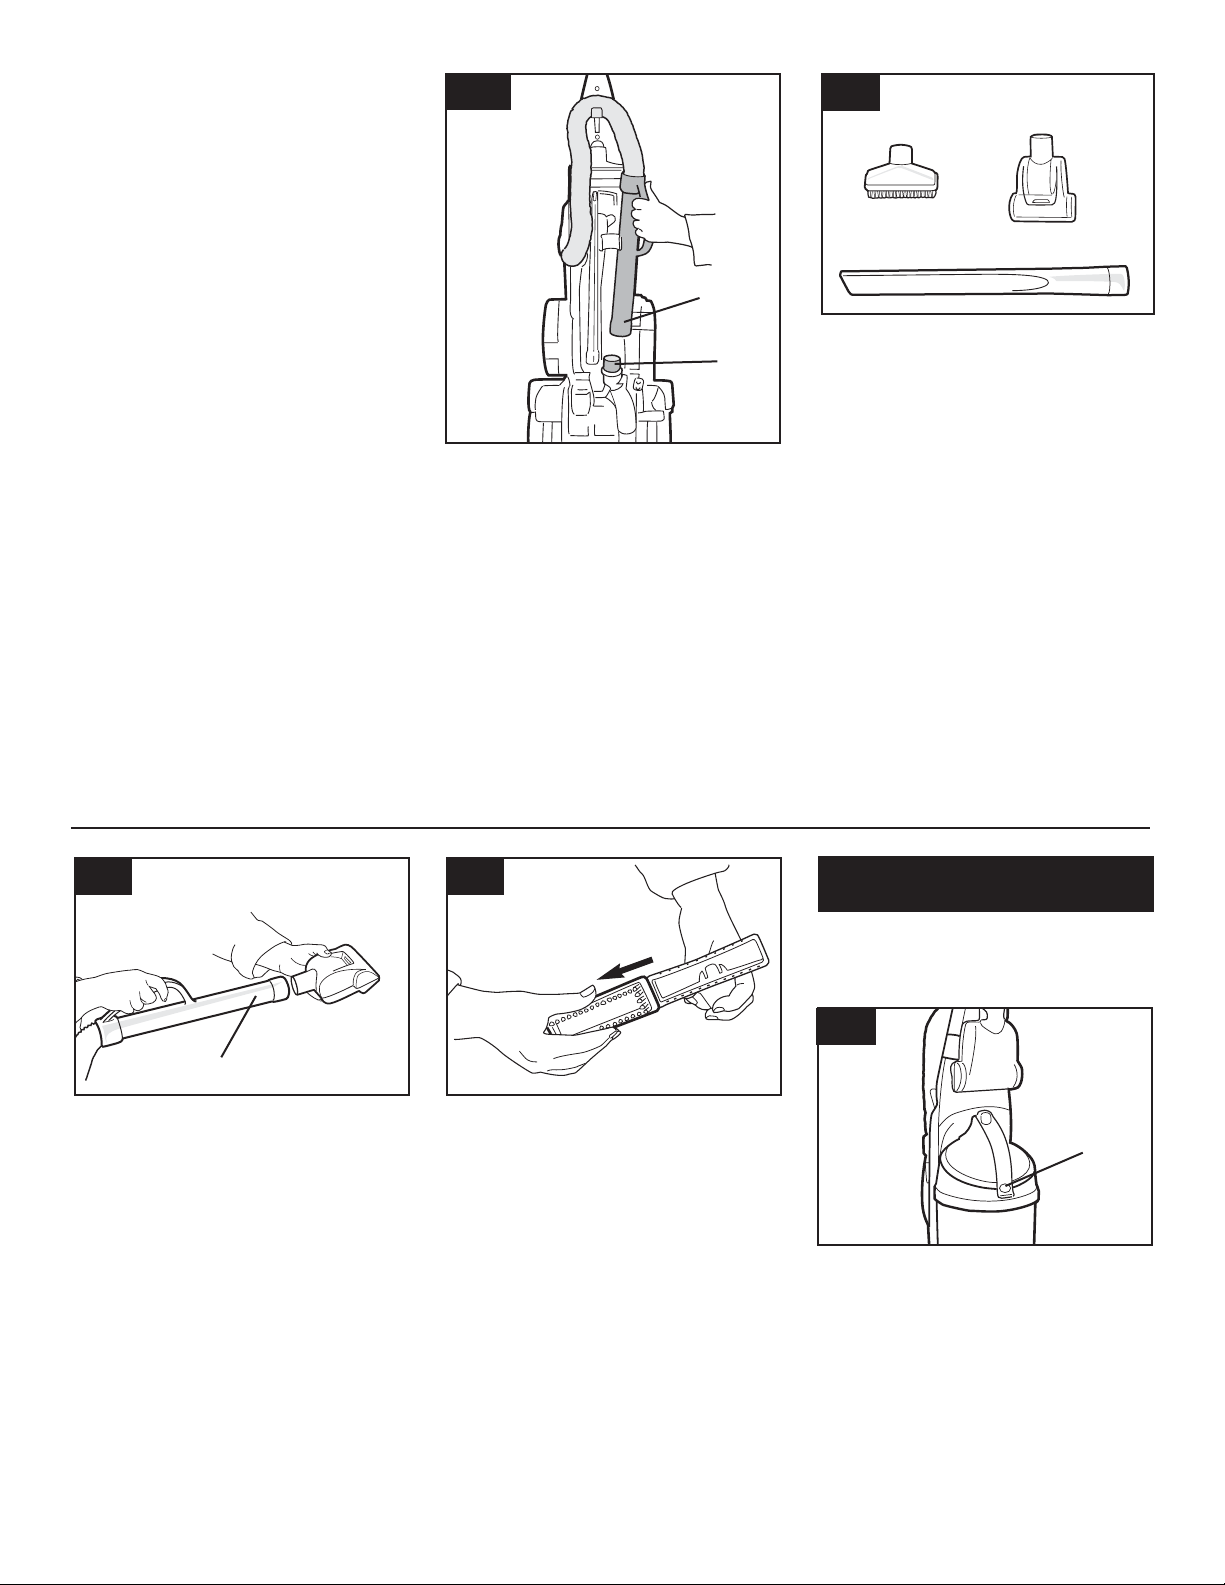
Cleaning tools
Tools allow for cleaning surfaces
above the floor and for reaching
hard to clean areas.
The cleaner is ready for tool use
when handle is in upright
position.
CAUTION: The agitator continues
to rotate while cleaner handle is
in upright position. Avoid tipping
cleaner or setting it on furniture,
fringed area rugs or carpeted
stairs during tool use.
How to clean tools
To clean the hose and powered
hand tool, wipe off dirt with a cloth
dampened in a mild detergent.
Rinse with a damp cloth. DO NOT
submerge powered hand tool in
water.
Cleaning tools may be washed in
warm water with a detergent. Rinse
and air dry before using.
2-11
B
A
Removing hose
When using cleaning tools, cleaner
handle should be in the upright
position. Also, turn cleaner OFF
before disconnecting and connecting hose to hose tube (A).
To use hose, lift hose end (B) as
shown.
When you are finished cleaning with
the tools, reposition hose end onto
tube.
2-12
C
E
D
Select proper tool
C. Combination tool use with brush
attached for carved furniture, table
tops, books, lamps, lighting fixtures,
venetian blinds, baseboards, shutters, and registers.
Remove brush to clean upholstered
furniture, draperies, mattresses,
clothing, and carpeted stairs.
D. Powered hand tool may be
used for upholstered furniture,
draperies, mattresses, clothing,
automobile interiors, and carpeted
stairs.
E. Crevice wand may be used in
tight spaces, corners and along
edges in such places as dresser
drawers, upholstered furniture,
stairs and baseboards. It can also
be used for extra reach with the
dusting brush.
2-13 2-14
F
Attach wand and tools
Attach tool to the hose (F) by pushing it firmly onto hose.
Twist wand or tool slightly to tighten
or loosen the connection.
Combination tool
Slide brush to remove.
To replace brushes, align brush with
grooves on tool. Slide brush into
place.
3. Maintenance
Familiarize yourself with these home
maintenance tasks as proper use
and care of your cleaner will ensure
continued cleaning effectiveness.
3-1
A
Air flow indicator
The indicator (A) will show yellow when
the dirt cup is full or there is a blockage or clog in the system. Turn
cleaner OFF and unplug. Check
the dirt cup and empty if necessary.
Turn cleaner back on. If the indicator
still shows yellow, follow the instructions under “Clearing blockages”.
6
3-2
MAX
3-3
B
3-4
C
D
Dirt cup
When to empty
It is recommended that the dirt cup
be emptied before the dirt reaches
the fill line (MAX), or after every use if
preferred.
CAUTION: Very fine materials,
such as face powder or cornstarch,
may seal the filter and cause loss
of suction. When using the cleaner
for this type of dust, empty the cup
and clean the filters often.
3-5
Place bottom of dirt cup in first.
Pivot cup into cleaner body.
Press dirt cup firmly until you hear a
click to ensure that it is locked in
place.
How to empty
Disconnect cleaner from electrical
outlet. Do not use the cleaner
without dirt cup or filters in place.
Press dirt cup release button (B)
and pivot cup out.
Cleaning filters
Lifetime HEPA filter
If you wish to clean this filter, it may
be removed and cleaned.
3-6
A
Holding dirt cup over trash receptacle, press dirt cup door release
rod (C) on back of dirt cup to open
dirt cup door (D).
Empty dirt cup.
Close and snap dirt cup door shut.
3-7
B
Remove the HEPA filter (B) and
brush with the combination tool to
clean or tap side of filter against a
trash receptacle. Return the HEPA
filter into the filter cavity.
3-8
D
C
R
E
T
S
L
I
Y
F
S
T
A
P
E
E
M
H
E
M
I
T
E
F
I
L
L
I
F
E
T
I
M
E
H
E
P
M
A
E
F
T
I
L
S
T
Y
E
S
R
Align tab (C) on filter cover with slot
(D). Press cover closed until you
hear a snap.
7891011
Press on the tab (A) located on the
side of the filter cover to remove.
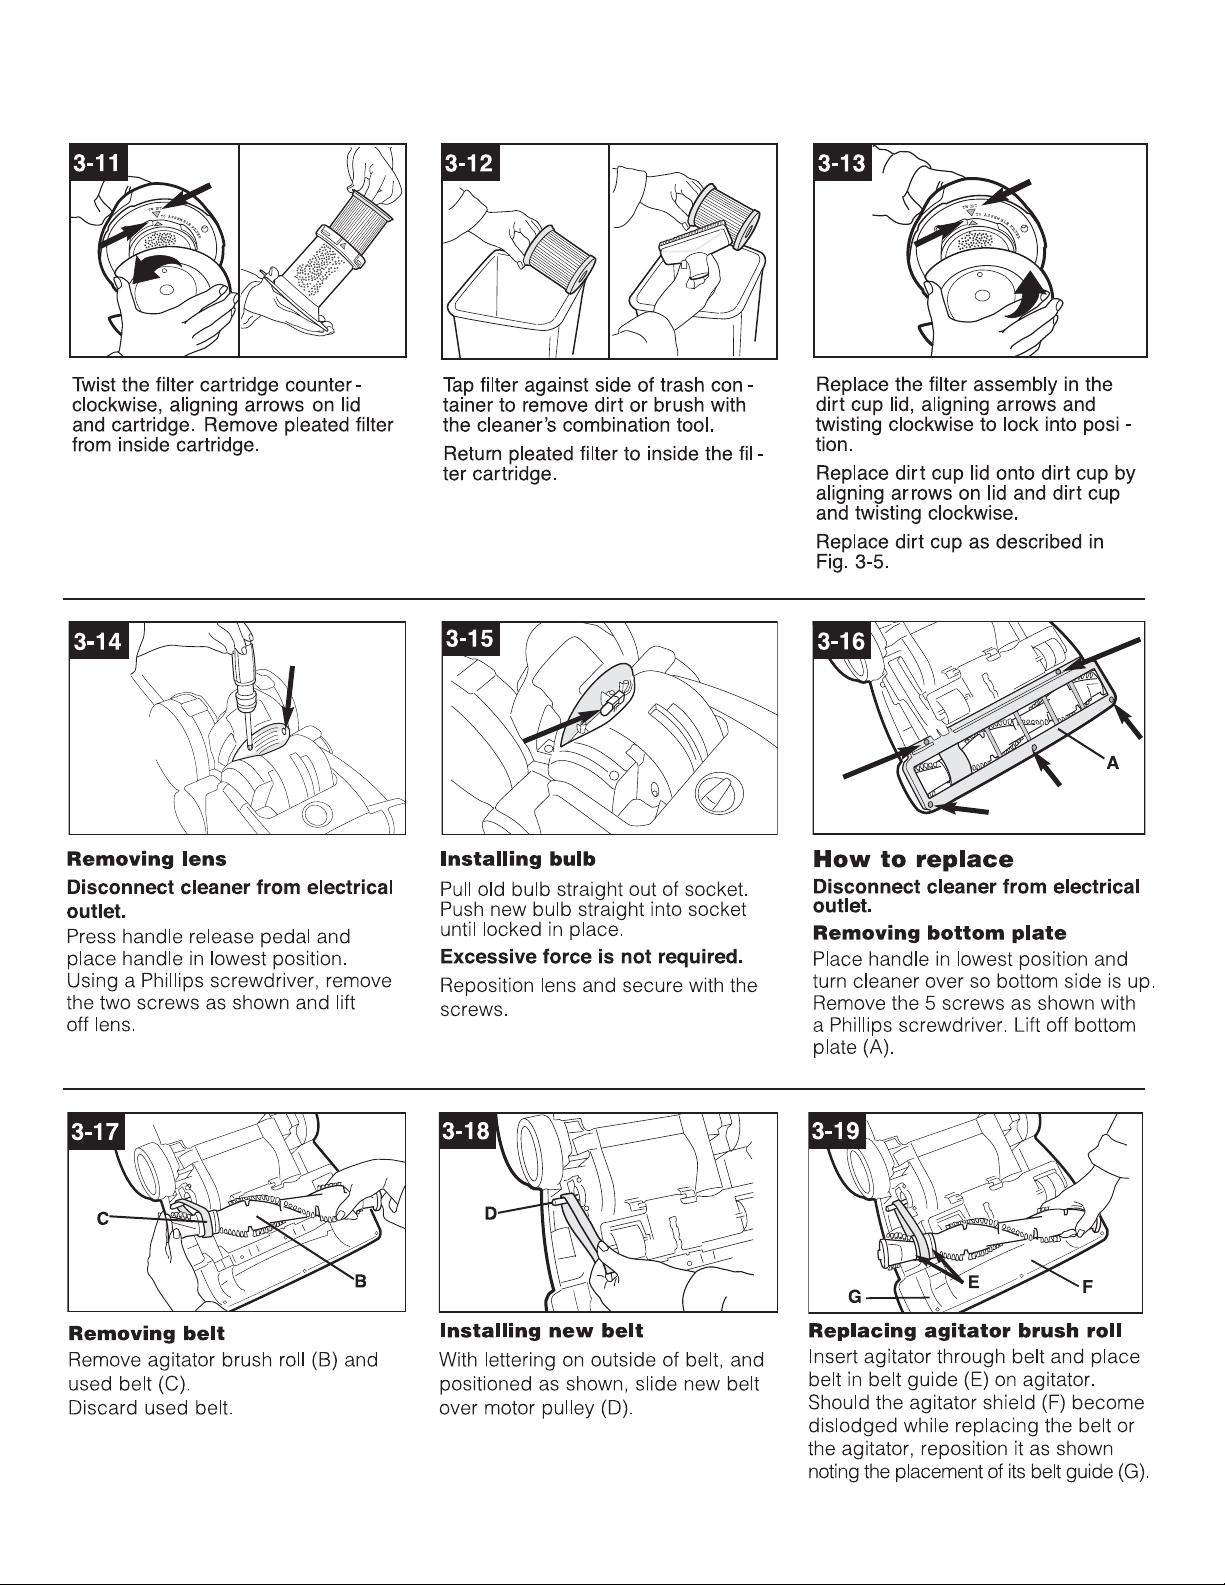
Dirt cup filter
assembly
How to clean
Disconnect cleaner from electrical
outlet. Do not use cleaner without
dirt cup or filters in place.
3-9
A
Remove dirt cup as described in
Fig. 3-3.
Twist dirt cup lid (A) counterclockwise until arrows on lid and dirt cup
align. Remove lid with filter cartridge
from dirt cup.
3-10
Dirt and debris can then be cleaned
from the filter cartridge by brushing
with the cleaner’s combination tool.
 Loading...