

Model
Language
Page
Material
Date
Part
No.
V-CQ243**/V-CQ253**/V-CQ263**/V-CQ273**
English/Arabic/Herbic
14
Weight
2006.03.06
3828FI2856R
100g
Color(cover/body)
Size(W*H)
Designer
Description
1/1
150?220(mm)
Shi
Pengfei
owner's
manual
Chage
No.
1
2
3
4
5
6
7
8
9
Record
Change
content
ECO
No.
Date
Designer
Confirm

V-CQ243S***/N***
V-CQ253S***/N***
V-CQ263S***/N***
V-CQ273S***/N***
E
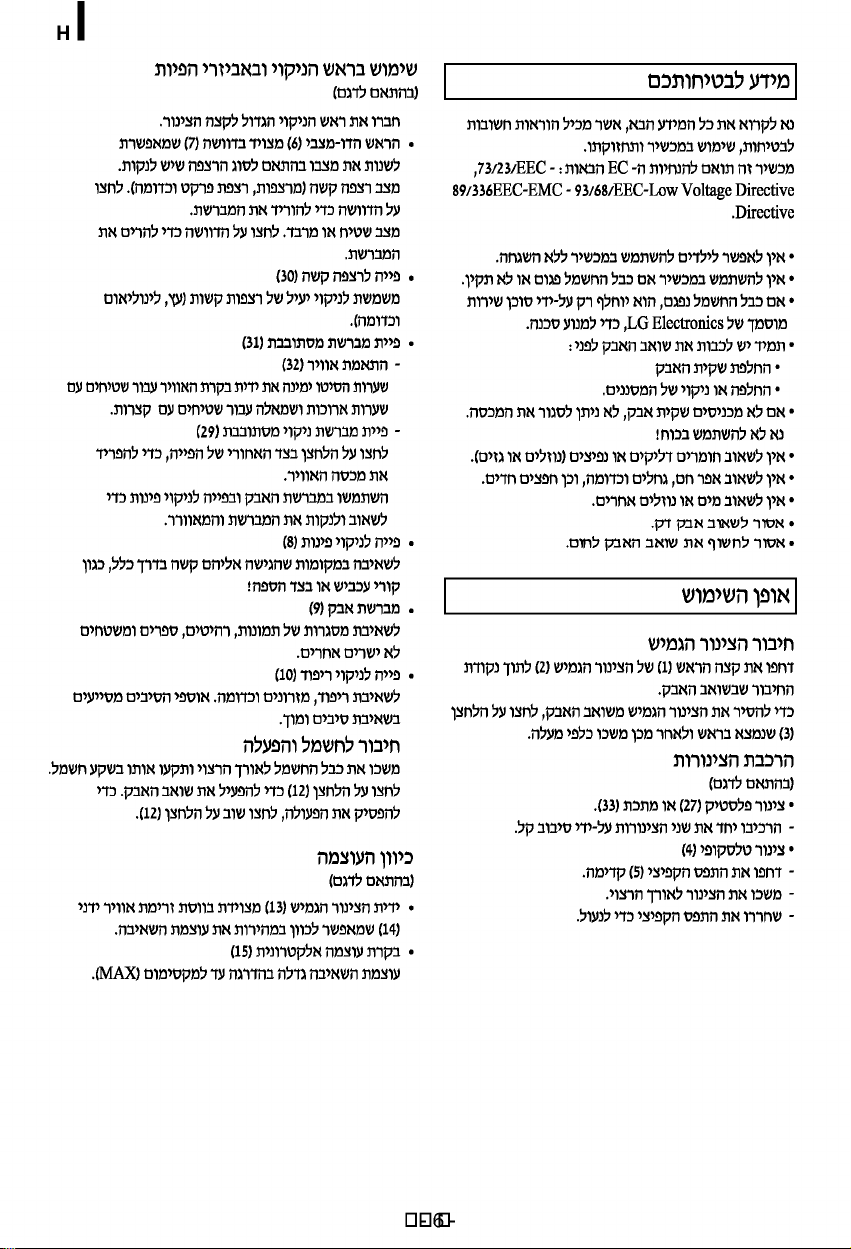
H
Hebrew
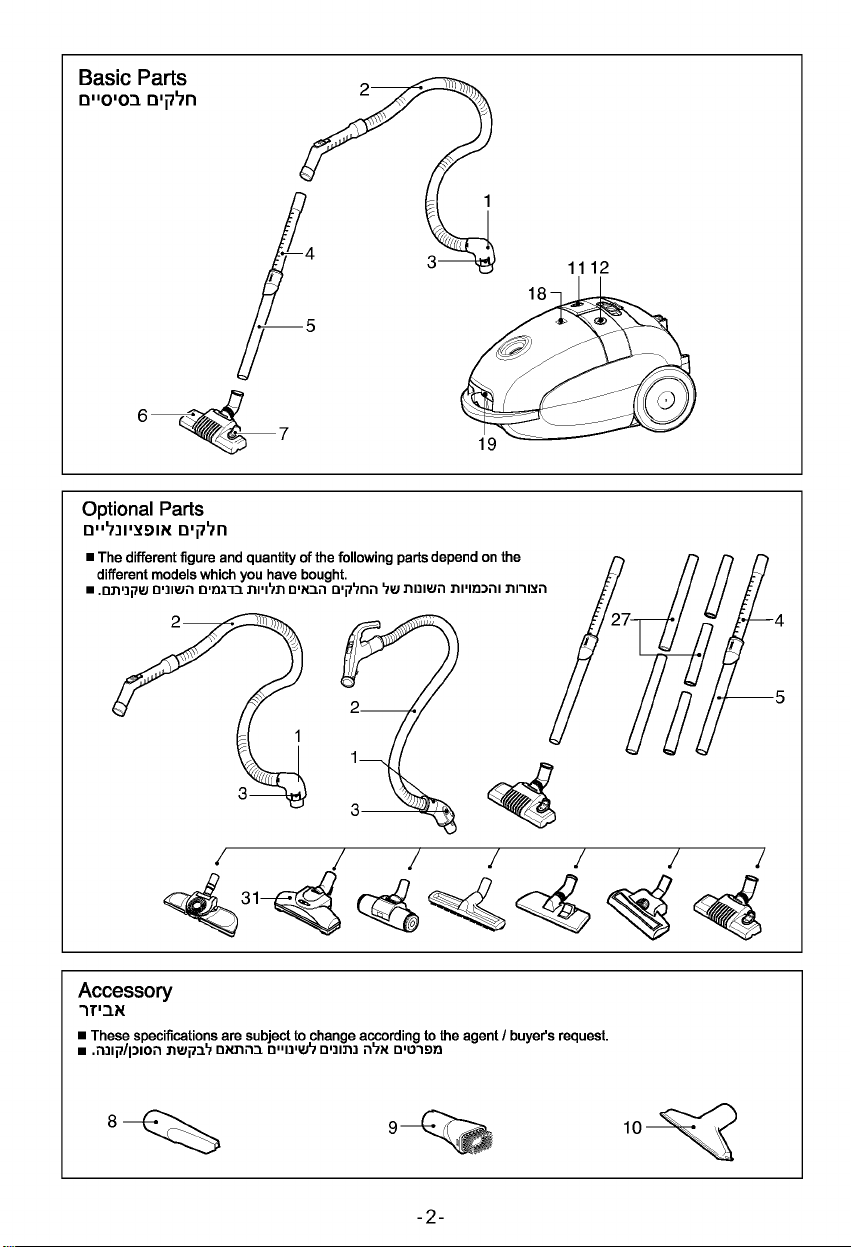
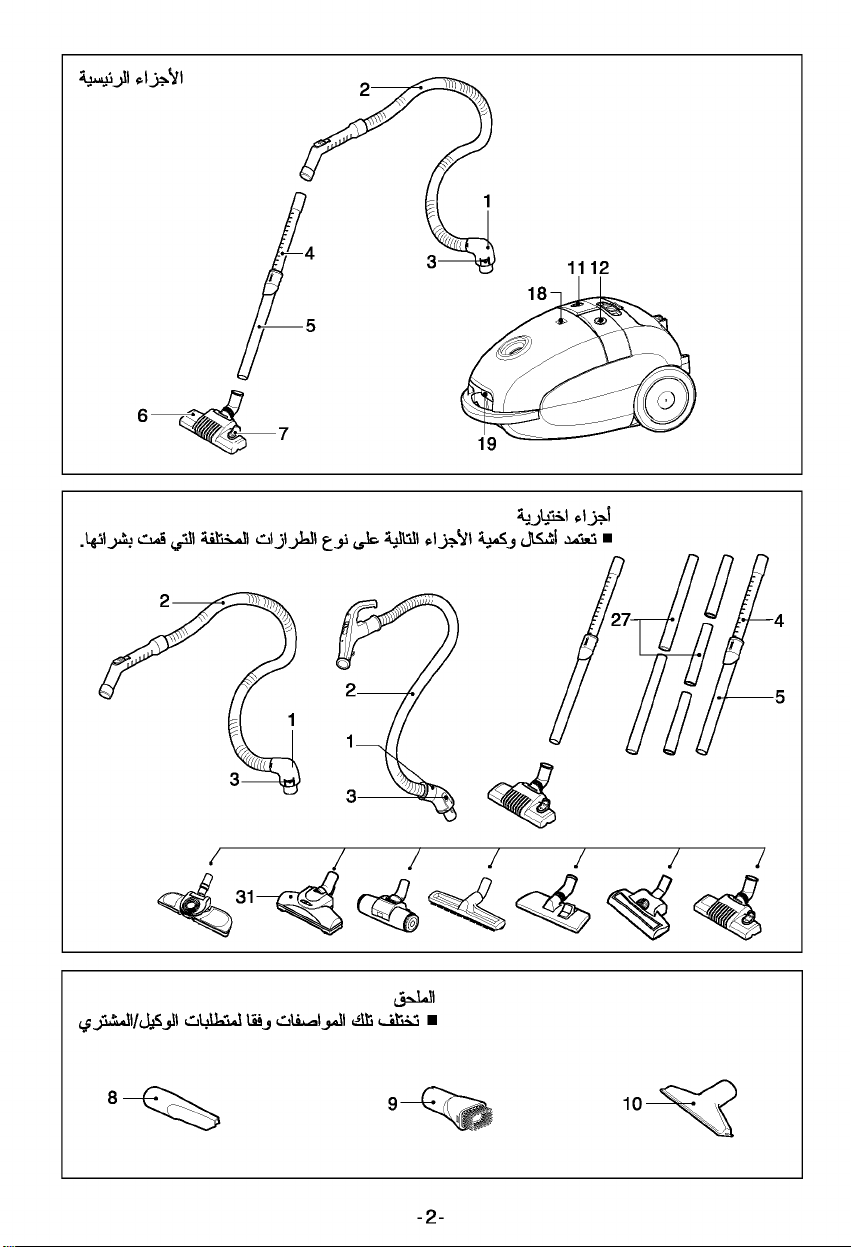
2
1
4
3
12
11
18
5
6
7
2
2
1
1
3
3
19
27
4
5
31
8
9
10
2

27,33
2
1
30
3
8
9
11
10
32
36
4
5
29
13
12
15
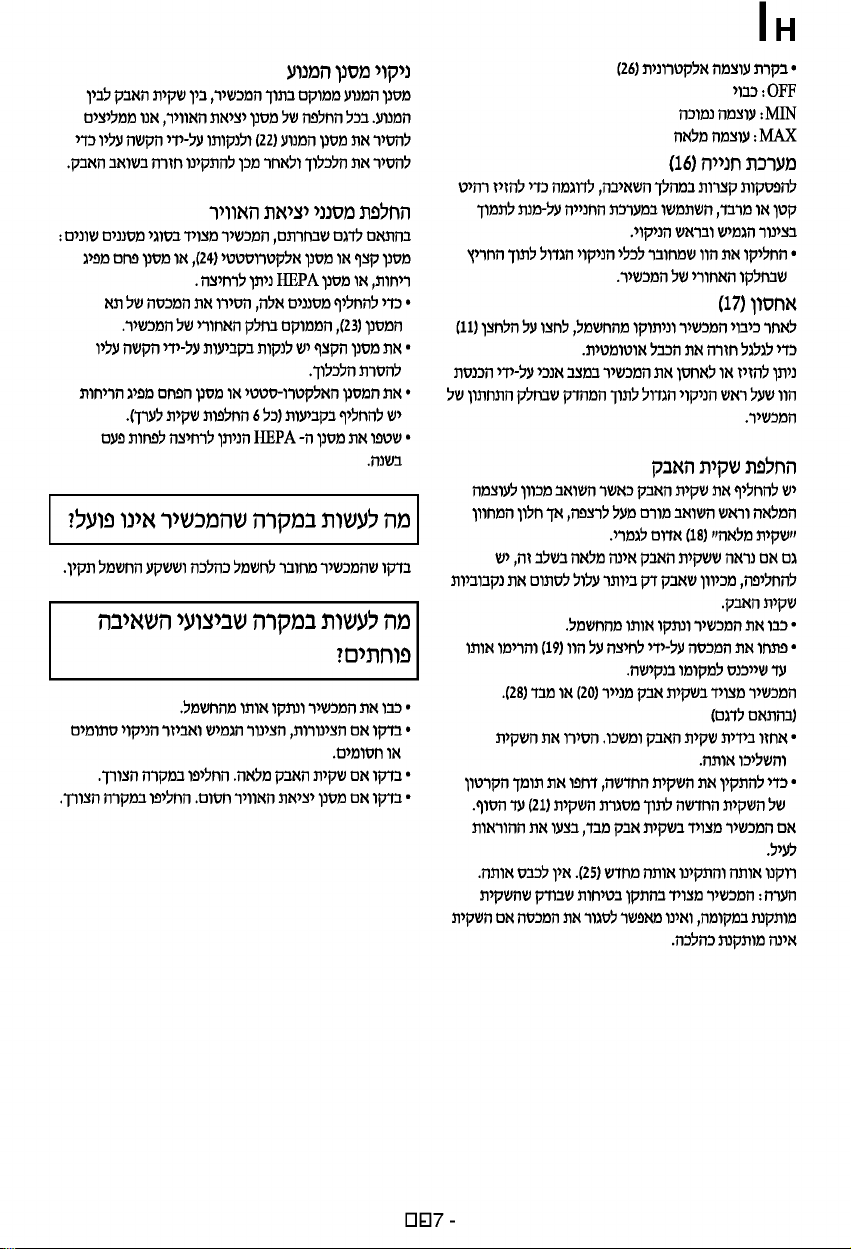
26
14
16
17
18
19
28
20
21
25
22
23
24
E
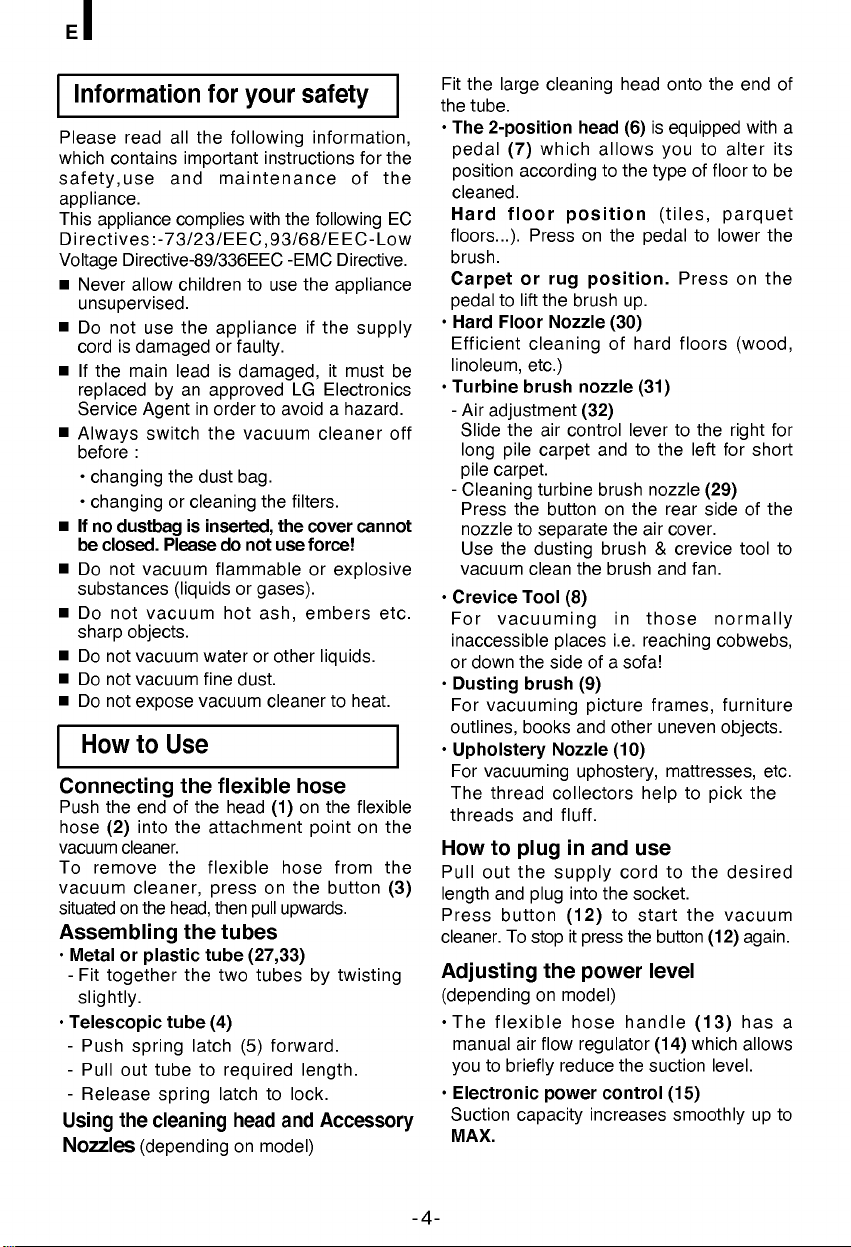
Information
Please
which
safety,use
read
contains
for
all
the
important
and
your
following
instructions
maintenance
safety
information,
appliance.
This
appliance
complies
with
the
following
Directives:-73/23/EEC,93/68/EEC-Low
Voltage
Never
Directive-89/336EEC
allow
children
-EMC
to
use
the
unsupervised.
Do
not
cord
If
replaced
Service
Always
before
?
?
If
be
Do
substances
Do
sharp
Do
Do
Do
How
Connecting
Push
hose
vacuum
To
vacuum
situatedonthe
Assembling
?
Metal
-
Fit
use
is
damaged
the
main
lead
byanapproved
Agent
switch the
:
changing
the
changingorcleaning
no
dustbag
closed.
not
Please
vacuum
(liquidsorgases).
not
vacuum
objects.
not
vacuum
not
vacuum
not
expose
to
Use
the
endofthe
into
(2)
remove
the
cleaner.
the
cleaner,
head,
or
plastic
together
the
appliance
or
faulty.
is
damaged,
in
ordertoavoidahazard.
vacuum
dust
bag.
is
inserted,
do
not
flammable
hot
water
fine
dust.
vacuum
the
flexible
head
attachment
flexible
press
then
the
tubes
tube
the
two
if
the
LG
Electronics
cleaner
the
filters.
the
cover
use
force!
or
embers
ash,
or
other
liquids.
cleanertoheat.
hose
on
the
(1)
point
hose
on
the
pull
upwards.
(27,33)
tubes
by
slightly.
?
Telescopic
-
Push
-
Pull
-
Release
Using
Nozzles
tube
(4)
latch
spring
out
the
tube
spring
cleaning
(5)
to
required
latchtolock.
head
(dependingonmodel)
forward.
length.
and
Accessory
for
of
the
Directive.
appliance
supply
it
must
cannot
explosive
etc.
flexible
on
from
button
twisting
Fit
the
the
tube.
?
The
the
EC
pedal
position
cleaned.
Hard
floors...).
brush.
Carpet
pedal
?
Hard
Efficient
linoleum,
be
?
Turbine
-
Air
off
Slide
long
pile
-
Cleaning
Press
nozzle
Use
vacuum
?
Crevice
For
inaccessible
or
down
?
Dusting
For
outlines,
?
Upholstery
For
The
the
threads
How
the
Pull
(3)
length
Press
cleaner.
Adjusting
(dependingonmodel)
?
The
manual
you
?
Electronic
Suction
MAX.
large
2-position
which
(7)
according
floor
Press
or
lift
to
the
Floor
cleaning
etc.)
brush
adjustment
the
air
pile
carpet
carpet.
turbine
the
to
separate
the
dusting
clean
Tool
vacuuming
the
brush
vacuuming
books
vacuuming
thread
and
to
plug
out
the
and
plug
button
To
stop
the
flexible
air
flow
to
briefly
power
capacity
cleaning
head
position
on
rug
position.
brush
Nozzle
nozzle
(32)
control
button
the
(8)
places
side
ofasofa!
(9)
picture
and
Nozzle
uphostery,
collectors
fluff.
in
and
supply
into
(12)
it
press
power
hose
regulator
reduce
increases
head
onto
(6)isequipped
allows
you
to
the
type
of
(tiles,
the
up.
pedal
to
Press
(30)
of
hard
floors
(31)
levertothe
andtothe
brush
on
the
the
brush&crevice
brush
in
i.e.
left
nozzle
rear
air
cover.
and
fan.
those
reaching
frames,
other
uneven
(10)
mattresses,
helptopick
use
cord
to
the
the
socket.
to
start
the
the
button
level
handle
the
control
(14)
suction
(15)
(13)
which
smoothly
the
end
with
to
alter
floortobe
parquet
lower
on
(wood,
right
for
short
(29)
sideofthe
tool
normally
cobwebs,
furniture
objects.
the
desired
vacuum
(12) again.
has
allows
level.
up
of
a
its
the
the
for
to
etc.
a
to
4

?Electronic
OFF:Power
MAX:Full
power
power
off
MIN:Low
Park-System(16)
For
short
breaks
to
move
example
or
a
rug,
the
flexible
?Slide
tool
into
the
use
hook
the
a
the
hose
and
attachedtothe
slotonthe
Park
Storage(17)
When
the
automatically
You
vertical
large
underside
Changing
The
cleaner
cleaner
indicator
red.
Evenifthe
fullatthis
very
dust
?
Turn
?Open
and
Your
paper
(dependingonmodel)
?Take
and
away.
?To
support
(21)
If
your
fabric
instructions
Empty
Note:
device
you
fitted
have
move
of
set
switched
rewind
or
by
head
the
appliance.
the
needs
to
press
store
dust
maximum
the
you
appliance,
can
position
cleaning
dustbag
is
headisoff
window(18)iscompletely
dustbag
it
stage,
fine
dust
can
bag.
off
the
appliance
the
cover
by
itupuntil
lifting
applianceisequipped
dust
bag
(20)
holdofthe
Remove
pull.
refit
a
new
of
untilitwill
bag
a
new
go
appliance
dust
it
and
as
the
which
cannot
correctly.
bag
as
above.
replace
appliance
checks
close
the
control(26)
power
during
small
vacuuming,
piece
system
cleaning
rear
of
off
the
the
cord.
your
the
sliding
into
the
bag
changing
floor
but
does
not
should
clog
dust
bag
no
up
and
pressing
it
snaps
or
a
bag
the
bag
push
into
further.
is
follow
it(25).
is
fitted
that
the
lidifthe
be
the
cloth
fitted
Do
of
to
head.
large
the
appliance.
and
unplugged
button
appliance
hook
clip
when
power
the
appear
changed,
pores
unplug
the
into
place.
with
paper
the
by
and
the
cardboard
the
bag
the
not
with
is
bag
bag
furniture
support
cleaning
(11)
in
on
on
and
full"
"bag
coloured
to
of
it.
hook(19)
either
(28)
handle
throw
mount
with
same
wash
a
safety
in
place
is
for
the
the
the
the
the
it.
not
Cleaning
The
appliance
motor.
outlet
motor
remove
vacuum
Changing
Depending
your
types
to
?To
a
of
the
?The
regularlybytapping
?
?Wash
at
least
be
What
as
does
Check
in
and
a
What
performance
it
?Stop
?Check
cleaning
?Check
if
a
necessary.
?Check
blocked.
5
the
motor
motor
filterissituated
between
Each
time
filterweadvise
the
dirt
cleaner.
on
andtoclean
and
the
air
the
model
filter(22)
the
that
then
outlet
applianceisequipped
of
filters:foam
r(24
.
these
change
the
rear
foam
the
that
that
filter
of
washable
once
to
not
the
the
to
filters
compartment(23)
the
appliance.
filter
should
it
HEPA
a
year.
if
do
your
work?
appliance
electrical
do
when
reduces?
the
that
that
that
appliance
tool
the
the
Replace
the
are
tubes,
dust
air
and
not
blocked.
bag
outlet
if
necessary.
filter
inside
dust
you
you
replacing
bag
change
to
remove
it
by
and
the
tapping
itinthe
filters
have
with
be
filter
chosen
different
the
situated
cleaned
the
with
cover
dirt.
water
you
filterorelectrostatic
remove
to
remove
appliance
is
socket
the
unplug
flexible
is
filter
correctly
not
plugged
is
working.
suction
it.
hose
full.Replace
is
not
E
the
the
air
the
to
at
and
H
-6-
H
-7-

P/No.:
http://www.lge.com/
3828FI2856R

V-CQ243S***/N***
V-CQ253S***/N***
V-CQ263S***/N***
V-CQ273S***/N***

27,33
2
1
30
3
8
9
11
16 17
10
32
4
5
29
36
13
12
26
14
18
15
19
28
20
21
25
22
23
24

4

-5-

P/No.:
http://www.lge.com/
3828FI2856R
 Loading...