

Page 1
Model
Language
Page
Material
Date
Part No.
V-C36***
English/Russia
9
Weight 100g
2006.10.09
3828FI3818B
Color(cover/body)
Size(W*H)
Designer
Description
1/1
150×220(mm)
Shi Pengfei
owner's manual
Chage Record
No. Date
1 add the model name ACTT701657 2007.03.03 shipengfei Lijuan
2
3
4
5
6
7
8
9
Change content
ECO No.
Designer
Confirm
Page 2
Рyсский язык
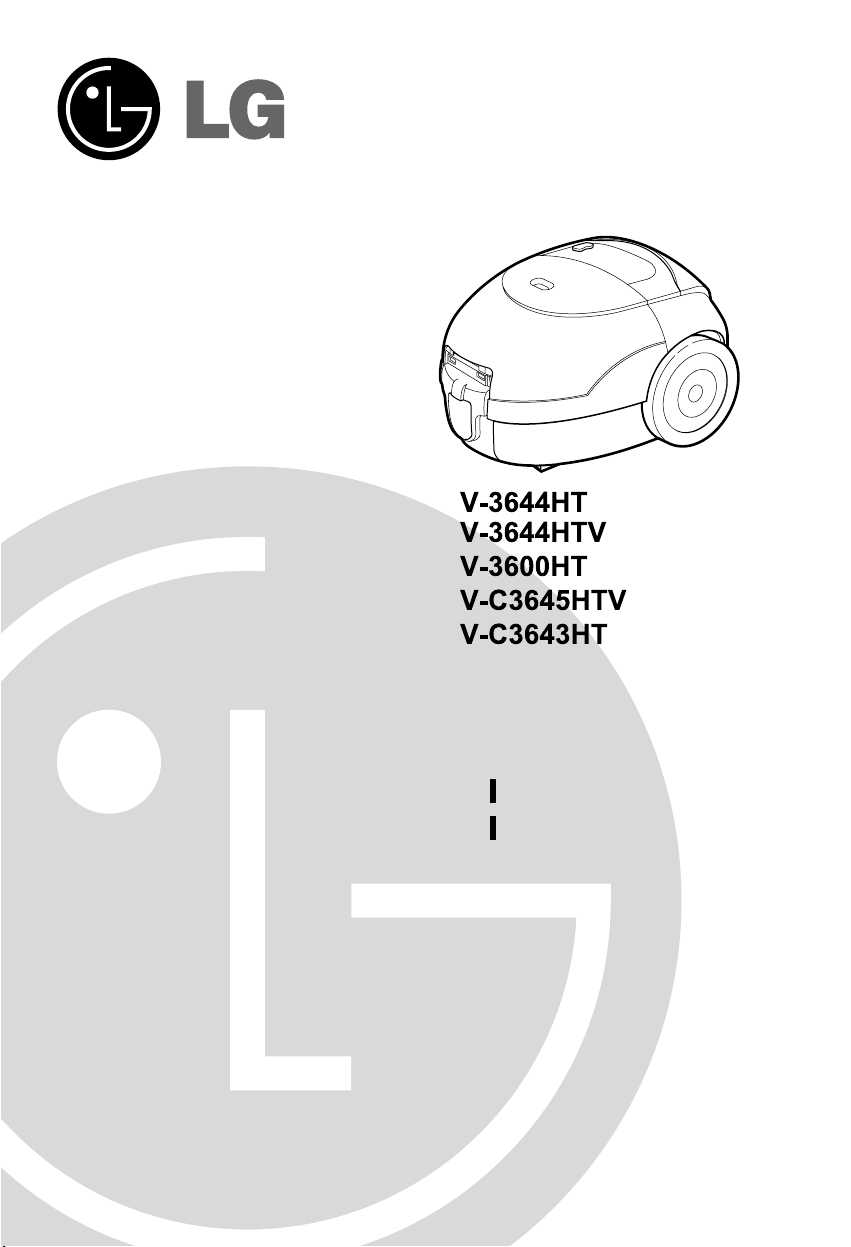
V-C3644HT
V-C3655HTQ
V-C3656HTU
E English
P
Page 3

10
2
15
9
(OPTION)
3 1
4
4
4
3
1
5
7
6
5
5
7
6
6
2
4
4
5
7
8
21
22
Powerful Turbine Brush
(Applied model: V-C3656HTU)
8
Air control lever
Open
Open
2
1
Top
Bottom
20
23
- 2 -
Page 4

– 3 –
17
min
max
15
16
14
18
11
17
12
12
9
10
13
19
Page 5

– 4 –
Please read all the following
information, which contains important
instructions for the safety, the use and
the maintenance of the appliance.
This appliance complies with the
following EC Directives: -73/23/EEC,
93/68/EEC-Low Voltage Directive89/336EEC -EMC Directive.
■ Never allow children to use the
appliance unsupervised.
■ Do not use the appliance If the
supply cord is damaged or faulty.
■ If the supply cord is damaged, it must
be replaced by an approved LG
Electronics Service Agent as special
tools are needed to repair it.
■ Always switch the vacuum cleaner off
before :
• changing the dust bag
• changing or cleaning the filters.
■ If no dustbag is inserted, the cover
cannot be closed. Please do not use
force!
■ Do not vacuum flammable or
explosive substances
(liquids or gases).
■ Do not vacuum hot ash, embers etc.
nor sharp objects.
■ Do not vacuum water or other liquids.
■ Please make sure when using the
carrying starp that it is securely fitted.
■ The use of radio trans mitting devices
close to the appliance may interfere
the function of the appliance, input
power may be vary.
■ When you vacuum with an
attachment appliance that has a
rotating brush roller:
• do not reach into the running brush
roller.
Connecting the flexible hose
Insert the hose holder (1) into the
suction opening.
When the hose (2) is to be
disconnected from the appliance, press
the release button (3) and pull the hose
holder out of the suction opening.
Assembling the tubes
• Telescopic tube (4)
- Hold spring latch (5)
- Pull out the tube to required length.
- Release spring latch to lock.
Using the cleaning head and
Accessory Nozzles
Fit the large cleaning head onto the end
of the tube.
• The 2 position head (6) is equipped
with a pedal (7) which allows you to
alter its position according to the type
of floor to be cleaned.
Hard floor position(tiles, parquet
floors...). slide on the lever to lower
the brush.
Carpet or rug position. slide on the
lever to lift brush up.
• Crevice Tool (8)
For vacuuming in those normally
inaccess- ible places i.e. reaching
cobwebs, or down the side of a sofa!
• Upholstery Nozzle (9)
For vacuuming upholstery,
mattresses, etc. The thread collectors
help to pick up the threads and fluff.
• Dusting brush (10)
For vacuuming picture frames
furniture outlines, books and other
uneven objects.
How to plug in and use
Pull out the mains lead to the desired
length and plug into the socket.
Information for your safety How to Use
E
Page 6

Adjusting the power level
• Electronic power control (11)
Suction capacity increases steplessly up
to MAX.
String the cleaner
When you have switched off and
unplugged the appliance, press on the
button (19) to automatically rewind the
cord.(depending on model)
• Use storage clip as shown when
storing the cleaner (12)
Changing the dust bag
The dustbag needs changing when the
cleaner is set to maximum power and
the cleaner head is off the floor but the
“ bag full” indicator window (13) is
completely coloured red.
Even if the dustbag does not appear to
be full at this stage, it should be
changed.
It could be that a great deal of very fine
dust has clogged up the pores of the
dust bag.
• Turn off the appliance and unplug it.
• Remove hose.
• Open the cover (14)
Your appliance is equipped with either a
paper dust bag or a fabric dust bag (15)
• Push the lever forwards in the
direction of the arrow the full paper
filter bag towards the rear. Remove
the bag and throw it away.
•
Insert the new paper filter bag into the unit
with the arrow pointing downwards
If your appliance is fitted with a
dust bag, empty it and replace it.
Note: as the appliance is fitted with a
safety device which checks that the bag
is in place you cannot close the lid if the
bag is not fitted correctly.
Cleaning the motor filter
The motor filter is situated inside the
appliance between the dust bag and
the motor. Each time that you change
the air outlet filter we advise you to
remove the motor filter (18) and to
clean it by tapping to remove the dirt
and then replacing it in the vacuum
cleaner.
(17)
• The working life of this set is 7 years
since the date of delivery to the
consumer. Upon the expiry of the said
period, it might be unsuitable for the
use according to their destination.
• Turbine brush nozzle (20)
- Air adjustment
: use for hard floor & short type carpet.
: carpet use for long type carpet.
-
Cleaning turbine brush nozzle
Press the button on the rear side of the
nozzle to separate the air cover.
Use the dusting brush & crevice tool to
vacuum clean the brush and fan.
21
What to do if your appliance
does not work
Check that the appliance is correctly
plugged in and that the electrical socket
is working.
What to do when the suction
performance reduces?
• Stop the appliance and unplug it.
• Check that the tubes, flexible hose
and cleaning tool are not blocked.
• Check that the dust bag is not full.
Replace it if necessary.
• Check that the air outlet filter is not
blocked. Replace it if necessary.
- 5 -
E
22
23
Page 7

– 6 –
Внимательно прочитайте все инструкции о
мерах предосторожности, использованию
и уходу за пылесосом.
Пылесос соответствует следующим
стандартам
ЕС:-73/23/ЕЕС, 93/68/ЕЕС-Low Voltage
Directive-89/336EEC-EMC Directive.
■ Не разрешайте детям пользоваться
пылесосом без присмотра взрослых.
■ Не пользуйтесь пылесосом при
поврежденном шнуре питания.
■ Если шнур питания поврежден его
может заменить только работник
службы сервиса LG Electronics, так как
для этого требуются специальные
инструменты.
■ Всегда выключайте пылесос,
прежде чем:
• Заменять мешок для пыли
• Заменять или чистить фильтры.
■ Если мешок отсутствует, крышка
пылесоса не закроется. Не применяйте
силу!
■ Запрещается всасывать пылесосом
горючие и взрывчатые вещества
(жидкости или газы).
■ Запрещается всасывать пылесосом
горячий пепел, угольки и т.п., а также
острые предметы.
■ Запрещается всасывать пылесосом
воду и другие жидкости.
■ Обязательно убедитесь, что ремень для
переноски надежно закреппен.
■ При использовании насадки с
вращающейся щеткой:
•Не допускайте попадания рук и
подручных предметов в работающую
щетку.
Подсоединение гибкого шланга
Вставьте наконечник (1) шланга во
всасывающее отверстие пылесоса.
Чтобы отсоединить шланг (2), нажмите
кнопку (3) и вытяните его наконечник из
всасывающего отверстия.
СОЕДИНЕНИЕ ТРУБОК
• Телескопическая трубка (4)
• Нажмите на пружинную защелку (5)
• Вытяните трубку на требуемую длину.
• Отпустите пружинную защелку, чтобы
зафиксировать трубку.
Использование чистящей насадки
для пола и дополнительных насадк
Присоедините большую чистящую головку
к концу трубки пылесоса.
• Двухпозиционная насадка (6) снабжена
педалью (7), которая позволяет менять
положение насадки в зависимости от
типа пола.
Твердые полы (кафель, паркет...)
Передвиньте рычаг, чтобы опустить
щетку.
Ковры. Передвиньте рычаг, чтобы
поднять щетку.
• Щетка для щелей (8)
Для уборки в труднодоступных местах,
например, паутины в углах или под
диваном.
• Щетка для мебели (9)
Для чистки обивки, матрасов и т.п.
Щетки для ниток удобны для уборки
ниток и ворсинок.
• Щетка для пыли (10)
Для читки рам картин, краев мебели,
книг и других неровных предметов.
Включение и использование
пылесоса
Вытяните щнур питания на требуемую
длину и включите его в розетку.
Меры предосторожности Использование пылесоса
P
Page 8

P
Page 9

P/No.: 3828FI3811B
 Loading...