How it Works
Log In / Sign Up
Buy Points
How it Works
FAQ
Contact Us
Questions and Suggestions
Users
LG
Loading...
V
V9442QP1M
2
V9631QP1M
2
V9632QP2M
4
V9652QP2M
4
V9700
V9720CMZ
V9722W
V9731CP1Z
2
V9732CP1Z
6
V9732CP2Z
4
V9732CSZ
V9742QP2M
6
V9800
V9822QW1M
V9830CP1Z
6
V9842CP1Z
V9842QP1M
V9842QP2M
7
V9850
V9851QP1M
2
V9852QSM
3
V9900
2
V9910
V9960
V9WD107H2S
2
V9WD960
2
V9WD96H2
2
VA123CL
2
VA123HL
2
VA183CL
VA243HL
vantage 830
VB-14450HTS
VB-20420HTS
VB-20425HRF
VB-20460HBL
VB-20700HRF
2
VB-20701HRF
VB-22480HRF
VB-22480HTS
VB2316NST
2
VB2320NST
4
VB2714NT
VB2715NNTN
VB2715NRT
VB2716NND
2
VB2716NNDN
VB2716NRD
VB2716NRT
VB2716NRTQ
VB-2717 NRT
VB2717NRTN
VB-2717 NRTR
VB2718NNDN
VB-2718 NNT
VB2718RT
2
VB-2781NRT
VB-4220HPL
2
VB-5220HRF
VB-5220HTS
VB6420NHT
VB-7120HPL
VB-7120HRF
VB-7120HTS
VB7820CEU
VB7820NHT
2
VB7821NHT
VB-8120HRF
2
VB-8120HTS
VB-8320HRF
VB-8520HRF
VB-8520HTS
VB8607NCAG
VB-8720HBK
VB-9000RF
VB-9000RFW
VB9820NHT
VC100
6
VC100P
4
VC1014GNT
VC1014GSTVQ
VC-2982W
2
VC-401N
2
VC-403N
2
VC-405N
Vc-4351
2
VC-4916 NNTQ
2
VC-4918NNT
3
VC-4918 NNTVB
VC-4918 NNTVG
VC-4920 NHTQS
VC-4920 NNTQ
4
VC-4920 NRT
VC-600KW
VC-600W
VC-9062CV
VC-9064V
VC 9083 CL
3
VC 9093 S
VC 9202 CV
3
Loading...
Loading...
Nothing found
VB-8120HRF
User Guide
21 pgs
5.72 Mb
0
User Guide [fa]
32 pgs
12.95 Mb
0
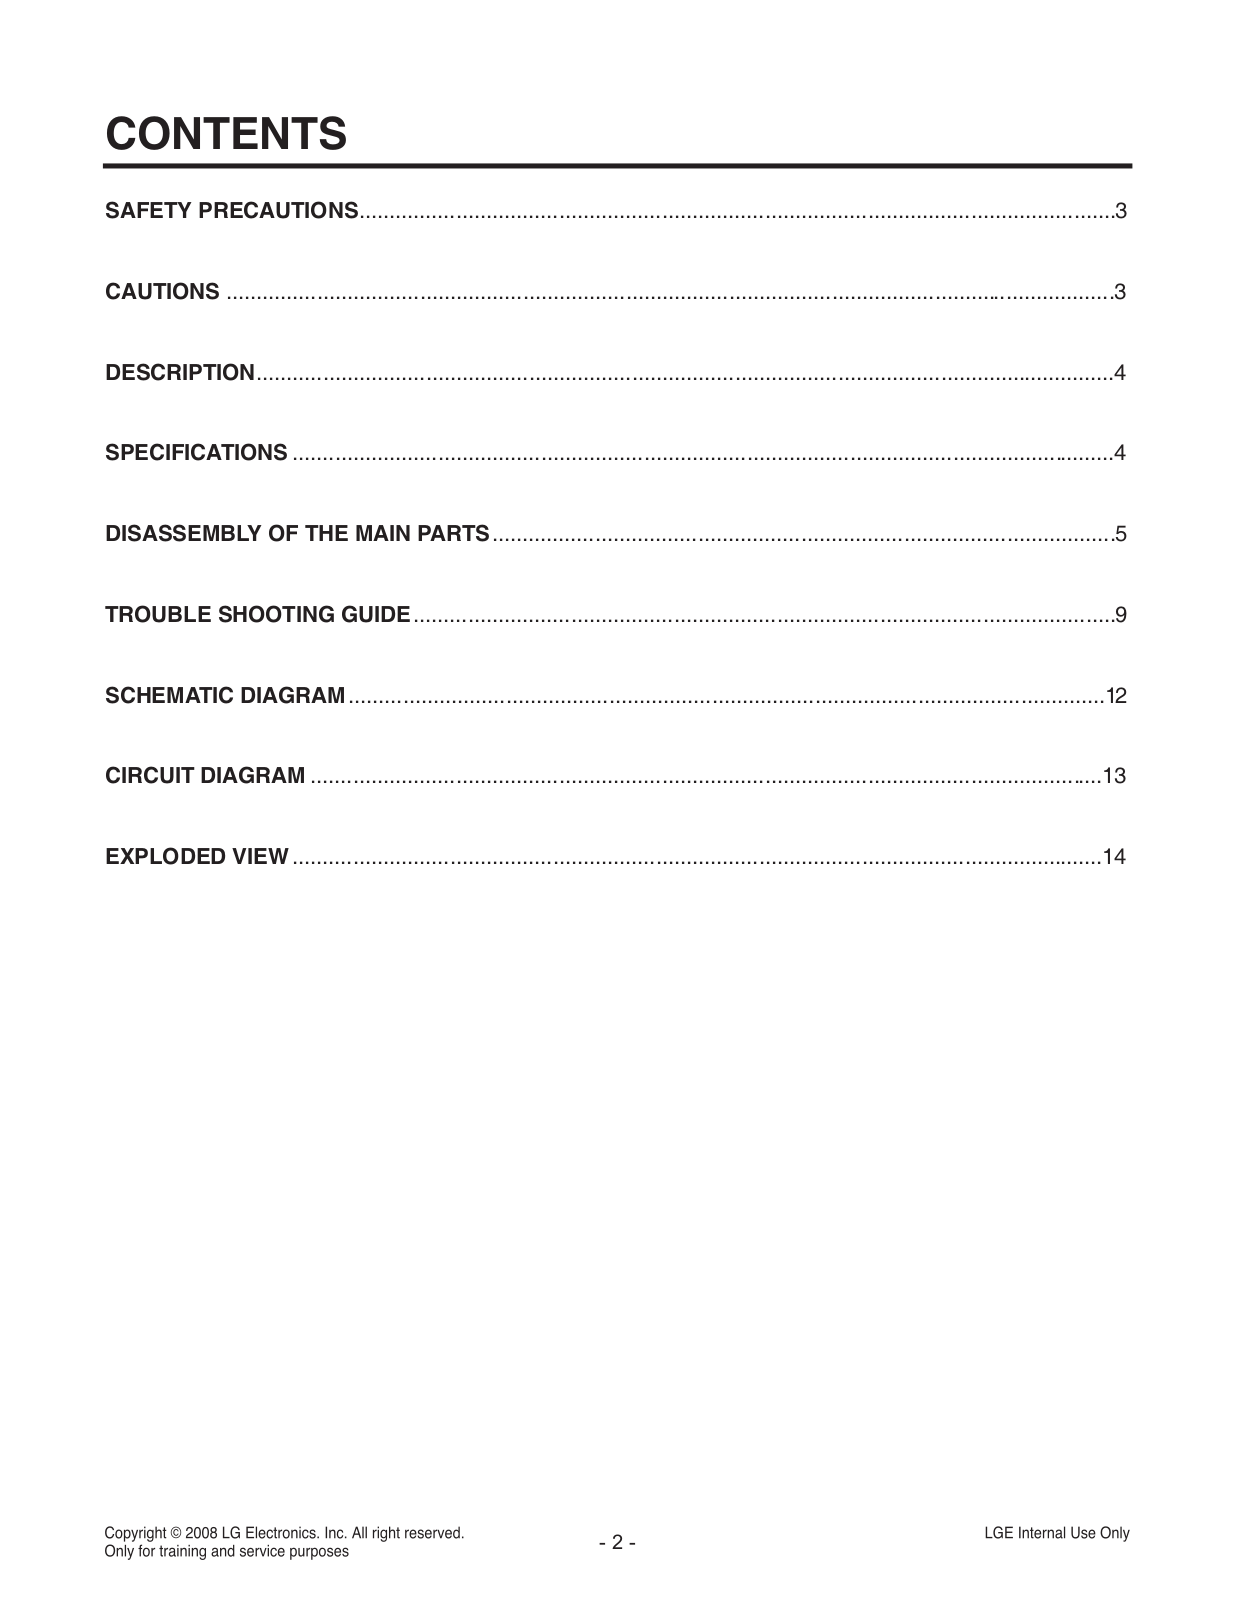
Table of contents
Loading...
LG VB-8120HRF User Guide
...
LG User Guide
Download
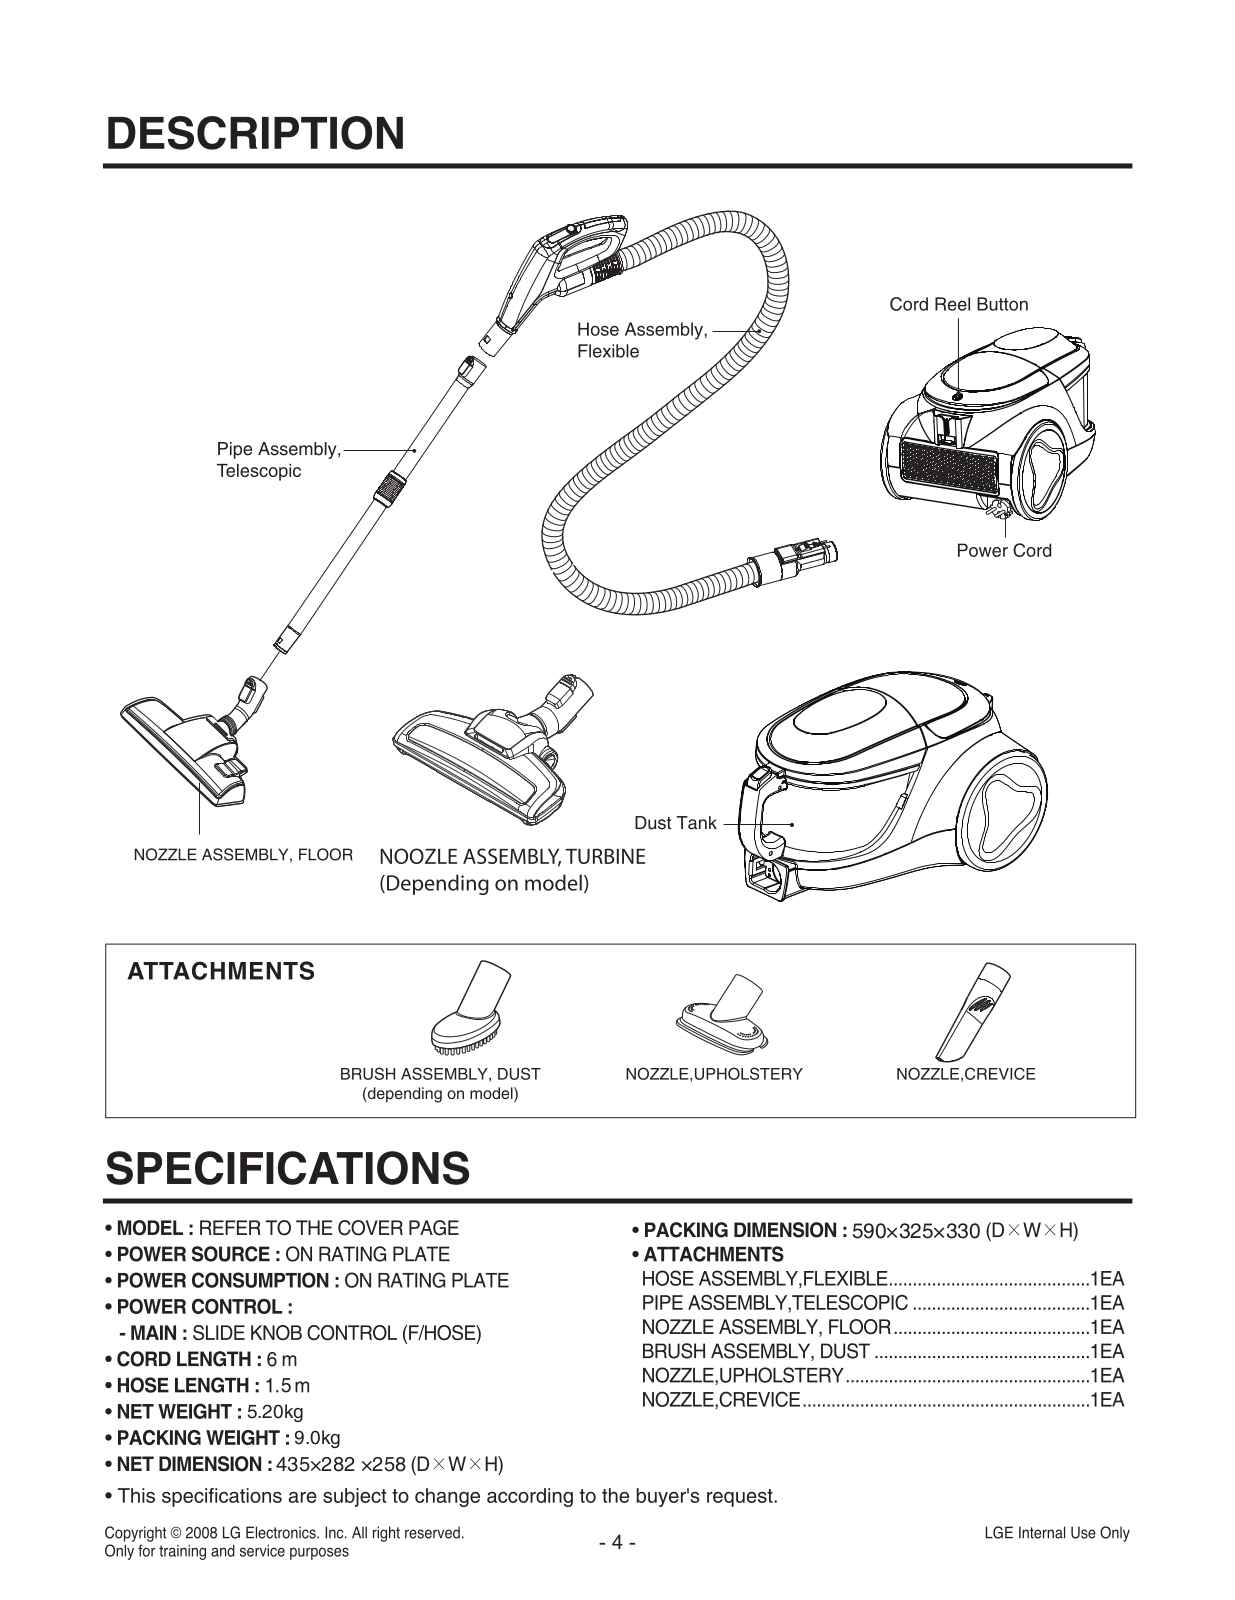
Specifications and Main Features
Frequently Asked Questions
User Manual
Download
Loading...
+
hidden pages
Unhide
You need points to download manuals.
1 point = 1 manual.
You can buy points or you can get point for every manual you upload.
Buy points
Upload your manuals
 Loading...