

Page 1
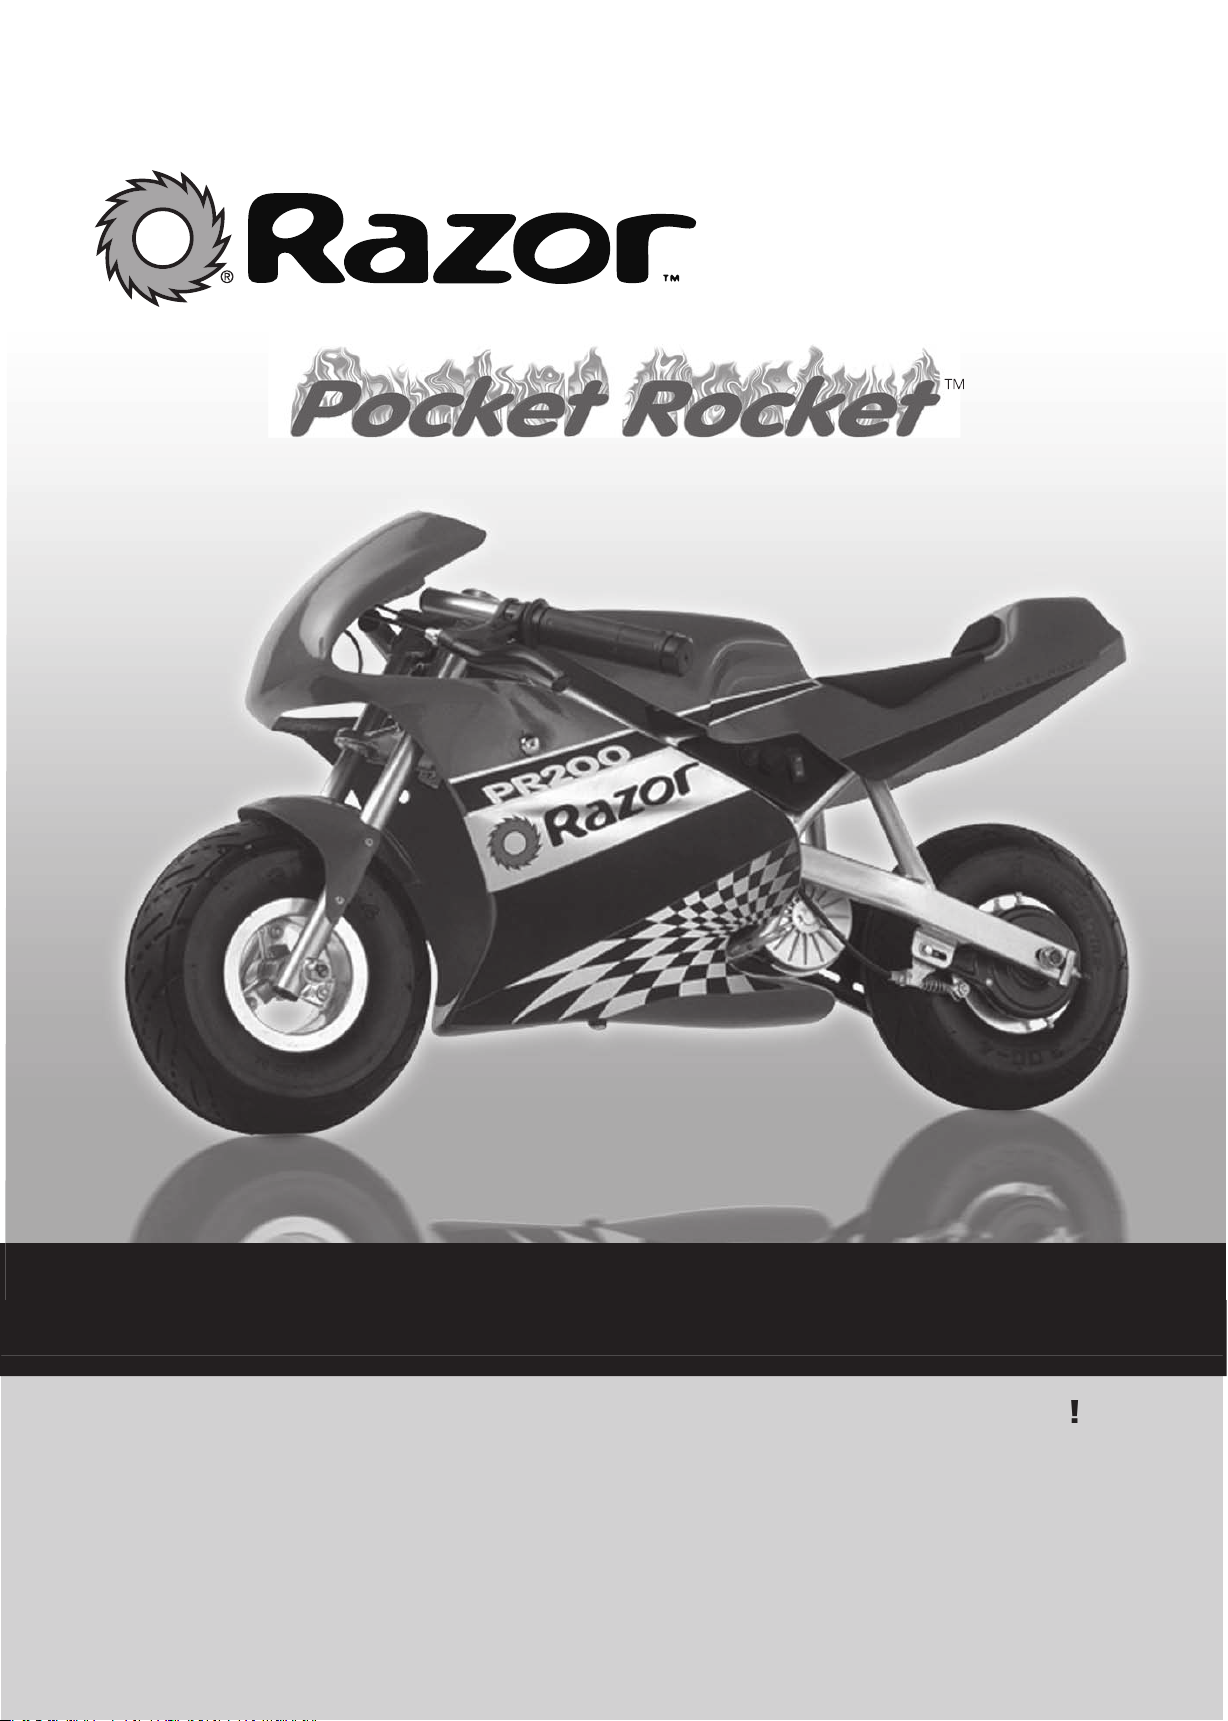
OWNER’S MANUAL
TM
Page 2

WARNING:
can eliminate. If such things occur you can be seriously injured or die, even
when using safety equipment and other precautions.
This manual contains many warnings and cautions concerning the
consequences of failing to maintain, inspect or properly use your electric
APPROPRIATE RIDER USE AND PARENTAL SUPERVISION
This manual contains important safety information. It is your responsibility to
cautions, instructions
and safety topics and assure that young riders are able
to safely and responsibly use this product. Razor USA recommends that you
The recommended rider age of 12 years
affected by the rider’s size, weight or skills. Any rider unable to fi t comfortably
A parent’s decision to allow his or her child to ride this product
should be based on the child’s maturity, skill and ability to follow
comfortable and competent while operating the vehicle.
when in
ACCEPTABLE RIDING PRACTICES AND CONDITIONS
Always check and obey any local laws or regulations which may
affect the locations where the Pocket Rocket may be used.
wheel or force you to swerve suddenly or lose control. Be careful to avoid
The Pocket Rocket is meant to be used only in controlled environments free
your electric motorbike in any areas where pedestrian or vehicle traffi c is
This bike was manufactured for performance and durability but is not
and damage any product, including the electric motorbike. The rider assumes
all risks associated with high-stress activity.
aggressive riding activities.
The Pocket Rocket is intended for use on dry surfaces such as pavement or
fl at, level ground without loose debris such as rocks or gravel.
Wet, slick,
Always wear proper protective equipment such as an approved safety helmet
(with chin strap securely buckled), elbow pads and kneepads. A helmet may
(lace-up shoes with rubber soles), never drive barefooted or in sandals,
and keep shoelaces tied and out of the way of the wheels, motor and drive
The charger supplied with the electric motorbike should be regularly
The charger is not a toy.
Always disconnect from the charger prior to wiping down and
cleaning your
WARNINGS INCREASES RISK OF SERIOUS INJURY. USE WITH
APPROPRIATE CAUTION AND SERIOUS ATTENTION TO SAFE
SAFETY WARNINGS
Warnings
.................................................................................
Assembly and Set-Up
3-4
.................................................................
4
Troubleshooting Guide
7-8
Parts
.......................................................................
Warranty Information
........................................................................
CONTENTS
Page 3
there should not be any problems, even if the box has a few scars or dents.
Allow up to 30 minutes for assembly, not including initial charge time.
Allow up to 12 hours for initial charge (see page 3 for charging information).
BEFORE YOU BEGIN
WARNING:
for the fi rst time until you have
your warranty.
NON-RAZOR
the time of sale was selected
with the frame, fork and all
tools only as a last resort.
our web site
for updates and a list of authorized service centers
at
www.razor.com
t
866-467-2967
PM
Pacifi c
T
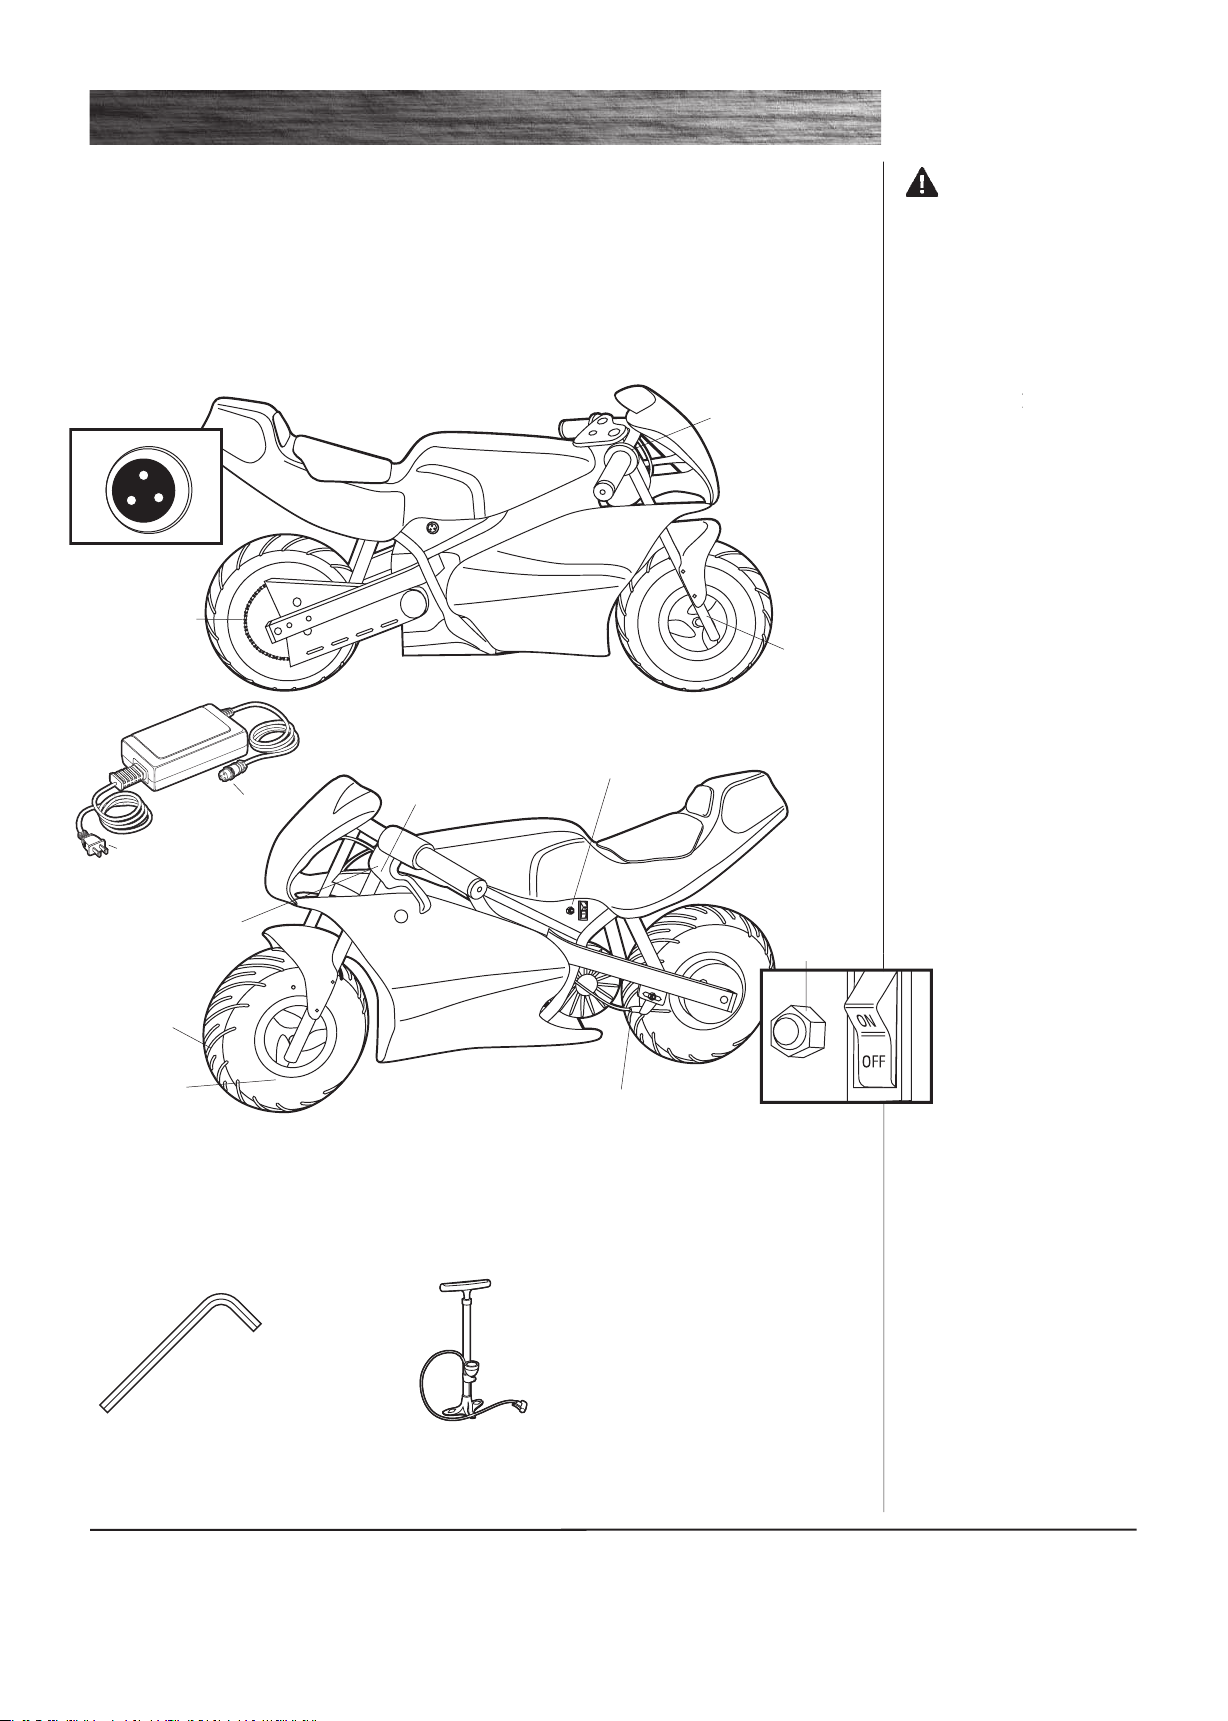
4mm and 5mm
wrenches
(included)
Adjuster
Wheel
Tire
Adjuster
Page 4
3
ASSEMBLY AND SET-UP
to allow the bar to pivot on
the fork.
wrench, tighten both the left
wise.
When properly tightened,
the handlebars cannot be
twisted out of alignment.
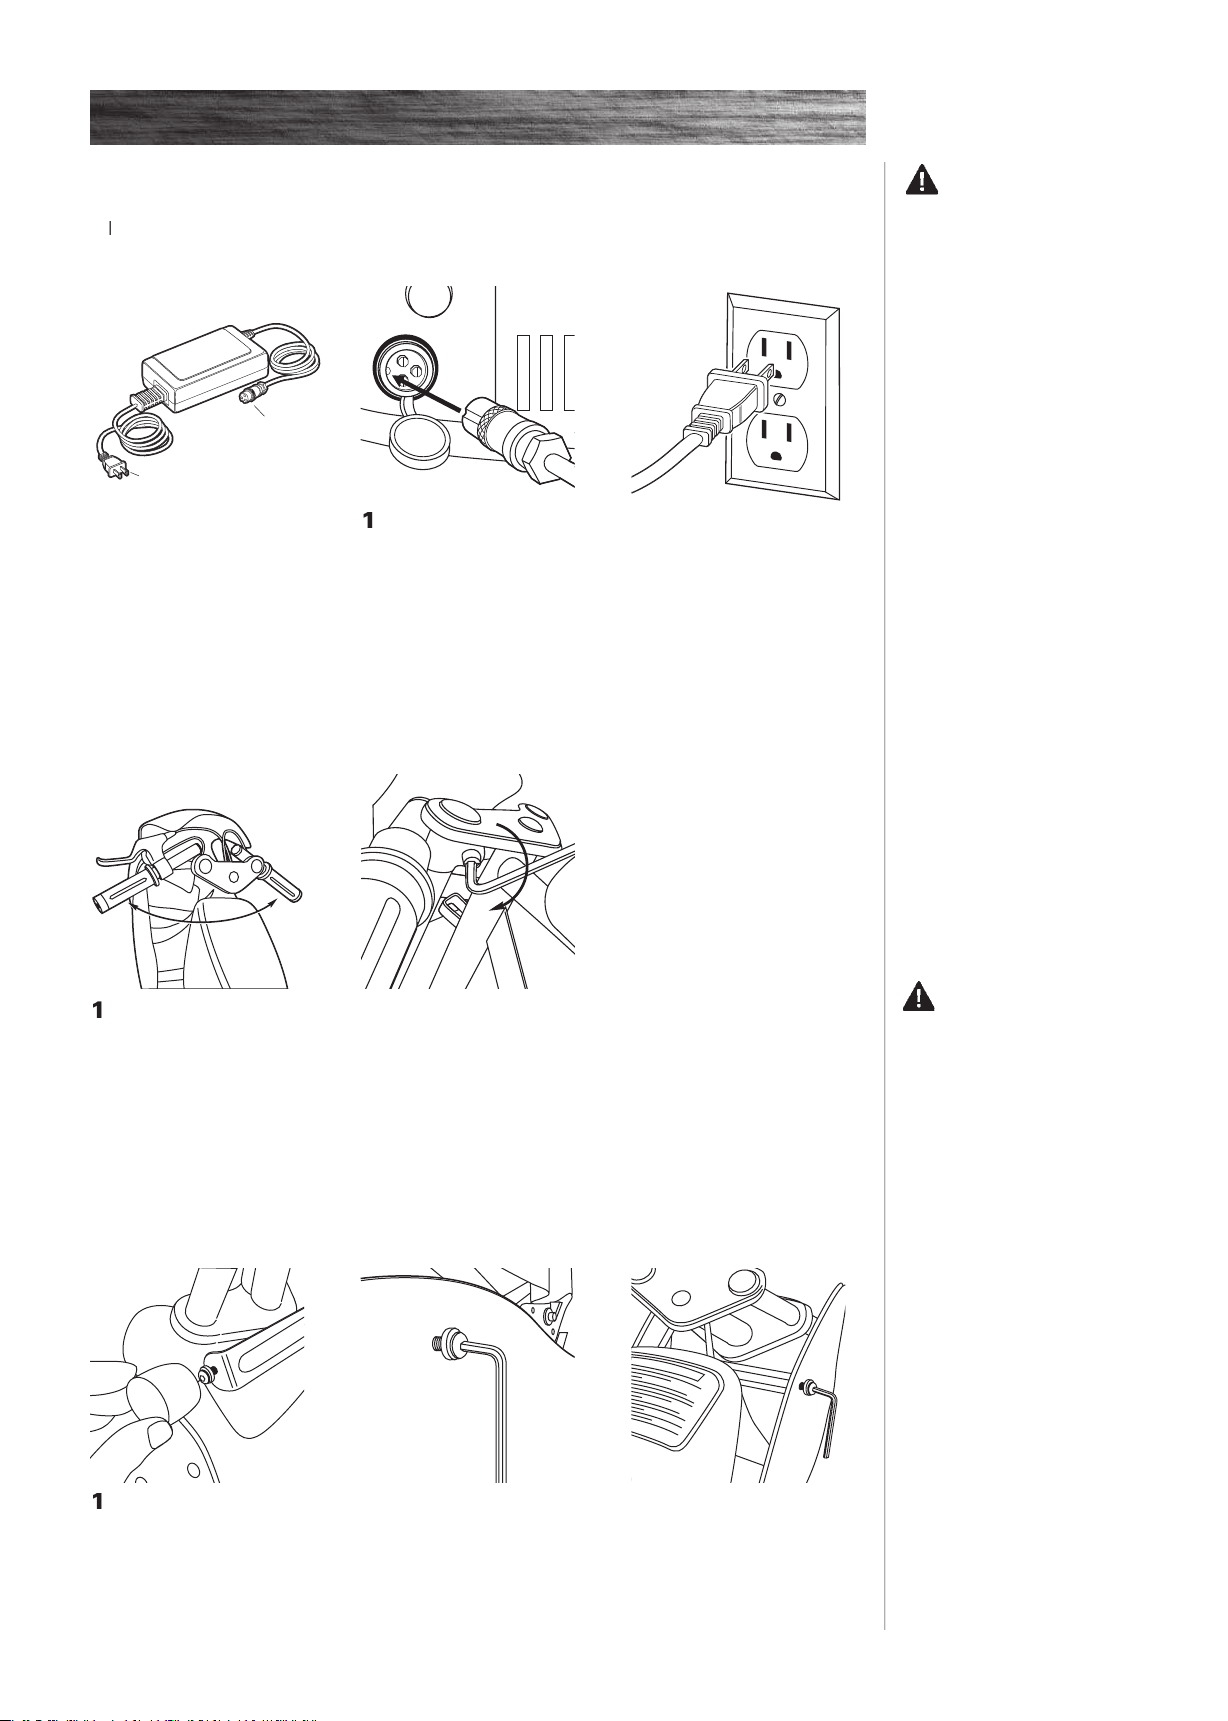
Attaching the Handleba
WARNING:
to dislodge while riding and
tightened, the handlebars will
Your electric motorbike may not have a fully charged battery; th
idea
to charge the
Average battery life:
into the
The charger works with the
wall outlet.
WARNING:
your electric
your unit has been supplied
with an alternative charger.
The specifi cations and charging
The charger has a small window
with one LED or two LEDs to
to the illustration on the charger
your model charger.
socket on the case; otherwise,
Remove two rubber protectors
from fairing mount. Remove two
ws with rubber
washers from both sides of fairing
t.
align holes
with
fairing
ttach fairing to
with screws.
Attaching the
3
Page 5

To adjust the play, thread
the brake lever adjuster in or
threaded outward and the brake
G:
The brake is capable of
to skid the tire throwing an
with the brake function. Avoid
REPAIR AND MAINTENANCE
Turn power switch off before conducting any maintenance procedures.
Adjusting the B
Ti
Rear
Tire
The pressuri
zed a
such an
fi rst make sure the pressure
Testing the B
To use the brake, squeeze the lever to increase the pressure on the brake. The brake lever is fi tted
with a cable adjuster to compensate for cable stretch and/or to fi ne-tune the lever movement to brake
t. If brake is not engaging properly, follow instructions for adjusting the brake outlined below.
ASSEMBLY AND SET-UP
To infl ate the rear tire align
the access hole in the drive
Thread the adapter completely
Using a bicycle-style tire
type valve, infl ate the front
tire to the PSI indicated on the
4
WARNING:
for the fi rst time until you
your warranty.
Page 6

REPAIR AND MAINTENANCE
Tire
Replacement
Tools required:
two (2) 8
wrench
two
(2)
wrenches
With a 10mm wrench,
3
With two 8mm wrenches,
With two 17mm wrenches,
forward to loosen the chain
Your hands will get
wheel by
To hook up the brake hous-
fi nal step.
the cable anchor. Thread the
tighten securely.
ttach
the chain guard.
Test ride and
Slide rear frame cap on axle
adjuster bolt.
Start screwing on both nuts
alternating 1/8 to 1/4 turn at a time
Page 7

REPAIR AND MAINTENANCE
The chain will typically have a “loose spot” and “tight spot” corresponding with a particular sprocket
This is normal and common to all chain-driven vehicles due to run-out tolerances of the
freewheel and sprocket. The chain should be adjusted to the ideal tension with chain in the tightest spot.
CONTAINS SEALED LEAD ACID BATTERY. BATTERY M
Your Razor product uses sealed lead-acid batteries which must be recycled or disposed of in
The transformer/charger supplied with the bike should be regularly examined for damage to the cord, plug,
The most frequently requested replacement parts (wheels, tires, tubes, batteries and chargers) are
WARNING:
To avoid a pinch or injury, keep
fi ngers away from moving
WARNING:
water for at least 15 minutes
Page 8

7
Vehicle does not run
Vehicle was running but
30 minutes per charge)
Vehicle runs sluggishly
TROUBLESHOOTING GUIDE
Solution
T
Tires are not properly infl ated
Vehicle is overloaded
the wall.
You may check to see if your charger is working by using a volt meter or
asking your local Razor authorized service center to test your charger
for you.
W
An excessive overload, such as too heavy a rider or too steep a hill,
could cause the motor to overheat. Replace the fuse with a new one
tightly plugged into the charger connector, and that the charger is
Average battery life is 1 to 2 years depending on vehicle use and
conditions. Replace only with a Razor replacement battery.
The tires are infl ated when shipped, but they invariably will lose some
to instructions on page 4 of this manual to properly infl ate tires.
too steep a hill or towing objects behind the vehicle. If the vehicle is
and if the condition continues, will shut off power to the motor. Correct
the driving conditions that caused the overheating, wait 5-10 minutes
and then resume riding. Avoid repeatedly overheating the unit.
Page 9

times it does
Vehicle does not stop
when applying the brake
Vehicle makes loud
our web site
for updates and a list of authorized service centers
at
www.razor.com
or
t
866-467-2967
PM
Pacifi c
T
Solution
they are tight.
for concern. If your charger does not get warm during use, it does not
Apply a lubricant such as 3 in 1
TM
or Tri-Flow
TM
to the chain.
TROUBLESHOOTING GUIDE
Page 10

POCKET ROCKET PARTS
3. 2 ea Bearing for steering, 6200 (spacers required, not shown)
4. 2 ea Handlebar
7. 1 ea Grip, half-length w/concealed valve extender
30. 1 ea Sprocket
31. 1 ea Freewheel mechanism (attachment screws and nuts not
shown)
32. 1 ea Spacer, chain-side 42mm
33. 1 ea Wheel-half, rear chain-side
34. 1 ea Wheel half, rear brake side
35. 2 ea Bearing, 6001
36. 1 ea Spacer, rear center 56mm
37. 1 ea Spacer, rear wheel-brake 34mm
38. 1 ea Snap-ring retainer
39. 1 ea Brake drum
40. 1 ea Brake anchor plate, actuator and braking band assembly
41. 1 ea Axle, rear
42. 2 ea Axle adjuster
43. 2 ea Stop plate, axle adjuster
44. 2 ea Nut, nylock self-locking 6mm
45. 1 ea Screw, 5mm brake anchor plate-to-frame
46. 1ea Washer, fl at 5mm
47. 1 ea Nut, nylock self-locking 5mm
48. 2 ea Battery, 12v 8 AH
49. 1 ea Strap for battery hold-down (not shown)
Page 11

POCKET ROCKET PARTS
Page 12

YOUR INSURANCE POLICIES MAY NOT PROVIDE COVERAGE FOR ACCIDENTS INVOLVING
THE USE OF THIS SCOOTER/ELECTRIC VEHICLE. TO DETERMINE IF COVERAGE IS
Page 13

Tire Infl ation
as necessary. If you get a fl at tire, the inner tube can be
authorized repair center.
Always wear proper protective equipment, such as an
approved safety helmet, elbow pads and kneepads. Always
wear shoes, never drive barefooted or in sandals, and keep
The manufacturer warranties this product to be free of manufacturing
Warranty does not cover normal wear and tear, tires, tubes or
cables, or any damage, failure or loss caused by improper assembly,
This Limited Warranty will be void if the product is ever:
The manufacturer is not liable for incidental or consequential loss or
WARRANTY
our web site
for updates and a list of authorized service centers
at
www.razor.com
or
t
866-467-2967
PM
Pacifi c
T
for
© Copyright 2005 Razor USA. All rights reserved.
07
05
write the serial number below.
__________________________________________
There should not be any unusual rattles or sounds from
frames are rare, it is possible for an aggressive driver to
frame. Get in the habit of inspecting yours regularly.
SAFETY REMINDERS
DO NOT RETURN TO STORE
Do not use this vehicle for the fi rst time until you
have infl ated the tires to the correct PSI and
charged the battery for at least 12 hours.
Failure to follow these instructions may damage
your vehicle and void your warranty.
 Loading...