

LG LSG4513BD Installation manual
!"
INSTALLATION
ENGLISH
#$%&'(('&#)$
*+,-.+/#012344506/27+/8306+
Make sure your range is properly installed and grounded by a qualified installer, according to the installation
instructions. Any adjustment and service should be performed only by qualified gas range installers or service
technicians.
#0/27+/9-::-0;+3427/-,/<3113=7>1+221
•This product must be installed by a licensed plumber or gas fitter.
•When using ball type gas shut-off valves, they must be the T-handle type.
•When using a flexible gas connector, it must not exceed 3 feet in length.
?.+@3.506/,-./#012344325-0
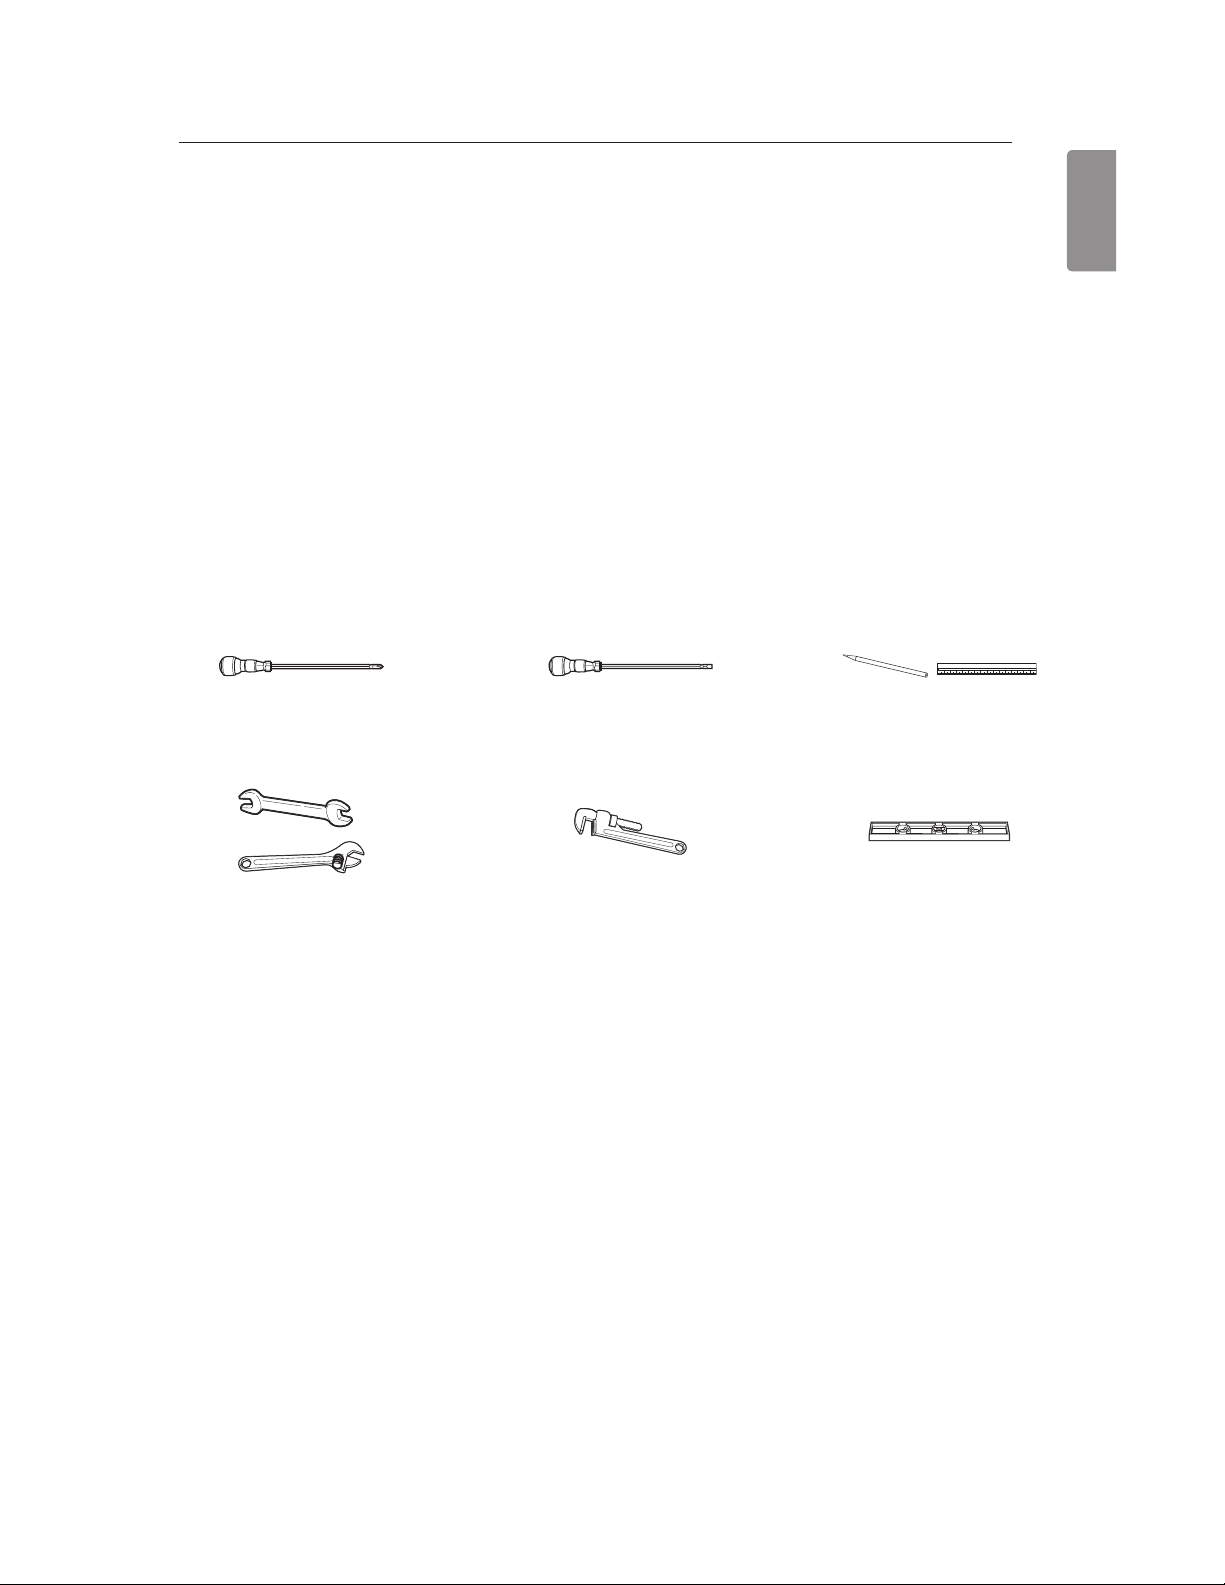
&--41/$++A+A
Phillips screwdriver
Open-end or adjustable
wrench
Pencil and ruler
Level
Flat-blade screwdriver
Pipe wrench (2)
(one for support)
<32+.5341/B->/<3C/$++A
•Gas line shut-off valve
•Pipe joint sealant that resists action of natural and LP gases
•Flexible metal appliance connector (
3
/4" or 1/2" NPT x 1/2" I.D.)
Never use an old connector when installing a new range.
•Flare union adapter for connection to gas supply line (
3
/4" or 1/2" NPT x 1/2" I.D.)
•Flare union adapter for connection to pressure regulator on range (
1
/2" NPT x 1/2" I.D.)
•Liquid leak detector or soapy water
•Lag bolt or
1
/2" O.D. sleeve anchor (for concrete floors only)
!D
INSTALLATION
#012344506/27+/8306+
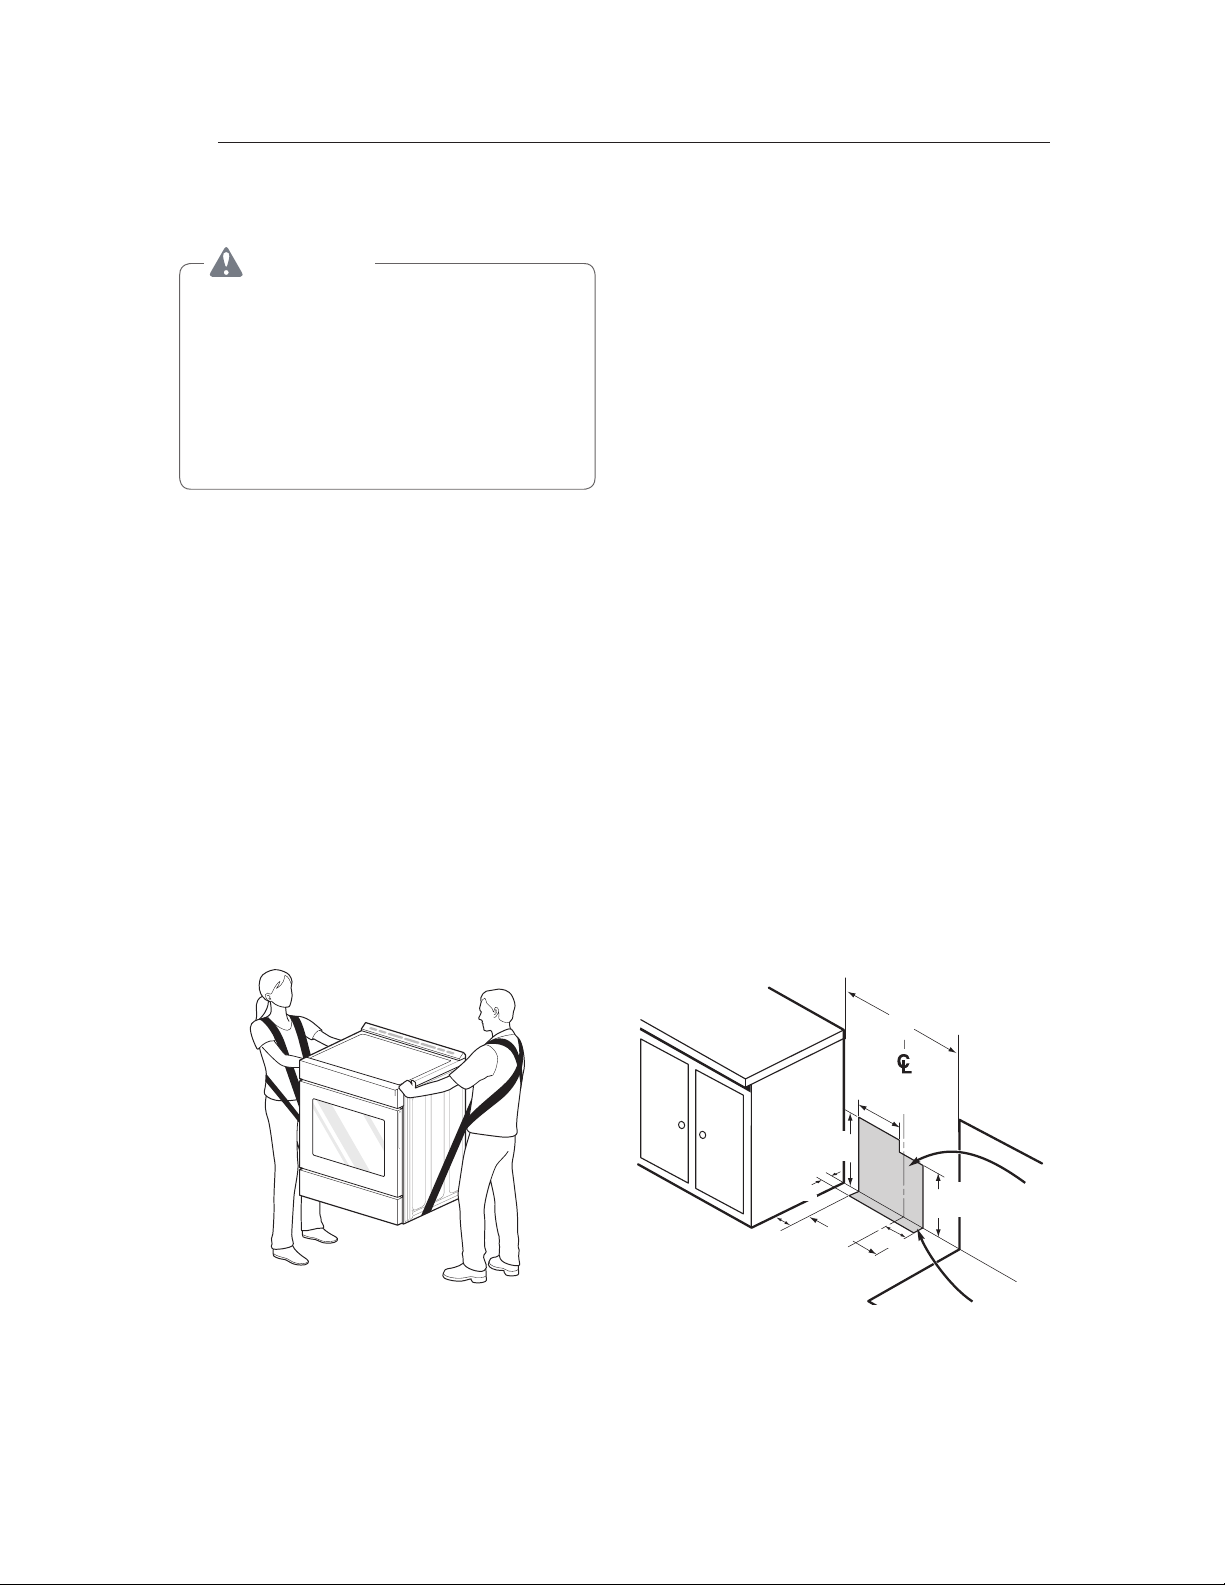
E0@3=F506/30A/<-G506/27+/8306+
9'E&#)$
•B->/17->4A/>1+/2;-/-./:-.+/@+-@4+/2-/:-G+/
30A/5012344/27+/.306+H/IJK=+115G+/L+5672/
M3N3.AO Failure to do so can result in back or
other injury.
•P-/0-2/>1+/27+/A--./730A4+1/2-/@>17/-./
@>44/27+/.306+/A>.506/5012344325-0/-./;7+0/
:-G506/27+/.306+/->2/,-./=4+30506/-./
1+.G5=+H/Doing so can result in serious damage
to the door of the range.
Remove packing material, tape and any temporary
labels from your range before using. Do not remove
any warning-type labels, the model and serial number
label, or the Tech Sheet that is located on the back of
the range.
To remove any remaining tape or glue, rub the area
briskly with your thumb. Tape or glue residue can also
be easily removed by rubbing a small amount of liquid
dish soap over the adhesive with your fingers. Wipe
with warm water and dry.
Do not use sharp instruments, rubbing alcohol,
flammable fluids, or abrasive cleaners to remove tape
or glue. These products can damage the surface of
your range.
Your range is heavy and can be installed on soft
floor coverings such as cushioned vinyl or carpeting.
Use care when moving the range on this type of
flooring. Use a belt when moving the range to prevent
damaging the floor. Or slide the range onto cardboard
or plywood to avoid damaging the floor covering.
97--1506/27+/?.-@+./(-=325-0
Do not locate your range where it may be subject to
strong drafts. Any openings in the floor or wall behind
the range should be sealed. Make sure the openings
around the base of the range that supply fresh air
for combustion and ventilation are not blocked by
carpeting or woodwork.
Your range, like many other household units, is heavy
and can be installed on soft floor coverings such as
cushioned vinyl or carpeting. Use care when moving
the range on this type of flooring.
This appliance must not be installed with a ventilation
system that blows air downward toward the range.
This type of ventilation system may cause ignition and
combustion problems with the gas cooking appliance
resulting in personal injury or unintended operation.
When the floor covering ends at the front of the
range, the area that the range will be installed on
should be built up with plywood to the same level
or higher than the floor covering. This will allow the
range to be moved for cleaning and servicing, as well
as provide proper air flow to the range.
Also, make sure the floor covering can resist
temperatures of at least 167 °F (75 °C). See the
Installation Safety Instructions included in this
manual.
Make sure the wall coverings around your range
can resist the heat generated up to 194 °F (90 °C)
by the range. See the Installation Safety Instructions
included in this manual.
Q31/?5@+/30A/J4+=2.5=34/)>24+2/
(-=325-01
30"
(76.2 cm)
7
14/
16
"
(20 cm)
11
13/
16
"
(30 cm)
3
6/
16
"
(8.5 cm)
3"
(7.6 cm)
17
15/
16
"
(45.6 cm)
5
14/
16
"
(15 cm)
6
11/
16
"
(17 cm)
!R
INSTALLATION
ENGLISH
P5:+015-01/30A/94+3.30=+1
Provide proper clearance between the range and adjacent combustible surfaces. These dimensions must be met
for safe use of your range. The location of the electrical outlet and pipe opening (see Gas Pipe and Electrical
Outlet Locations, page 14) may be adjusted to meet specific requirements. The range may be placed with 0"
clearance (flush) at the back wall.
#012344325-0/94+3.30=+1
30"
(76.2 cm)
30" (76.2 cm)
Minimum
15"
(38.1 cm)
36"
(91.4 cm)
13"
(33.0 cm)
Maximum
depth for
cabinets above
coutertops
Front edge of
the range side
panel forward
from cabinet
0"
To cabinets
below
cooktop and
at the range
back
1
/4"
P5:+015-01
28 3/4"
(73.0 cm)
Height
37
59
/64"
(96.3 cm)
Depth with door open
43
5
/32" (109.6 cm)
Depth with door closed
(includes door handle)
36"
(91.4 cm)
29
7
/8"
(75.7 cm)
 Loading...