

LG LS998 Users manual
USER GUIDE
LS998
ENGLISH
Copyright ©2017 LG Electronics Inc. All rights reserved.
MFLXXXXXXXX (1.0) www.lg.com

ENGLISH
About this user guide
Thank you for choosing this LG product. Please carefully read this user
guide before using the device for the first time to ensure safe and proper
use.
• Always use genuine LG accessories. The supplied items are designed
only for this device and may not be compatible with other devices.
• This device is not suitable for people who have a visual impairment due
to the touchscreen keyboard.
• Descriptions are based on the device default settings.
• Default apps on the device are subject to updates, and support for
these apps may be withdrawn without prior notice. If you have any
questions about an app provided with the device, please contact an
LG Service Center. For user-installed apps, please contact the relevant
service provider.
• Modifying the device’s operating system or installing software from
unofficial sources may damage the device and lead to data corruption
or data loss. Such actions will violate your LG license agreement and
void your warranty.
• Some content and illustrations may differ from your device, depending
on the area, service provider, software version, or OS version, and are
subject to change without prior notice.
• Software, audio, wallpaper, images, and other media supplied with
your device are licensed for limited use. If you extract and use these
materials for commercial or other purposes, you may be infringing
copyright laws. As a user, you are fully responsible for the illegal use of
media.
• Additional charges may incur for data services, such as messaging,
uploading,downloading, auto-syncing and location services. To avoid
additional charges, select a data plan suitable to your needs. Contact
your service provider to obtain additional details.
1
Instructional notices
WARNING: Situations that could cause injury to the user and third
CAUTION: Situations that may cause minor injury or damage to the
NOTE: Notices or additional information.
parties.
device.
2About this user guide

Table of contents
01
Custom-designed
Features
6 Notes on Water Resistant
Properties
Floating bar
8
Camera features
11
Gallery features
17
Making collage wallpapers
24
Audio recording features
25
Google Assistant
26
27 Fingerprint recognition
Face recognition
30
Voice recognition
34
Multi-tasking feature
37
Always-on Display
39
quick share
40
Quick Help
41
Voice Care
41
02
Basic Functions
43 Product components and
accessories
Parts overview
44
Turning the power on or off
47
Installing the SIM card
48
Inserting the memory card
50
Removing the memory card
51
Battery
51
Touch screen
54
Home screen
57
Screen lock
66
Memory card encryption
71
Taking screenshots
72
Entering text
73
Content sharing
78
Do not disturb
80
03
Useful Apps
82 Installing and uninstalling apps
App trash
83
Phone
84
Messaging
87
Camera
88
Gallery
107
Contacts
111
3

113 QuickMemo+
Clock
115
Calendar
116
Tasks
118
Music
118
Calculator
119
LG Health
119
File Manager
121
LG Mobile Switch
121
Downloads
122
Smart cleaning
122
LG SmartWorld
123
Facebook
124
Instagram
124
Next Radio
124
Chrome
124
Google apps
125
04
Settings
128 Settings
Networks
128
Sound & notification
140
Display
141
General
143
05
Appendix
154 LG Language Settings
LG Bridge
154
Phone software update
155
Anti-Theft Guide
157
Open Source Software Notice
158
Information
Regulatory information
158
(FCC ID number, etc.)
Trademarks
158
Laser safety statement
159
More information
160
FAQ
163
06
For Your Safety
07
LIMITED WARRANTY
STATEMENT
4Table of contents

01
Custom-designed Features
Notes on Water Resistant Properties
This product is water and dust resistant in compliance with the Ingress
Protection rating IP68.
Your product has undergone testing in a controlled environment and is
proven to be water and dust resistant in certain circumstances (meets
the requirements of classification IP68 as described by the international
standard IEC 60529 - Degrees of Protection provided by Enclosures [IP
Code];testconditions:15-35°C,86-106kPa,1.5meter,for30minutes).
Do not expose the device in conditions that are different from the test
conditions. Results may vary in actual use.
WARNING
Despite a rating of IP68, your device is not impervious to conditions not
tested in LG’s controlled environment. Please note that any damages that
occur due to such causes changes the color of the LDI (Liquid Damage
Indicator). If the color of LDI located inside the product changes, the
product is to be considered ineligible for any free-of-charge repair services
provided under the product’s limited warranty.
Avoid exposing the product to environments with excessive dust or
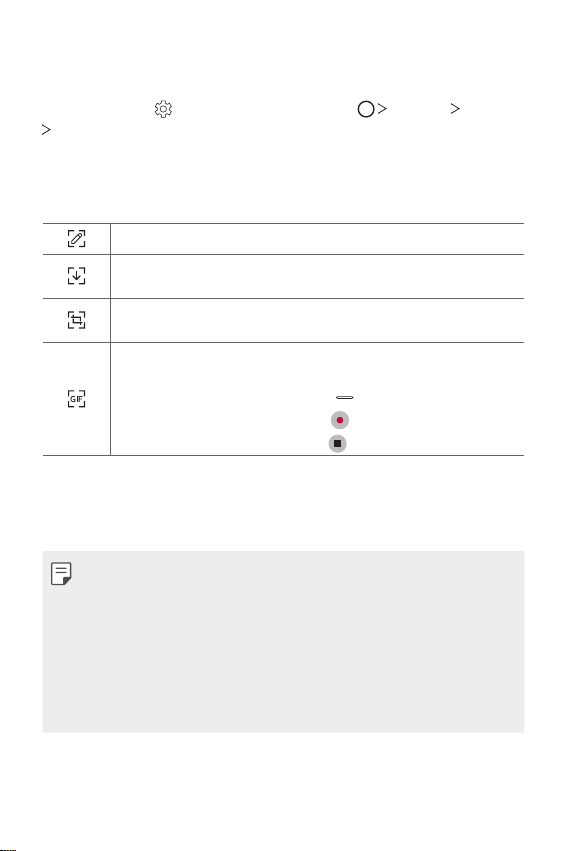
moisture. Do not use the product in the following environments:
Do not immerse the product in any liquid chemicals (soap, etc.)
other than water.
Do not immerse the product in salt water, including seawater.
Do not immerse the product in a hot spring.
Do not swim with this product.
Donotplacetheproductdirectlyonsand(suchasatabeach)or
mud.
Custom-designed Features 6

Do not immerse your product in water deeper than approximately
1.5meters.
Do not immerse your product in water for longer than 30minutes.
• If your product becomes wet be sure to wipe the microphone, speaker,
and stereo jack with a dry cloth before use.
• Should your product or your hands become wet, dry them before
handling the product.
• Do not use the product in places where it may be sprayed with high
pressure water (e.g. near a faucet or shower head) or submerge it in
water for extended periods of time, as the product is not designed to
withstand high water pressure.
• This product is not resistant to shock. Do not drop the product or
subject it to shock. Doing so might damage or deform the main unit,
causing water leakage.
• The product’s water and dust resistant features may be damaged by
dropping or receiving an impact.
• If the product gets wet, use a clean, soft cloth to dry it thoroughly.
• The touch screen and other features may not work properly if the
device is used while wet.
• Your product is water resistant only when the SIM/Memory card tray is
properly inserted into the product.
• Do not open or close the SIM/Memory card tray while the product is
wet or immersed in water. Exposing the open tray to water or moisture
may damage the product.
• The SIM/Memory card tray contains rubber [packing] to help prevent
dust, water, or moisture from entering the product. Do not damage the
rubber [packing] as this may allow dust, water, or moisture to enter
your product and cause damage.
• Failure to follow the provided instructions may invalidate your device’s
limited warranty.
Custom-designed Features 7

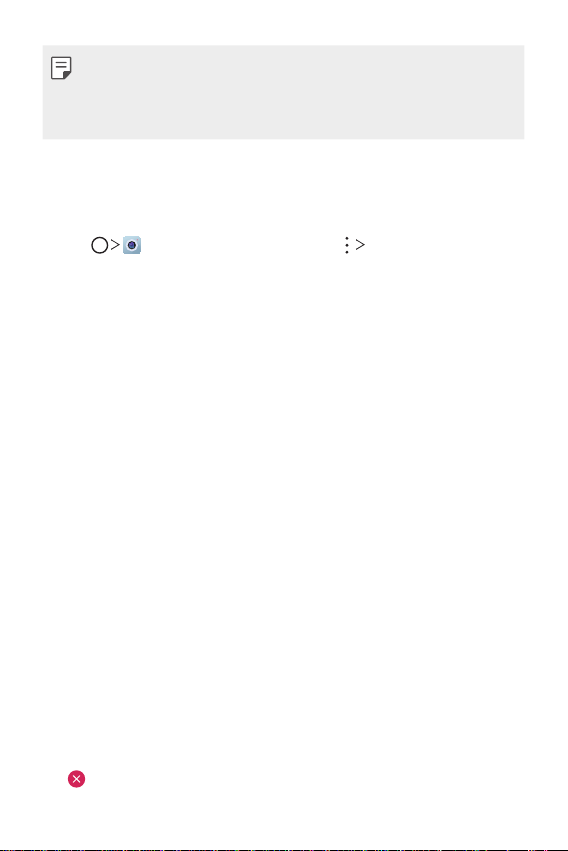
Floating bar
Floating bar overview
You can activate frequently used features including shortcuts,
screenshots, Music, Contacts and more by touching and then swiping the
floating bar on the screen.
to open the floating bar. Tap or to close the floating bar.
• Tap
Custom-designed Features 8

Moving the floating bar position
• Floating bar open: Drag the floating bar to the desired location of the
screen edge.
• Floating bar closed: Touch and hold the floating bar and drag it to the
desired location of the screen edge.
• The floating bar can moves only from the area below the notifications
panel to the quick access bar. See
Home screen layout
for details.
Deactivating the floating bar
You can deactivate the floating bar by using the desired method from the
following.
• Touch and hold
area on the top of the screen.
on the floating bar, tap and then drag on the top of the
• Tap
screen.
Settings General Floating bar and then drag .
• Tap
on the floating bar and then drag it to the delete
Custom-designed Features 9
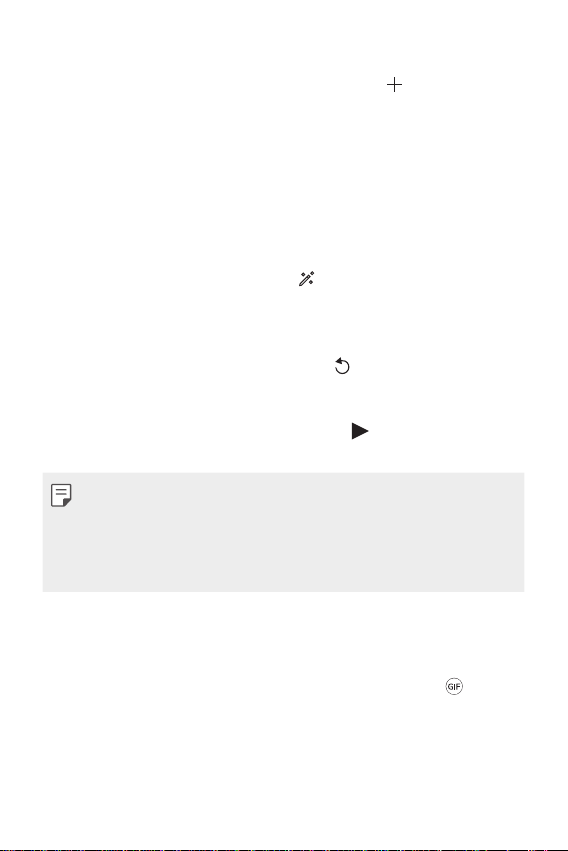
Setting the floating bar
You can select content to display on the floating bar and change its
display order. Tap
Floating bar.
• Shortcuts: Quickly access to a frequently used apps or features.
• Screenshots: Capture the screen to crop the desired part or to make
it as a GIF file.
• Speed dial: Add contacts of frequently contacted people to make a call
or text a message.
• Music: Play recently played music.
• Maximum of 5 apps or features can be added to the shortcuts.
• Maximum of 5 contacts can be added to the speed dial.
• The GIF making feature is provided for the user’s creative activity. If you
infringe other’s copyright or defamation laws by using the GIF making
feature, you may be liable for civil and criminal liability. Be sure to not
duplicate or transfer work of others without permission. LG Electronics
cannot accept any liability for the user’s action.
• A GIF image capture can be made for up to 15 seconds.
from the floating bar or tap Settings General
Launch Capture+ on the desired screen.
Scroll capture the screen to import to the QuickMemo+ or to save
the image to the Gallery.
Capture the desired part to import to the QuickMemo+ or to save
the image to the Gallery.
Save as a GIF file with currently playing video or currently viewing
screen. Adjust the screen size to capture the screen.
•To move to the desired location, tap
•To start the GIF image capture, tap .
•To stop the GIF image capture, tap .
.
Custom-designed Features 10
Camera features
Wide-angle camera
You can take photos or record videos with a wider range than your actual
field of vision by using the wide-angle on the front and rear camera.
, then tap / or / to switch between the
Tap
standard and wide-angle.
• See
Starting the camera
for details.
Custom-designed Features 11

Cine Video
You can record a movie-like video.
Tap , then tap MODE .
1
Tap to record a video.
2
• : Record a video by selecting the point zoom feature to adjust
the zoom in/out settings around the desired area.
: Select Cine effect to apply for the video recording. You can also
•
adjust the vignette and strength for each Cine effect.
• The Point zoom feature supports the zoom speed up to 3x.
• This feature only supports video recordings in standard angle.
Match shot
You can take 2 photos or videos at the same time or separately.
Tap , then tap MODE .
1
To take a photo, tap . To record a video, tap .
2
• : Record two split screens at the same time.
• : Record two split screens individually.
• : Import previous photos, video files, or images to have a match
shot.
Custom-designed Features 12
Tap to save (if necessary).
3
Snap shot
You can take a photo or record a video and preview it right away.
Tap , then tap MODE .
1
Tap to take a photo. To record a video, tap .
2
Custom-designed Features 13

Guide shot
You can take a photo with a similar composition after overlapping the
translucent guide image on the camera preview screen.
You can also import a photo from the Gallery as a guide photo.
Tap , then tap MODE .
1
Place the desired subject on a translucent guide image, then tap .
2
• Use the slide bar to control the background transparency.
Take photos or 3-second-long videos in sequence and then save them as
a single file.
Tap , then tap MODE .
1
Tap to take a photo. To record a video, tap .
2
Tap to save.
3
Custom-designed Features 14
Tracking your focus point while using the
camera
You can track and maintain focus on an object while taking photos or
recording videos.
Tap , then tap Tracking focus.
1
Before recording a video or taking a photo, lightly tap the screen to
2
select an object to focus on.
Take the photo or start recording your video.
3
• See
Starting the camera
• To use this feature, select the standard camera (
or recording videos.
• This feature is unavailable when you use the front camera or the
wide-angle camera.
• This feature is unavailable in the following cases:
- Video size limitation: Resolution is set as UHD 16:9.
- FPS limitation: FPS is set as 60 FPS.
for details.
) for taking photos
Steady recording
You can use the Steady recording feature to minimize motion blur while
recording a video.
, then tap MODE Auto (A), or Manual ( ) Steady
Tap
recording.
• See
Starting the camera
Custom-designed Features 15
for details.
Signature
You can create a personalized photo by adding your signature.
Tap , then tap Add signature.
1
Enter the signature as desired and tap ADD.
2
Hi-Fi video recording
You can record a high quality video with Hi-Fi sound.
, then tap MODE Manual ( ) Hi-Fi.
Tap
• See
Starting the camera
• Hi-Fi videos can only be played in apps that support Hi-Fi.
for details.
Custom-designed Features 16

Gallery features
Floating button
You can use the floating button at the lower part of the gallery app screen
in landscape mode.
• After dragging up the tapped
Home screen.
• Drag the tapped to the left or right to move the floating button.
, release from to return to the
Custom-designed Features 17
Camera roll
You can view the photos and videos you have taken on the camera
preview screen.
, tap MODE Auto and then tap Camera roll.
Tap
• When you take photos or record videos, you can view the thumbnails
for the saved pictures along the side of the screen.
• Scroll the thumbnail lists up or down to browse the photos and videos.
• Tap a thumbnail to view the photo or video on the camera screen.
• Tap the thumbnail again to return to the camera viewfinder.
• This feature is not supported when you take a photo or record a video in
the 18:9 aspect ratio.
• This feature is available only in MODE
Auto of the Camera app.
Custom-designed Features 18
Related content
You can edit and customize related content in the Gallery.
While viewing a picture preview, tap .
1
When the icon related with the date you took the photo appears,
2
touch the screen.
• You can view the photos related with the date you chose.
• Related content can be related to up to four combinations of ‘Memories,
Date, Place, Camera mode’.
• Tap to access additional options.
Custom-designed Features 19
Making a GIF
You can make a GIF file from the associated content.
Tap Create GIF.
1
Select images to make a GIF file and then tap NEXT.
2
• You can add more images and adjust the GIF speed, screen ratio,
image order and more.
Tap SAVE.
3
• Maximum of 100 images can be selected to make a GIF file.
Making a collage
You can make a collage from the associated content.
Tap Make collage.
1
Select images to make a collage and then tap NEXT.
2
• Select the collage composition from the bottom of the screen.
Tap MAKE.
3
• Maximum of 9 images can be selected to make a collage.
Custom-designed Features 20
Making a video from the associated content
You can gather associated content to make a video clip by tapping .
Select the theme and background music, adjust caption effects and order
or add date and your signature and then tap SAVE.
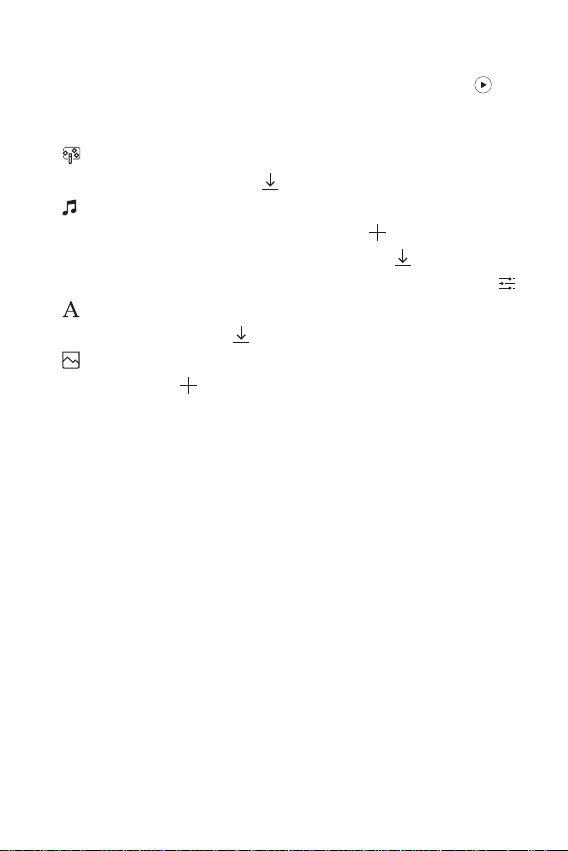
: Select the video theme.
•
- To download the theme, tap .
: Add background music or adjust the playback time.
•
- To select a file for the background music, tap .
- To download a file for the background music, tap .
- To adjust the volume of background music and original video, tap .
• : Select a font face.
- To download a font, tap .
: Change the order of files to play as a video.
•
- To add files, tap .
Custom-designed Features 21
• Download the VASSET app from the Play Store to add video themes,
background music or font faces.
If you use mobile data without Wi-Fi connection, you may be charged
for data usage.
Creating a movie
You can create a new movie by putting images and videos together.
Tap , select an album, and then tap Creating a movie.
1
Select images or videos for a new movie.
2
Edit the selected images and videos and then tap SAVE.
3
Deleting files
You can select images or videos to delete from the on-screen list and then
at the top of the screen
tap
Custom-designed Features 22
Adding files
You can select images or videos to add after tapping at the bottom
of the screen. You can also select the images or videos you have already
selected.
Changing the file sequence
Long press an image or video to move to the desired location.
Setting the file effects
Configure the settings for theme, background music, font effect and the
like for an image or video after tapping
.
Initializing the file settings
Initialize the settings (e.g. play time, theme, background music and font
effect) for each image or video after tapping
.
Previewing a file
Check your new video before saving by tapping . After the playback
time elapses, the next file is played automatically.
• Maximum of 50 images and videos can be selected for a video.
• The playback time for an image is 3 seconds by default and it cannot be
changed.
• This feature may not be supported depending on the image or video
format.
Making a GIF file
You can easily make a GIF file using previously recorded video.
At the desired starting point while watching the video, tap .
1
Select the length of the GIF you want to create.
2
• The GIF file is generated for the time selected from the current time.
• For videos less than 5 seconds, GIF images are automatically generated
for the remaining time.
Custom-designed Features 23
• The GIF making feature is provided for the user’s creative activity. If
you infringe other’s copyright or defamation laws by using the GIF
making feature, you may be liable for civil and criminal liability. Be sure
to not duplicate or transfer the work of others without permission. LG
Electronics cannot accept any liability for the user’s action.
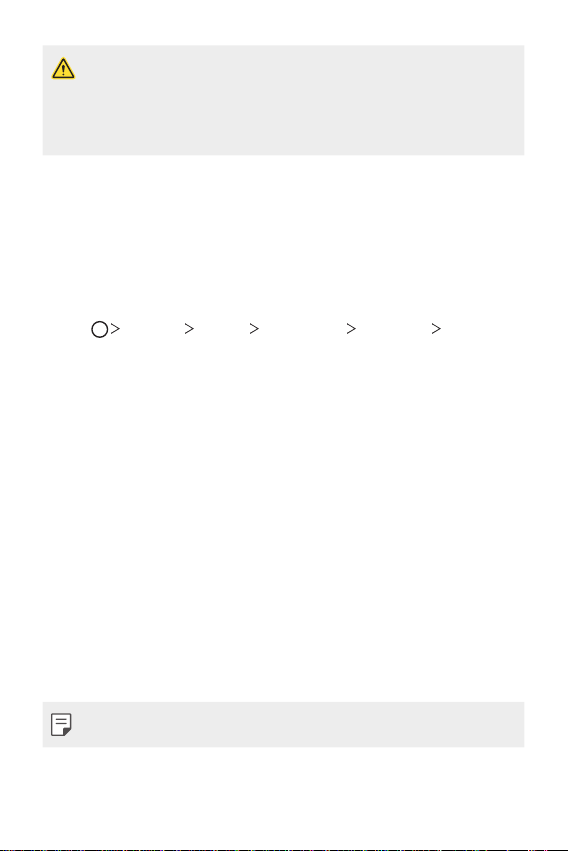
Making collage wallpapers
You can make your own collage image to display it as a lock screen.
You can select multiple collage images as a wallpaper that changes each
time you turn on or off the screen.
Tap Settings Display Lock screen Wallpaper Collage
1
Wallpapers.
Select the image for the lock screen and then tap SET WALLPAPER.
2
• Up to four images can be selected in a collage.
Custom-designed Features 24
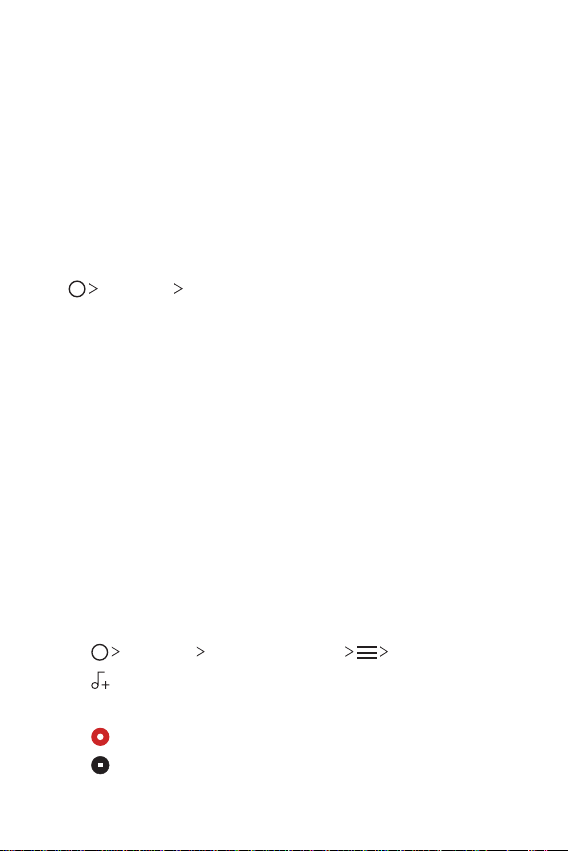
Audio recording features
HD Audio Recorder overview
You can configure the audio settings manually so that you can record
audio based on the settings optimized for the selected mode.
Recording modes
You can record a high definition audio file by selecting and configuring the
audio mode to suit the recording environment.
Essentials HD Audio Recorder.
Tap
Normal
You can record audio without extra settings.
Concert
You can record audio in a concert or other music events.
Custom
You can personalize the settings to record audio.
Studio Mode
With Studio mode, you can play an audio file or music and record your
voice at the same time, create a chord by recording your voice multiple
times, and record your comments over the presenter’s or speaker’s original
audio file.
Tap Essentials HD Audio Recorder Custom.
1
Tap .
2
Select an audio file to use as background music.
3
Tap to record voice.
4
Tap to save the recorded file.
5
Custom-designed Features 25
• Background music can only be played through earphones. Make sure to
plug in earphones before using this feature.
Other useful features on the HD Audio
Recorder app
GAIN
You can adjust the sensitivity of the sound recorded by the microphone.
The higher the GAIN value is set, the more sensitively the sound is
recorded.
LCF
You can filter any low-pitched noises such as the low hum of the air
conditioner.
The higher the LCF (Low Cut Filter) value is set, the better high-frequency
noises are filtered.
LMT
It can prevent clipping of the recorded sound. The higher the LMT (Limiter)
value is set, the more low frequency sounds that will not get clipped.
• To change additional settings, tap Settings, then customize the file
type, bit depth, sampling rate and other settings.
• When you select a mode from Concert and Custom,
and then select the microphone to use.
• While using the Studio mode, background music can only be played
through earphones.
appears. Tap
Google Assistant
Custom-designed Features 26
Fingerprint recognition
Fingerprint recognition overview
You must register your fingerprint on your device first before using the
fingerprint recognition function.
You can use the fingerprint recognition function in the following cases:
• To unlock the screen.
• To view the locked content in the Gallery or QuickMemo+.
• Confirm a purchase by signing in to an app or identifying yourself with
your fingerprint.
• Your fingerprint can be used by the device for user identification. Very
similar fingerprints from different users may be recognized by the
fingerprint sensor as the same fingerprint.
Precautions for fingerprint recognition
Fingerprint recognition accuracy may decrease due to a number of
reasons. To maximize the recognition accuracy, check the following before
using the device.
• The device’s Power/Lock key has a fingerprint sensor. Ensure that the
Power/Lock key is not damaged by a metallic object, such as coin or
key.
• When water, dust or other foreign substance is on the Power/Lock key
or your finger, the fingerprint registration or recognition may not work.
Clean and dry your finger before using the fingerprint sensor.
• A fingerprint may not be recognized properly if the surface of your
finger has a scar or is not smooth due to being soaked in water.
• If you bend your finger or use the fingertip only, your fingerprint may
not be recognized. Make sure that your finger covers the entire surface
of the Power/Lock key.
Custom-designed Features 27
• Scan only one finger for each registration. Scanning more than one
finger may affect fingerprint registration and recognition.
• The device may generate static electricity if the surrounding air is dry.
If the surrounding air is dry, avoid scanning fingerprints, or touch a
metallic object, such as coin or key, to remove static electricity before
scanning fingerprints.
Registering fingerprints
You can register and save your fingerprint on the device to use fingerprint
identification.
Tap Settings General Fingerprints & security Fingerprints.
1
• This feature is available when the screen lock is set.
- Lock the device with a Knock Code, pattern, PIN or password.
• If the screen lock is not set, configure the lock screen by following the
on-screen instructions. See
Locate the Power/Lock key on the back of the device and gently put
2
your finger on it to register the fingerprint.
• Gently press the Power/Lock key so that the sensor can recognize your
fingerprint. If you press the Power/Lock key with an excessive force, the
screen lock function may start or the screen may turn off.
• Ensure that your fingertip covers the entire surface of the sensor on the
Power/Lock key.
Setting a screen lock
for details.
Custom-designed Features 28
Follow the on-screen instructions.
3
• Repeat scanning the fingerprint by moving your finger little by little
until the fingerprint registers.
When the fingerprint registration is done, tap OK.
4
• Tap ADD MORE to register another fingerprint. If you register
only one fingerprint and the corresponding finger is not in a good
condition, the fingerprint recognition may not work well. As the
preventive measure against this kind of situation, register multiple
fingerprints.
Managing fingerprints
You can edit or delete registered fingerprints.
Tap Settings General Fingerprints & security Fingerprints.
1
Unlock according to the specified lock method.
2
From the fingerprint list, tap a fingerprint to rename it. To delete it, tap
3
.
Unlocking the screen with a fingerprint
You can unlock the screen or view the locked content by using your
fingerprint.
Tap Settings General Fingerprints & security Fingerprints.
1
Unlock according to the specified lock method.
2
On the fingerprint settings screen, activate the desired function:
3
• Screen lock: Unlock the screen with a fingerprint.
• Content lock: Unlock content in the Gallery and QuickMemo+ with
a fingerprint.
Custom-designed Features 29
 Loading...